Good quality mics were synonymous with music and movie studios or exceptional cases. Home or individual use was unheard of regarding quality mics until engineering advancement made it possible and cheaper too. So, when it comes to quality, do you know why the term “Condenser Mic” is the same as “Awesome Sound”? If you haven’t heard this as often, then you don’t know what a condenser mic is.
Let’s enlighten you further on why these mics sound better than other types and how to use condenser mics, or typical ones for that matter, in the comfort of your own home.
What is a Condenser Microphone?
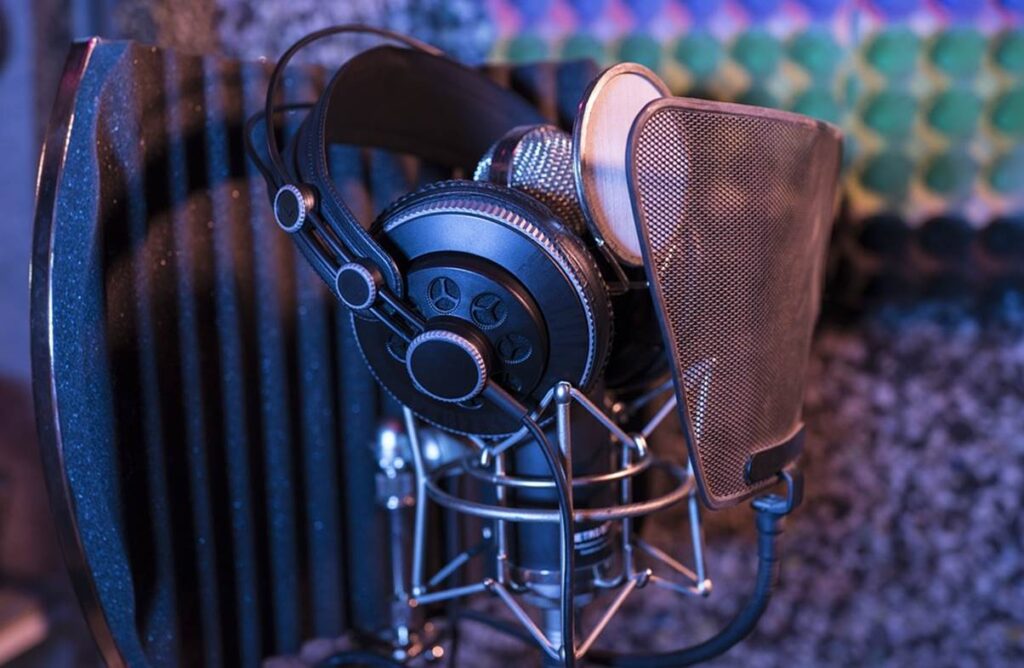
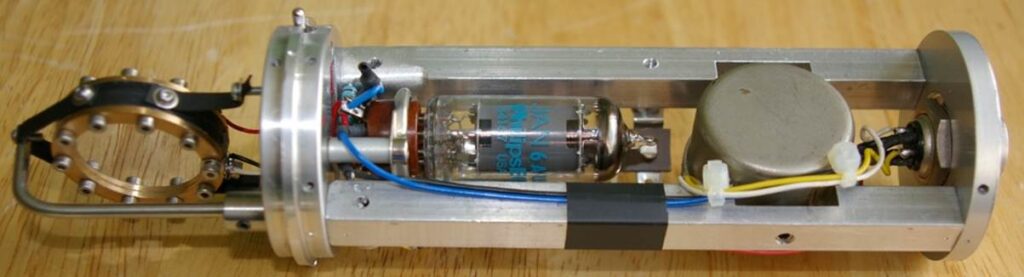
Condenser Mics are generally regular but rely on extremely sensitive construction and a vibrating diaphragm to capture sounds through vibration. To accomplish this feat of capturing amazing sounds, these mics are made with two lightweight metallic plates; between them, a condenser capsule is suspended from capturing sound vibrations.
So, when acoustic sound arrives at these plates, the pressure of these sound waves makes the diaphragm or combination of these plates vibrate while the back plate remains stationary. With these vibrations, the distance and the voltage between them fluctuate as the vibrating plate act as a ground, and the stationary plate is charged with voltage. We know that this fluctuation mimics the ebb and flow of the incoming acoustic sounds. The fluctuation of plates, with voltage, is converted into electrical signals picked up by the sensitive condenser in-between, boosted by a power supply to amplify and record the sound.
If you are new to recording, you should know that using a USB Condenser Microphone is probably the cheapest and easiest way to achieve pro sound. You can achieve top-notch quality sound with the additional equipment required. USB solution makes it really easy to just plug and play your recording media in most computers or other supported devices. Now the best part is these mics don’t have to be large and can even be as small as ones that can easily fit in your pocket.
Some Advantages and Disadvantages of Condenser Microphones
First, let’s look at some advantages.
- Better Sound Quality – They can respond to a wide frequency range and response, reproducing even the lowest frequencies to give a crisp sound output.
- More Detailed Audio Capture – Condenser Mics work on the premise of higher sensitivity, meaning they can even pick softer sounds, so they help in capturing detailed nuances in vocals and other instruments.
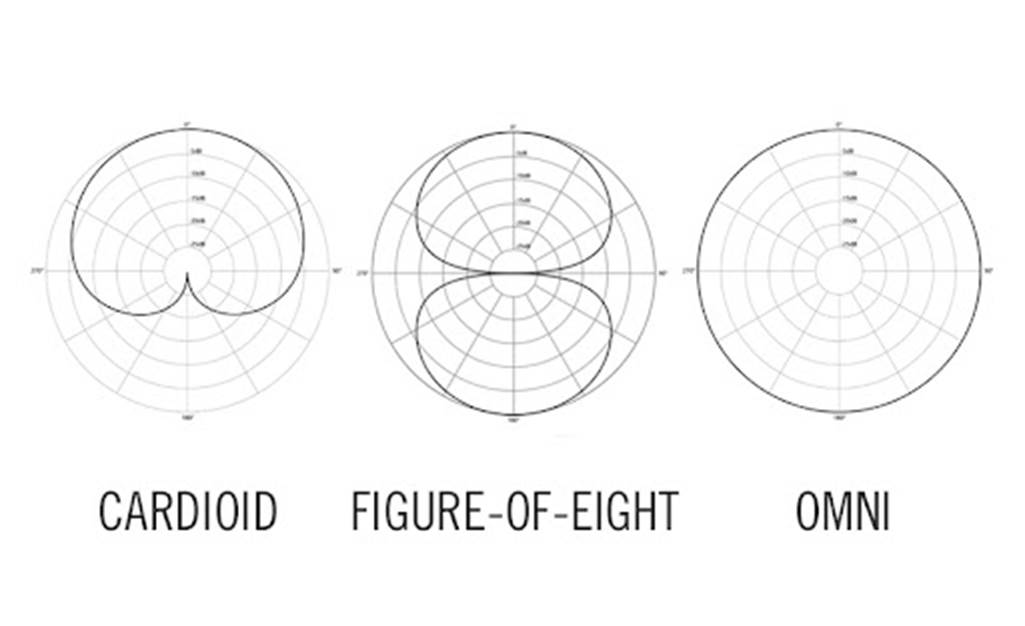
- Omnidirectional Polar Pattern – Perfect for a bigger sound capture, such as a choir.
Now let’s look at the disadvantages of Condenser Microphones.
- High Sensitivity – Though higher sensitivity is sought after, in specific scenarios like a live concert, they can cause feedback issues. These microphones can pick up sounds coming from any direction thanks to their omnidirectional polar patterns or pickup patterns.
- Higher Investment – Though many cheaper models are available that are perfect for home usage, true pro ones are a bit expensive.
How to Properly Use a Condenser Microphone?
Now that you know what precisely a Condenser Microphone let’s discuss what preparation and recording techniques you should use when using it properly.
Preparation Phase to Use a Condenser Microphone
These preparation steps can vary depending on your circumstances but mostly remain the same. Each of these factors is critical in producing excellent results because there is too much ambient noise in cities, and you need to minimize them as much as possible.
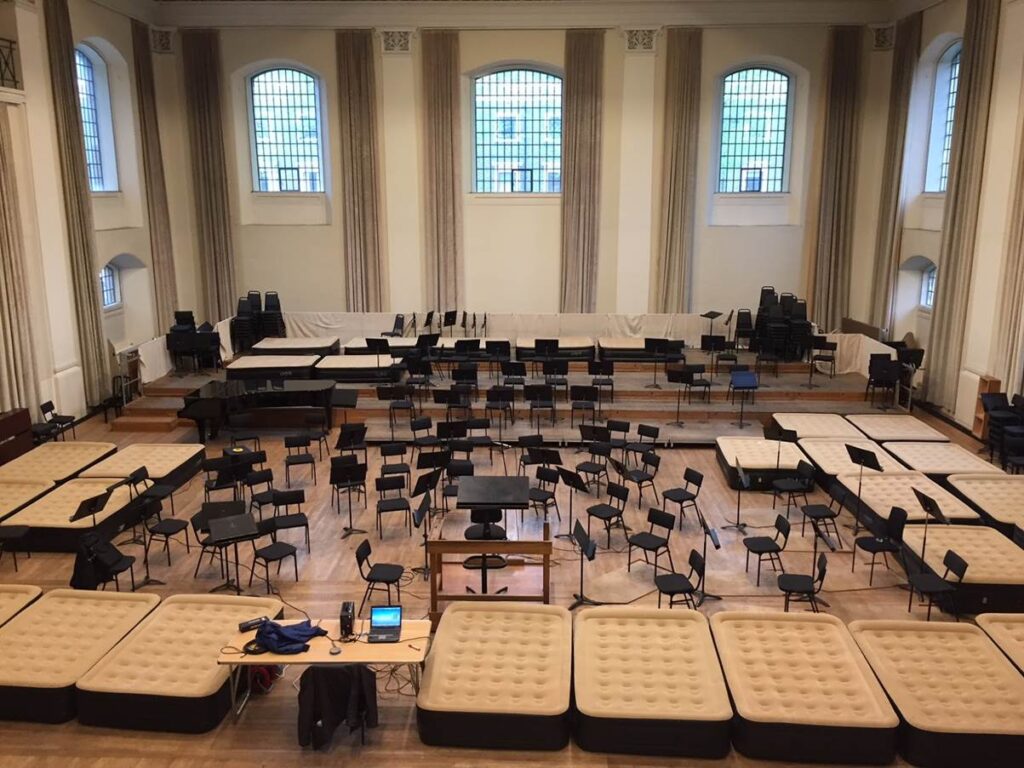
- Picking a Room – The 1st critical step is choosing a quiet room with adequate acoustics to give you a better sound quality. The best scenario is choosing a dead room by eliminating noise sources having sound padding and carpets.
- Microphone Position – Keep it far from the wall to reduce echo and reflections, typically at the center. The height should be according to whether you are standing or sitting when recording.
- Balancing Acoustics – Like the mic position, echo reduction and sound absorption balancing act are also essential. Another way is to add acoustic panels and bass traps on your recording room walls helpful in many music genres.
- Right Mic – This is like choosing the right combination of the best features and the value your wallet can support. Still, we recommend a cheaper condenser mic over a more expensive dynamic mic for the best sound quality.
These factors have become the best practices in the music and recording industry, and if you see more popular streamers on YouTube and other social media, you will see some of them being employed in real life.
Recording Phase for Using a Condenser Microphone
Let’s consider some essentials regarding recording from a Condenser Microphone. Remember, before building a sound recording room, most of these techniques are employed before recording for the first time. You can start working on each step until you find the best sound you seek.
- Setting the Levels – You need to adjust the number of signals that should be recorded, as too many or too few can ruin your hard work when recording. Start by tuning up the gain and speak or sing in the microphone until you reach the -12 dB.
- Measure Your Timing – When you speak during a recording or live stream, set the tone and pitch of your voice and listen to the output. If any artifacts exist, learn to remove them as efficiently as possible. Don’t leave longer gaps between your speaking.
- Setting Compression Levels – Another critical factor that helps even out signals during louder or quieter parts of your speech and brings them to the same level as much as possible. Proper compression brings it sound fuller and enhances consistency.
- Microphone Positioning – Your microphone should be just about 6 inches away from you, especially if you are recording at home, and bring it near the center of your mouth. Please take note of keeping it away from your nose to mitigate accidental nasal sounds. Simply, for “Intimate” sounds, bring the mic closer, and for more “Open” sounds, move a bit farther away.
- Adjusting the Height – If the height is too high, you will get a rather sibilant sound, while if you take it too low, you will get a muddy sound. So just like keeping it 6” away from you, start by keeping the mic 6” below your chin and then bring it up to get the crispest voice you can get from your mic.
- Axis Rotation of the Mic – The next step is to adjust the mic’s angle according to your mouth, which should be between 45 to 60 degrees. It is recommended for most people, but you can start with our recommendation and later experiment with different angles. If the angle isn’t correct, you will hear the recording sound “off,” which will give you an indication to adjust your rotation axis further.
- Choosing the Polar Pattern of Your Mic – There are three main types of polar patterns, the direction the mic picks the sound from, which are Omni and bi-directional, and cardioid. Omni picks the sound from all directions, while the bi-directional mic will pick only from the front and back of the mic. In the case of cardioid, your mic can only pick better sounds from the front and sides.
- Using a Windscreen – This is the final step before performing or streaming. Windscreens are typically pieces of foam or perforation that go over your mic and reduce unwanted sounds. Most mics have an adequate windscreen, but you can easily buy one online or in music stores.
Frequently Asked Questions
Following are some most typically asked questions on the web.
1. What is a Condenser Mic Used For?
Because of their sensitivity and precision in sound pickup, condenser microphones are frequently employed for audio recording and occasionally used in live situations. Sound engineers and producers solely used condenser mics up until recently.
2. How to Record Your Voice at Home without a Microphone?
Many different ways to record sound or voice without a microphone. Some of the easiest are as follows:
- Using the microphone of your laptop or computer.
- Recording via the headphone mic attached to your system.
- Using software that can help you record sound without using a microphone.
3. How to Reduce Noise in Recording when Using a Condenser Microphone?
You can do the recording in a quiet room without echo and incredible acoustics or a sound recording booth with padding to reduce or absorb sounds to minimize noise. As an aspiring artist or producer, you can use the simplest trick of hanging towels or blankets on the walls if you are tight on budget.
Conclusion
Condenser Microphones are the perfect solution for aspiring artists and streamers who can’t spend much money on expensive sound equipment. Modern technologies have allowed them to buy high-quality, affordable equipment to enhance their recording and sound output.
This article explained the basic nuances of knowing about these microphones and how to use them efficiently. If you are looking for top-notch Condenser Microphones at affordable prices, check out Hollyland and their catalog. Their Hollyland Lark M1 is also worth buying.