.png)
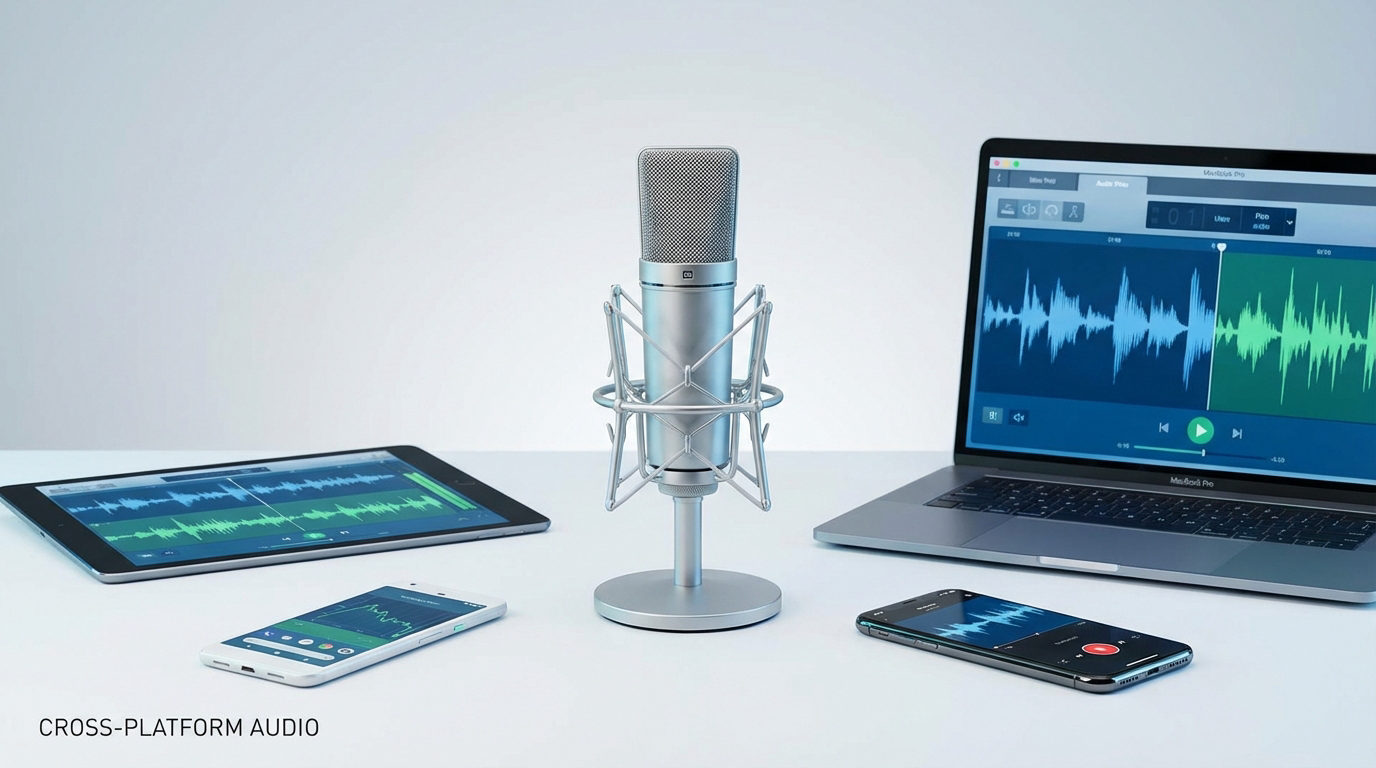
In an era where communication transcends borders and virtual conversations have become as meaningful as those happening face-to-face, the significance of clear voice transmission cannot be overstated. The microphone is a pivotal component of any device, acting as the conduit for your message – your laughter, and even your whispers – to reach across the globe.
Whether preparing for an online meeting, venturing into podcasting, or merely wanting to connect with loved ones, the microphone plays a central role. To ensure your business meetings, live streams, or video calls go uninterrupted, testing a microphone is recommended.
This article presents a simplistic way to test your microphone through online channels. In this method, you don’t have to download any custom software to test the mic.
Step 1: Choose an Online Microphone Test Tool
The first step is the selection of an online tool. Several microphone testing websites are available. You’ll come across many when you search for the term ‘online microphone test’ on the web. Most of these sites are free to use but some request users to register at their site before testing.
One popular online tools that can be used without any registration are:
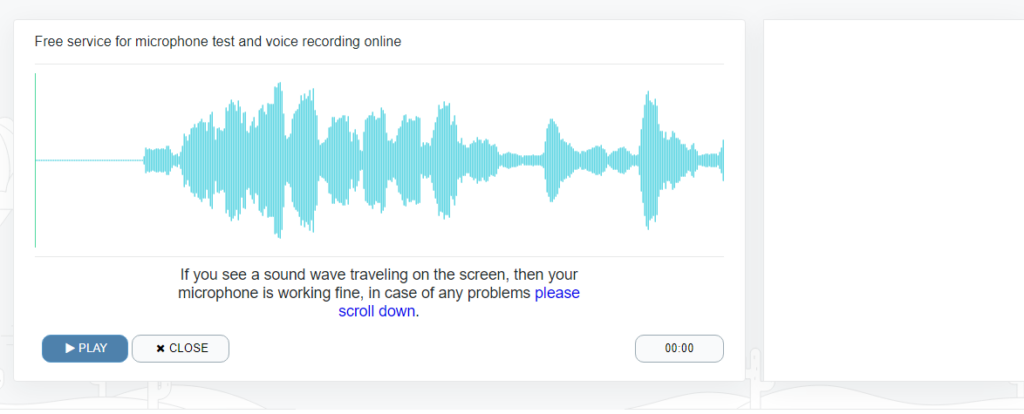
Online Mic Test (onlinemictest.com)
A very simple user-friendly website. You can get started by just pressing the ‘Play’ button. There’s a line that fluctuates as you record through the mic. Besides microphones, options to test other devices are also available.
Mic Test (mictests.com)
Mic Test is another intuitive site to test your device’s microphone. As you press the ‘Test my microphone’ button, the site starts recording the audio for a minute and then provides technical information about the mic i.e. quality rating, volume, sample size, noise suppression, latency, gain control, etc.
Mic Worker (micworker.com)
Mic Worker is similar to the above two sites. It allows you to playback recorded voice and represents the sound in a visually appealing manner.
All these sites will work on both internal microphones or any premium wireless microphones, like Hollyland Lark M2.

Hollyland LARK M2 - Mini Lavalier Microphone
An incredibly lightweight and compact wireless button microphone that captures high-fidelity audio.
Key Features: 9g Button Size | 48 kHz/24-bit | 40 Hours Battery
Step 2: Grant Permission
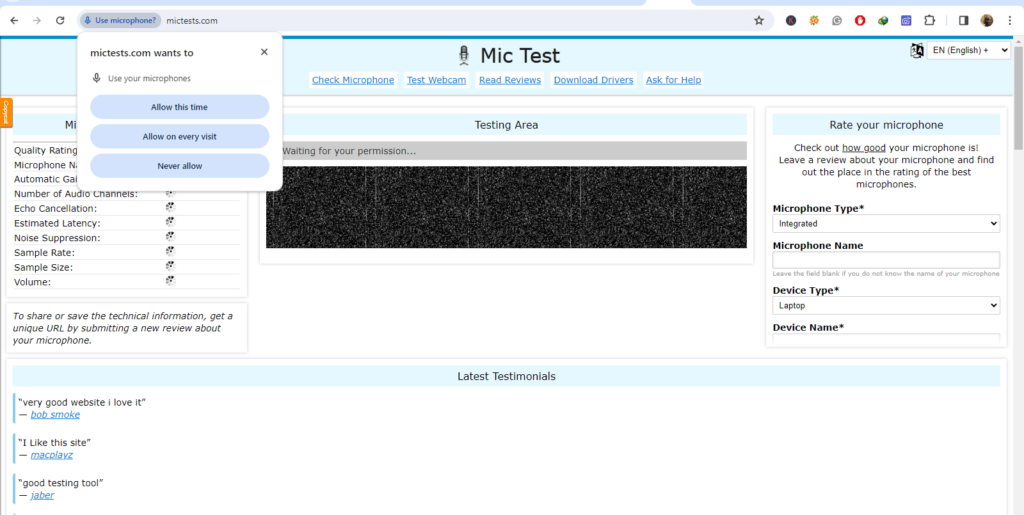
Upon visiting every microphone testing, the browser will likely prompt you to allow the website to access your microphone. You must grant permission for the test to work. Usually, the browser asks you to choose from any of these three options:
- ‘Allow this time.’
- ‘Allow on every visit.’
- ‘Never allow.’
The first option is ideally the best one.
Step 3: Start the Test

After granting permission, most sites will either automatically start the test or provide you with a button to begin. Once the button’s pressed, speak into your microphone. There’ll be a visual representation of the voice pattern as the sound starts getting captured. Some sites also allow you to play back what you’ve said.
Step 4: Review the Results
The online tool will provide feedback on your microphone’s status. This could be in the form of a visual representation (like a graph or moving bars that respond to sound) or an audio playback feature.
If during the recording the graph/pattern shows activity that means the microphone is picking up sound. If the line is rather flat, that indicates a flaw in the microphone.
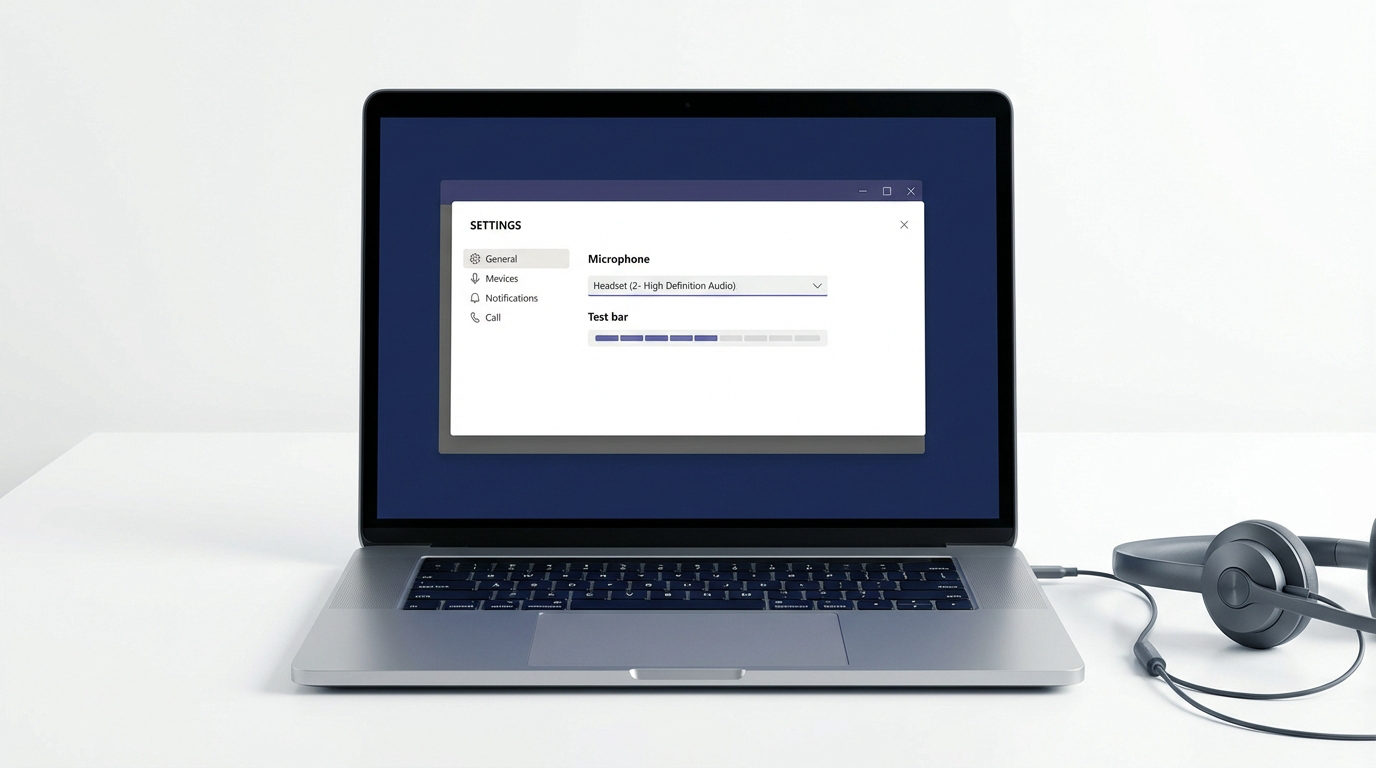
Step 5: Adjust Settings If Necessary
After the test results and hearing the test recording, if you’re not satisfied, you may need to adjust your microphone settings. Sound settings vary across devices:
- In Windows, go to Settings > System > Sound > Input.
- In Mac, go to System Preferences > Sound > Input.
- For mobile devices, the settings may vary but look for a “Sounds” or “Audio” section.
In case, you’re using a premium external wireless microphone, for instance, Hollyland Lark M2, you have multiple voice control options. It has a dial on the top which can be rotated and switch between three sound levels: high, low and medium.
Lark M2, and other microphones of such types also have an app, which has intuitive controls that allow users to get complete control over the mic.
Step 6: Retest If Needed
After making some adjustments, return to the online test tool and retest your microphone to see if there’s an improvement.
Troubleshooting Tips
You can these steps to test your microphone. However, there are instances, when the procedure may not work right for you. In that case, these tips can help.
- Ensure your microphone is properly plugged in or connected via Bluetooth if it’s external.
- Check the microphone’s volume level in your system settings and increase it if needed.
- If using an external microphone, try testing it with a different device to rule out a hardware issue.
FAQs Related to Testing Microphone Online
- Why isn’t my microphone working even after passing the online test?
An online test primarily assesses the microphone’s hardware functionality. If your microphone doesn’t work, even though it passed the online test, the issue could be with the application you’re using. This app may lack the necessary permissions to access your microphone.
- Can I test my microphone online without downloading software?
Yes, you can test your microphone online without downloading any software. Websites like Online Mic Test, Mic Test, and Mic Worker offer simple testing. Just visit any of these sites, grant browser permission, and start testing your mic instantly.
- How do I fix echo or feedback issues during the microphone test?
To address echo or feedback issues during a microphone test, lower the volume of your speakers. Switch to headphones to prevent the sound from being re-captured by the microphone. Make sure the mic is positioned away from speakers or other sound sources and check for any additional active audio inputs that could be causing interference.
- What should I do if my microphone is too quiet or too loud?
If your microphone is too quiet or too loud, you can adjust its volume settings. For Windows, access the Sound settings from the Control Panel or Settings app, then adjust the microphone levels under the ‘Recording’ tab. On a Mac, open System Preferences, go to ‘Sound,’ and then the ‘Input’ tab to modify the input volume.
- Why does my browser keep asking for microphone permissions?
The browser requests microphone permissions for every new website to protect your privacy and security. To streamline the process for sites you trust, you can permanently allow microphone access. Click on the lock icon or ‘settings icon’ in the browser’s address bar, navigate to ‘Site settings’ > ‘Microphone,’ and select ‘Allow’ for the site in question.
- Can I use these online tools to test a headset or external microphone?
Yes, you can use online tools to test both a headset and an external microphone. These tools are designed to work with any audio input device connected to your computer. However, you need to make sure that your device is properly plugged in or connected via Bluetooth, and select it as the input source in your computer’s sound settings before starting the test on the website.
- Is it safe to test my microphone using online tools?
Yes, an online test is safe as most of the recording runs on the client side, so there’s little risk of voice or information being recorded. Still, don’t change the microphone setting to permit the site to use the mic at all times.
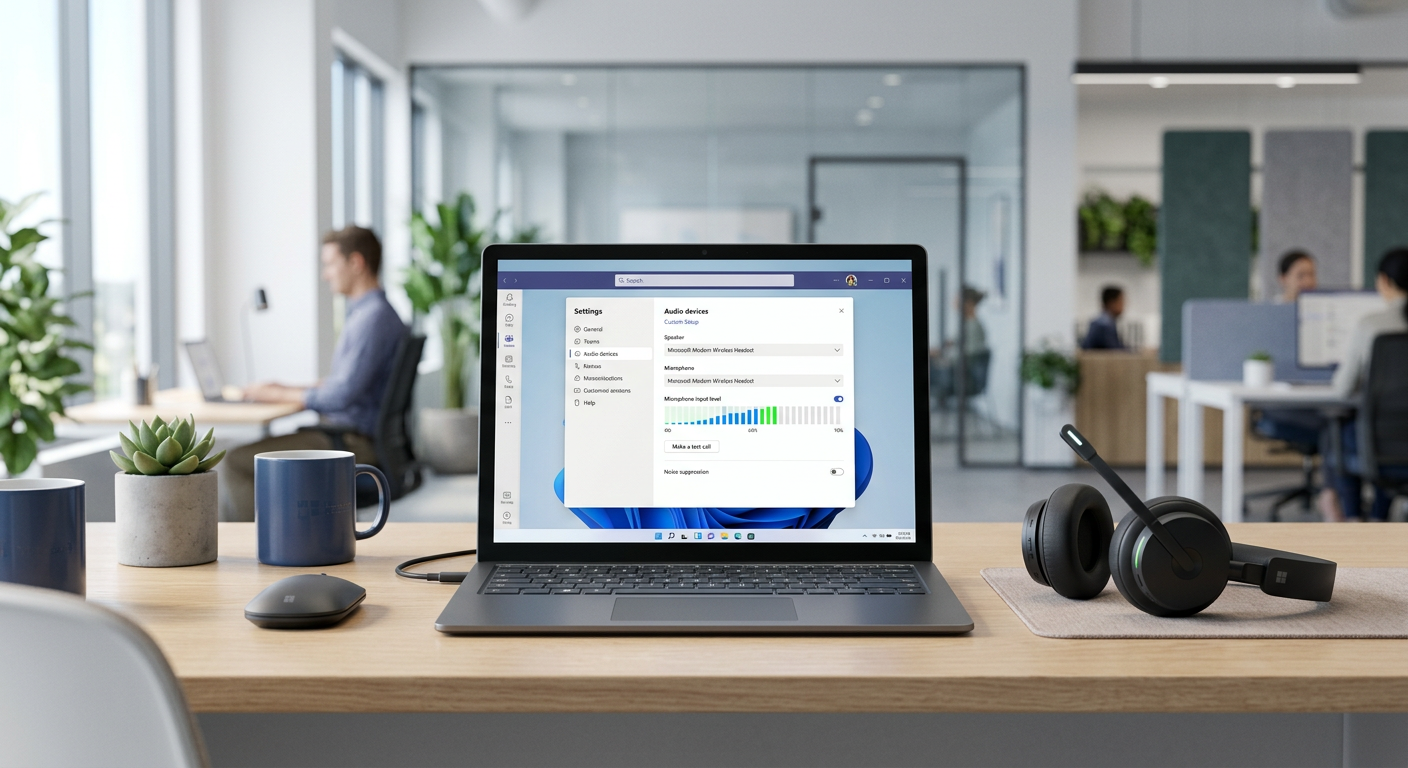
- How can I improve my microphone’s sound quality for online meetings?
To improve your microphone’s sound quality for online meetings, consider using an external microphone rather than the device’s built-in one. Position the microphone properly, close to your mouth but angled slightly away to reduce plosives. Minimize background noise by choosing a quiet room or using noise-cancellation software.
- What are the signs of a failing microphone, and how can I test for them?
Signs of a failing microphone include static noise, intermittent audio, distortions, or a complete lack of sound. To test for these issues, record a short audio clip or use online microphone testing tools. Listen for any irregularities in the audio quality. If problems persist across different recording applications, is it quite likely that the microphone is failing.
10. Can background noise affect my microphone test results?
Yes, it can. Background noise introduces unwanted sounds into the test recording. This makes it difficult to accurately assess the microphone’s clarity and sound quality.
Recommended Product: Hollyland Mark M2
Want to ensure your voice is heard clearly and without any breaks? Try Hollyland’s newest wireless microphone, the Lark M2.

The Hollyland Lark M2 is a wireless microphone designed for vloggers, podcasters, and filmmakers. Weighing just 9 grams, it’s one of the lightest microphones available on the market. This tiny powerhouse ensures your recordings are crystal clear and free of unwanted noise, thanks to its hi-fi sound and noise cancellation technology.
Why the Lark M2 Stands Out:
Long Battery Life: You won’t have to worry about running out of battery mid-recording. The Lark M2 can record for up to 10 hours on a single charge, with a portable case that extends the total battery life to about 40 hours.
Clear Sound Anywhere: It’s built to give you a stable audio connection up to 300m away, making it great for capturing clear sound in various environments.
Works Across All Your Devices: Whether you’re using an iPhone, Android phone, camera, or computer, the Lark M2 connects easily.
User-Friendly Features for Creators:
The Lark M2 makes recording simple. You can adjust settings and check your audio with just a few taps using the LarkSound app. Plus, it has handy features like playback through your phone’s speaker and remote control video recording. Setting up is a breeze too, with auto-pairing right out of the box.
Key Specs:
- Weight: 9g (TX)
- Audio Quality: 48 kHz/24-bit for high-fidelity sound
- Battery Life: 10 hours (TX), with a case providing up to 40 hours
- Charging Time: About 1.5 hours for TX and RX
- Transmission Range: Up to 300m (1000ft)
- Connectivity: Lightning (iOS), USB-C (Android), 3.5mm TRS for cameras
- Top Features: Environmental Noise Cancellation (ENC), versatile wearing options (magnet, clip, necklace)
Conclusion
For anyone working remotely or creating content, the microphone is very important. If it’s not working right, you can easily test it online without installing any software. Just follow the steps we’ve shared. And if those fixes don’t solve the problem, we hope the tips we’ve provided can help you out