.png)
.png) Français
Français .png) Deutsch
Deutsch .png) Italiano
Italiano .png) 日本語
日本語 .png) Português
Português  Español
 You can now create video animations through CapCut, even if you thought animation was out of your reach. Learning CapCut animations remains simple for all types of users, including aspiring content makers, social media lovers, and video editing enthusiasts.
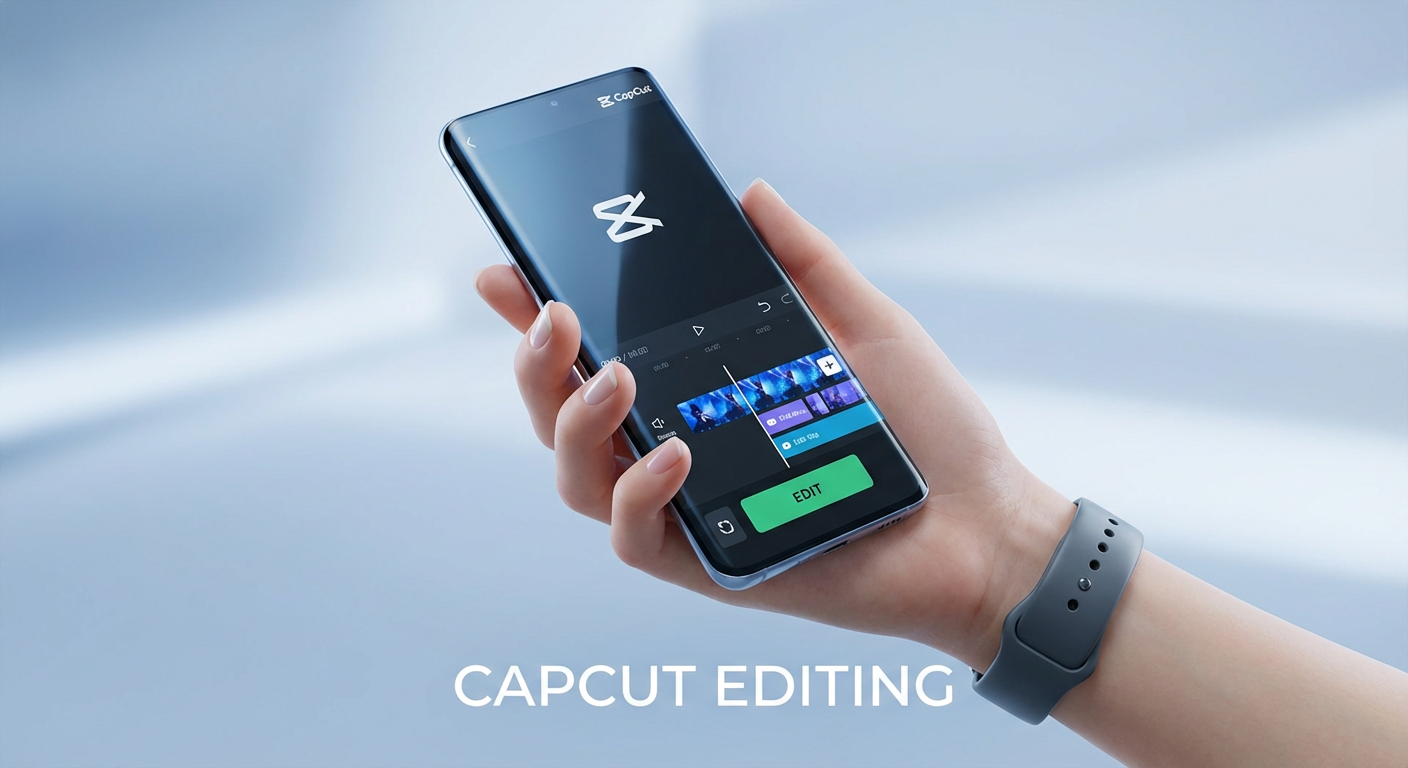
CapCut is a fantastic free app with various tools and features for creating engaging animations. It maintains over 500 million regular users monthly and has passed the 1 billion download milestone. The simple interface and robust features allow users to experience animation fun regardless of their experience in video editing.
In this guide, we’ll walk you through everything you need to know to start animating on CapCut, from basic steps to advanced tips, so you can make your videos stand out in no time. Read on to learn more.
What is CapCut?
Before beginning animation work, you need to understand CapCut and its unique advantages for creating animations. ByteDance has created CapCut as a cost-free video editing software, the company behind TikTok. This editing application works on Android and iOS operating systems, so users can download it and edit their videos from their devices.
Users experience CapCut as a specialized video editor since its developers focus on maximum user convenience. Due to its user-friendly design, CapCut becomes the best choice for new users. Users can improve their videos by combining text elements, effects, and filters alongside animated effects. The CapCut interface simplifies working with photos, video clips, and music through its powerful tools, which enable professional animation and video creation.
Getting Started with CapCut Animation
You can start your animation project only after installing CapCut on your device. The application operates equally on iOS devices through the App Store and Android systems through the Google Play Store. Users can start making animations in CapCut by opening the application after following the installation process.
Step 1: Import Your Media into CapCut
The first step in beginning animation work with CapCut requires users to upload their media files.
- Open the CapCut app.
- Tap the New Project button.
- Select the photos, videos, or images you want to animate and tap Add. This will import your media into the timeline.

The timeline of CapCut now displays your media content so you can begin your editing process.
Step 2: Selecting the Media You Want to Animate
After importing your images or videos into the program, you must choose which media needs animation.
- Tap on the media in the timeline. It will appear highlighted, showing that it is selected.
- Now you can begin to animate this media.

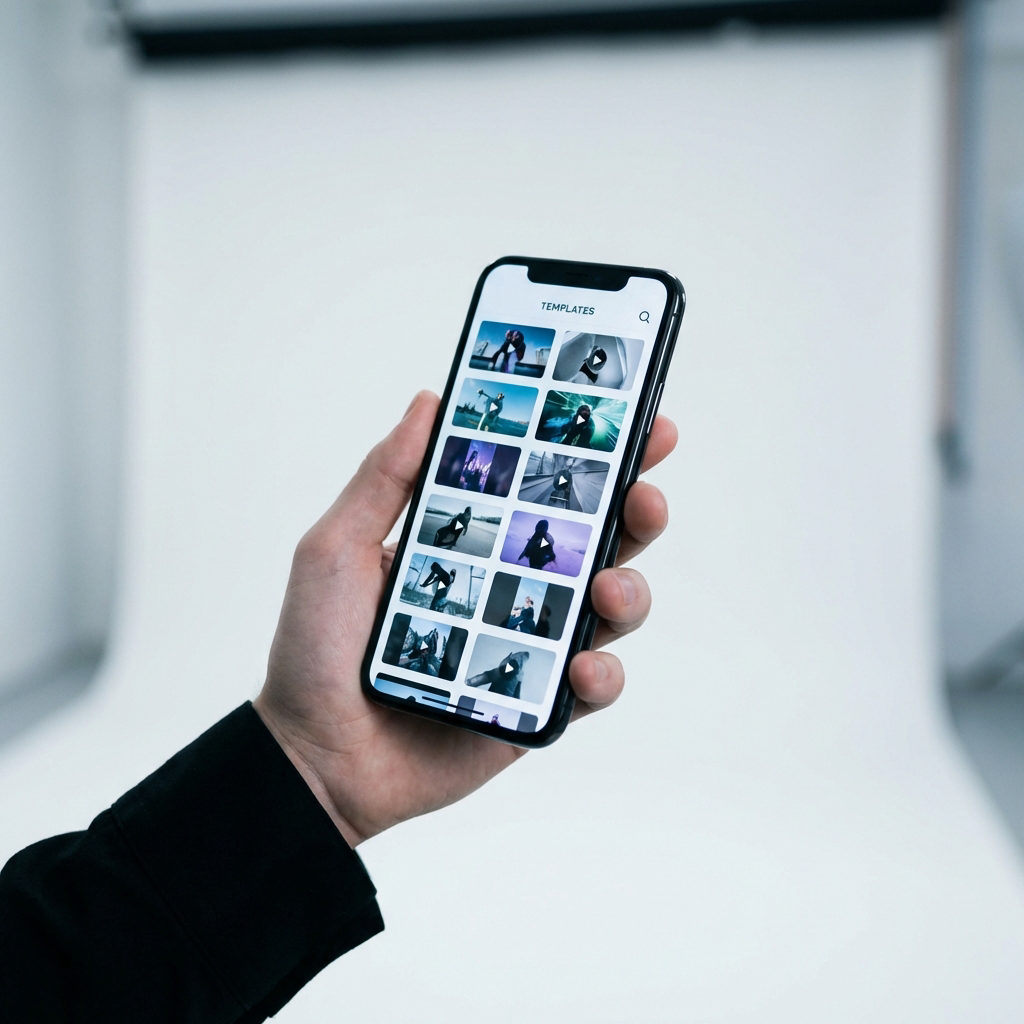
Step 3: Use CapCut’s Animation Templates (Optional)
CapCut offers users quick video creation through its ready-to-use animation templates. Users can apply effects and transitions alongside text with a single tap using the ready-to-use animations in CapCut.
- Tap the Animation button on the bottom toolbar.
- Check through the templates listed to find a suitable one for your work.
- Choose the template from your image or video list, which will automatically apply.

Tip: Using templates enables users to include animations with simple steps. The following section will show you how to make custom animations, but remember that templates are easy animation creators.
Step 4: Create Custom Animations Using Keyframes
Custom animations in CapCut are done using keyframes. Keyframes allow you to set specific positions, scales, and rotation points at different moments in your video. Here’s how to animate your media manually:
- Select Your Image or Video: Tap on the media in your timeline that you want to animate.
- Enable Keyframes: Tap on Keyframe at the bottom toolbar to add custom animations to your media.
- Set the First Keyframe:
- Tap on Scale to adjust the size of your media.
- Tap Position to move your media around on the screen.
- Set Rotation to turn your media if needed.
- Adjust the Opacity for fading effects.
You must tap the Add Keyframe button after you set your animation parameters.

- Move to a Different Point in the Timeline: Position the playhead at your selected next video timeline point before creating animation for this part.
- Adjust Media for the Next Keyframe: You can modify the media by resizing, repositioning, or rotating it for your next keyframe position.
The custom animation in CapCut appears with automatic transition generation between the initial and terminal keyframes.
Step 5: Adding Motion Effects to Your Animations
CapCut offers a variety of motion effects to enhance your animations further.
- Select your media in the timeline.
- Tap Effects from the bottom toolbar.
- You can browse through Motion Effects like bounce, swipe, or fade.
- Select one that suits your animation style.

These motion effects will automatically be applied to your media, enhancing the overall animation.
Step 6: Fine-tune Your Animation
After finishing keyframe placement and motion effect application, you should adjust your animation.
- Adjust Timing: You can change the timing of a keyframe by tapping on it, after which you can drag it through the timeline.
- Smooth Transitions: The keyframe transition tools built into CapCut enable users to generate smooth transitions for their media.

Step 7: Adding Text and Animating It
CapCut also allows you to animate text, an important aspect of many video projects.
- Add Text: Tap on Text at the bottom toolbar and choose Add Text. Type in your text and place it on the screen.
- Animate the Text: Select the text box and go to Animation. Choose from the available presets like “Zoom,” “Slide,” or “Fade.”
- Use Keyframes for Custom Animation: Text animation follows the same keyframe procedure as images or videos. The program will generate a smooth motion animation from your text adjustments regarding size, placement, and rotation options.
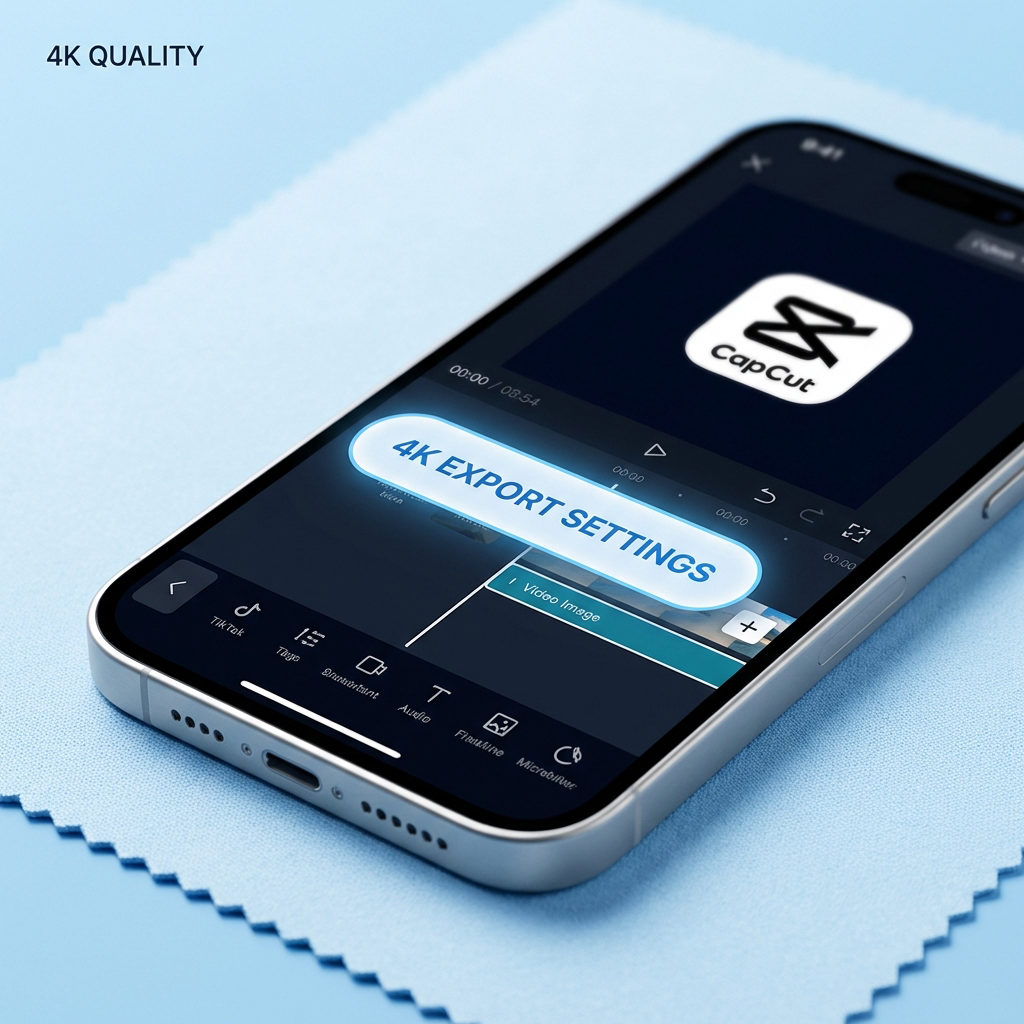
Step 8: Preview and Export Your Animation
The next step after finalizing your animation is preview and export.
- Tap on the Play button to preview the animation.
- If everything looks good, tap Export in the top-right corner.
- Choose your resolution and settings, and then hit Export again.
CapCut will render and save your animated video to your device, which is ready to share.
Tips for Better Animations in CapCut
Here are important tips to improve your animated video production skills in the CapCut software.
- Use Keyframes for Precision: Adding multiple keyframes allows you to obtain greater animation control. You can play with multiple effects, set various scales and positions.
- Sync with Music: When you match their timing to music beats, your animations will appear professional.
- Experiment with Speed: You can modify animation speed by changing the timing between keyframe points.
- Use Layers: For complex animations, use multiple media layers and animate them separately.
Troubleshooting CapCut Animation Issues
The following steps will guide you through solving animation problems to restore your project performance.
- Lagging Animation: The animation appears unstable, so you should lower video resolution settings while editing. Lowering the video export quality speeds up rendering time.
- Missing Keyframe: Please check that your selected layer contains the keyframe at its correct timeline position and confirm that you have selected the appropriate layer.
FAQs
Question 1. Do I need prior experience to animate on CapCut?
Answer: Beginners can easily use CapCut because its interface is friendly even to non-expert users. The provided instructions will help you create animations quickly.
Question 2. Can I animate videos in CapCut, or just images?
Answer: In CapCut, you can animate images and videos. Add keyframes to any media and apply motion effects for smooth animations.
Question 3. What steps should I take to modify the animation speed?
Answer: The speed of your animation can be adjusted through keyframe interval modifications and the speed tool within the app, allowing either slow or fast effects.
Question 4. Are there pre-made animation templates in CapCut?
Answer: The CapCut application contains many pre-made text and photo animation templates. Customization options allow users to adapt these templates to match their project requirements.
Question 5. Can I use CapCut for professional animation projects?
Answer: CapCut is excellent for simple animations, but advanced software is needed for highly detailed or complex animations. However, CapCut is fantastic for quick and creative work!
Conclusion:
The CapCut software allows users to animate videos and photos conveniently. It provides tools that enable users to create powerful animated content for different uses, including social media and presentations. You should begin testing keyframes, motion effects, and text animations. The more you play with CapCut, the better your animations will become. Happy animating!
Meta Description: This easy guide teaches you how to animate on CapCut. Create stunning animations with keyframes, text effects, and motion graphics to elevate your videos.