.png)
No matter how expensive your audio setup is, if there’s feedback, it will destroy the sound for live audience and studio recordings. Overcoming feedback requires experience and practice. That’s why not everyone is capable of controlling it. Otherwise, you wouldn’t come here to read this guide.
But guess what? You have landed in the right place! Because this article explains how to avoid microphone feedback through different techniques. Through our experience and in-depth research, we have included 10 tips to overcome feedback whether you’re using a handheld or lavalier microphone.
Understanding What Feedback Is?
Feedback is the loud, screeching sound that sometimes occurs when a microphone picks up sound from a speaker and sends it back out through the speaker again.
Most of the time, it is the microphones, speakers, and amplifiers link to each other in such a way that feedback arises. A microphone takes sound from a voice or an instrument, sends that sound to an amplifier, and then the amplifier sends the sound to a speaker so that everyone can hear. If the speaker produces some sound that the microphone once again detects, then it creates a throwback. The progress of the loop adds sound to the loop, especially some frequencies that are specific, and this is how the loop ends up sounding screeching noises.
Remember, feedback is the result of a combination of factors:
- Distance of the microphone from the speakers
- Direction of the speakers
- How the microphone is held
- Settings on the sound equipment
Besides, the main speakers facing the audience might receive feedback from or from the monitor speakers meant for the performer.
How Avoid Microphone Feedback on Handheld Microphones?
If you experience feedback issues when using a wired or wireless handheld microphone, follow these tips to fix them.
Correct Speaker Placement
One simple and effective way of stopping feedback is the right placement of the speakers. The speakers are equipment for broadcasting sound to the audience. If they are too close to the microphone or pointed in the wrong direction, they could easily send back the sound into the mic and start the feedback loop.

To prevent feedback, speakers should be arranged as far away from the microphone as possible. But it should be done without compromising on providing good sound to the audience. If the speakers are set too close to the performer or stage, more sound will accidentally get back into the microphone.
Sometimes, it may be a bad idea to place the speakers directly on the stage to make everything look neat. Even though this solution is tidy, it can cause more problems with feedback. The objective is to power the audience with sound without the microphone catching too much of the speaker’s output.
Considering Speaker Throw

Every speaker has a dedicated area called “the throw,” which is the room part where sound is the strongest. The throw is usually given in a degree angle like 90 degrees. So whenever you’re placing speakers, keep in mind the throw direction. The best practice is to ensure that the sound is aimed toward the audience rather than the mic or stage. This minute adjustment may help fight against feedback.
Understanding Room Size and Acoustics
The room or venue size decides how the sound will reflect. That’s why it also has a great influence on the feedback. In a room with several reflective surfaces, sound waves move several times and eventually reach the microphone. In such scenarios, you should properly place your speakers and use acoustic panels to prevent feedback. This act may appear little, but even slight changes in the speakers’ position can offer high-quality sound and reduced feedback.
That means, considering the distances, directions, and room design, you can significantly decrease the chance of feedback. The farther away the microphones are, the more properly the speakers are directed. The less likely it will be for the sound to be picked up again by the microphone.
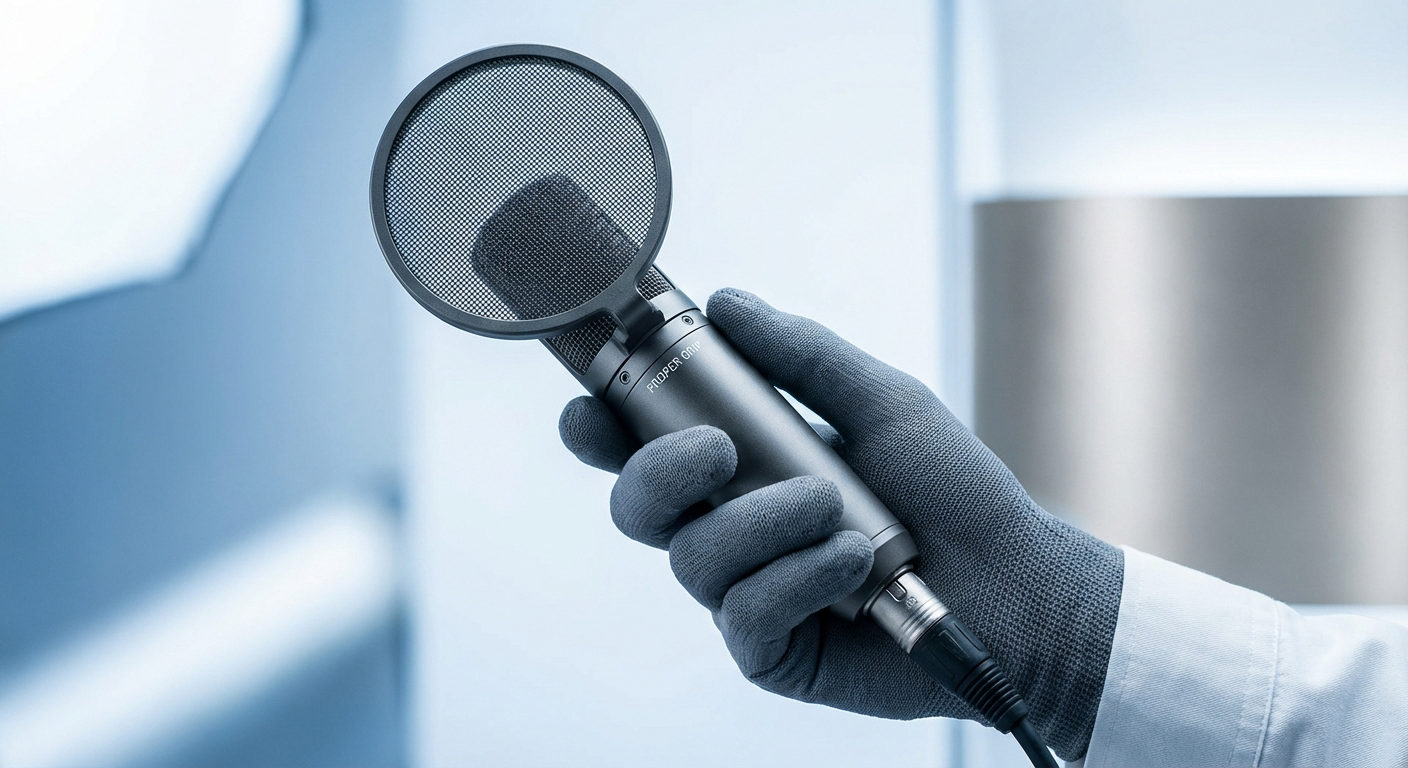
Choose the Right Microphone
Directional mics, such as cardioid mics, are mostly used at live events. They capture sound from a single direction and ignore other sources. For example, a cardioid microphone focuses on the singer’s voice (the front area). At the same time, it will ignore sounds from the singer’s back. In this way, they will be able to avoid the sounds from the speakers, getting them less into the mic.

Different microphones have different “pickup patterns.” For example, a directional mic may have a zone where it rejects sound coming from the back. On the other hand, some microphones might capture sound from the sides as well. Therefore, it is important to know the microphone types and their features before investing in them.
Positioning the Microphone

Another thing is to make sure the pickup area of your microphone is pointed toward the vocalist or instrument making the sound. But never pointed toward your speakers. Some microphones are designed to have an audio “null point” where they pick up very little sound. When you point this null point toward the speakers, you will drastically decrease the amount of sound that travels back into the microphone. In other words, the “feedback.”
By getting the microphone close to the sound source and making sure it is pointed in the right direction, a good and clear signal can be obtained. This means that the overall microphone can focus on what is really important, and it can ignore the background noise that might come from the speakers. As a result, you will be saved from the feedback noise.
Using EQ to Cut Feedback Frequencies

Equalization, also called EQ, is a tool that allows you to modify the sound components. It lets you filter the analyzed frequencies, which causes feedback, and then restrict them. The usage of EQ is particularly useful after the speakers have been correctly set and the microphone has been appropriately positioned.
While using EQ, you should handle it delicately. It is best to make only small adjustments. According to a YouTube channel (Offshore Audio) about sound engineering, the adjustments are usually no more than 3 decibels. Cutting too much of the frequency may adversely affect the sound quality. This may result in incorrect speech or sound. Moreover, it is better to make only 3 to 4 cuts in the EQ settings. This carefulness will help to overcome the feedback problem without altering the natural tone of the performance.
Contrarily, a balanced EQ on the microphone channels is also important. The sound of the performer should remain clear, and it should not cause feedback in the monitors (the speakers used by the performer) when the EQ settings are changed during the performance. Overboosting any part of the sound may cause problems. That’s why, the adjustments should be made carefully and in a thoughtful way.
Testing and Adjusting EQ Settings
After setting up the mic and speakers, a good practice is to test the sound system by speaking loudly in the microphone. In this way, you can fine-tune EQ settings to reduce the frequency, which causes feedback as soon as you observe it. Repeating this process is a wise idea until the feedback is gone.
This EQ method is similar to finding the “sweet spot” for the sound. Each live event may need a slight adjustment, depending on the venue and the musical instruments. With practice, you will quickly learn which frequencies are the most likely to cause feedback. And likewise, you will know exactly how far to cut them.
Additional Tips to Avoid Microphone Feedback on Lavalier Microphones
Lavalier microphones may be less prone to feedback issues. However, if you have the wired ones, you may hear the screeching sounds when the mics are connected. While you can use the techniques mentioned in the previous section, here are a few more tips for lavalier microphone users.
Using High-Pass Filters through EQ
Equalization (or EQ) is like a tool that lets you change the balance of different sounds. With EQ, you can make some parts of the sound louder and others softer. One very useful tool is the high pass filter (HPF), which cuts out low sounds that might not be needed. EQ and HPF, when used properly, are the quickest and most effective way of controlling feedback.
A simple way of using EQ on a lavalier microphone setup is to start with the high pass filter on and use only a few bands of a parametric EQ. With a parametric EQ, you choose one band at a time, raise its level slightly, and listen to see if it makes the sound noisy. If you find a frequency band that causes feedback, you will need to lower that band so that the sound is quieter.
Sometimes, the same problem can occur among different microphones. In such cases, it is good to adjust the speakers’ EQ or use one group EQ to fix the problem for all microphones at once.
Compression and Gating
Compression reduces the difference between high and low sounds. This results in a more leveled-out sound. But, if you have tried “Compression” and its not working to control feedback. Then “gating” is another interesting technique. A gate is like a door that will only allow sounds that are above a certain volume to come in. It can be very effective when there is only one person speaking at a time, like in a meeting. This tool will close out any quieter sounds and background noise, which could contribute to feedback. However, it is very important to carefully set the gate so that it does not cut off parts of the speaker’s voice.
But if you don’t want to get into these complicated adjustments, the simplest escape is to have a wireless lavalier microphone with noise cancellation. While there are several options available on the market, Hollyland Lark Max has a proven track record with hundreds of positive user reviews.

Hollyland LARK MAX - Professional Wireless Microphone
A professional wireless microphone system featuring studio-quality audio with advanced noise cancellation.
Key Features: Studio-Quality Audio | Magnetic Attachment | 8GB Internal Recording
Lark Max ensures strong signal quality and reduces unwanted noise and interference with its Digital Signal Processing (DSP) technology. Plus, it offers professional Environmental Noise Cancellation (ENC) that detects and suppresses surrounding noises, ensuring distortion-free and crystal-clear audio in studio and live recordings. Cherry on the top! Lark Max provides up to 820ft of wireless range, three different EQ settings, and a lot more!
Managing Gain Level
Gain structure refers to the proper volume levels being set at different sections of the sound system. For lavalier microphones, it is crucial to avoid turning the gain up too high. If the gain is set too loud, even a small sound can get very big and lead to feedback. The best thing is to start with a low gain setting and gradually bring it up until the quality of sound is clear. Many engineers are in favor of testing the system using some music first to make the best input gain level.
The speaker should be turned on, and the volume should be raised slowly before feedback is heard. When the feedback starts, just reduce the feedback level a little bit until the sound becomes stable and clear. The process of finding the balance of the perfect is similar to controlling the volume on the radio. You want the sound loud enough to ear, but not so loud that it creates problems.
Conclusion
This article explains the methods of stopping the annoying and high-pitched noises associated with feedback. Feedback can ruin the performance or distract the audience and performers during live events. But with correct speaker placement and mic positioning, using acoustics, and applying correct EQ settings, you can get rid of this problem right away.
When combating microphone feedback, choosing the right gear can make all the difference. A high-quality wireless lavalier microphone helps reduce feedback risks while improving audio clarity and mobility, making it an essential tool in your audio setup.
Frequently Asked Questions about Avoiding Microphone Feedback
Q1. How can I increase my mic volume without feedback?
Place your microphone near your mouth or the sound source and away from the speakers. Use directional microphones or wireless lavalier mics with noise-canceling features. Also, turn off or mute mics which are not currently in use.
Q2. How to find feedback frequency?
You can find feedback frequency through EQ settings and a spectrum analyzer. These tools show different frequencies in the audio signal. On the other hand, if you have a trained ear and years of experience, you can listen to the sound to recognize the feedback pitch and compare it to the vocal or musical note.
Q3. At what frequency do mics feedback?
If the feedback sounds like a howl, the frequency is likely to be in the range of 250Hz to 500Hz. However, high-pitch screeches and whistles are likely above 2kHz.