.png)
So you’re a live performer, social media content creator, or a voiceover artist who wants to sound good for your audience? While practicing the notes is a primary requirement for a beautiful voice, there’s another factor that leads to good sound. And it’s knowing how to hold a microphone correctly.
If you don’t know how to handle a mic, you won’t be able to deliver your message to your audience. So, this article explains the 10 best ways to hold your mic to make your vocals reach your listeners clearly.
10 Best Practices to Hold a Microphone
Whether you’re a beginner or a professional singer, these approaches can help you hold the microphone correctly and avoid embarrassment.
Hold Your Microphone from the Middle

Grab the mic from the center part instead of gripping the top. When the hand covers the top part, it tends to block the sound coming from the microphone’s mesh. Instead, you can keep the fingers and palm around the center where the microphone’s body is. In this way, the voice enters the mic mostly unhindered. This is the most suitable way for the microphone to process the natural sound of your voice.
You must remember that the way you hold the mic may change the sound. Therefore, don’t grasp the mic too tightly. A right grip ensures that each note and every word is heard with clarity. It also promotes the proper working of the sound system by a lower amount of noise or distortions produced.
So here’s what you should do from now on. Keep practicing this holding technique, so you create a soft and steady grip while on stage.
Consider Microphone Proximity when Singing High or Low Notes

Be attentive to the distance of the microphone from your mouth. When you sing high, the mic should be kept a bit away so that the sound does not get too strong and become distorted. While you keep the mic closer during the soft parts, you make sure that your soft voice is still heard clearly. The right distance between your mouth and the microphone gives you the balance of singing high notes and low notes.
This simple trick prevents the sound from being too harsh or too soft. It also shields your ears and the rest of the band from sudden noise bursts. Practice moving the mic slowly from side to side while you sing louder and softer. This will make your performance easier and more enjoyable for everyone who is listening.
Keep Your Microphone At the Correct Angle

Hold the mic at a proper angle so that your voice travels in. The position of the microphone should be aimed at your mouth and not near the chin, chest, or at any awkward angle. Visualize the mic as a beam of light that carries your voice to the stage. A proper angle will ensure that the microphone gets all the dynamics of your singing or speaking. The mic, when angled the right way, captures all the sound and overlays no extra noise.
The main thing is to keep the mic turned directly on you. Otherwise, the audience will not catch some parts of your voice. Get used to positioning the mic at this correct angle while you are speaking and singing so that it becomes natural.
Keep a Few Inches Gap when Talking

Make sure the microphone stays a few inches away from your mouth while talking or interacting with the audience. If you hold the mic too close, it can make your voice sound strangely heavy. A small distance of 1 to 3 inches is usually the best. This distance allows the microphone to pick up your voice naturally and to a certain extent without any added noise.
However, finding the proper distance between a traditional handheld microphone and your mouth can be challenging and requires practice. Of course, you can’t always have a measuring scale to note how many inches away the microphone is. But with Hollyland Lark M2S, you don’t have to worry about it.

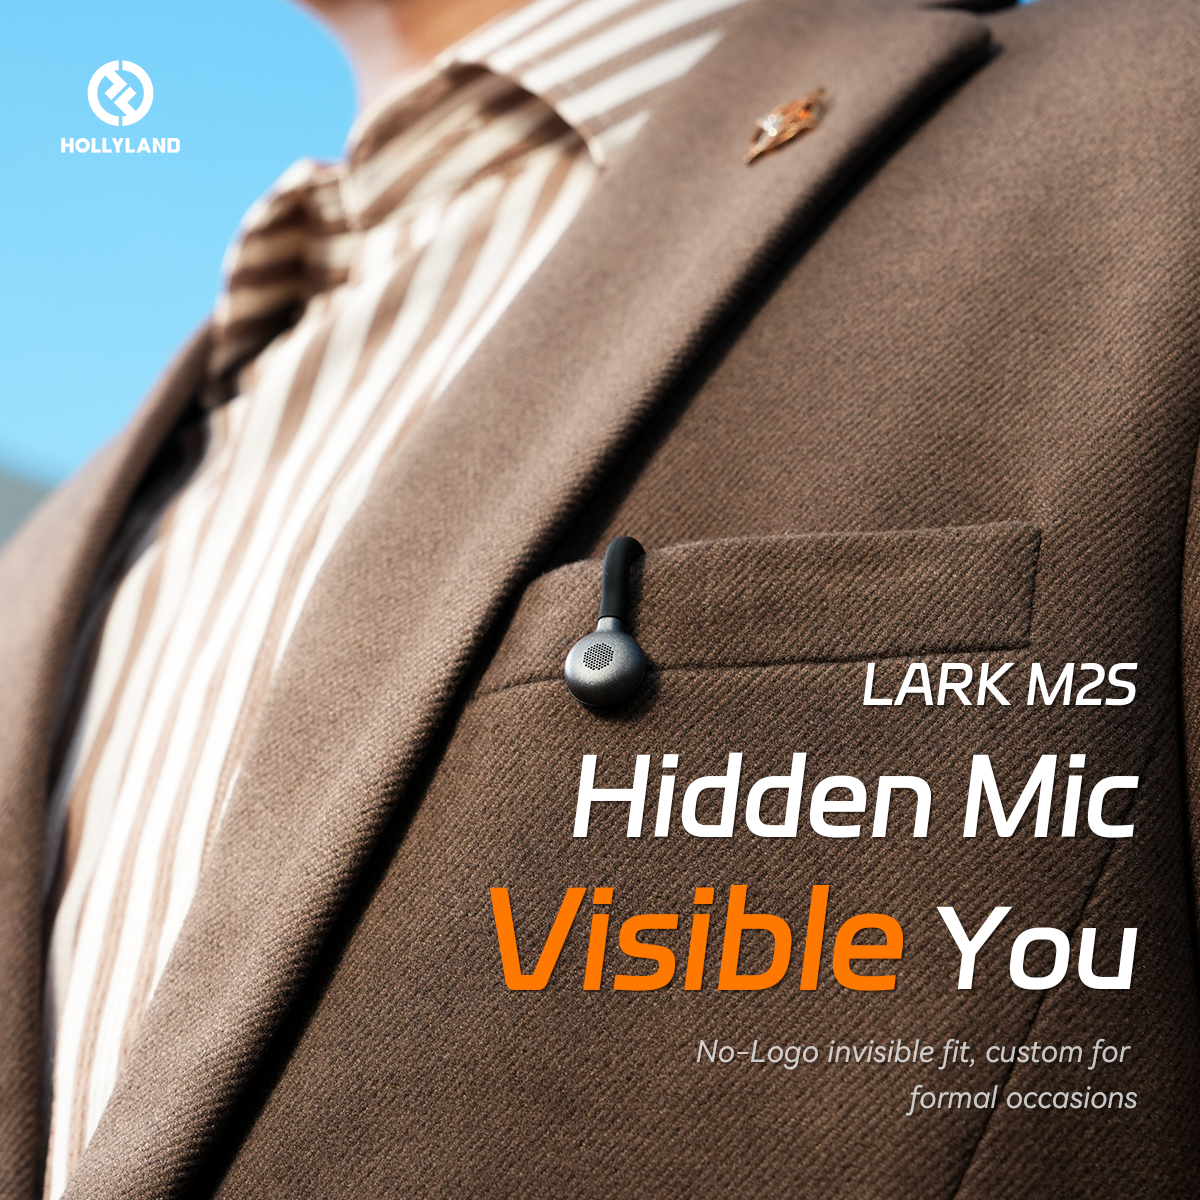
Why? Because it is a slim and sleek microphone, discreet enough to go unnoticed. Plus, its no-logo design makes it more hidden. But what’s more exciting is its titanium clip-on that makes it fit on your collar or shirt, keeping the ideal distance for capturing your voice with extreme clarity. As a singer, coach, or performer, you can move freely without holding it like since it offers a wireless range of up to 1000ft. Besides, this wireless microphone system has a battery life of up to 9 hours. It comes with a variety of advanced features, including Environmental Noise Cancellation, which only needs a single touch on the button to activate and enter the world of crystal-clear audio.
Prevent Covering the Microphone Antenna

Wireless handheld microphones have a small antenna that helps to send your voice to the speakers. It is essential not to cover this antenna while holding the mic. Keeping your hand on the antenna area blocks the signal and makes it difficult for the audience to hear you properly. When you use a wireless mic, keep your hand away from the top where the antenna is.
This little act guarantees that the microphone works correctly and you get a good sound. Plus, the microphone stays linked and reproduces clear sound. Keep this in mind every time when you perform with a wireless mic for a nice, clear, uninterrupted sound transmission. It is very vital to stick to this technique.
Do Not Tangle the Microphone Cord

Do not play with the cord of the microphone when you are using it. Moving the cord around can create noises that annoy the audience and even affect the sound quality in a negative way. It might even showcase your nervousness during the performance. The cord merely serves the purpose of carrying signals. However, when you roll it in your fingers, it can make you sound jumbled and weak.
Also, avoid any irrelevant gestures that will distract both the audience and the band. Make it a point to practice holding the mic without tossing the cord around. Doing so will ensure that your audio output is clear and smooth every time you perform.
Be Careful When Handling the Mic Stand
Avoid snatching or flipping the mic off the stand in a hurry. This act will create sudden pops and unwanted noises that disrupt the performance. Instead, gently remove the microphone from the stand using a steady hand. Then, place it back properly when not in use. This simple habit will make sure that the sound remains clear and professional.
A cautious approach avoids any harm to the mic and also prevents distracting movements on stage. Practice removing and placing the mic with care until it feels natural. A calm and confident motion while handling the mic contributes to a better performance and the audience’s focus.
Stay Away from Feedback
Eliminating feedback is very necessary for highly successful performances. Feedback is an effect that is produced when the microphone receives the sound from the speaker. It creates a loud, unstable noise that’s really irritating to the band and the audience.
So here’s what you should do. You need to hold the microphone right and be conscious of your moves on stage. Excessive or not enough distance from the mic also leads to feedback, and this distracts the audience. Likewise, you should always distance the microphone from the stage monitors. Otherwise, there will be feedback.
Also, try to maintain a steady voice, as well as keep the mic at the right distance. Good stability over the microphone prevents any faked sound, providing that nothing goes back into the system.
Your Elbow Should be Steady when Moving on Stage
Hold your elbow against your body when you are holding the microphone, especially if you like to move or dance. Your elbow will keep the mic pointed right at your mouth even if your hand is waving around. This little trick will keep the microphone always at the right angle. It will not let the sound be lost.


A steady elbow can ensure that the sound remains consistent and minimize the chances of the mic moving out of place. In this way, the microphone will continue to get your every word and note accurately.
One of the best examples is Elvis Presley’s live performance of Polk Salad Annie (1970s). While dancing and singing on the stage, he first holds the microphone in his right hand.

And then switches to his left hand. Every time he uses a different hand, that particular elbow seems glued to his body.

Avoid Clapping on the Mic
While it is truly fun to move and dance on the stage, ensure you do not clap directly on the microphone. Clapping your hands near the mic may generate some unwanted sounds, which will badly disturb the flow of your voice. Instead of clapping on the mic, you can use your hand or gesture in the air. This makes your performance a bit more interesting by keeping out the noise. But if you really want to clap, you can use your arm to hit the palm.
Conclusion
If you’re wondering how to hold a microphone to get the best audio for listeners, avoid gripping the mic from the top area (the mesh part). Instead, hold it from the bottom or just below the grille. Place it near your mouth when singing low notes and away from the mouth when singing high notes. While, in general, ensure a 1-inch distance between the lips and the mic.
Also, never point the mic toward the speakers to avoid feedback. When moving on stage, keep the elbow holding the microphone steady to ensure consistent sound quality. Always be careful when attaching and detaching the microphone from its stand. If using a wireless handheld mic, don’t cover its antenna for smooth signal transmission. Lastly, don’t slap the mic out of excitement. That clap can sound disturbing to your band and the audience.
While handheld microphones have their place, using a wireless lavalier microphone can simplify things and keep your hands free so you can express naturally. Especially helpful in presentations, interviews, or instructional videos, a wireless lavalier mic ensures clear audio without restricting your gestures.
Frequently Asked Questions about How to Hold a Microphone
Q1. In which position should a microphone be held?
Keep the microphone in front of the mouth but not too close so that your lips touch the grille. You can also hold it a bit on the side or below your mouth to avoid breathing noise. Try to maintain a 1 to 3 inches distance between your mouth and the mic.
Q2. How to hold a microphone confidently?
Have a gentle grip on the mic by wrapping your fingers around it. Try to ensure that all of your fingers are wrapped in the middle area so that it doesn’t slip. Contrarily, don’t stress your wrist and try to keep it relaxed. You can use your free hand to make slight hand gestures to engage the audience.
Q3. What is the best microphone position for vocals during studio recording?
Most studios may have a dynamic microphone. So, make sure your mouth and the mic’s diaphragm are at the same height. Maintain a 1-inch distance from the mic to avoid plosive sounds from being recorded.
Q4. How can I sing good on my microphone?
Make sure you are not too close or too far away from the microphone. Keep a standard distance of a few inches. Also, focus on microphone proximity to avoid distortion when singing high notes. Additionally, know your script or lyrics, and practice the song multiple times going for the actual recording.