.png)
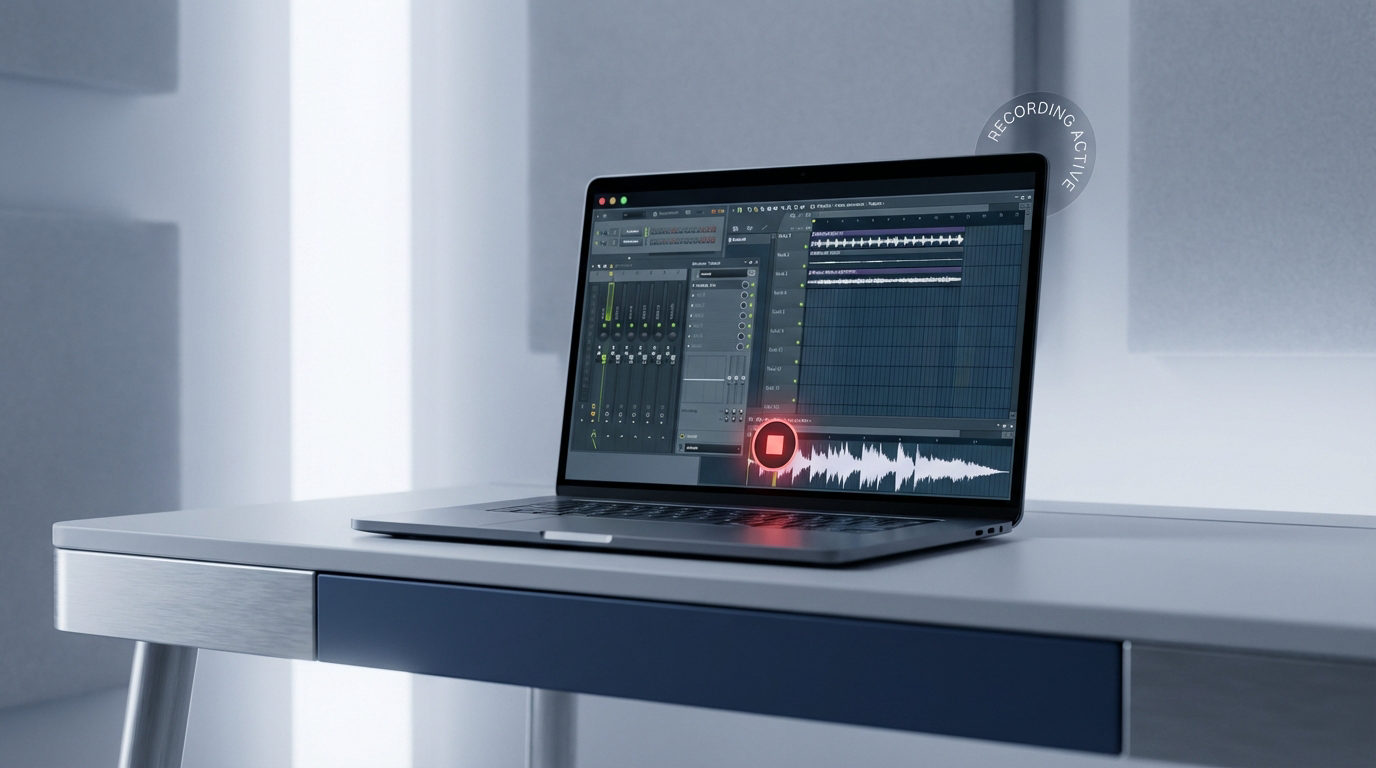
FL Studio, once called FruityLoops, makes music production better. It helps users do great experiments with music! This includes creating beats, recording tracks, and editing audio. The program works on both computers and mobile devices. Many enjoy its creative tools for sound production. Still, connecting a mic can feel confusing at first. The process is not the same for PC and mobile users. Each setup needs different steps to work properly. Knowing the right method is important for good results.
This guide shows how to connect a microphone to FL Studio with ease. Whether using a desktop or a phone, clear steps are included. Just follow them one by one to avoid any trouble. Once set up, recording becomes a smooth experience.
Methods to Connect Your Microphone to FL Studio on Computer and Smartphone
Unlike other digital audio workstations, you may find FL Studio a bit challenging when connecting the mic and starting the recording. However, the steps demonstrated in this section will help you do it correctly. So, follow the instructions to attach and use the mic to your PC or mobile phone to continue working on FL Studio.
On Desktop/Laptop
- Step 1: Install and open FL Studio on your system
- Step 2: Once the interface opens up, click on the “OPTIONS” tab in the top-left corner of the screen to view the menu

- Step 3: Locate the “Audio Settings” option from the list and click on it to open settings related to audio devices and the FL Studio mixer

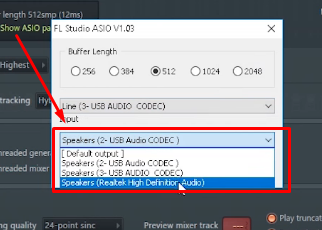
- Step 4: On the “Settings – Audio devices / mixer” dialog box, locate the “Audio” tab at the top and click on it. Then, under the “Input / output” section, click the dropdown menu next to the “Device” option and choose your hardware. In this case, “FL Studio ASIO” is the hardware

- Step 5: Next, click on the “Buffer length” option beneath the “Device” option
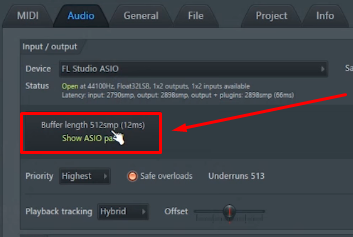
Once done, a new window will appear on your screen with options to select the input and output devices.
- Step 6: Click on the dropdown menu for the “Input” device and select your microphone’s name from the list

Then, click on the output dropdown menu, select the audio output device, such as your speakers, and close the window
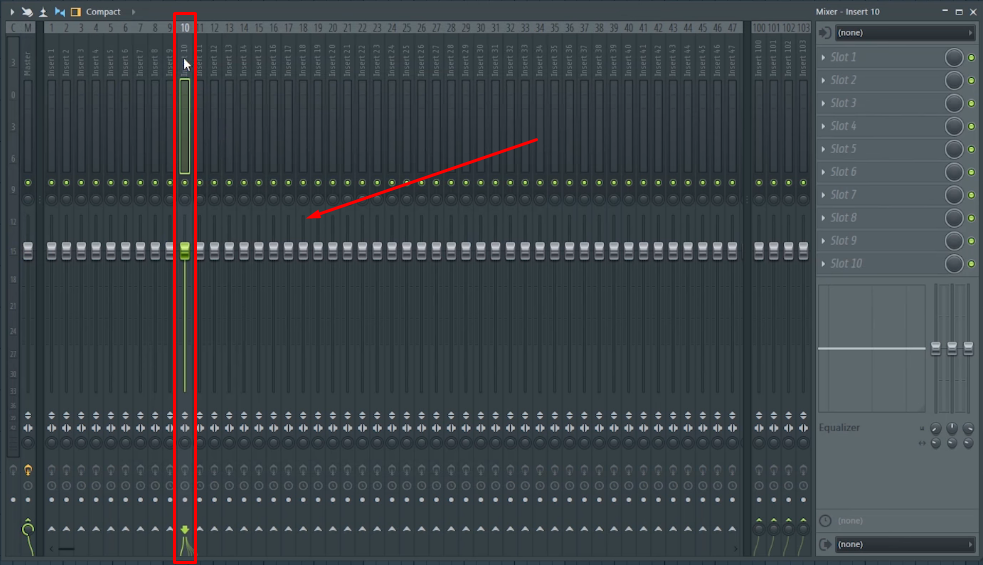
- Step 7: On the mixer, you will see various empty tracks or channels. Select any one (you can pick a random channel). For instance, channel 10 is selected in the screenshot below
- Step 8: Since there are multiple channels, you should rename and assign a color to the selected channel to avoid mistakes. To do that, right-click on the track to open the menu and click on the “Rename, color” option

- Step 9: Type the name of the track and click on the “color” icon to assign the color of your choice, like this

Once done, the track will appear in the assigned color.

- Step 10: Locate a “green arrow with a circle” icon at the bottom-left of the mixer and click on it. Then, choose the “Disable send from MIC to Master” option


NOTE: Step 10 is crucial since it prevents the microphone’s audio from routing to the master channel. As a result, it gives you better control over the audio captured by your mic in FL Studio.
- Step 11: Now, once again, you will need to choose your microphone, but this time in the mixer. For that, go to the top-right corner of the mixer and click the dropdown menu. Once you do that, you will notice a list of hardware, including audio interfaces or physical mixers (represented by “In 1” and so on), and the name of your microphone

- Step 12: Click on your microphone name to select it. Or, if you have connected the microphone through an audio interface, click on the correct “In 1”

If you have selected the correct input, the levels on the assigned track will begin bouncing as you speak.

NOTE: Even if you’re not sure about the correct hardware, you can choose different options from the list and check if the levels are moving. A wrong microphone/audio interface will keep the track idle.
- Step 13: After selecting the microphone, you will need to open an audio editing tool to record your voice or instrument in FL Studio through your mic.
To do that, click on any slot number to open the list of plugins.


Locate “Edison” (or any other audio editing plugin of your choice) and click to open it.
- Step 14: Click on the dropdown menu next to the record button and choose “NEW” to record a new audio track

- Step 15: Finally, click the “Record” button to record audio into FL Studio through the connected microphone

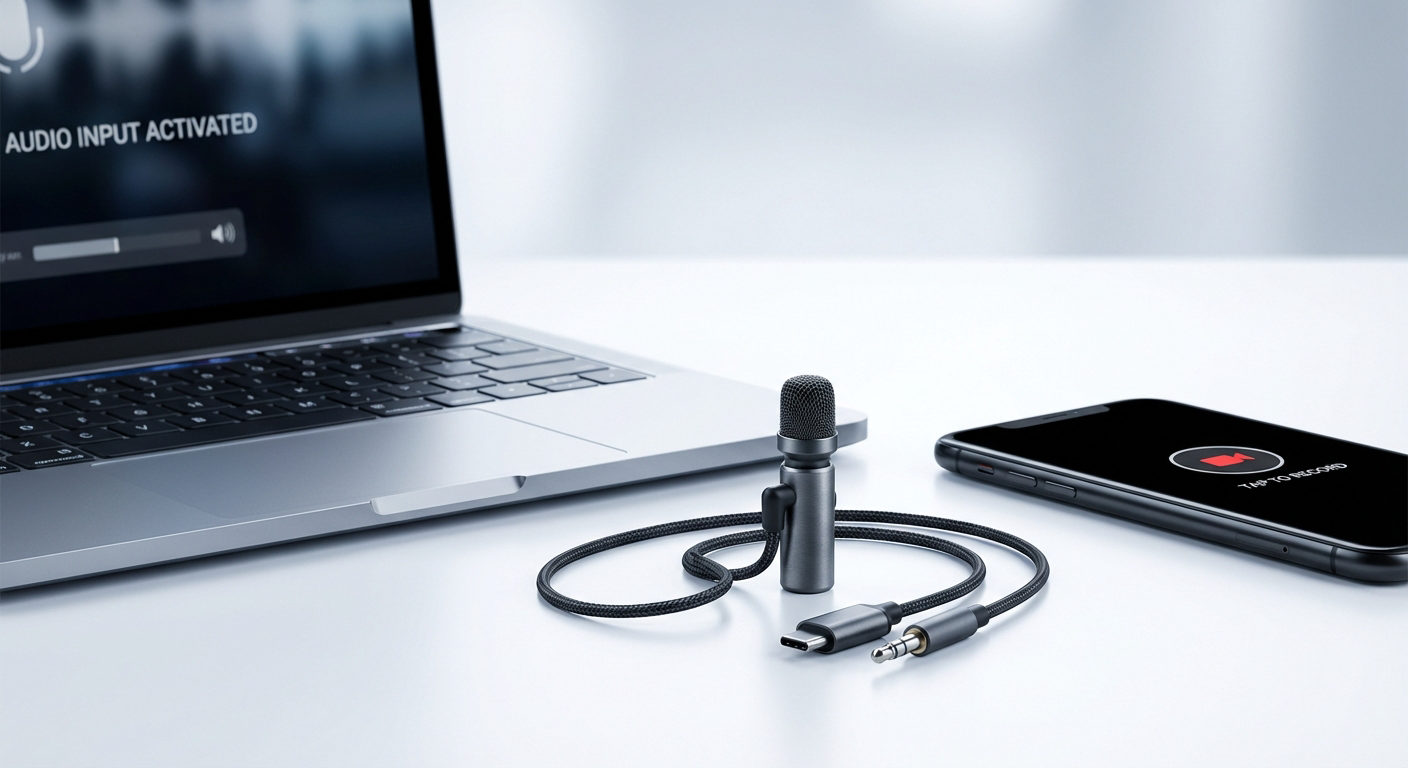
On Mobile
Connecting a microphone to FL Studio on your smartphone is easier than on a computer. If you have the FL Studio Mobile app but are having trouble connecting a condenser or dynamic microphone, follow these steps.
Basic Equipment You Need:
- Smartphone with the FL Studio Mobile application
- A condenser microphone
- An audio interface
- USB Cable with adapter
- Headphones for audio monitoring (depending on your audio interface)
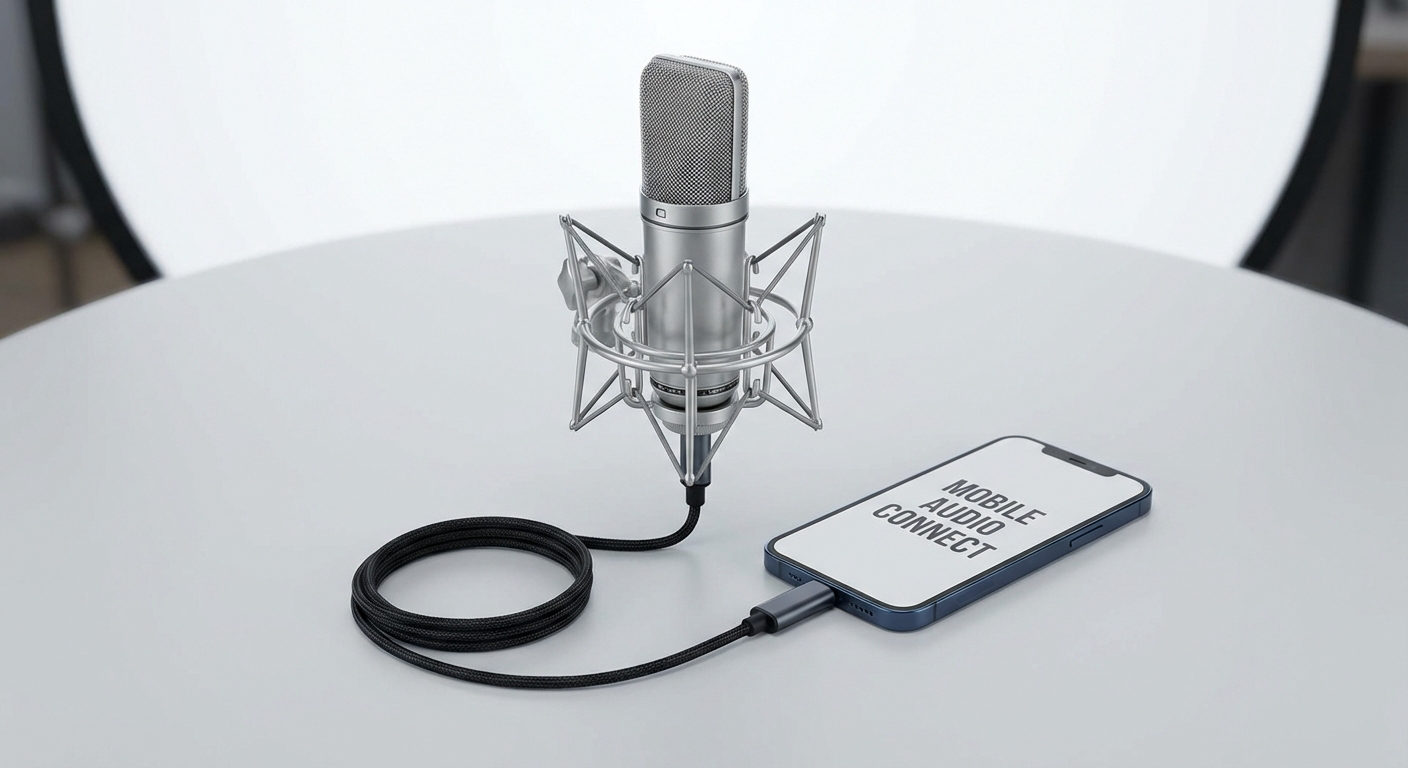
Assuming you have all the required equipment, here’s what you need to do:

- Step 1: Connect your microphone to the audio interface
- Step 2: Plug the headphones into your audio interface’s audio monitoring output
- Step 3: Insert the USB cable into the audio interface and plug the other end of the cable into your smartphone’s port
NOTE: You may need an adapter to connect the USB cable to your phone, depending on your phone’s port.
- Step 4: To check whether or not you have connected the mic correctly, open the FL Studio Mobile app and tap on the “Plus” button (represented by a “+” symbol)

Doing so will open a small menu next to the “Plus” button. From there, select Audio Record.
- Step 5: Then, tap the “Play” button to start audio recording

Speak into your microphone and see if the audio waves are forming in the FL Studio Mobile app.
- Step 6: Tap the “Play” button again to stop recording

- Step 7: Playback the captured audio on your phone to ensure the microphone is connected

Pro Tip: Audio recordings on the FL Studio Mobile application become a picnic when you have a wireless microphone kit that is compatible with various devices, including computers, smartphones, tablets, and cameras. That’s why creators admire Hollyland Lark Max for its impeccable features, wide compatibility, and studio-grade recordings.

Hollyland LARK MAX - Professional Wireless Microphone
A professional wireless microphone system featuring studio-quality audio with advanced noise cancellation.
Key Features: Studio-Quality Audio | Magnetic Attachment | 8GB Internal Recording
Lark Max is a professional wireless lavalier microphone kit ideal for one-person and two-person audio recording. Each transmitter houses a high-quality omnidirectional microphone with 8GB onboard storage. Through the instilled MaxTimbre technology, you can record studio-quality audio wirelessly up to 820 feet. Cherry on top! The addition of the Professional Environmental Noise Cancellation (ENC) feature ensures you capture audio free from noise.
Conclusion
FL Studio helps users improve their music and record with ease. It offers strong tools for beat-making and audio editing. Still, many find the mic setup a bit tricky at first. The method depends on the device being used. On a computer, users must pick the correct input source. This allows the microphone to work with the software properly. On mobile, the steps are much easier and faster. With the right gear, the mic connects without any issues. Knowing how to connect a microphone to FL Studio can save time and avoid frustration. Following the correct process helps achieve the best sound.
Frequently Asked Questions about Connecting a Microphone to FL Studio
Q1. Why is FL Studio not detecting my microphone?
FL Studio may not find your mic if the audio settings are wrong. To fix this, try using FL ASIO as the main audio driver. After selecting it, open the ASIO panel from the settings. A new window will appear with input options. Choose your microphone from the input dropdown list. This should allow FL Studio to detect and use your mic correctly. Always make sure your mic is plugged in before adjusting the settings. This step often solves the issue and helps the mic work smoothly with the software.
Q2. Is a microphone required for using FL Studio?
A microphone is needed only if you plan to record vocals. For that, an audio interface is also important. The interface connects the mic to the computer. Without it, FL Studio cannot record voice properly. Headphones help in monitoring the sound while recording. A computer with FL Studio installed is also required. All these tools work together to capture clean audio. If you’re not recording, you can still use the software for making beats or mixing. Vocal recording, however, always needs a mic and a proper setup.
Q3. How can the microphone be turned off in FL Studio?
To stop the microphone from recording, open the mixer section. Select the track where the mic is active. At the top of the mixer channel, find the input selector. Click on it and choose the option that says “None” or “Off.” This will turn off the mic input for that track. The mic will no longer pick up any sound in FL Studio. Always check the input settings to make sure the mic is fully disabled. This method helps avoid unwanted background noise during playback.
Q4. Can a wireless lavalier mic work with FL Studio Mobile?
Yes, a wireless lavalier mic can work with FL Studio Mobile. However, a special adapter is usually needed. Most mobile devices have a TRRS input jack. Many lavalier mics use a TRS plug instead. An adapter can help match the two connections. Once connected, the phone will detect the mic as an external audio source. Always test the setup before recording. This helps ensure good sound quality and stable performance. A proper connection makes mobile recording easier and more flexible.
Q5. Is Edison a regular plugin in FL Studio?
Edison is not a typical third-party plugin. It comes built into FL Studio. It is mainly used for recording and editing audio files. Edison is not a VST plugin but a core tool. It works within the program and offers advanced features. Users can cut, trim, and process recordings easily. From the Producer Edition and up, Edison is available by default. It plays a key role in many audio workflows. Since it is built-in, there’s no need to download anything extra.