.png)
.png) Français
Français .png) Deutsch
Deutsch .png) Italiano
Italiano .png) 日本語
日本語 .png) Português
Português  Español
 Clipping audio sounds harsh, distorted, and unprofessional, and the best solution is prevention. An easier way to overcome this challenge is to consider using a microphone with built-in audio protection. For example, the Hollyland LARK MAX 2 offers 32-bit float recording. It also has 3-level intelligent noise cancellation and Bluetooth monitoring, making it ideal for unpredictable environments.

Hollyland LARK MAX 2 - Premium Wireless Microphone System
A premium wireless microphone for videographers, podcasters, and content creators to capture broadcast-quality sound.
Key Features: Wireless Audio Monitoring | 32-bit Float | Timecode
This guide covers what clipping is, how to prevent it, how to fix it, and how to improve your audio after repair.
What Is Audio Clipping and Why Does It Happen?
Audio clipping occurs when the volume level of your recording exceeds the maximum limit that your system can handle. Every recording device and audio interface has a limit. Once the signal goes past that limit, the waveform gets “cut off” at the top and bottom. This flattened shape creates a rough, distorted sound.
You can see clipping on a waveform as squared-off peaks. Clipping can happen for many reasons:
- The microphone gain is set too high.
- The microphone is placed too close to the sound source.
- The audio is boosted too much in post-production.
- Sudden loud sounds are not controlled with a limiter.
There are two main types of clipping:
- Hard clipping is sharp and harsh. It happens when the peaks are cut off completely.
- Soft clipping is slightly rounded and less aggressive, but still distorts the sound.
How to Prevent Audio Clipping Before Recording?
Preventing clipping is always better than trying to fix it later. The first step is to set your input levels correctly. Do a test recording where you speak, sing, or play at the loudest level you expect during the session. Watch the input meters in your recording software or interface.
Keep your loudest peaks between -12 dB and -6 dB. This range gives you enough headroom for sudden increases in volume without hitting the clipping point. If you see the meters touching the red zone, turn down the gain immediately.
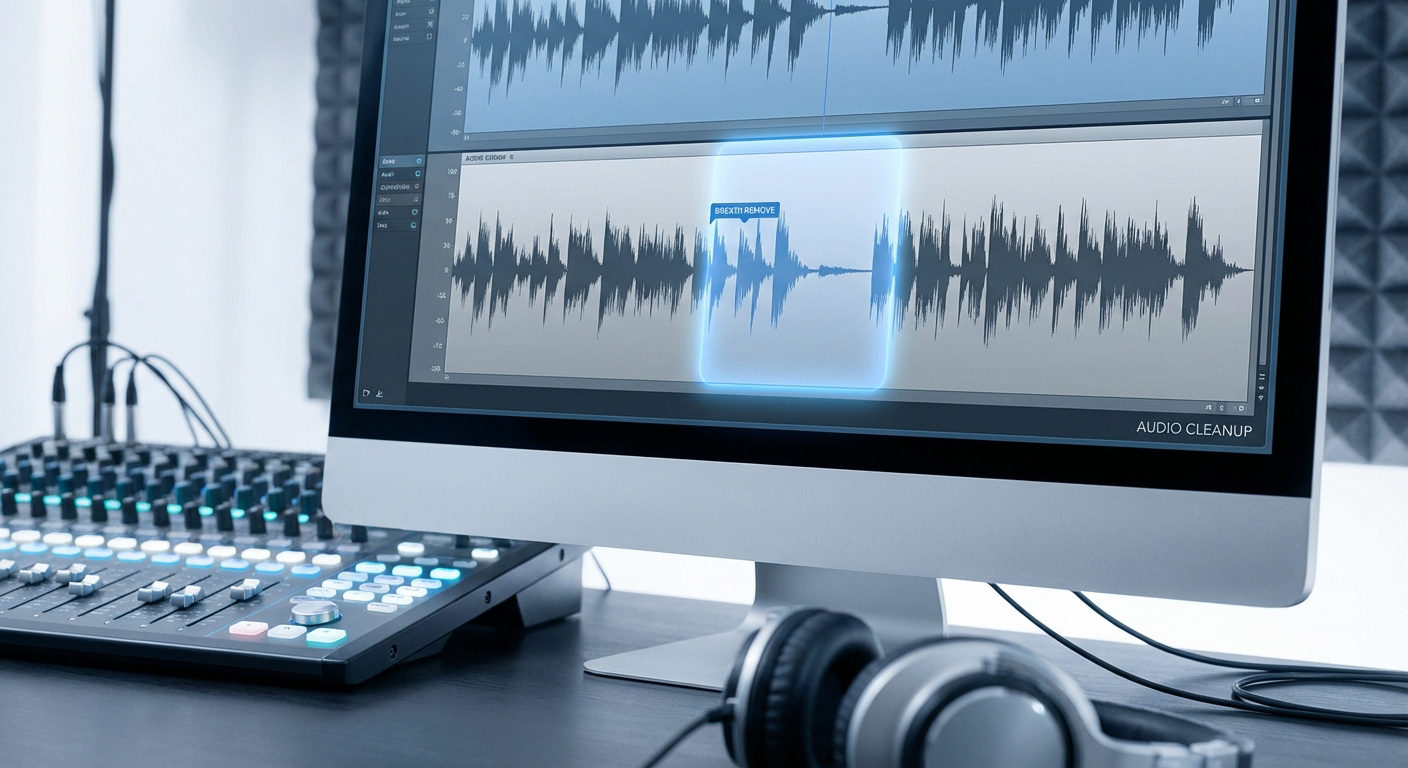
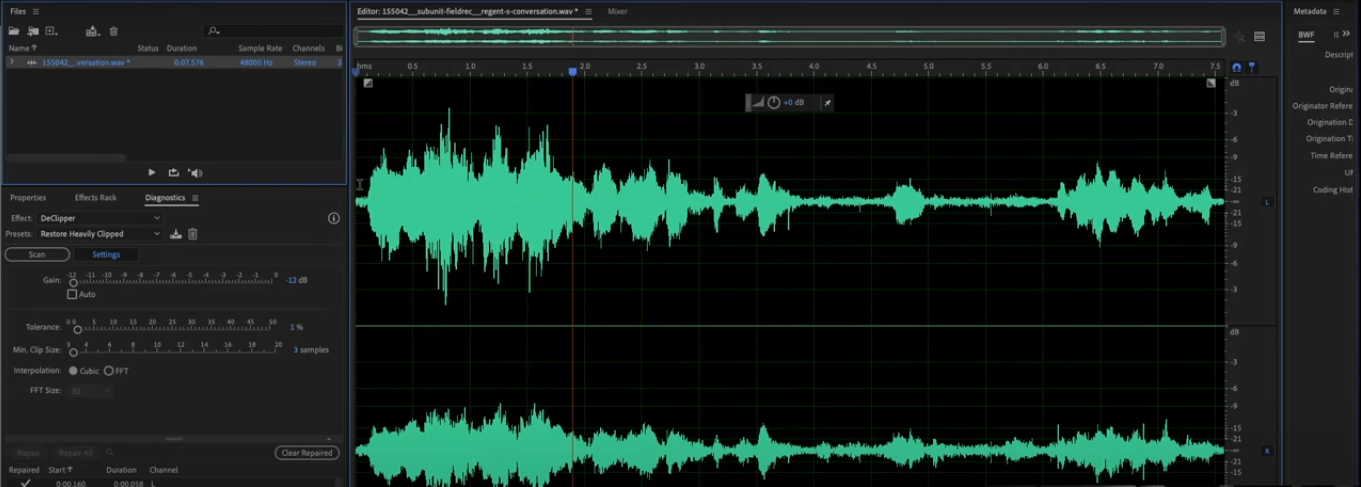
How to Repair Clipped Audio After Recording?

Once the audio is clipped, you need software tools to repair it. These tools work by trying to rebuild the missing peaks of the waveform. While they cannot perfectly restore the original sound, they can make the audio more listenable.
Popular tools for fixing clipping include:
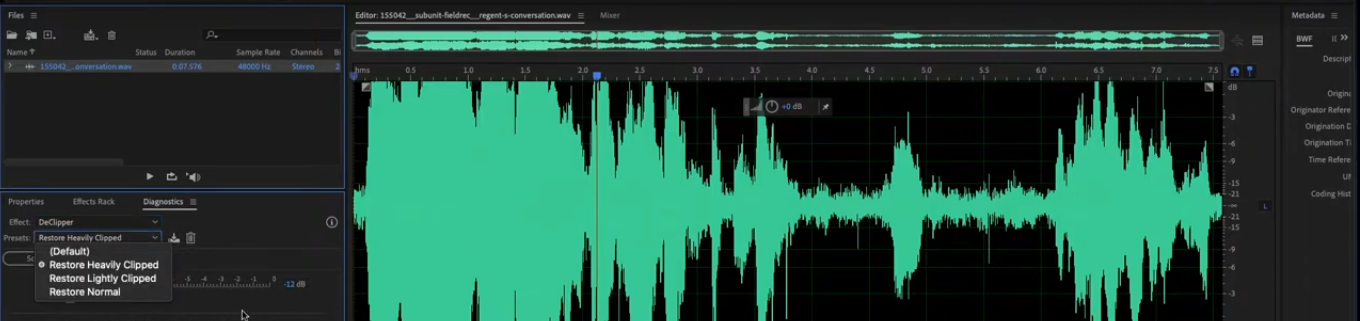
- iZotope RX De-clip – Professional-grade repair with detailed control.
- Audacity Clip Fix – Free plugin that works well for mild distortion.
- Adobe Audition DeClipper – Built-in repair tool with quick results.
Here is a general process:
- Load your audio file into the repair software.
- Select the portion with clipping.
- Apply the de-clip tool and adjust the strength or sensitivity until the distortion is reduced.

- Preview the changes before applying them to the full track.

If the distortion is still strong after repair, consider re-recording that section. No tool can perfectly restore badly clipped audio.
Improving Sound After Repair
Repairing clipping may not completely fix the audio. Sometimes, even after de-clipping, the sound can still be harsh. You can make further improvements with basic audio editing steps:
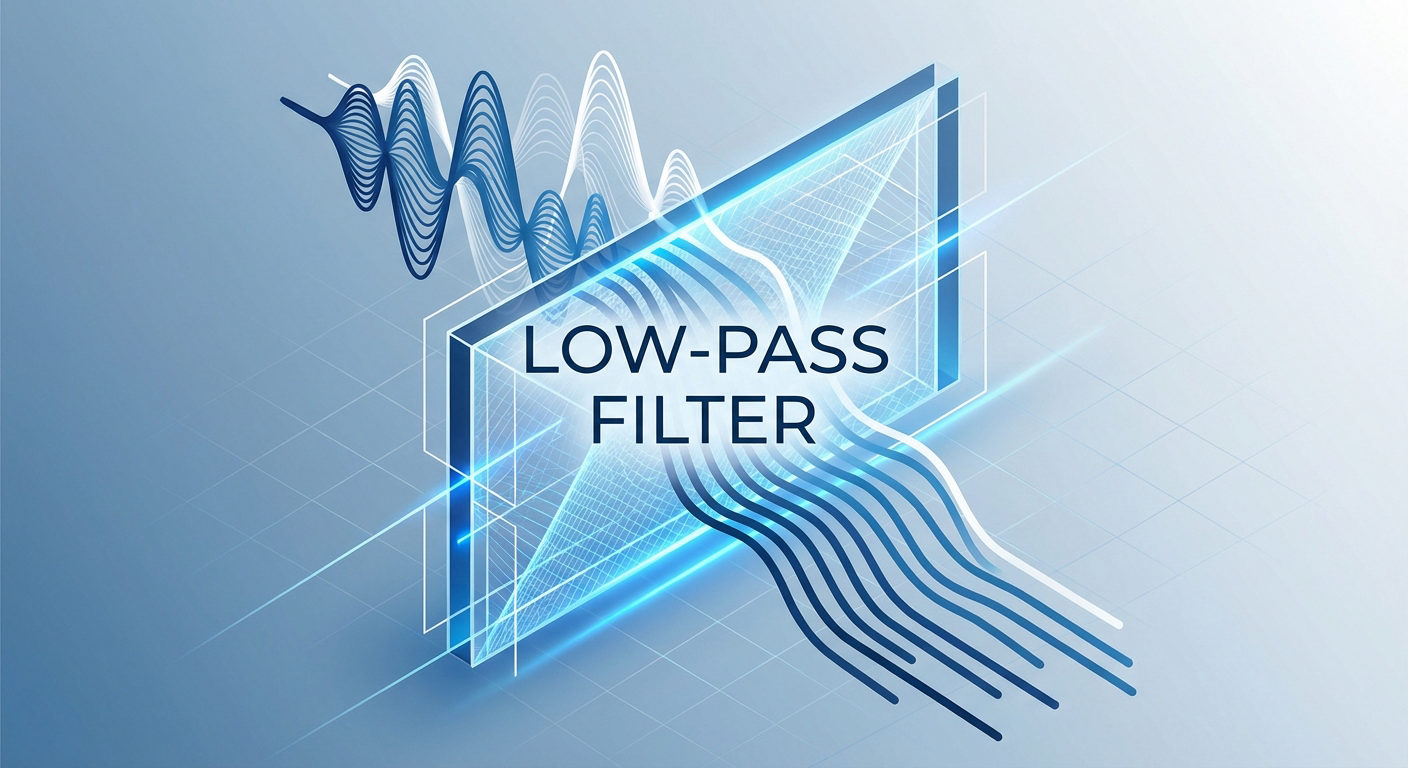
- High-pass filter: Removes deep rumble below 30 Hz that can muddy the sound.
- De-esser: Reduces sharp “S” and “T” sounds that stand out after repair.
- Light compression: Smooths out remaining peaks and balances the volume.
- EQ adjustments: Brightens dull areas or reduces harsh frequencies.
Apply these steps carefully. Too much processing can make the audio sound unnatural.
Tips for Better Audio Results
These tips will help you record and produce audio that stays clean and professional in every project.
Record clean audio from the start
The cleaner your raw audio, the less work you need later. Use good equipment, check your gain levels, and record in a quiet space.
Trim silence at the start and end of the clip
Cutting unnecessary silence keeps your audio tight and professional. It also makes syncing with visuals easier.
Normalize volume
Bring all sections of your track to a consistent level. This avoids sudden jumps in loudness that can distract your audience.
Choose visuals that match your brand or mood
When pairing audio with visuals, select colors and styles that reflect your identity or the emotion in your music.
Preview your full project before exporting
Listen to and watch the complete timeline to catch any glitches, sync issues, or unwanted noise before you commit to a final render.
How to Troubleshoot Common Clipping Problems?
Waveform not showing
Make sure your visualizer or editing software links to the correct audio track. If the wrong track is selected, re-import the correct file and reapply the effect.
Visuals lag or run slowly
Too many effects or a high preview resolution can slow down playback. Disable heavy effects during editing or lower the preview resolution for smoother performance.
Audio and visuals are out of sync
Slide the audio or waveform along the timeline until they match visually and rhythmically. Play back a few times to confirm accuracy.
Export not completing
Reduce the output resolution or shorten the total project length. This lowers the processing load and helps prevent crashes.
Audio cuts off early
Extend the end marker or work area in your timeline to cover the entire track. Check the waveform to confirm no audio is being left out.
Conclusion
Clipping can quickly ruin a recording. The safest approach is to prevent it by setting correct levels, keeping some headroom, and monitoring during the session. If clipping does happen, repair tools can help with mild distortion, but severe cases often require a new take. By combining good recording habits with careful editing, you can create audio that sounds clean, balanced, and professional.
Frequently Asked Questions
1. Can I completely repair clipped audio?
If the clipping is mild, yes. Tools like iZotope RX or Audacity Clip Fix can restore much of the sound. For heavy distortion, it is better to re-record.
2. What level should I record at?
Aim for peaks between -12 dB and -6 dB. This range gives you enough room for sudden loud parts without clipping.
3. Is Audacity good for fixing clipping?
Yes. It is free and has a Clip Fix effect that works for small problems.
4. Does EQ remove clipping?
No. EQ can reduce the harshness, but cannot restore lost waveform detail.
5. Should I use a limiter while recording?
Yes. A limiter will stop sudden peaks from exceeding the safe range, protecting your recording.