


.png)
While Premiere Pro is best known for video editing, you can also record audio directly inside the app. This could be your shortcut to clean, professional sound, elevating your project from average to polished.
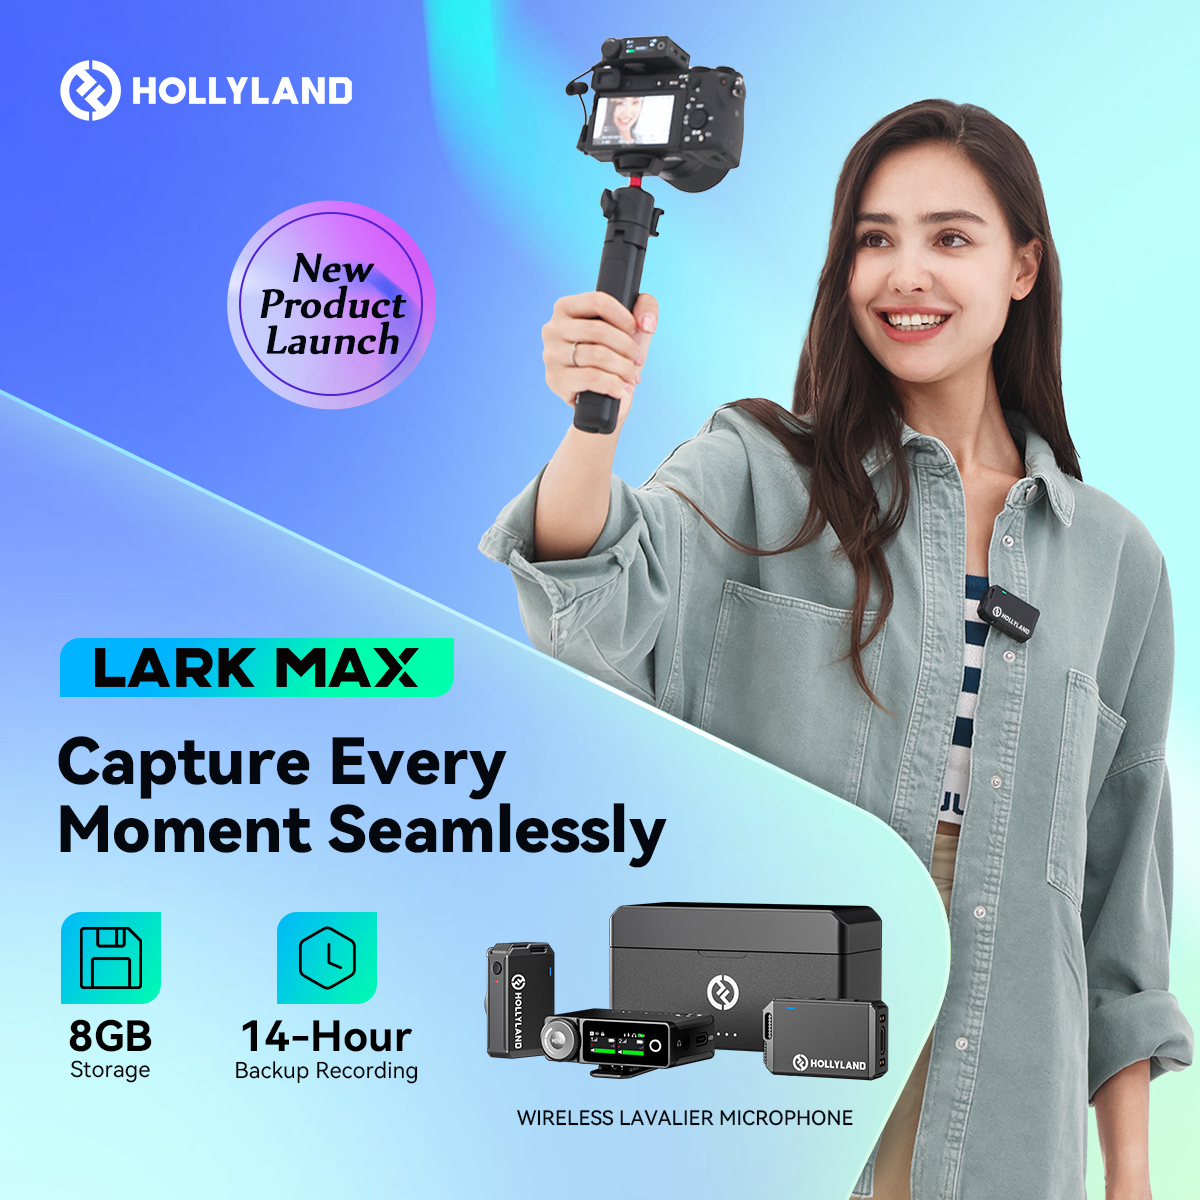
Pair it with tools like the Hollyland LARK MAX, which offers 48 kHz/24-bit audio, noise cancellation, and up to 14 hours of onboard backup, and you’ll have both quality and reliability on your side. Let’s explore two simple methods to record audio in Premiere Pro..

Method 1: Recording Audio Directly on the Timeline
If you already have a video sequence in your Premiere Pro timeline, you can record audio directly onto it. This approach is beginner-friendly and ideal for quick voiceovers or small corrections. Here’s how you can do it step by step.
- Import your video into Premiere Pro. On Mac, go to Premiere Pro > Preferences > Audio. On Windows, go to Edit > Preferences > Audio.

- When the Preferences window opens, go to the Audio tab in the left panel and enable Mute input or solo the track (S icon) during timeline recording. This option helps prevent echo from being picked up while you record.

- To ensure your recording begins from the playhead instead of the in-point, clear in/out markers with Option+X (Mac) or Alt+X (Windows).

- Locate the audio track header on the left side of the timeline. This is where you control each audio track. The microphone button must be visible here to allow voice-over recording.
- If the microphone icon is missing, right-click the track header and select Customize.

- In the Button Editor, drag the Microphone (Voice-over Record) button into the header and click OK.

- Before recording, right-click the microphone button and select Voice-over Record Settings. A panel will open on the left where you can adjust your recording preferences.

- Expand the Source menu and select your input device, such as the Hollyland LARK MAX, which provides 48kHz/24-bit audio and noise cancellation for clearer voice-overs.

- After confirming your settings, click the Microphone button to start recording. When you’re done, click it again to stop. The new audio clip will appear directly on your timeline.

Method 2: Record Audio Using the Audio Track Mixer
The Audio Track Mixer lets you record audio directly onto specific tracks. Recording here also gives you more control over individual audio layers—you can adjust input levels, apply effects, and monitor signals in real time. Here’s how to do it:
- Open the Audio Track Mixer by going to the Window menu and selecting Audio Track Mixer.

- In the Audio Track Mixer, select your input device from the drop-down menu. Adjust the input levels using the sliders so the signal is strong but not peaking.

- Do a short test recording to confirm the voice is clear, not overloaded, and free of background noise. If the red indicators light up, lower the input level to avoid distortion.
- Arm the track for recording by pressing the R button.
- It will show a Track Input Channel menu, select your mic input. Add a mono audio track if you’re recording with a single microphone; add stereo if using two channels.

- Then click Record, followed by Play. Begin speaking into your microphone, and you’ll see the audio being captured live.

- When finished, click Play/Stop again to end the recording. The new audio clip will automatically appear both on your timeline and in the Project window.
Conclusion
Both audio recording options provide simple solutions for adding voice-overs quickly within your editing workflow in Premiere Pro. However, for more advanced audio production, you may want to explore dedicated software such as Adobe Audition or other digital audio workstations (DAWs).
Always monitor your levels with headphones to catch issues early, and record a short test clip before committing to the final take.
FAQs
Q: When should use other DAWs instead of Premiere Pro?
If you need more advanced audio work—like cleaning up noisy recordings, mixing multiple tracks, fine-tuning EQ and compression, producing music or podcasts, or working with surround sound—you’ll be better off in a dedicated DAW such as Adobe Audition.
Q: What is the difference between the Audio Clip Mixer and the Audio Track Mixer in Premiere Pro?
The Clip Mixer only adjusts the volume or effects on one clip already on your timeline. The Track Mixer works on the entire track, so any changes apply to every clip you drop there. It also lets you set input devices and record directly, which makes it the go-to option for voiceovers inside Premiere Pro.
Q: Which method is better for recording audio, Timeline or Audio Track Mixer?
It depends on what you need. Recording straight on the timeline is simple and fast, perfect for quick voiceovers or small fixes. The Audio Track Mixer takes a little more setup, but it gives you extra control—you can adjust input levels, monitor in real time, and even add effects to the whole track.
