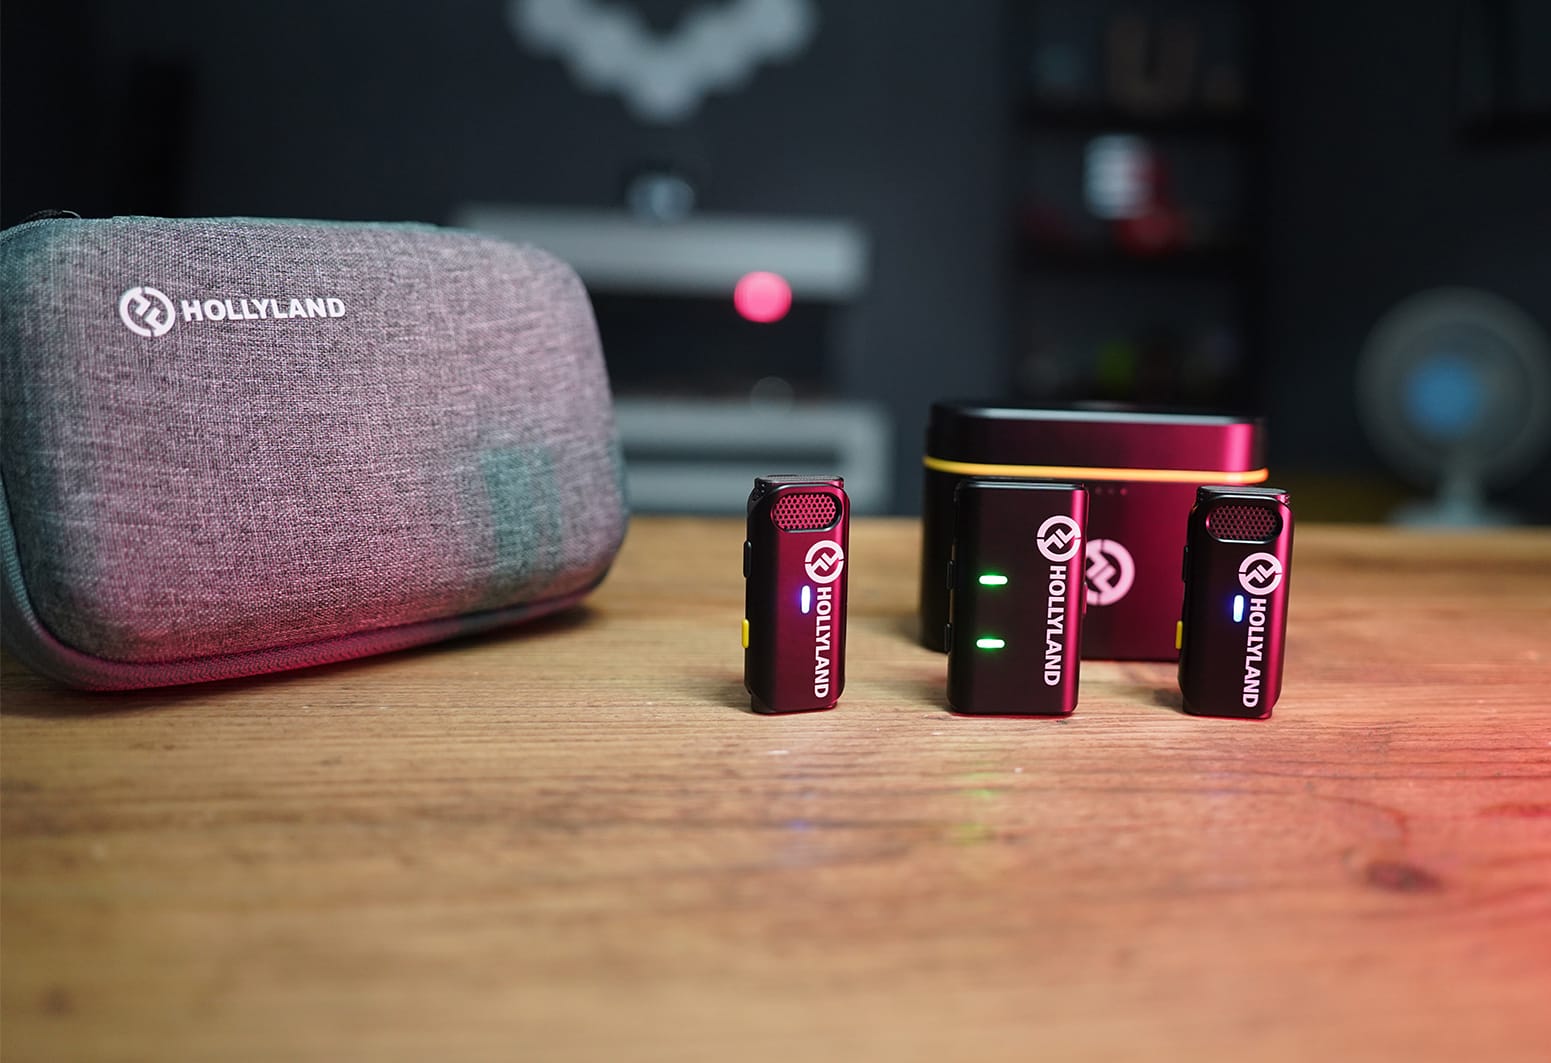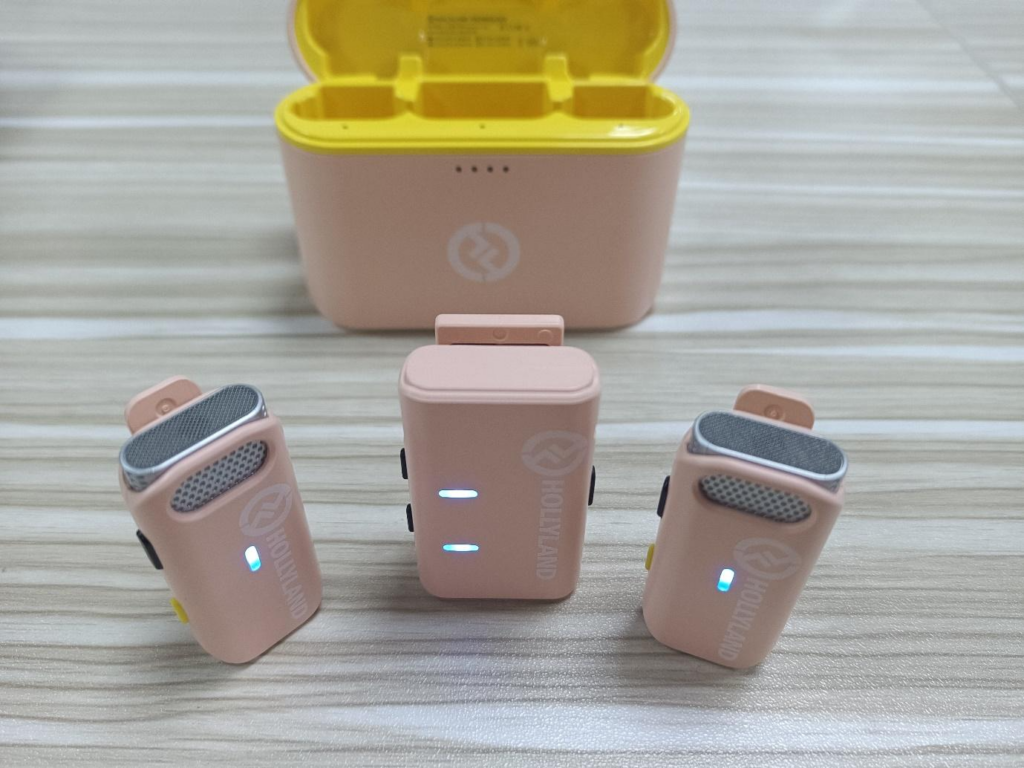
Hollyland Lark M1 is a wireless Lavalier microphone system designed for content creators and people looking for a robust solution for recording on the go. This lightweight system comes with a set of two transmitters and one receiver.
This M1 Duo version I am reviewing is designed for scenarios where two people are in the frame, and a dual-channel setup is used to record the audio. The built-in clip system makes them easy to attach to a piece of clothing. The system works with proper cameras and smartphones (both Android and iPhones).
Plus, the transmitters are incredibly lightweight, so the wearer is never conscious of the weight. This is something extremely useful in a real-life situation.
If you’re looking for a reliable system for shooting with smartphones, I recommend that you look at the Lark C1. This is designed to work as a plug-and-play system and comes in dedicated Android and iOS versions (for iPads and iPhones).
Read more: A Comprehensive Review of the Hollyland Lark C1 Wireless Microphone System
Best Seller
Sale

Hollyland LARK M1 – Compact Wireless Lapel Microphone
- Ultra-compact lightweight design (11.8g) for comfortable use.
- DSP-based one-click noise cancellation provides clear, noise-free audio.
- Reliable 656ft (200m) wireless transmission distance with stable connectivity.
- Up to 8 hours battery life, supports simultaneous charging and usage.
- Compatible with DSLR cameras, iPhone, Android devices, ideal for streaming, vlogs, interviews, and podcasts.
$59
$79
Pros
- The transmitter weighs just 11.8 grams.
- The receiver weighs just 17.5 grams.
- Transmitters have built-in clips for easy attachment.
- An extensive working range of 656 feet.
- The receiver can be mounted on a camera or paired with a smartphone.
- Compatible with iOS and Android devices.
- Long battery life.
- Twin LED light display for status.
- Smart signal hopping system for interference-free transmission.
- Fast setup.
- An array of cables are provided for maximum compatibility.
- It comes in a range of five attractive colors to choose from.
- A Lark M1 Solo version is also available.
Cons
- 2.4 GHz frequency.
- Limited controls when compared to the likes of the Lark 150.
Specifications
- Uses the 2.4 GHz spectrum.
- Twin transmitter system.
- Input dynamic range 86dB
- Frequency range – 20 Hz – 20 KHz.
- In-built microphone polar pattern – Omnidirectional.
- Compatible with all cameras (via 3.5mm jack input).
- Compatible with both Android and iOS phones.
- The maximum working range is 656 feet.
- 200 mAh internal battery capacity.
- A full charge takes 1.5 hours.
- 8 hours of battery life
Hollyland Lark M1 price and availability
At a shade under $120, you get a pair of transmitters and a receiver. Also included are the charging case and a bunch of connecting cables.
The product is available at all major online and offline sound and hobby stores worldwide. If you’re a videographer, you can also enquire about them at your favorite store where you get your video equipment.
Unboxing and first impressions

The whole system comes in a neatly packaged box containing the charging case, the transmitters, and the receivers. Also packed in the box are the camera and other link cables.
The charging box holds the two transmitters and the single receiver. They are a snug fit. Once pulled out of the box, the transmitters and the receivers automatically get powered on, paired, and ready to use.
The transmitters and receivers are sleek in design. However, I noticed that the receiver does not have too many controls on it. Needless to say, for an entry-level device, the control options are going to be limited.
Overall I love how the system powers on and is ready to use as soon as you’re.
Build quality and design
If I had to sum up my thoughts in one phrase, I would say – lightweight and compact. That’s exactly what the USP of the Lark M1 is. You could also add the word – functional to it. The design is very similar to the Lark C1. The transmitters/mics and the receiver are very reminiscent of the Lark C1.
The charging case is made out of hard plastic. It has a solid feeling, and it’s pretty reassuring to hold in the hands. I would recommend that you do not use the charging box in a rough manner. Again, considering this is a budget, there has been some cutting or corners. But I don’t think that the quality has been compromised too much.
I like the simple and functional design of the system. I feel the charging case design is a bit too simple. There are three slots inside it to house the two transmitters and the receiver.
The design of the transmitters and the receiver is relatively better than the simple design of the charging case. There are not many controls on the receiver, though (unlike the Lark 150).
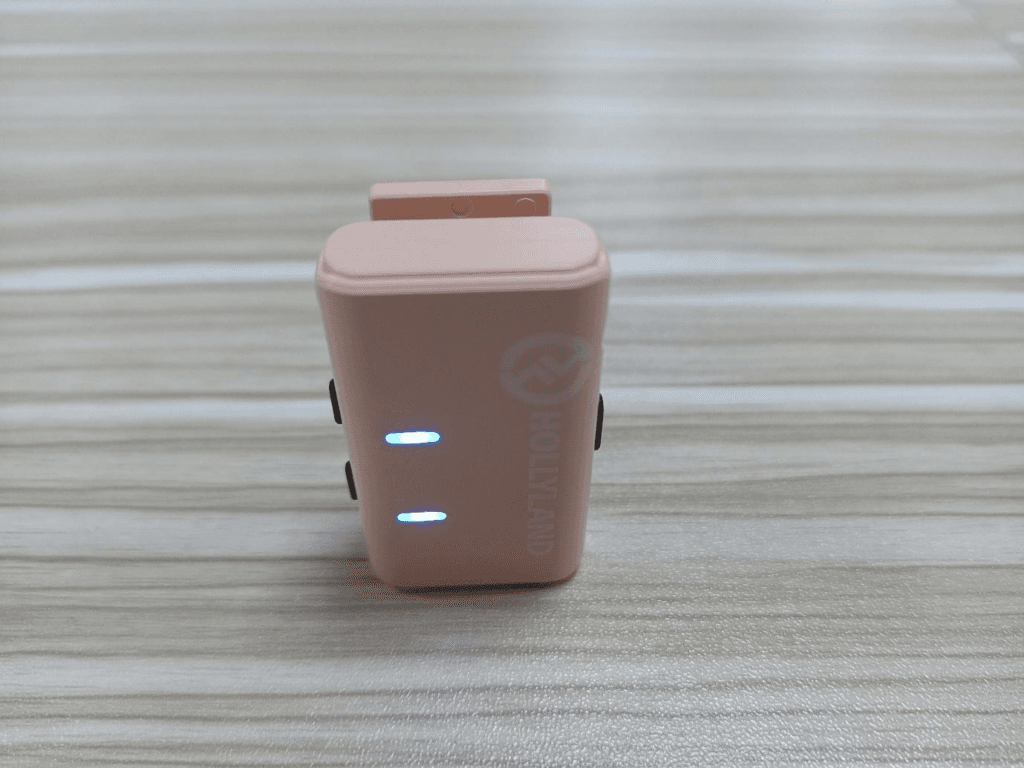
The lights on the receiver are an indication of the pairing status of the device. The blinking blue lights on the receiver indicate that the system is trying to pair with the transmitters. Once it succeeds, the lights glow solid.
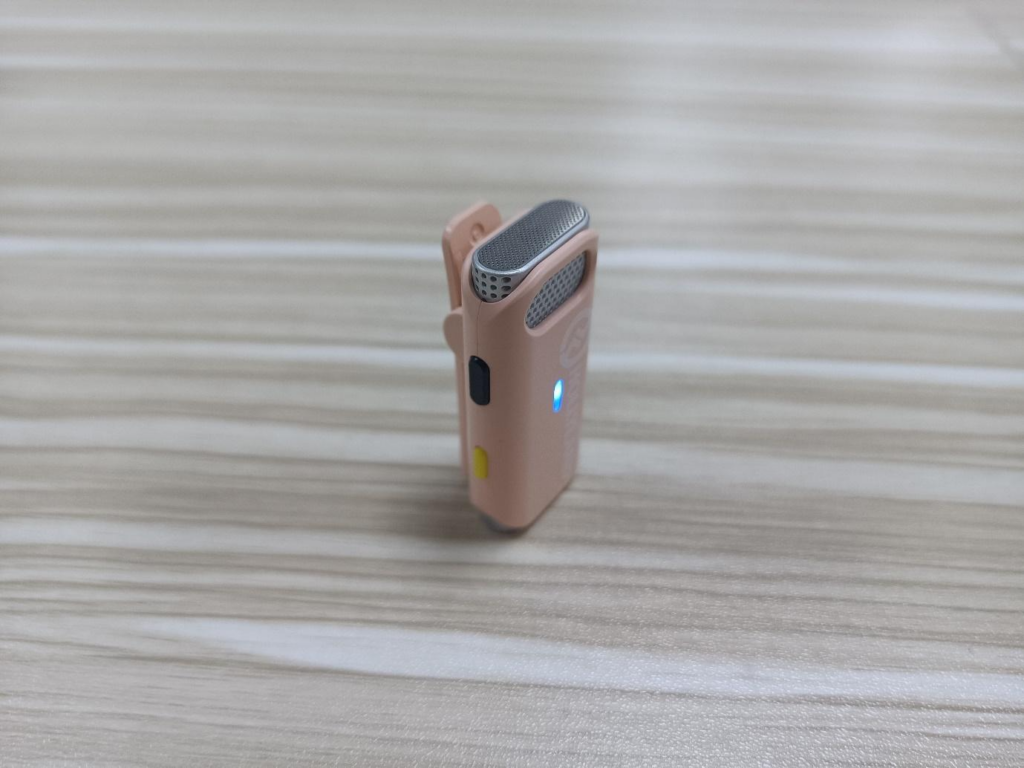
The top of the transmitter/mic has a mesh design that assists in audio input. You can use the provided dead-cat contraption that comes in the package to block out some of the wind noise. It is fairly simple, but it works.
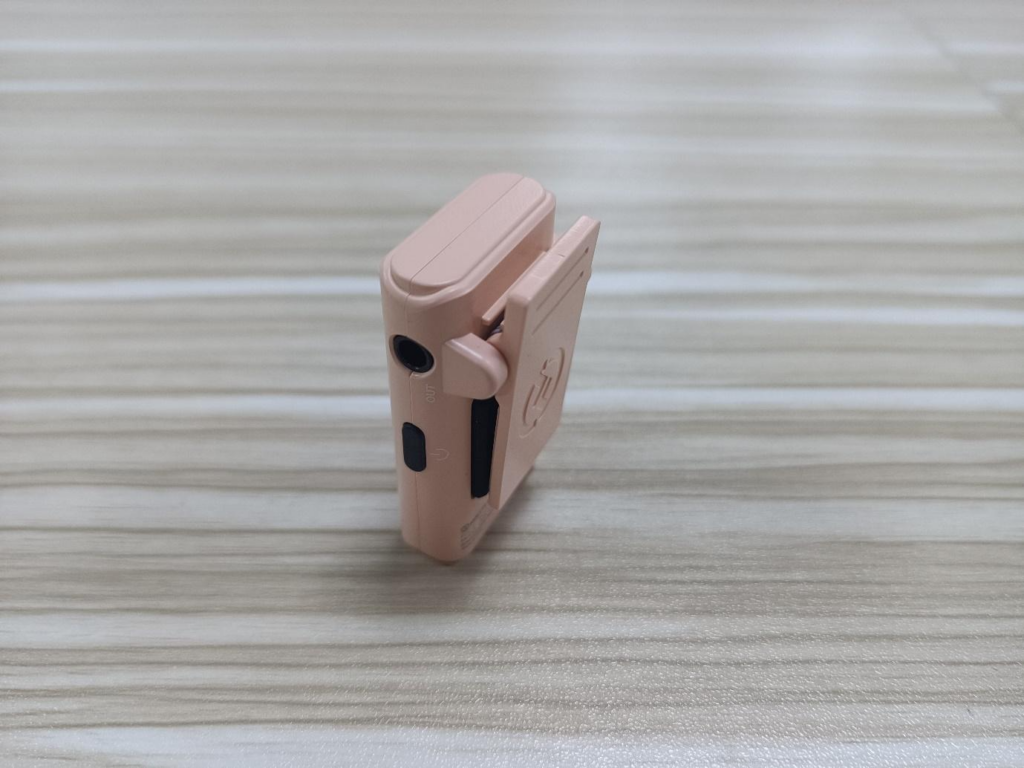
One thing I noticed about the receiver is that there is no audio-out option. That means you cannot listen to the audio in real-time.
To control the audio levels in real-time, you’ve to use the 3.5mm audio out of your camera to plug in a headphone and monitor the audio levels in real-time.
Setup and use
The mics/transmitters and the receivers come paired. They get powered on and are paired with the receiver as soon as you pull them out of the charging case. They’re ready to work as quickly as you take them out of the box.
I feel this is one of the areas where modern wireless mic systems have made a lot of improvement. Makers like Hollyland have entirely taken the hassle out of the whole pairing process.
To set up the M1 with your camera, just mount the receiver to your camera’s hot shoe. Plug one end of the provided 3.5mm jack into the receiver and the other into the camera (3.5mm input). This completes the connection between your camera and the M1’s receiver.
There are not too many functional controls on the transmitters. You have the noise-cancellation on/off button, which you can use to turn on or off the function. If the light is glowing blue, that means noise-cancellation is off. If it’s turned green, then noise-cancellation is active.
There are three preset volume options, though, that allow you to set the volume at High, Mid, or Low, depending on the audio levels. Fine audio controls are, however, missing on the Lark M1. This is something that’s present in the Lark 150.
On the side of the receiver, you will get two buttons. One works as your volume up and manual pairing button. The other one works as a mode switch and volume down button. There is also a power button you can use to power down or power up the receiver manually if you want to.
There is a 3.5mm input jack. You can use a TRS (Tip-Ring-Sleeve) jack for your camera. For TRRS (Tip-Ring-Ring-Sleeve) compatible devices, a TRS to TRRS cable is also provided. For some Android phones as well, you get a TRS to Type-C cable. Finally, for iPhones, you get a TRS to Lighting cable.
This is a dual mic setup, and that invariably suggests that the system can record in stereo mode. You can select which mic corresponds to which side of the frame and choose the channel accordingly.
Otherwise, if you’re only going to use the system in mono mode, you can ensure that both sides of the frame are recorded on the same channel.
Performance and audio quality
While I was reading the specifications of the Lark M1, one thing caught my attention – built-in noise cancellation. In real-life situations, when you’re shooting in a noisy place, this can play spoilsport to your audio. With the noise-canceling feature built into the transmitters, the Mark M1 can cut down on the ambient sound and transmit much better quality audio.
There is, however, a downside to this, though, and that’s in large halls and auditoriums, i.e., places where there are a lot of echoes, the noise-canceling mechanism can work to your disadvantage. It garbles the audio.
You can switch off the noise-canceling mechanism if the problem becomes too acute.
I recently reviewed the Lark 150, and it had these wonderful control knobs on the receiver, which you could use to fine-tune and control the transmitter levels, especially for fluctuating audio levels.
I do see volume up and down buttons on the receiver of the M1. However, they don’t offer the same degree of fine-tuning the audio levels as the Lark 150 does. This is why I feel the M1 is more for amateurs and beginner users than for professionals.
Another thing that must be mentioned is that even though it is a budget product, the Lark M1 comes with Adaptive Frequency Hopping technology. This is the same as on the Lark 150.
This allows it to check for the best channels to bypass any interferences from other signals and wireless networks in the area. This is a proactive interference-avoiding system, and this is why even for a crowded 2.4 GHz frequency, the Lark M1 does a good job.
If you’re planning to use a separate lav mic using a 3.5mm jack, I must say that the transmitters don’t have that option. The provided USB-C port wouldn’t accept any lav mic either. So, you’re basically limited to what the transmitters pick up and send back to the receivers.
Overall, though, I am happy with the audio quality that the M1 captured. Interferences are negligible, which ensures that you could use this in the field up to the maximum distance mentioned by Hollyland.
What about walls and obstructions? Well, that did have a bearing on the range of the device. In my experience, even a small body standing between the receiver and the transmitters and therefore obstructing the “clear line of sight,” the range of the system dropped significantly.
But when there is nothing in the middle, and a clear line of sight exists, the M1 performs admirably, and the audio quality is excellent. It’s far better than what your camera’s built-in microphone can ever pick, and I think that alone makes the Lark M1 a great investment.
I feel that for a majority of run-and-gun style work like press interviews, a rough and ready vlog, or something like a travelogue, the Lark M1 is more than a decent performer.
Battery life and charging
The battery inside the transmitters is a 140mAh rechargeable unit with a maximum life of 8 hours on a full charge. However, I have noticed that a full charge lasts slightly less than the spec sheet says.

The receiver, on the other hand, comes with a 200 mAh rechargeable unit. The maximum juice you can get out of a full charge is stated to be 8 hours again. In real-life situations, this is a little less. For a full charge, the receiver requires about 1.5 hours to charge both the receiver and the transmitters.
Charging can be done on the go using the plastic charging cum storage case provided with the system. Alternatively, the transmitters, the receiver, and the charging case itself can be charged using a type-C USB cable.
Conclusion
Yes, the Lark M1 is a lightweight and easy-to-use product. If you’re looking for an entry-level wireless mic solution that’s cross-platform compatible, works with a number of devices, and offers the option to use a stereo mode, then the Lark M1 will no doubt surprise you with the spec list. The price point at which it’s sold is a major USP. There are not too many options at the same price point, which should make this product an attractive proposition for beginners and those on a budget.
Having said that, there are fewer manual controls on the M1, which is a major drawback if you’re a professional looking for finer/advanced audio controls. But at the end of the day, you get more than you pay for. The system is extremely easy to set up and use and very versatile, which is why I feel that both casual and semi-professional users will enjoy using this wireless microphone system.


.png)


