.png)
Live streaming has gained popularity in recent years, with individuals and content providers demonstrating their skills, organizing events, and engaging with their fans in real time. Streamlabs, a popular software package, offers a full variety of live-streaming capabilities, including scene changes. These transitions serve as symbols that help you to seamlessly switch between scenes, making your live streams more interesting and professional.
We will guide you through the process of designing transitions in Streamlabs, allowing you to increase the visual attractiveness of your live streams and deliver a more polished and engaging experience for your viewers. Whether you’re a seasoned streamer or recently started, including transitions into your broadcasts may substantially increase the overall production value of your material.
We’ll cover the following key points:
- Explaining the purpose of transitions in live streaming.
- Getting Started with Streamlabs:
- Briefly introducing Streamlabs and its features.
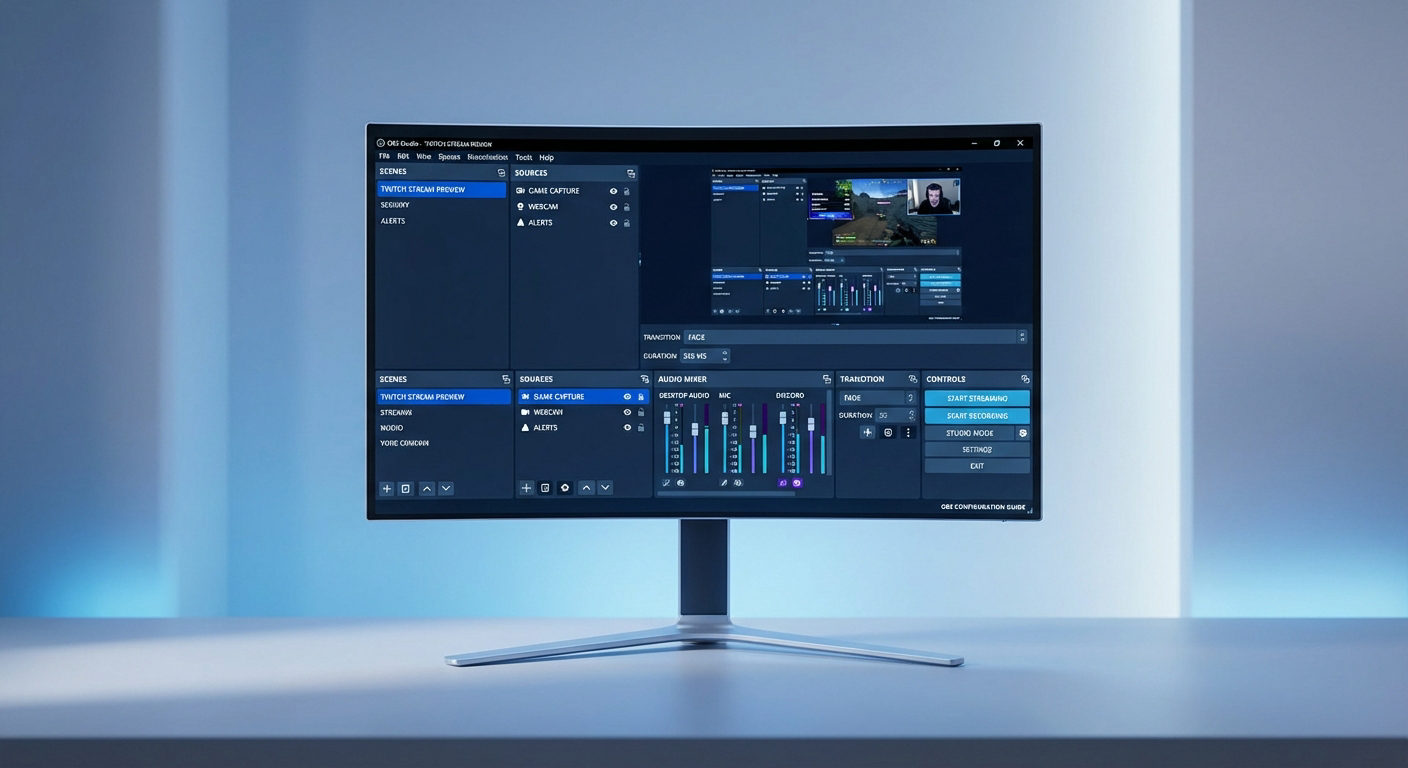
- Providing an overview of the interface and functionality.
- Accessing and Customizing Scene Transitions:
- Demonstrating how to customize transition durations and styles.
- Adding Transitions Between Scenes:
- Step-by-step instructions for adding transitions to your scenes.
By the end of this guide, you should have a firm grasp on how to include scene transitions into your Streamlabs live-streaming setup. Understanding how to employ transitions can improve your live-streaming experience and interest your audience, whether you want to simply transition between scenes or give a professional touch to your broadcasts.
Let’s get started and raise the bar for your broadcasts!
What is Streamlabs (OBS)?
Streamlabs is a free and open-source video streaming and recording program. It’s a customized version of the popular OBS (Open Broadcaster Software) that’s aimed to give content makers a more user-friendly and simplified experience.
Streamlabs OBS combines the functionality of OBS with extra Streamlabs features and integration.
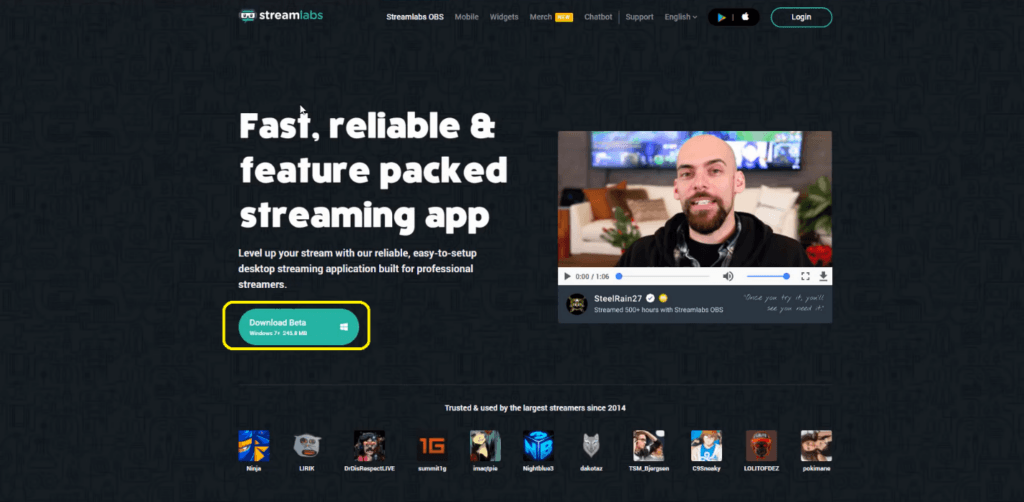
Just go and download Streamlabs, this is a really fantastic tool that makes your work easier!
Go to www.streamlabs.com and click on the green button to download.
Adding Transitions in Streamlabs
Streamlabs have some built-in transitions that can be used to start. You can get custom transitions to be creative in your work. Before getting started, you should know the difference between transition and connection.
Transition:
It is the visual effect used to smoothly change from one video clip or scene to another. It helps create a seamless and cohesive flow between different parts of a video, whether it’s in a film, a video montage, or a live stream.
Connections:
The point where you decide to add a transition between the two scenes is known as the connection.
I will make it easier for you!
Let’s get started step by step…
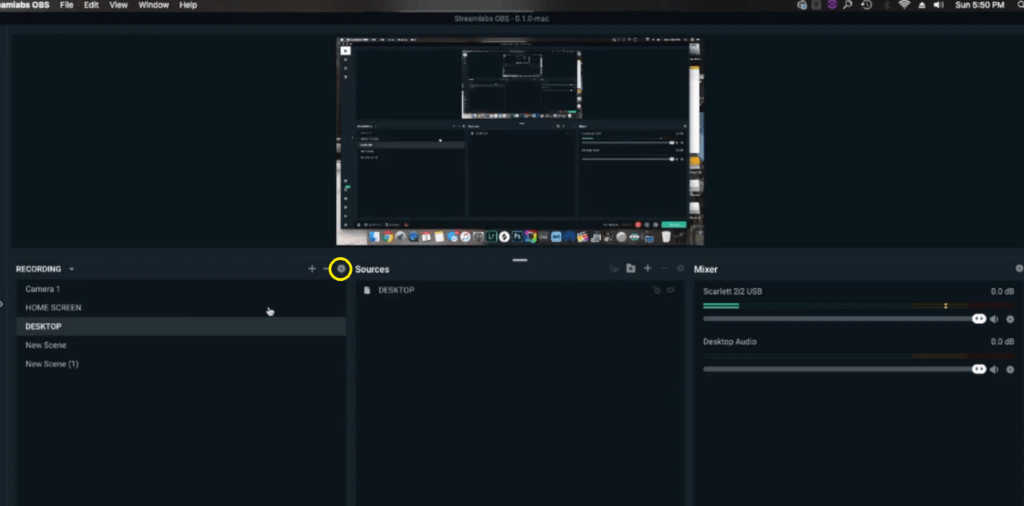
- Go to the scene settings to add a transition.
- Click on the Add Transitions tab to add a new transition.
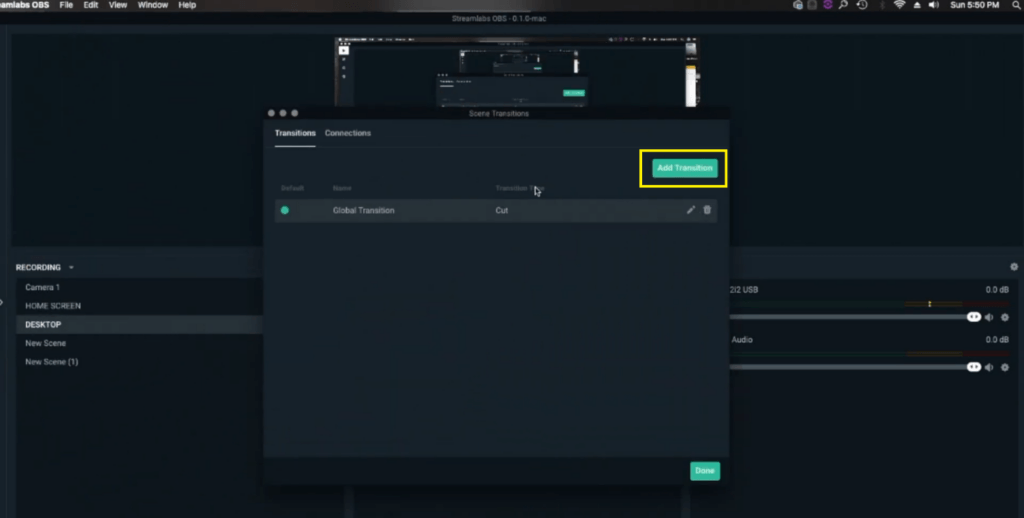
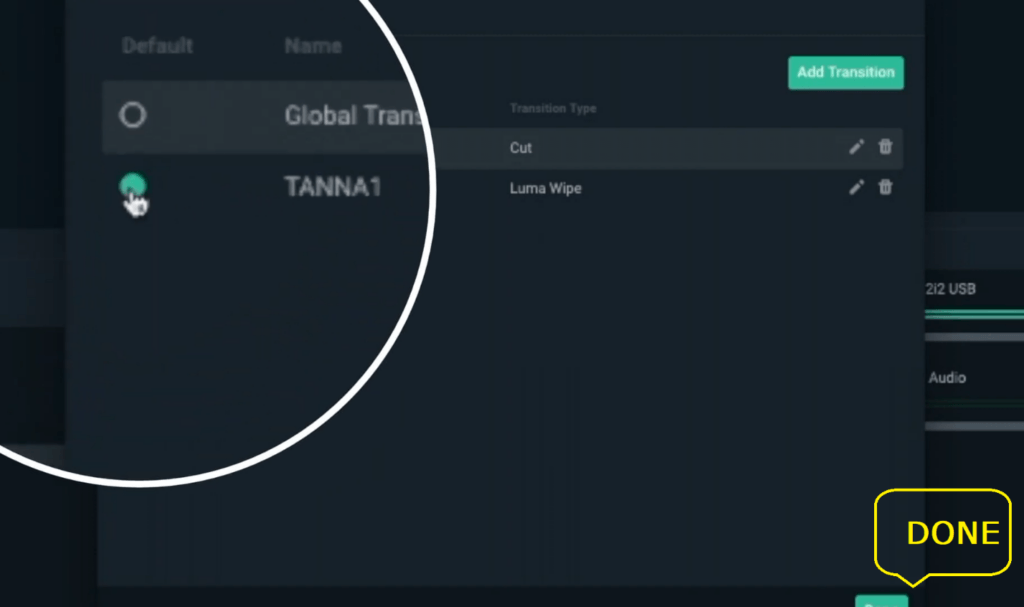
- Global Transition is the default transition, that automatically appears after every scene. So change the transition we have to make our own.
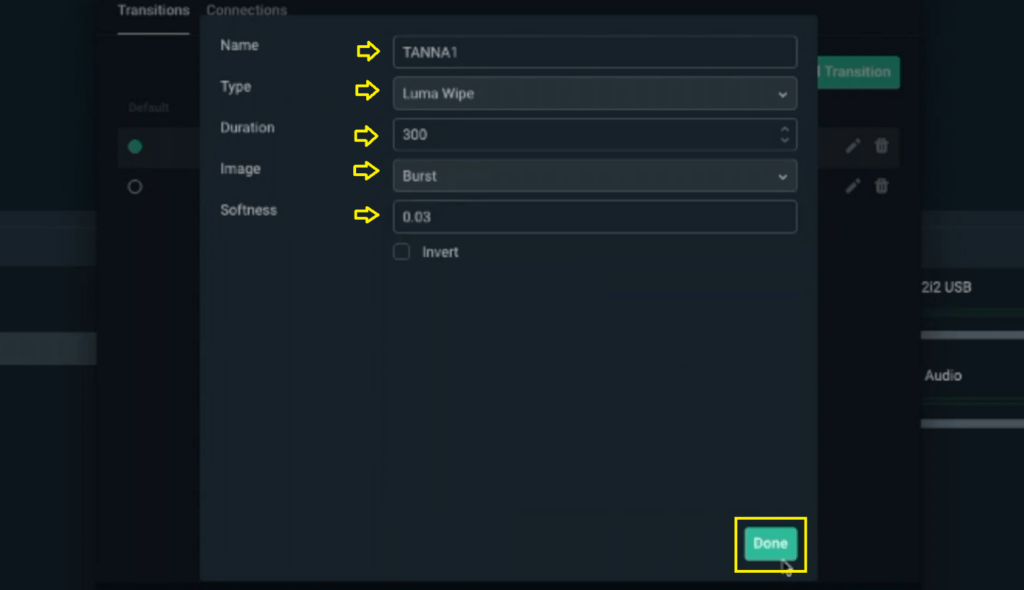
- Change the Name of your transition so that will be easy to find for the next time.
- Select the desired Type of transition from the drop-down list.
- Pick the desired Duration of your transition, I have chosen 300.
- Choose the Image for your transition and set the softness.
- Now hit the done tab.
- Now select the new transition and hit Done to apply the transition.
Now you have learned how to add a new transition in Streamlabs.
Adding Different Transitions in Different Scenes
To change the transition after every new scene:
- Go to the scene settings.
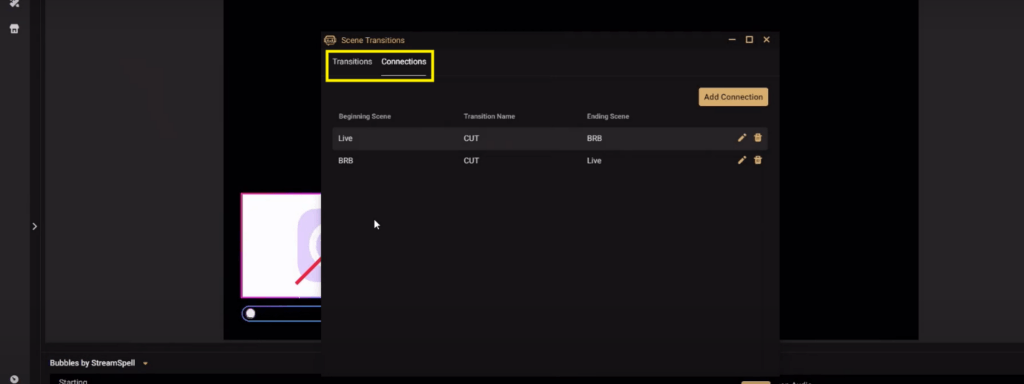
- Go to the connections and set the beginning scene as Live.
- Set the desired scene transition.
- Pick the Ending scene from the drop-down list.
- Now hit the done tab.
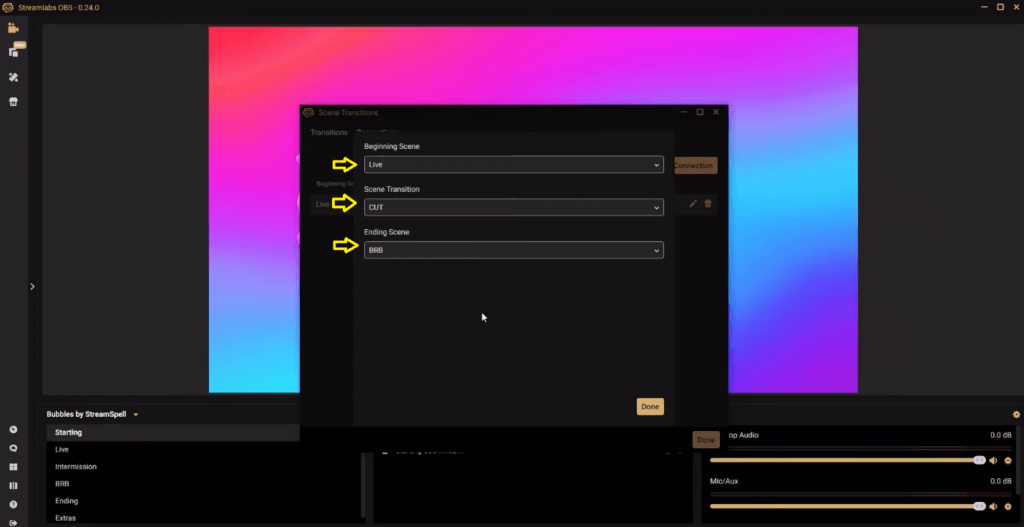
- Choose the scene you want to start with as the beginning scene.
- Then choose your desired Scene transition, which can be one of the transitions you have made.
- Finally, choose the ending scene, or the scene to which you are transitioning.

- To go Live with your new transition, select the desired connection and hit the Done tab.
In this way, you can create a new transition for every connection.
Where to Buy Custom Stinger Transition?
You can purchase the Custom Stinger Transition from various sources on the web. I am mentioning a few of them but remember to review the listings, read customer reviews, and check the compatibility of the transitions with your streaming software before making a purchase.
“A Custom Stinger Transition is a video that plays between two scenes so that it seamlessly switches between the scenes with the graphic coming at the top.”
It is an eye-catching animation that seamlessly switches between video sequences or components. It’s similar to a special effect that gives your content an extra touch of professionalism. You may design a custom stinger transition that exactly matches your business or personal style. It’s an innovative and entertaining method to improve your videos and keep viewers interested.
Amazing, isn’t that?
Since the idea behind the stinger transition is that the videos you are working with need to have some layers of transparency. To be able to work with transparency you need to be using some slightly complicated video editing software that is After Effects.
- After Effects.
Price: $31 Monthly
Annually: $20.99 Monthly
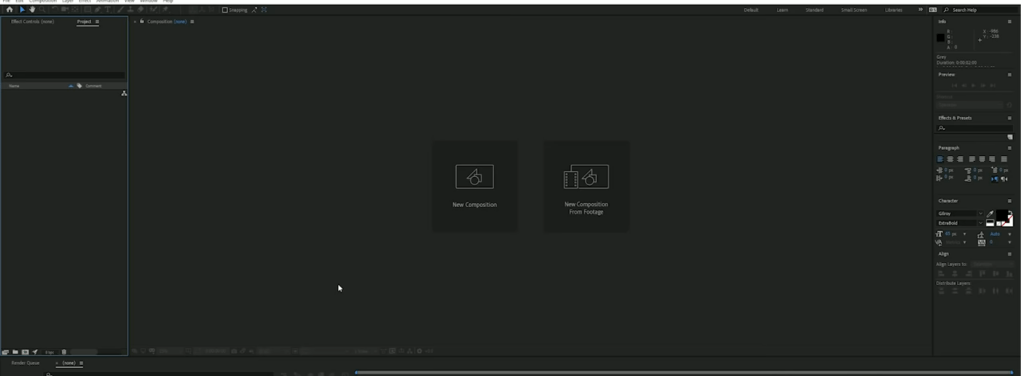
It is part of Adobe’s Creative Cloud, a subscription package that includes things like Photoshop, Premiere Pro, Audition, and After Effects. It also offers a 7-day free trial and allows you to use its features completely unlimited to create your own stinger transitions. It has more than 96 Stinger templates. It has an interphase like this…
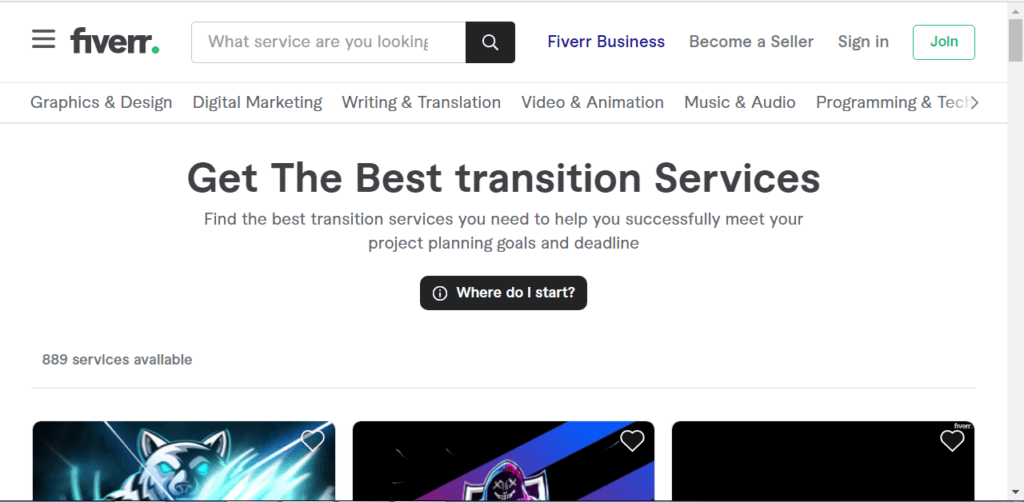
- Fiverr
Price: $5 – $40+
Fivere is the best online platform that can be used to outsource your custom Stinger transitions. There are a number of freelancers who can create outstanding Stinger transitions for your videos to make them professional. You can check the seller’s work before assigning the task and can also adjust the rate according to your budget.
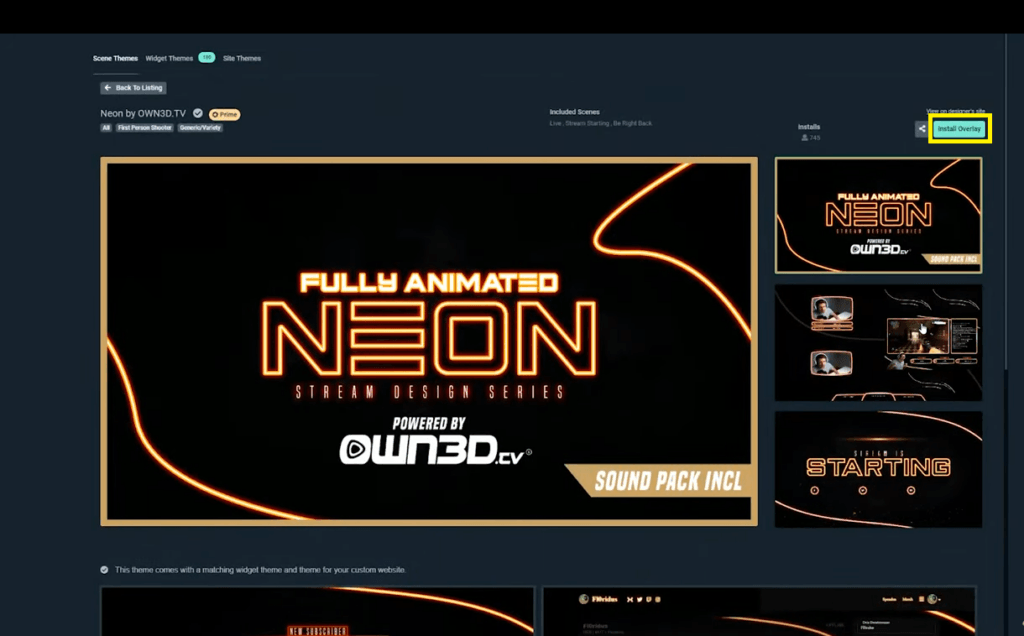
- Own3d Stinger Transition.
Price: $20+
In Streamlabs obs there is an option of purchasing own3d stream directly from the theme store and installing them super simple. It offers a variety of animated Stinger transitions to make your stream professional-looking. It has more than 99 different and eye-catchy transitions to make your stream up to the mark.
- Go to the top inside the Streamlabs obs and click the themes.
- Select your desired theme from the loaded ones.
- Click on install overlay and you are done!
If you want to make money from your stream, it is a good option for you!
How to Install Custom Transitions in Streamlabs?
It is a custom tool inside the Streamlabs in the gearbox under the scenes to add the appropriate transition.
- Click on the Edit Scenes Transition tab.
- When the transitions load, you can add or edit the existing transition.
- Go under Type and select Stinger from the drop-down list.
- Choose the desired file path you want to choose for the transition.
- Make the desired adjustments you want for your transitions and hit the Done tab.

You will see an awesome and beautiful stinger transition that you have just installed.
Conclusion
As a content creator learning how to use Streamlabs OBS to add transitions, enables you to improve the visual quality and professionalism of your live streams. By quickly transitioning between scenes, viewers may enjoy a smooth and entertaining streaming experience. Additionally, the option to apply multiple transitions to different scenes provides adaptability and creativity to live streams, improving storytelling and visual impact.
There are several alternatives for individuals looking for unique stinger transitions. After Effects, a sophisticated video editing programme, allows you to create one-of-a-kind and personalized transitions. Platforms such as Fiverr and Own3d Stinger Transition sell pre-designed bespoke transitions that can be purchased and quickly added into Streamlabs OBS.
Custom transitions are easily installed in Streamlabs OBS by importing the transition files into the programme and allocating them to appropriate scenes. Streamers may add their own branding and unique style to their streams by using custom transitions.
Content producers may engage their audience, improve the aesthetic attractiveness of their broadcasts, and take their live-streaming production to the next level by mastering the art of transitions and using custom settings. The possibilities for generating aesthetically appealing and engaging live streams are unlimited with Streamlabs OBS as a versatile tool.
Before optimizing your transitions, ensure your camera feed is clean and high-quality to truly make your stream stand out. A dedicated streaming camera will not only elevate your production value but also seamlessly showcase your transitions in Streamlabs OBS.
FAQs:
Q:1 How do transitions enhance the visual appeal of a live stream?
Ans: Transitions enhance the visual appeal of a live stream by providing a seamless and polished transition between scenes or video clips. Instead of abrupt cuts, transitions create a smooth and visually pleasing flow from one content segment to another. This adds a professional touch to the stream, making it more visually engaging and captivating for viewers.
Q:2 Can I customize the duration of transitions in Streamlabs OBS?
Ans: Yes, you can customize the duration of transitions in Streamlabs OBS. In the transition settings, you have the option to adjust the duration of the transition effect to your preference. You can make transitions shorter or longer, depending on the desired visual effect and the pacing of your stream. Streamlabs OBS allows you to have control over the timing of your transitions to ensure they align with your stream’s overall style and presentation.
Q:3 How can I integrate custom stinger transitions purchased from Fivere or Own3d Stinger Transition?
Ans: To integrate custom stinger transitions purchased from Fivere or Own3d Stinger Transition, you can import the transition files into Streamlabs OBS. In Streamlabs OBS, go to the “Scene Transitions” settings, click the “+” button, and select “Stinger.” Specify the location of the custom stinger transition file on your computer. Once imported, you can assign the custom stinger transition to the desired scenes in Streamlabs OBS, creating a personalized and unique transition effect for your live stream.
Q:4 Are there any specific requirements or formats for custom transitions in Streamlabs OBS?
Ans: Streamlabs OBS supports stinger transitions in the WebM or MOV file format. When using custom transitions, ensure that they are in one of these formats to ensure compatibility with Streamlabs OBS.
Q:5 Can I use multiple custom transitions in my scenes?
Ans Yes, you can use multiple custom transitions in your scenes within Streamlabs OBS. Each scene can have its own unique transition, allowing you to add variety and visual interest to your live stream. Simply assign the desired custom transition to each scene individually to create a distinct transition effect for each transition point.