.png)
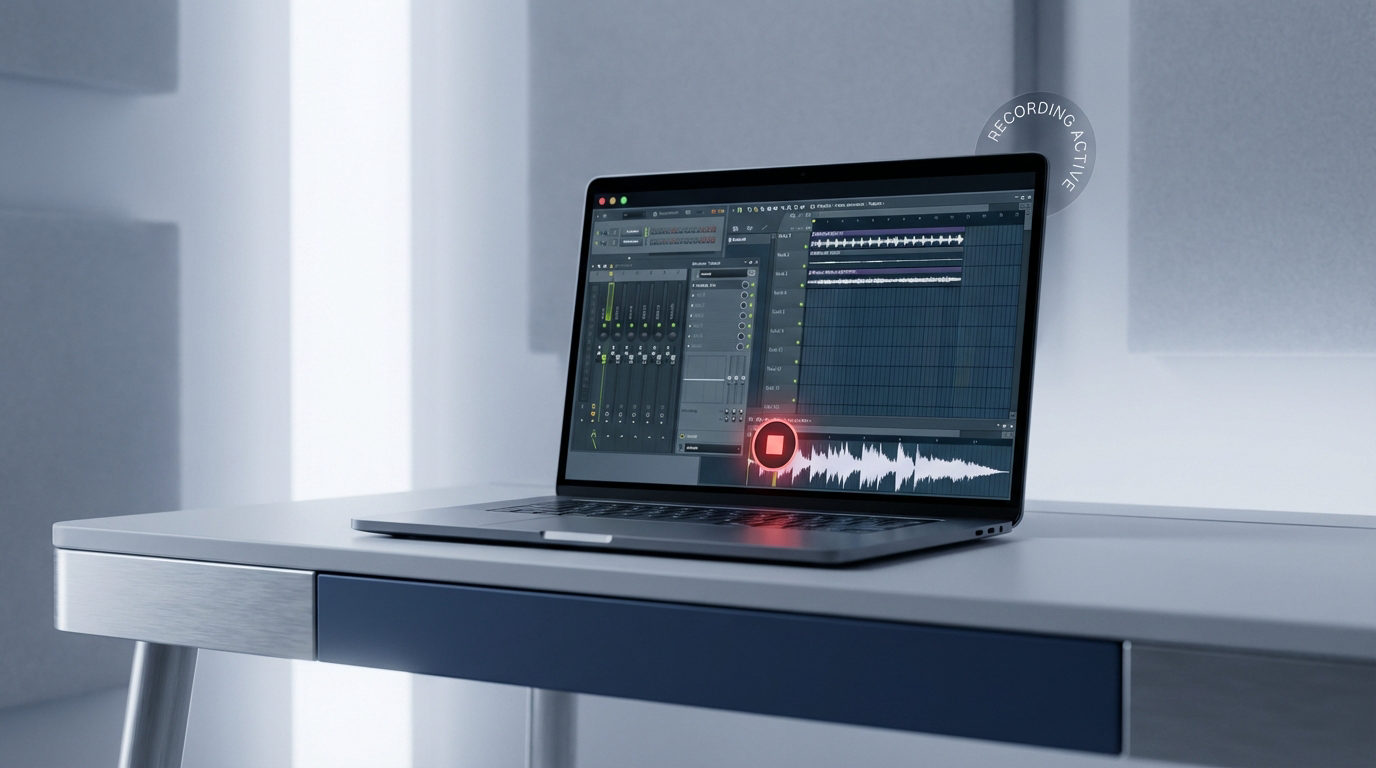
Recording clear and professional audio doesn’t have to be difficult or confusing. Ableton Live offers simple and powerful tools that let you capture sound from your voice, instruments, or other sources with ease. Whether you’re making podcasts, voiceovers, interviews, or any other type of audio project, the tool helps you record clean, high-quality sound right on your computer.
Even if you are new to recording, this article guides you through every step so you can focus on your creativity. Let’s explore how you can start recording great audio, just like professionals.
How to record Audio in Ableton?
Complete the Initial Setup
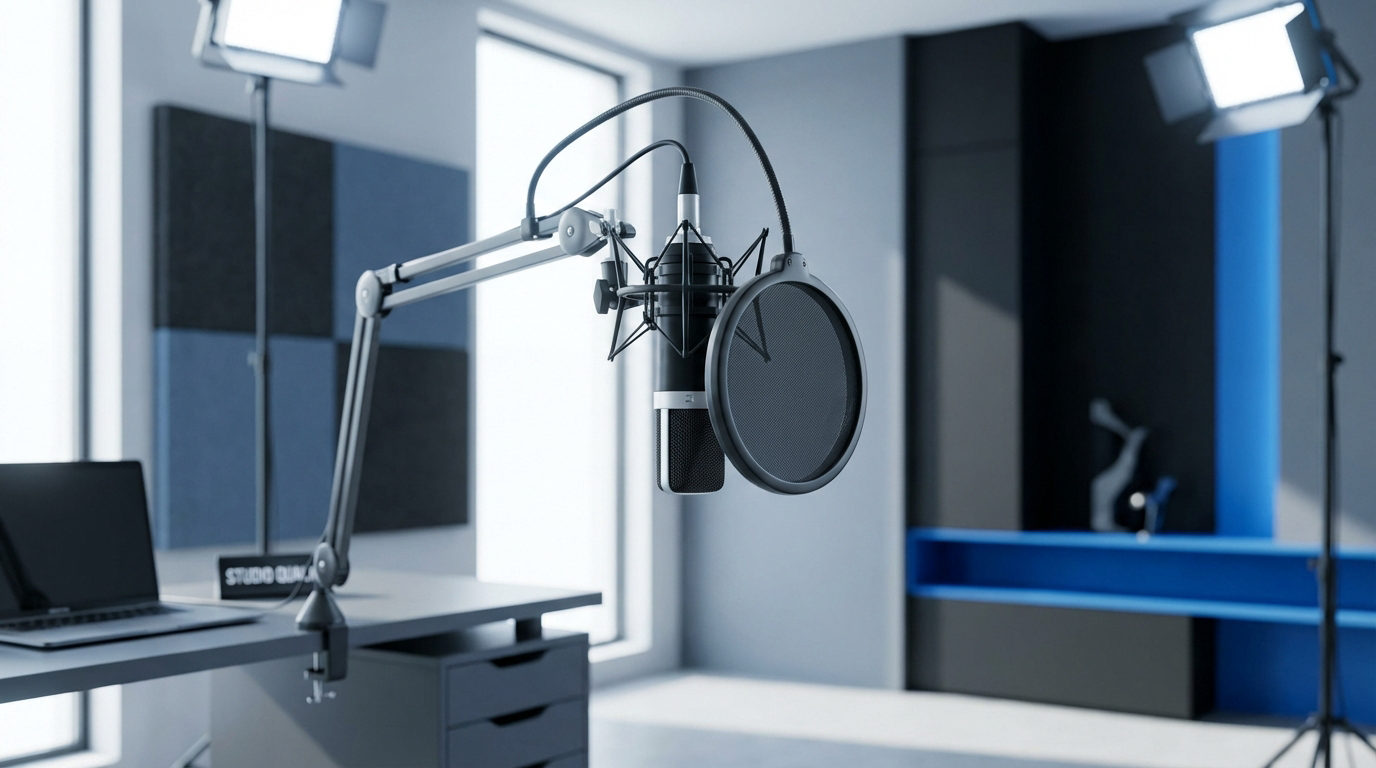
Before initial setup, ensure you have the right environment. A quiet room reduces echo, while a great quality microphone like the Hollyland Hollyland LARK MAX 2 can help you achieve the perfect audio with its 32-bit float internal recording and next-level noise cancellation.

Hollyland LARK MAX 2 - Premium Wireless Microphone System
A premium wireless microphone for videographers, podcasters, and content creators to capture broadcast-quality sound.
Key Features: Wireless Audio Monitoring | 32-bit Float | Timecode
It delivers pristine 32-bit float recording and wireless OWS Bluetooth monitoring, so you can get clear, natural, and professional audio every time. For setup,
- Install Ableton and Update Drivers
Ensure that your Ableton Live software is installed and up-to-date. Update your audio driver to guarantee low latency and stable recordings.
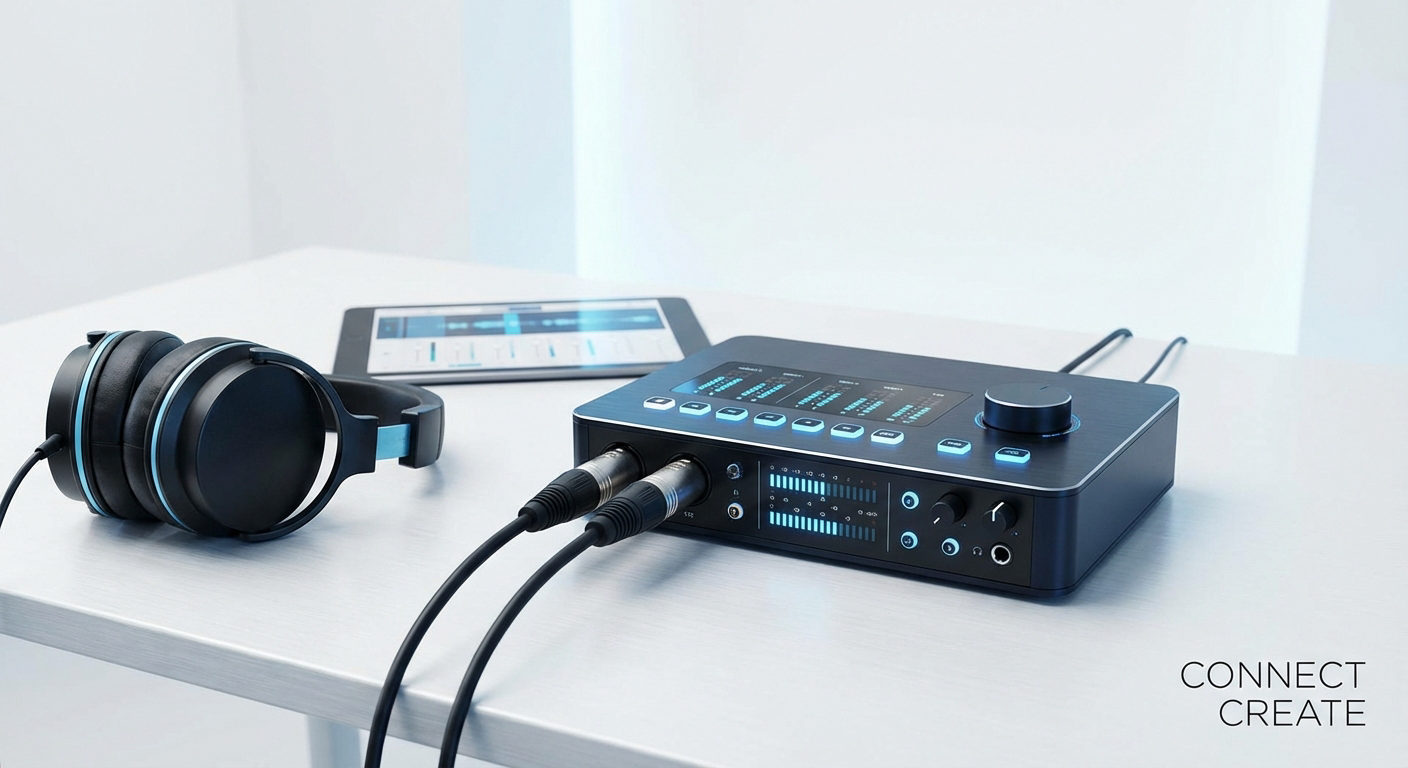
- Connect Your Audio Interface or Microphone
- Plug your audio interface or USB microphone into your computer before opening Ableton.
- If you are using an audio interface, connect your microphones or instruments to the appropriate input channels on the interface and adjust the gain controls so that the signal level is strong but not clipping.
- Configure Ableton’s Preferences
- Navigate to Preferences (Ctrl+, or CMD+,) and then click on “Audio.”
- Select your audio device from the “Audio input device” option.

Prepare the Audio Track
- Open or Add Audio Tracks
- Ableton Live starts with a set of audio tracks by default (usually four).
- To add more, go to the “Create menu” and select “Insert Audio Track or Insert MIDI Track” as needed.
- Choose an audio track if you plan to record sounds from external devices like microphones or instruments.
- Select the Input Source for Your Track
- Locate the track’s Input/Output (I/O) section (click the “I-O” button if it’s hidden).
- Set the input to “Ext. In” to record audio from an external device via your audio interface.

- Then, pick the exact input channel corresponding to where your mic or instrument is plugged into your interface.
- When your device is properly connected and producing sound, you should see a signal indicator lighting up next to the chosen input channel.
- Adjust Gain Levels on Your Interface
If the input meter in Ableton does not register sound, slowly increase the gain or volume on your audio interface until it does. Also, make sure the signal stays clear and doesn’t peak into the red (which causes distortion).
- Setup Monitoring
- Use monitoring to listen to yourself during recording.
- You can choose between “In,” which always enables you to hear the input signal, “Auto” to hear the input only when the track is armed for recording, and “Off” to disable input monitoring.

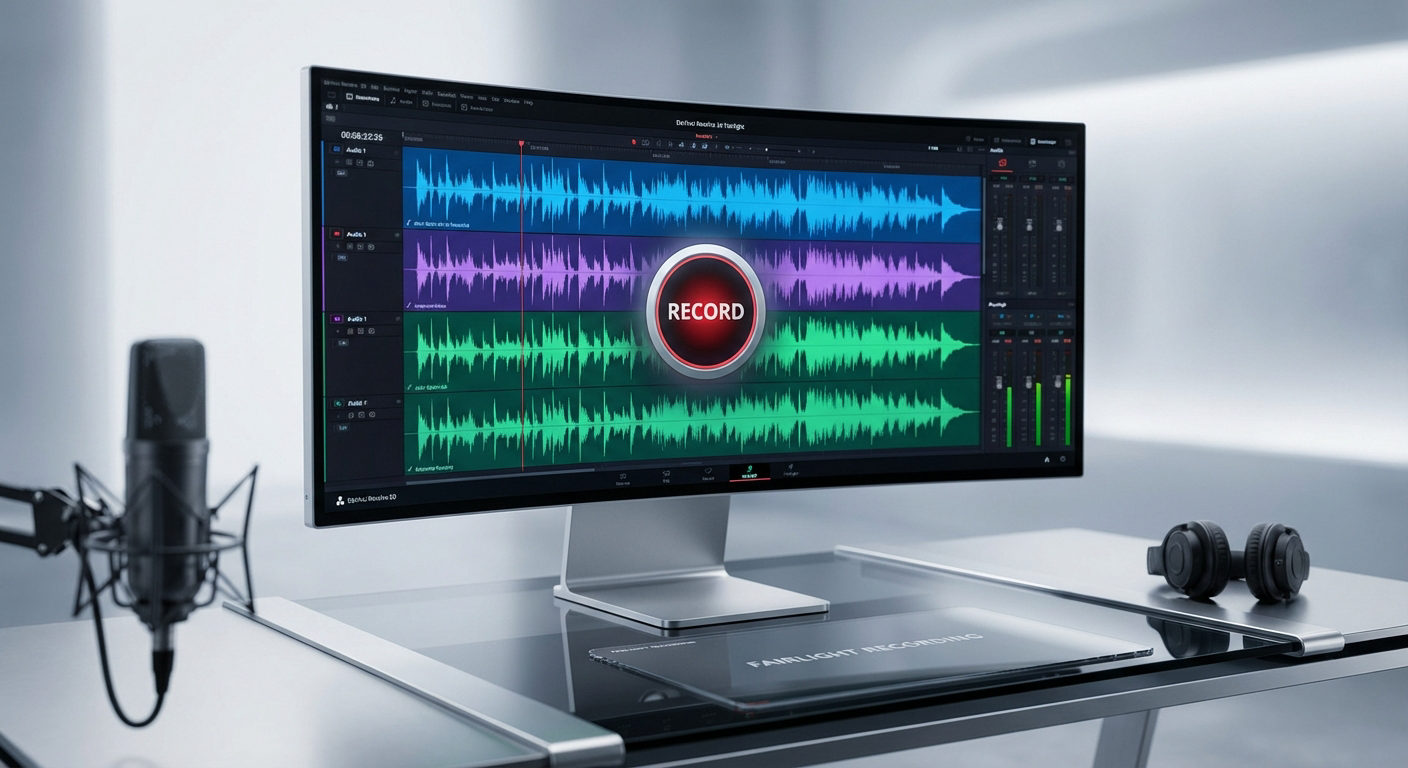
- Arm the Track for Recording
- To start recording audio, you must first arm your track.
- Click the red “Record Arm” button on your track (a circle icon). This signals Ableton that this track is ready to receive audio input when you press record.

- In Arrangement View, the arm button is located on the right side of the track header, while in Session View, it is positioned at the bottom of the track mixer.
- If you want to record multiple tracks simultaneously, hold Ctrl (Windows) or CMD (Mac) while clicking additional tracks’ arm buttons to arm more than one.
Choose Between Session View and Arrangement View
- Enable Count-in:
- Before starting the recording, enable the “Count-in” option to ensure a smooth recording. It gives you a lead-in before the recording starts so that you can prepare yourself.
- Enable it by clicking the metronome button, then selecting the count-in setting in Ableton.

- Select View:
Then, select the view you want to record in. You can use the “Tab” key to switch between the two options.
Recording in Arrangement View
- Set the Starting Point
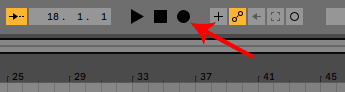
Move the timeline cursor (playhead) to where you want the recording to start. This helps you control precisely when your performance will be captured in the linear timeline. - Press the Main Record Button
Click the “Record” button at the top of the screen (in the Control Bar). This signals Ableton to begin recording on all armed tracks from the playhead position.
- Stop When Finished
Hit the Stop button once your recording is complete.
- Record Multiple Tracks Simultaneously (If Needed)
You can record on more than one track at the same time by arming several tracks and ensuring each one is assigned the correct input source.
Recording in Session View
For a single recording, select a clip slot on an armed track, press the record button at the slot’s start to begin recording, and use the Stop button below the slots to end recording. For recording multiple clips:
- Set Your Global Quantization
Before you start, make sure the Global Quantization (found near the top center of Ableton Live) is set to any value other than “None.” This helps ensure your recorded clips are trimmed and aligned neatly with the project’s tempo grid.
- Arm the Tracks to Record
Click the “Arm Record” button (the small red circle) on every audio track that you want to record. Once armed, you’ll see small “Record” buttons appear inside the empty clip slots on those tracks.
- Start Recording a Scene
- Press the “Session Record” button (located at the top of the Session View) to start recording on all armed tracks within the currently highlighted scene.

- As recording happens, each armed track will create a new clip in its slot, indicated by a red recording icon.
- When you want to stop recording and switch to loop playback of these clips, simply press the Session Record button once again.
- Record in Individual Clip Slots
Alternatively, you can choose a specific clip slot to record on. For this:
- Click the red “Record” button within that empty slot on an armed track.
- When you’re done, press the clip’s “Launch” button to instantly play back the newly recorded audio loop.
- Stop Clip Playback
To stop a clip from playing, press its “Stop” button (a small square icon at the bottom) or use the global Stop control in the top control bar.
Optional: Start Recording Automatically on Scene Launch
By default, launching a scene in Session View does not start recording in empty armed slots. However, you can enable the “Start Recording on Scene Launch” option under Preferences > Record, Warp & Launch Settings. When turned on, this makes recording begin immediately when you launch a scene with armed, empty slots.
Recording in Sync
Keeping your recordings perfectly in sync is essential to ensure all audio and MIDI parts align seamlessly.
- Use the Metronome for Timing
The simplest way to stay in sync is by playing along with Ableton’s built-in metronome. Activate it using the “Metronome” button in the Control Bar.

- Adjust Metronome Volume
- You can control how loud the metronome clicks are by turning the Preview Volume knob found in the mixer section.
- For additional metronome settings, like count-in or sound type, go to the dropdown menu beside the metronome switch.
- Fine-Tune Timing with Warp Markers
Ableton’s powerful Warp Markers let you adjust the timing of recorded clips. Warp Markers stretch or compress portions of the clip to perfectly match your project’s tempo grid, keeping everything locked in sync.
Conclusion
Recording audio in Ableton Live is approachable for beginners, thanks to its intuitive interface and powerful features. By mastering setup, track preparation, and recording in both views, you can give your creativity a beautiful voice.
Focus on clear input sources and refine your environment to produce professional recordings that elevate your podcasts and musical projects from the start.
FAQs
1. Is it possible to record audio in Ableton without using an audio interface?
Yes, you can record using your computer’s built-in microphone or a USB mic without an audio interface, but sound quality and latency may not be as good as compared to using an interface.
2. Can multiple audio tracks be recorded simultaneously in Ableton?
Yes! Just arm all the tracks you want to record and set the right input for each. Ableton will record them all separately at once.
3. How can I hear myself recording in Ableton?
Turn on monitoring by setting the track’s monitor to “In” or “Auto.” Wear headphones to avoid echoes, and lower the buffer size to reduce delay while listening.