.png)
Good video, but bad audio in DaVinci? Well, you don’t have to throw the whole clip away. Instead, a few edits can save the day. However, while separating the audio from the video in DaVinci, you will find out that both audio and video are linked together.
So, can you actually separate the two of them? The answer is yes.
Stay with us because in this article, we are going to talk about how to separate audio and video in DaVinci Resolve in detail.
Methods to Separate Audio and Video in DaVinci Resolve
All it takes is a few steps here and there, and you will be able to get complete control over your audio and video tracks. Here are a few steps:
- Detach Audio from Video
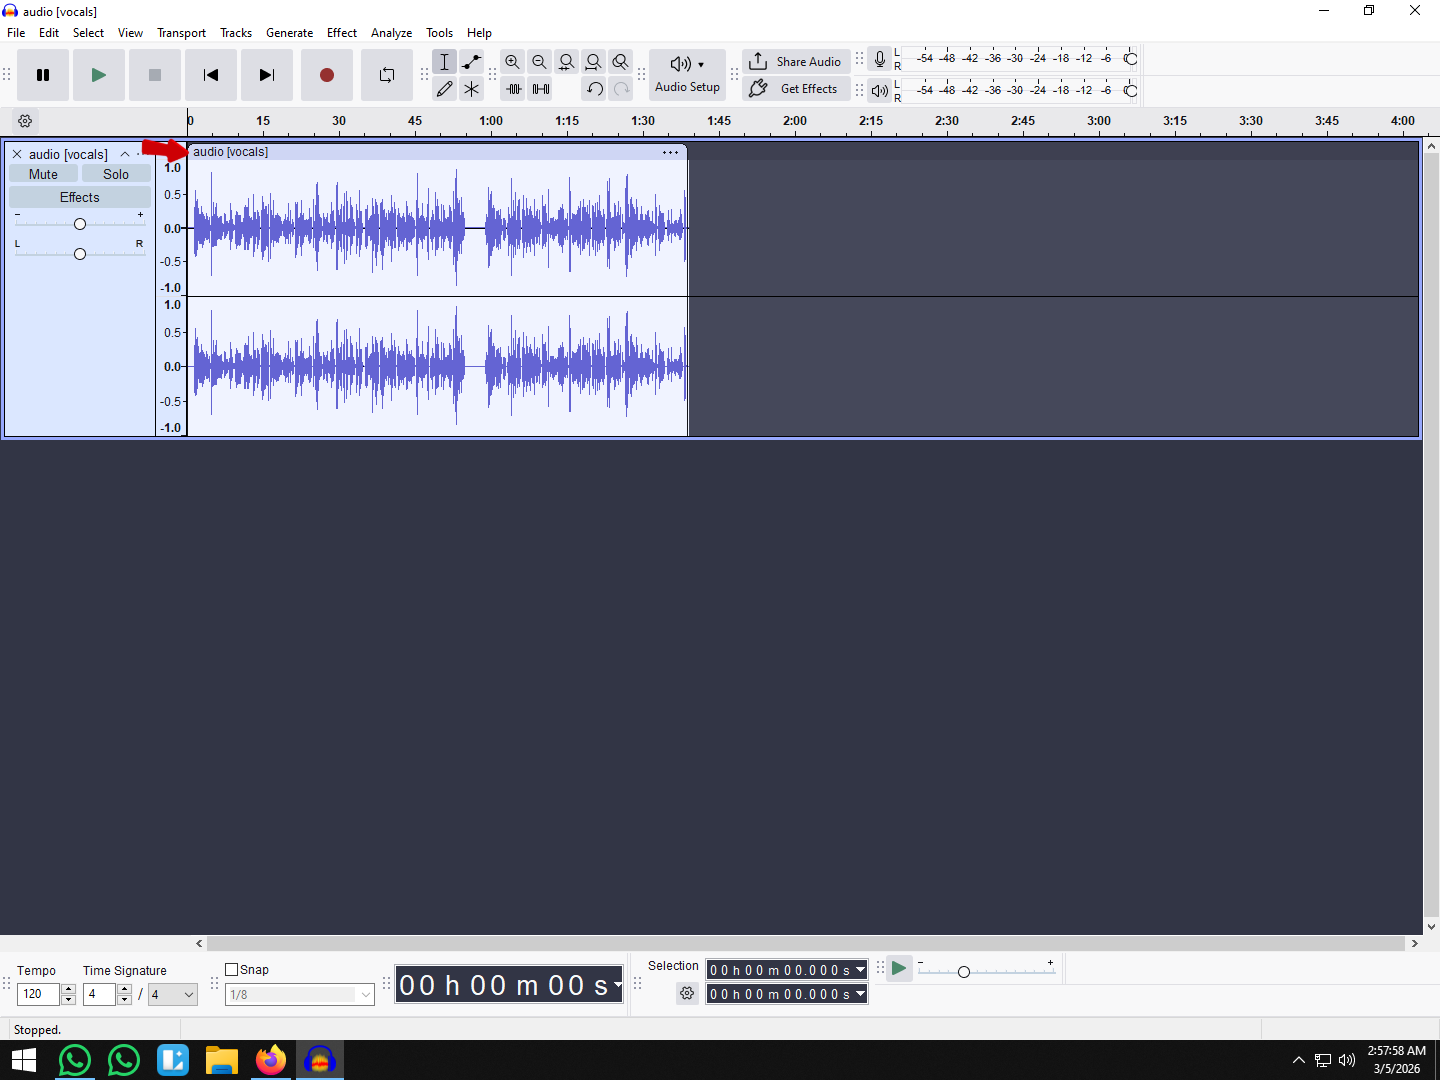
- First of all, just drag your video clip from the Media Pool straight onto the timeline. This ensures the video and audio are linked together in one track, ready for editing.

- If you see a link button in both audio and video clips, you will need to link them.

- Once the video is in the timeline, simply right-click on any of the audio or video parts. A menu will appear.
- Now, at the bottom, you will be able to find an option called “Link Clips”. Here, you have to uncheck this option. You may also do this by hitting the Command+L shortcut.

- After this, you will see that the “link” icon is no longer there in the audio and video clips.

- Extract Audio from Your Video File (Permanent Split)
Do you feel like the OG way of detaching audio and video by the above-mentioned method is too much? Try another way.
- Head over to the DaVinci application.
- Now, click on the media tab right below the audio and video section.
- Import your file from the menu on the left.
- Simply right-click on the video you want to edit.
- You can click the “Extract Audio” option from the menu.

- Once this is done, you will find two different files on the screen. One for the audio and the other for the video.

- Simply drag and drop this file to DaVinci, and now you are all set to edit your audio file separately.
- Separately Audio Using the ALT/Option Key (Temporary Split)
You may wonder, what if you don’t want to fully separate audio from video? Maybe all you just need is a quick way to tweak the sound without messing up the visuals, right?. In DaVinci Resolve, the ALT/Option key makes this super easy. Let’s show you how:
- Select the clip in the timeline
Find the video clip whose audio you want to adjust. By default, audio and video are linked together.
- Hold down the (right) ALT/Option key
While holding the key, click on the audio portion of the clip. This temporarily “unlocks” it from the video.
- Adjust the audio as needed
With the ALT key still pressed, move, trim, delete, or tweak the audio without affecting the video track above.
- Release the ALT key
Once you let go of the key, the audio and video are linked again. Any further edits will affect them as one unit.
- Mute Audio Instead of Deleting in DaVinci Resolve
Sometimes you want to experiment with background music or add a voiceover, but you’re not sure if you’ll need the original audio later. Instead of deleting it (and possibly regretting it), you can simply mute it. This way, the audio stays in your project but won’t play in your preview or final export.
- Find the audio clip you want to silence by locating it on your timeline and right-clicking on it to bring up the options menu.

- Select ‘Mute Clip’ from the menu to silence the audio without actually deleting it from your project.
- Muting acts like a temporary pause—the clip will stay in place on your timeline but won’t play until you unmute it.

- This approach is ideal when experimenting with background music or voiceovers, but you’re not ready to completely remove the original audio.
- If you change your mind, simply repeat the steps and uncheck ‘Mute Clip’ to bring the audio back instantly.
If you often end up muting or deleting poor-quality audio, it might be worth focusing on capturing cleaner sound in the first place. Using a wireless mic system such as the Hollyland Lark Max 2 with features like 32‑bit float recording to preserve detail and OWS Bluetooth monitoring to check audio on the go can help reduce background noise and make your editing process much smoother.


- Removing Audio Through Fairlight Tab
Here’s another simple method to detach audio and video files. Here’s a step-by-step procedure.
- Go to the Fairlight page by clicking its tab at the bottom of DaVinci Resolve.

- Then, head to the audio track in the lower timeline area and view it using the waveform display.
- Open the Inspector panel. You will find it in the top-right corner.

- Adjust the volume, panning, and balance settings as needed.
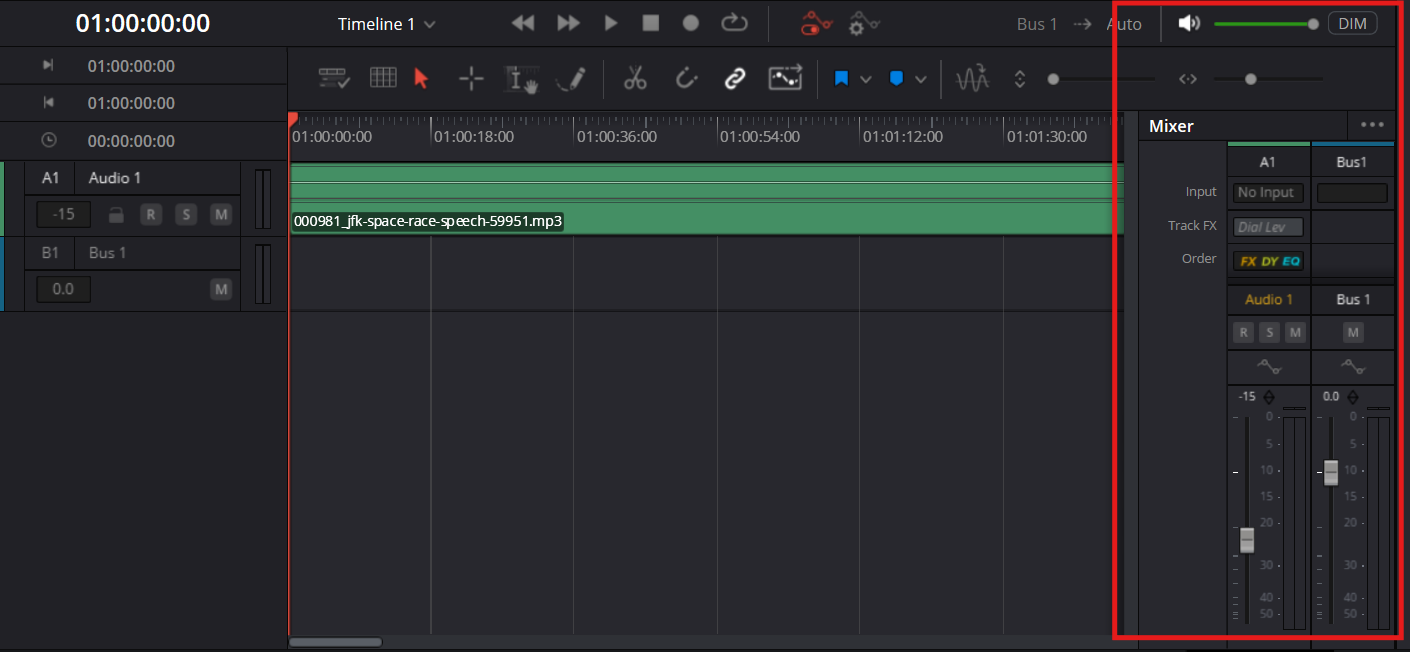
- Use the EQ (Equalizer) to clean up or remove unwanted audio frequencies.
Conclusion
So now that you know how to separate audio from video in DaVinci Resolve, you can edit the audio clips just the way you want. Be it muting, separating, or replacing sound, DaVinci Resolve gives you plenty of control. The key is knowing which method suits your project best, so you can focus on creating polished, professional edits without wasting time on unnecessary rework.
FAQs
1. Can I separate audio and video in DaVinci Resolve without losing quality?
Yes. Detaching, extracting, or unlinking audio does not reduce quality. DaVinci Resolve only separates the tracks for editing; the original files remain untouched.
2. What is the difference between Detach Audio and Extract Audio?
Detach Audio separates audio and video within the same project timeline. Extract Audio creates a new, separate audio file from the video in the Media Pool. Extracting is a permanent split, while detaching is not.
3. How can I mute audio without deleting it?
Right-click the audio clip and select “Mute Clip.” The track stays in the timeline but remains silent in playback and export. You can unmute it at any time.
4. Can I replace the original audio with an external recording?
Yes. Import the external audio into the Media Pool, mute or delete the original audio, and align the new track with the video. Using quality external mics (e.g., Hollyland Lark Max 2) ensures clean sound and avoids the need for extensive post-production editing.