.png)
.png) Français
Français .png) Deutsch
Deutsch .png) Italiano
Italiano .png) 日本語
日本語 .png) Português
Português  Español
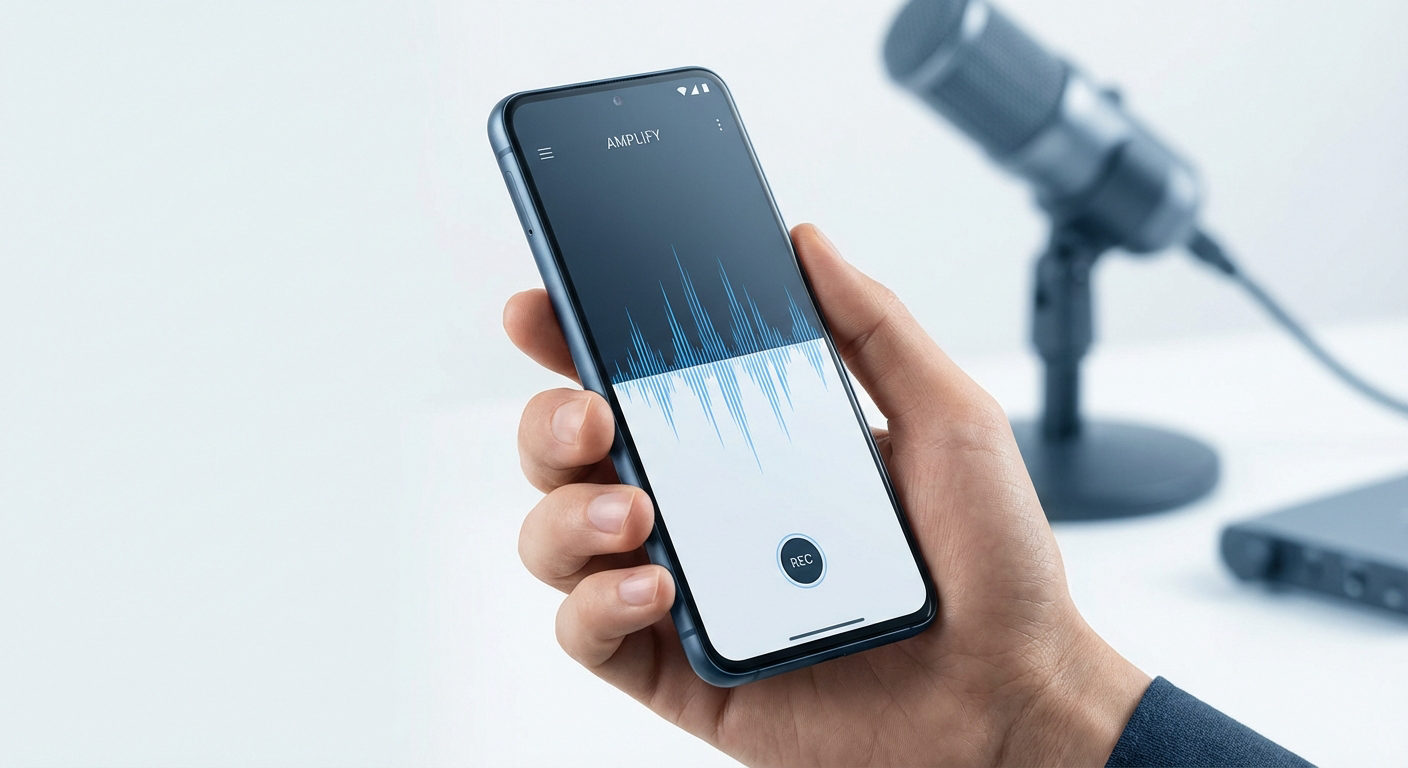
 The iPad has built-in tools for recording internal/external audio, whether you’re capturing lectures, brainstorming ideas, or creating audio notes. With the iPad’s Voice Memos and Screen Recording tools, you can easily record, edit, and share audio. This article covers everything from basic recording to advanced features like stereo recording, replacing audio clips, and editing. Let’s get started!
Record External Audio on iPad Using Voice Memos:
1. Open The Voice Memos App
Locate and open the Voice Memos app which is pre-installed on your iPad.
2. Start Recording
Tap the red record button to begin recording audio. You can adjust the recording level by moving the microphone closer or farther from your mouth or the sound source.
iPad has built-in microphones; however, for better sound quality, you can use an external microphone like the Hollyland LARK A1, which offers crisp, clear audio for professional recordings.

Hollyland LARK A1 - Affordable Wireless Microphone
A perfect starter mic for creators on a budget. It’s simple to use and features effective noise cancellation.
Key Features: 48kHz/24-bit | 3-Level Noise Cancellation | 54-Hour Battery
3. Pause and Resume 
Tap the pause button to temporarily stop recording and then tap the same button to resume.

4. Review Recording
To listen to your recording, pause it and tap Play . Swipe the playhead to control where the playback begins. You can also skip it 15 seconds forward or backward by tapping the icons below the waveform. ![]()
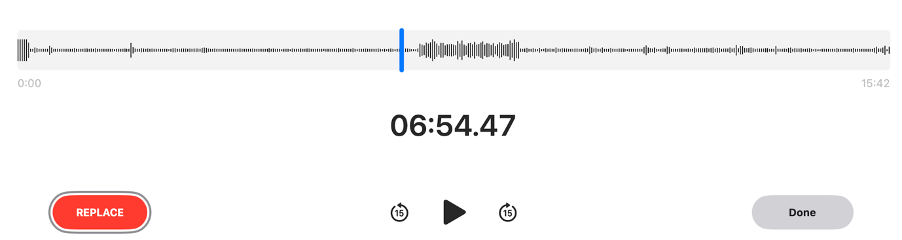
5. Replace Fragments
If something goes wrong, you can replace any of your recorded fragments. Just drag the playhead to the point from where you want to re-record and tap the replace button at the bottom left, and start recording again. The fragment you re-record will turn red and replace the previous recording.
6. Stop and Save
Tap the Done button to finish the recording. The recording will be saved with the name New Recording or your location name, if location service is turned on in your device. You can check your location service in Settings > Privacy & Security.
If you wish to change the recording name, tap on it, then tap the name and type whatever name you want.

7. Stereo Recording
To enable stereo recording, go to Settings > Apps > Voice Memos and toggle on Stereo Recording. This feature uses your iPad’s multiple microphones to capture separate left and right audio channels, creating a spatial effect when played through headphones. However, the waveform display remains unchanged.
Note: Stereo recording may not be available on all devices.
8. Edit Your Recording
If you wish, you can refine your Voice Memos with editing tools. To edit, open your recording and tap Edit. The editing tools in the top-right corner can help with the following:
- Trim a recording
- View Transcription
- Manage audio settings: Playback speed, Skip Silence, Enhance Recording

To trim a recording, tap on the Trim icon at the top, and adjust yellow handles around your desired segment (pinch to zoom for precision), then preview with Play.
Select Trim button to keep only the selected part or Delete button to remove it. Finalize by tapping Apply> Done, then either overwrite the original or save as a new copy.

9. Delete a Recording
- To delete a single recording, select it and tap the Delete icon

- To delete multiple recordings, select them, tap Edit, and then tap Delete.

Deleted items move to the Recently Deleted folder (stored for 30 days by default). You can adjust this in Settings > Voice Memos > Clear Deleted.
To recover or permanently erase deleted recordings, open the Recently Deleted folder, where you can restore individual files or permanently delete them.
Record Internal/External Audio on iPad Using Screen Recording
You can use the built-in screen recording feature on your iPad to capture internal audio (apps, games, songs, media + system sounds). Additionally, by enabling the microphone, you can record external audio—like your voice—at the same time.
Here are the steps you need to follow:
1. Enable Screen Recording in Control Center
Go to Settings > Control Center, then tap the plus (+) icon next to Screen Recording to add it if it’s not already there.

2. Start Recording (Internal Audio)
Swipe down from the top-right corner to open the Control Center, and tap the Screen Recording icon. On iPads with a Home button, swipe up from the bottom of the screen. Wait for the 3-second countdown, then the recording will begin.
Ensure your iPad is not in silent mode and the volume is up to record the internal sound.

3. Recording Internal Audio and Voice (Simultaneously)
To capture both internal audio and your voice, long-press the Screen Recording button. A microphone icon will appear.
- Tap it to toggle the microphone on (it will turn red).
- Tap Start Recording
Now the iPad will capture both the screen and your voice.

An orange dot will appear on your screen when the microphone is in use, indicating that your microphone is recording.
4. Stop Recording
Tap the red status bar at the top of your screen. Or open the Control Center again and tap the screen recording icon, and select Stop.

6. Access the Recording
The recording will be saved to your Photos app. If you only want the audio, you can extract the audio portion using a video editor or an audio converter.
Considerations And Tips
- iOS doesn’t allow recording internal audio only (like system sound) from all apps due to privacy restrictions. Some apps may block internal audio.
- Use the Split View feature (available on some iPad models) to browse other apps while recording a voice memo. But note that playing audio in the other app may interrupt the recording.
- Explore other recording options like Apple’s GarageBand and third-party music apps for more advanced audio recording and production capabilities.
Conclusion
The iPad’s built-in tools—Voice Memos and Screen Recording—are great for quick and convenient audio capture. They offer features like stereo recording, basic editing, and support for external microphones, making them suitable even for semi-professional use.
For the best sound quality, though, consider using a high-quality external mic like the Hollyland LARK A1 to achieve crisp, studio-like audio.
FAQs
1. What’s the difference between mono and stereo recording in Voice Memos?
Mono uses a single audio channel while stereo records separate left/right channels for richer sound. Enable stereo in Settings > Voice Memos if your iPad supports it. Stereo works best with headphones or external mics, but the waveform display remains the same in the app.
2. Why does my screen recording fail to capture app audio?
This usually happens when the microphone audio is enabled but the system audio isn’t. iOS restricts recording app sounds directly. Try turning off microphone audio in screen recording settings, and ensure the app’s volume is up. For reliable internal audio capture, consider using a Mac with audio routing software.
3. Can I record voice memos while using other apps?
Yes, Voice Memos can run in the background. Start recording, then switch apps – the orange mic icon indicates it’s still active. However, recording will stop if another app plays audio or if you use resource-intensive apps that interrupt microphone access.
4. How do I share or export my iPad recordings?
In Voice Memos, tap the share icon to send via AirDrop, Messages, or cloud services. For screen recordings, find them in Photos to share. Third-party apps often provide more export options, like direct upload to Dropbox or conversion to MP3 format for wider compatibility.
5. Why is there an orange dot when I record voice memos?
The orange dot is iOS’s privacy indicator showing microphone access. It appears whenever any app uses your mic, including Voice Memos. You’ll see green for camera use. This can’t be disabled as it’s part of Apple’s security features to prevent unauthorized recording.