.png)
Cassette tapes, once passed around like mixtape secrets or lent out like treasured books, are rarely seen today. But if you lived through that era, chances are you still have a box tucked away—full of personal recordings, rare tracks, or nostalgic playlists.
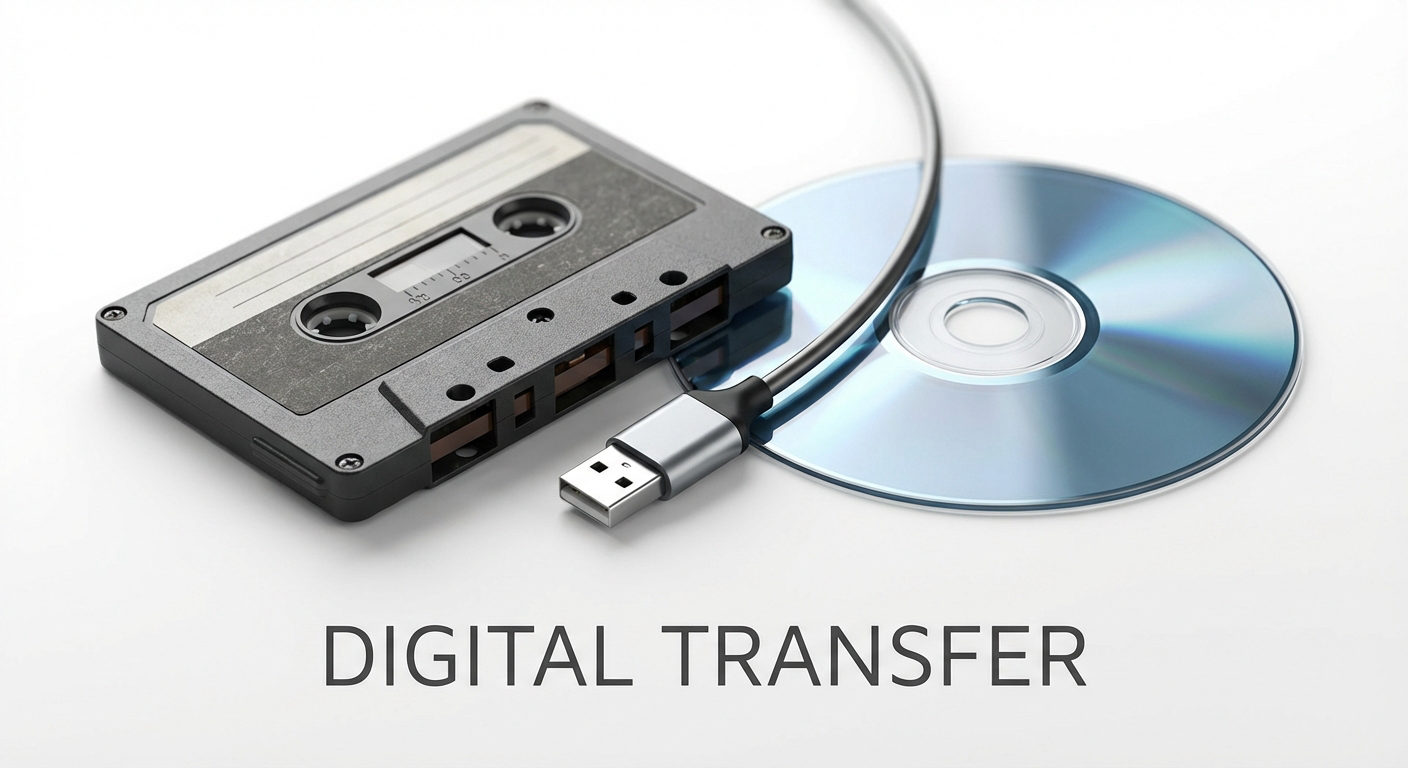
Converting them to digital files not only preserves those memories but also makes them easier to share, store, and keep safe for years to come. If you’re asking how do I convert a cassette tape to digital audio, we’ll walk you through three easy methods to get started.

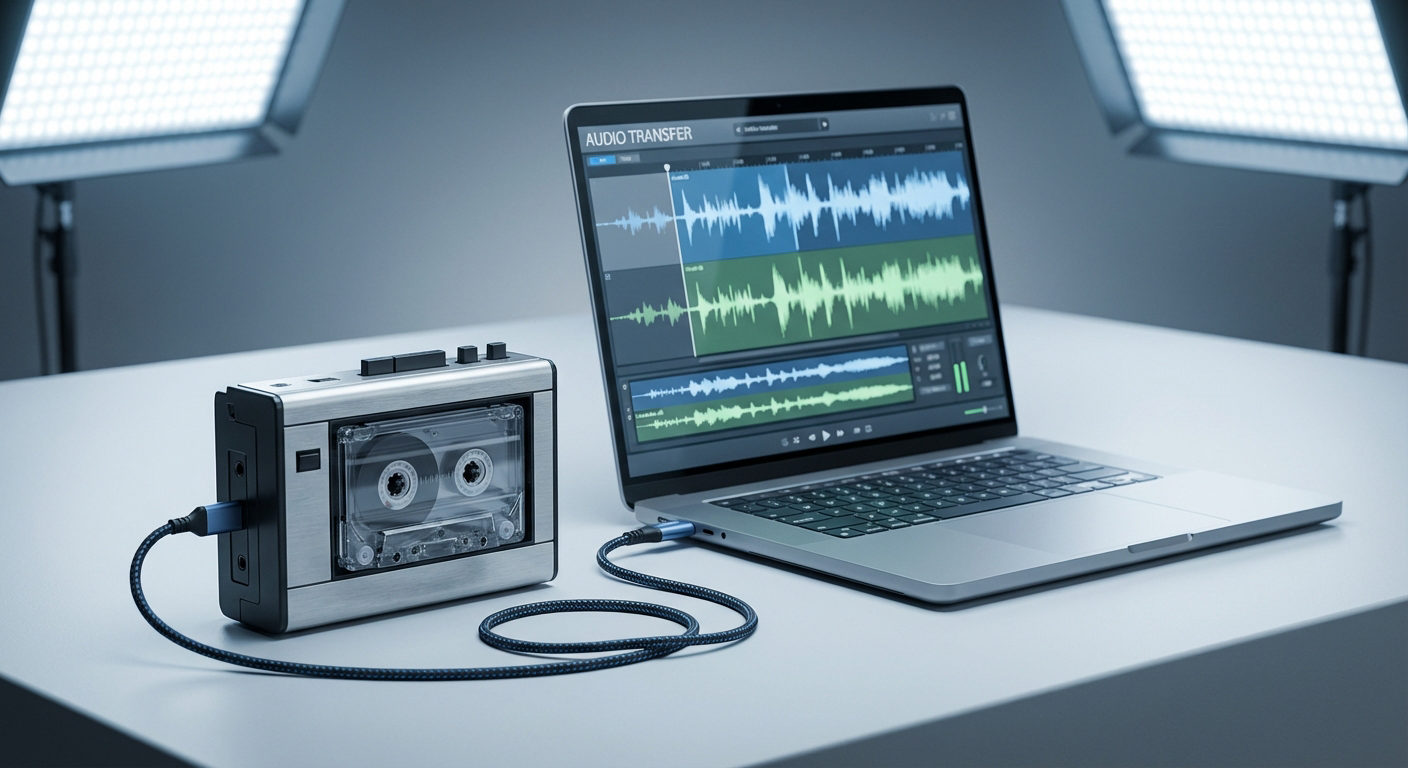
Method 1: Using a USB Cassette Converter
Digitizing your audio with a cassette converter is one of the easiest methods out there. You don’t need any extra gear like cables or third-party software to get started with it.
Requirements
- Cassette tapes
- USB cassette converter
- USB flash drive
1. Insert the cassette into the converter, and then connect it to your USB flash drive.

2. Rewind the tape to the beginning. Once it’s ready, press Record and allow it to play through to the end without interruption.

3. After the first side finishes, turn the tape over and repeat the same steps to record the other side.

4. Once recording is completed, eject the USB and copy your files.

5. Finally, plug the USB into your computer and copy the MP3 files over.

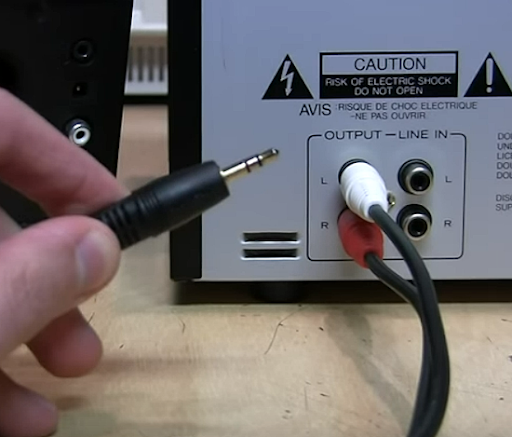
Method 2: Converting With a Cassette Player via 3.5 mm Jack
If you don’t have a USB cassette converter, a standard cassette player will work just as fine. You can use an AUX cable to connect the cassette player to your computer and use an app like Audacity to record the audio directly.
Requirements
- Cassette player
- AUX (3.5mm) cable
- Computer with a mic or line-in port
- Audio recording software (like Audacity)
1. Connect the cassette player to your computer using the AUX cable.
2. Download an audio recording app like Audacity, and click Audio Setup to select the Recording Device to “mic” or “line-in”.

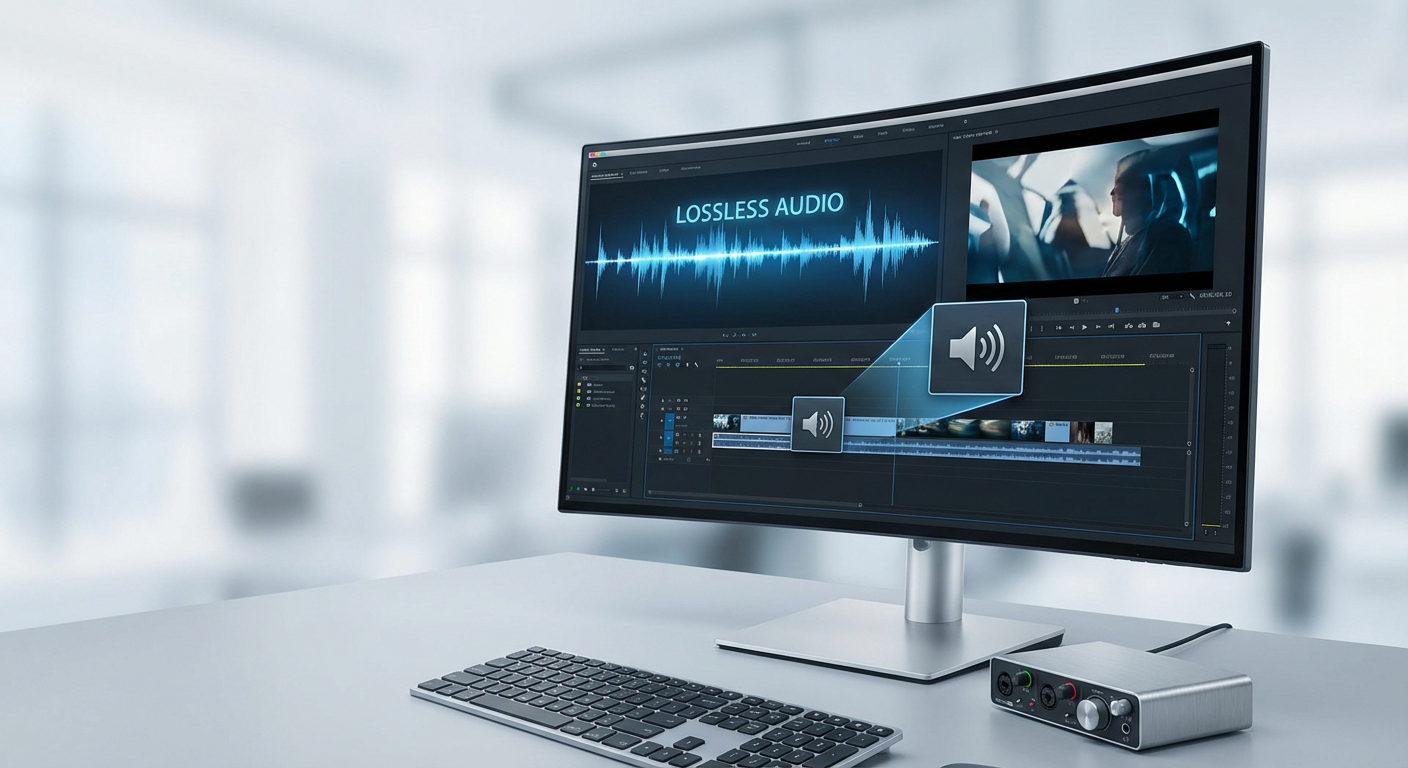
Note: Audacity is one of the most popular free audio editing tools for converting cassette tapes to digital files. You can use it to reduce noise and trim or normalize audio, which makes it most sought-after among users.
It also makes the audio easier to export if you’re planning to use it in tools like Canva, for adding sound to your reels, short videos, or presentations.
3. Play your tape from the start and press Record.

4. When one side ends, just flip your cassette and press Record again.

5. After your tape has recorded, go to File options on the toolbar and select Export Audio.

6. Name your audio file and select your save location, then click Export to finish.

Your converted audio file will now be exported to your selected folder, free from the risk of being lost by aging or tape issues.
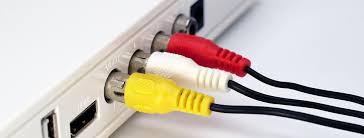
Method 3: Converting With a Cassette Player via RCA Output
If your cassette doesn’t have a 3.5mm jack, you can also use the RCA outputs (three color-coded cables) to transfer your cassette tapes to digital audio. RCA also outputs one of the cleanest audio signals, as it reduces signal loss and preserves original sound quality during the transfer.
Requirements
- Cassette deck with RCA ports
- RCA to 3.5 mm AUX cable
- Computer with a headphone jack
- USB Audio Interface
- Audio Recording Software (like Audacity)
1. Connect your tape deck to the audio interface using RCA cables.
2. Download an audio recording software like Audacity and click on Audio Setup from the toolbar to select “mic” as your Recording Device.

3. Click the Record button in Audacity, and press Play on your cassette deck to begin recording.

4. Once your tape has been recorded completely, press Stop to finish recording.

5. Go to Files and select Export Audio to save your digital recording.

6. Configure the details of your recording and press Export to download it to your computer.

Tips to Improve Your Results
- Clean Your Cassettes: Dirt and dust can ruin sound quality and are often the main reason recordings turn out poor. Make sure that you thoroughly clean your cassette heads with rubbing alcohol and a cotton swab before recording.
- Test the Audio Levels: Before you start recording, do a quick run. Make sure the audio is clear. Not too loud. Not too low. Aim for consistent green levels for clean, crisp results.
- Record with a Wireless Mic: Old tapes can tend to sound rough and may add some distortion to the digital file. You can try re-recording the parts with an external mic for cleaner audio. The Hollyland Lark M2 is usually a great option for a lightweight wireless microphone system.
Bottom Line
Your memories are precious. They don’t deserve to be locked away in old cassette tapes sitting in a cardboard box in your attic. Digitize them while you can. It is actually pretty easy to do. If you’ve got a cassette recorder, use it to transfer audio to a USB flash drive. Or connect a cassette player to your computer and record with Audacity.
FAQs
Q: What’s the best format to save audio after converting it from cassette?
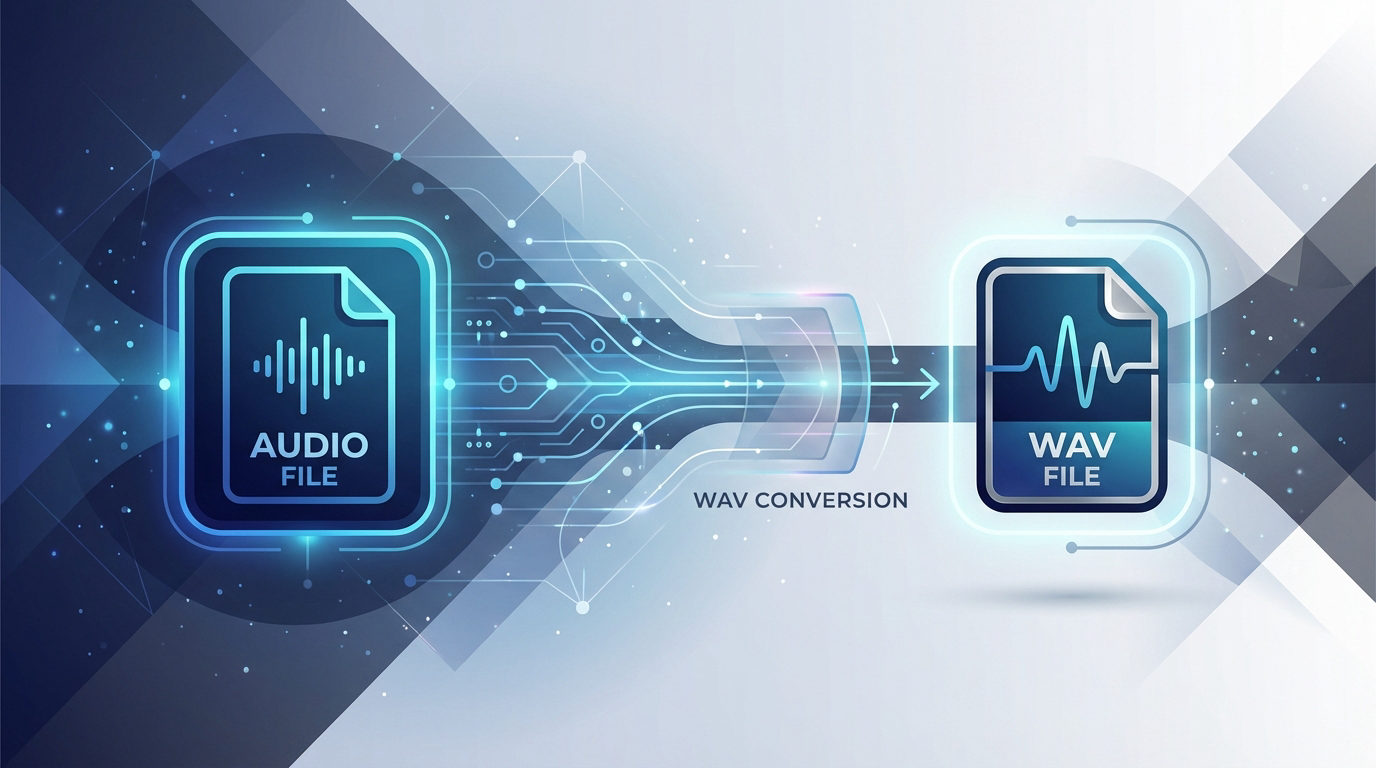
This completely depends on how you plan to use your audio. If you want to casually listen to it, an MP3 is a popular choice, but if you want to use it for professional purposes, it’s best that you save it in WAV first and then convert it later.
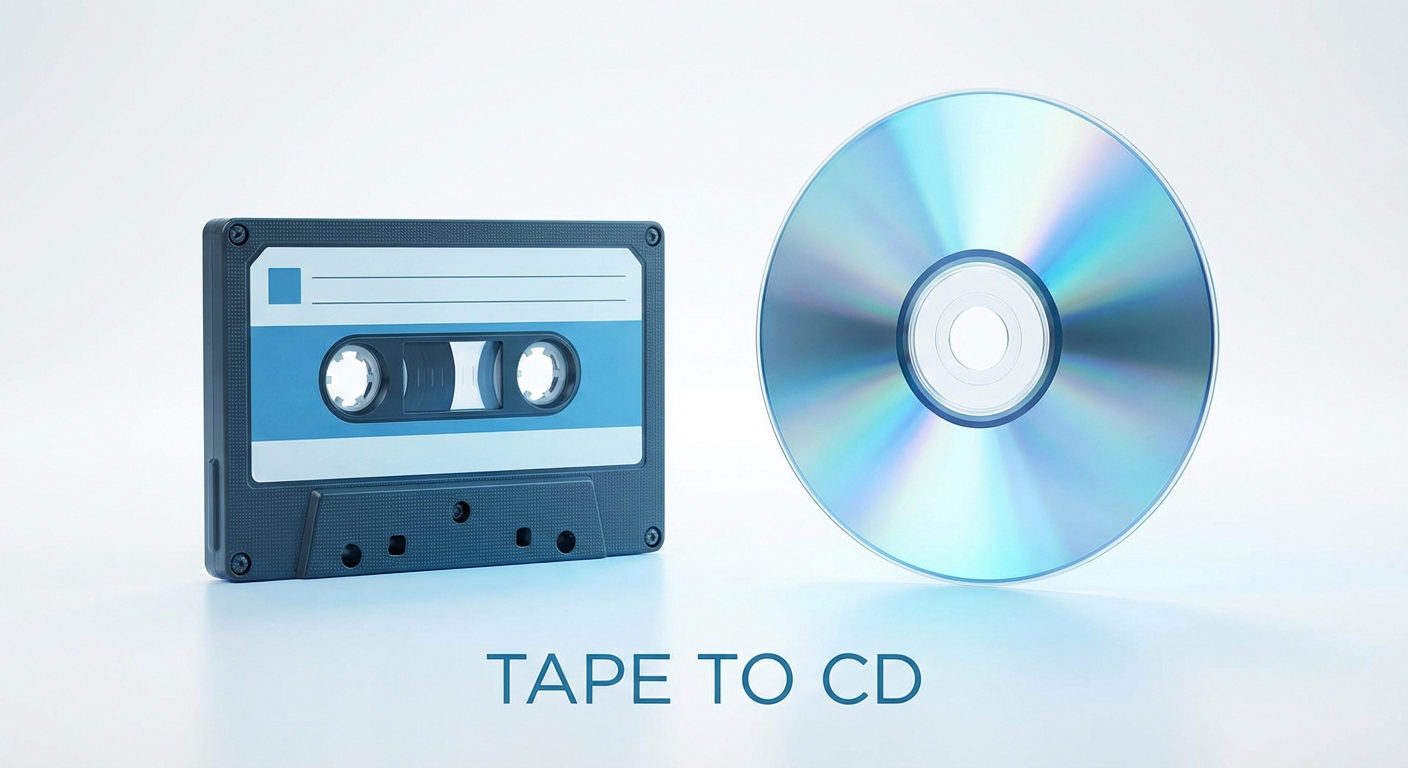
Q: Can I convert a cassette tape to a CD?
Yes. You can burn your audio files to a blank CD manually using a dual tape deck and CD recorder, or get professional services that will simplify the entire process and convert it for you.
Q: Do I need a computer to convert cassette tapes?
Not necessarily. Some USB cassette converters let you record straight to a flash drive. But for editing or saving to specific formats, a computer tends to help.