.png)
.png) Deutsch
Deutsch .png) Français
Français .png) Italiano
Italiano  Español
 .png) 日本語
日本語 .png) Português (Brasil)
Português (Brasil) Trying to screen-record Apple Music in 2025? You’ll notice the video works, but the audio doesn’t. That’s because Apple blocks sound recording through DRM on iPhones and Macs. Still, there are proven ways to record Apple Music with audio — without jailbreaking or breaking the rules.
This guide shows step-by-step instructions on screen recording Apple Music with sound on iPhone and Mac using updated methods that work in 2025.
How to Record Apple Music on iPhone
In 2025, no iPhone app — built-in or third-party — can record Apple Music with sound. Apple mutes all internal audio during screen recordings to enforce DRM. That includes the default iOS screen recorder and every app on the App Store. Even apps claiming to capture internal audio will leave Apple Music silent.
We’re not including jailbreak methods in this guide. They’re risky, impractical for most users, and can permanently compromise your device’s security.
That said, there’s a reliable workaround — record your iPhone’s audio using a Mac. It’s not recording on the iPhone but lets you capture the sound cleanly. Here’s how:
- Connect your iPhone to a Mac using a Lightning or USB-C cable. Tap Trust on the iPhone if asked.
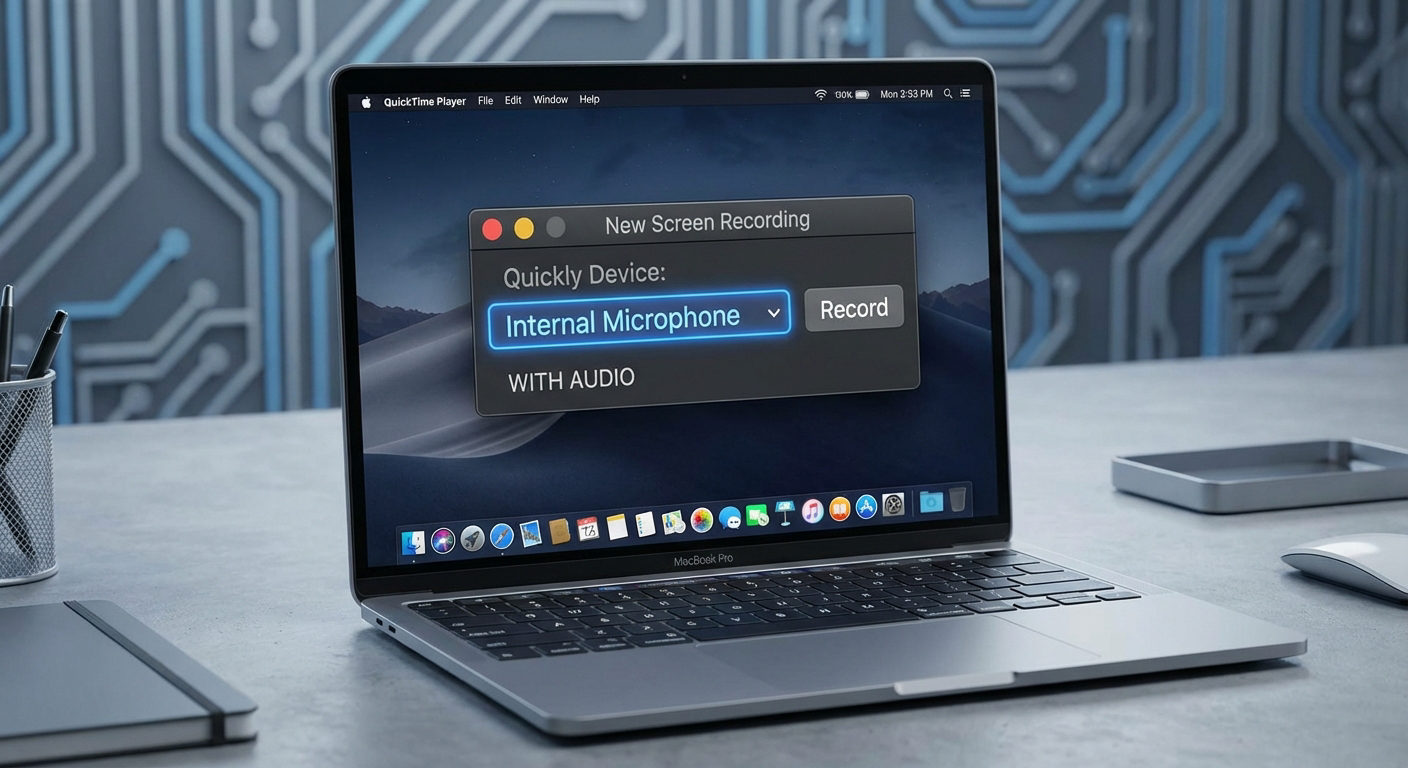
- Open QuickTime Player on the Mac. Click File > New Audio Recording.
- Select the iPhone as the input by clicking the dropdown next to the record button.
- Swipe to Control Center on your iPhone, tap the AirPlay audio icon, and select your Mac as the output.
- Press Record in QuickTime, then play the Apple Music song on your iPhone.
- When finished, click Stop and save the file to your Mac.
This setup routes the iPhone’s audio through the cable and lets the Mac capture it in real time. It’s the cleanest way to record Apple Music with sound from an iPhone—no hacks, no DRM violations.
This method still works as of May 2025. However, Apple may change how it behaves in future iOS updates.
How to Record Apple Music on a Mac
You can record Apple Music with sound on a Mac, but not with built-in tools alone. Apple blocks internal audio for privacy and copyright reasons, so apps like QuickTime won’t capture system sound.
Still, with the right setup, it’s doable — and you don’t need to mess with DRM. As of 2025, here are three methods that work:
- OBS Studio – great for macOS Ventura or newer (free)
- OBS + BlackHole – works well on Monterey and older versions (free)
- EaseUS RecExperts – paid option, but includes a free trial
Method 1: OBS Studio on macOS Ventura or Later
If you’re running macOS Ventura (13) or later, OBS Studio version 28+ now has a native macOS Screen Capture source that can grab system audio without an external driver. This means on newer systems you might skip installing BlackHole.
How to Record Apple Music with OBS Studio on macOS Ventura or Later
Download the latest version of OBS Studio from obsproject.com. Once OBS is installed, open the app and sign in to your account.
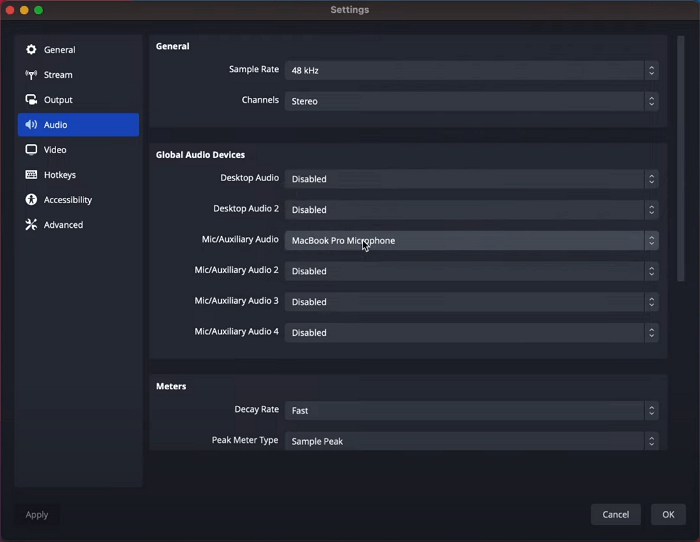
Go to Settings, then click Audio. Under Global Audio Devices, select your system audio input for Desktop Audio and choose your microphone input under Mic/Auxiliary Audio.
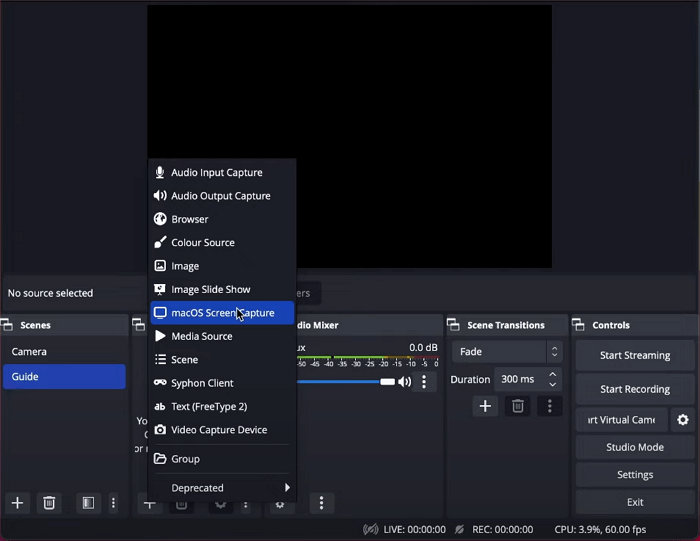
Next, click the + icon under Sources, select macOS Screen Capture, and complete the setup.
That’s it—you’re now ready to start recording Apple Music with audio.
Method 2: OBS Studio + BlackHole for macOS Monterey or Earlier
OBS alone can’t capture system audio on older Macs. BlackHole, a free virtual audio driver for macOS, solves that by routing your Mac’s output back into OBS. This setup lets you record Apple Music with audio perfectly.
How to Record Apple Music with OBS Studio and BlackHole on macOS Monterey or Earlier
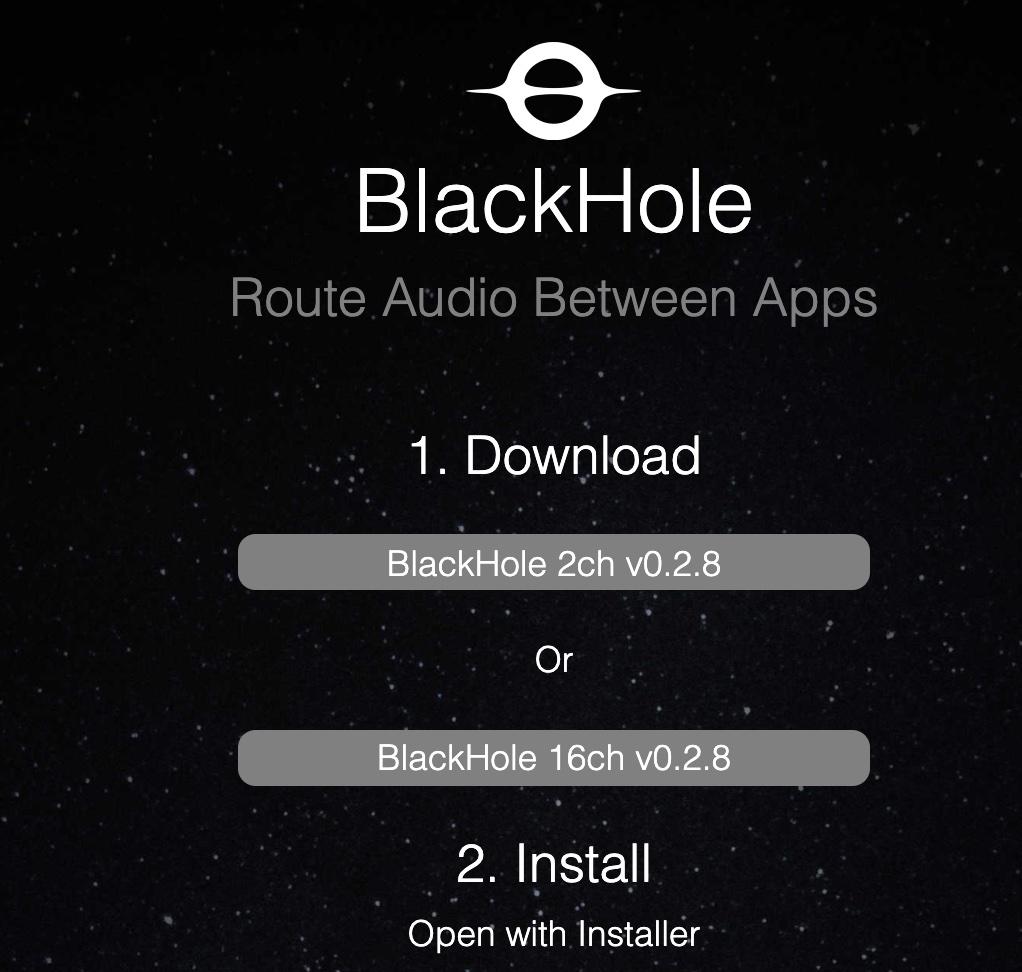
First, download BlackHole and OBS Studio from their official sites.
Download Links: [BlackHole] | [OBS Studio]
To install BlackHole, provide your email address along with the required details. Then, click Subscribe for Free Mac Download.

After that, you’ll receive an email with a download link. Open the link and click Download 16ch version.
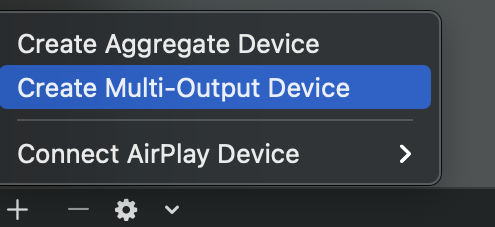
Once both apps are installed successfully, open Audio MIDI Setup (pre-installed on all Macs) and click Create Multi-Output Device to create a new multi-output device.
Tip: Can’t find Audio MIDI Setup? Go to Finder > Applications > Utilities > Audio MIDI Setup.
In the new open tab, select MacBook Pro Speakers as the Master Device. You can also choose any other device you use for audio output. Set the Sample Rate to 44.1 kHz. Then, check MacBook Pro Speakers (your output device) and BlackHole 16ch.
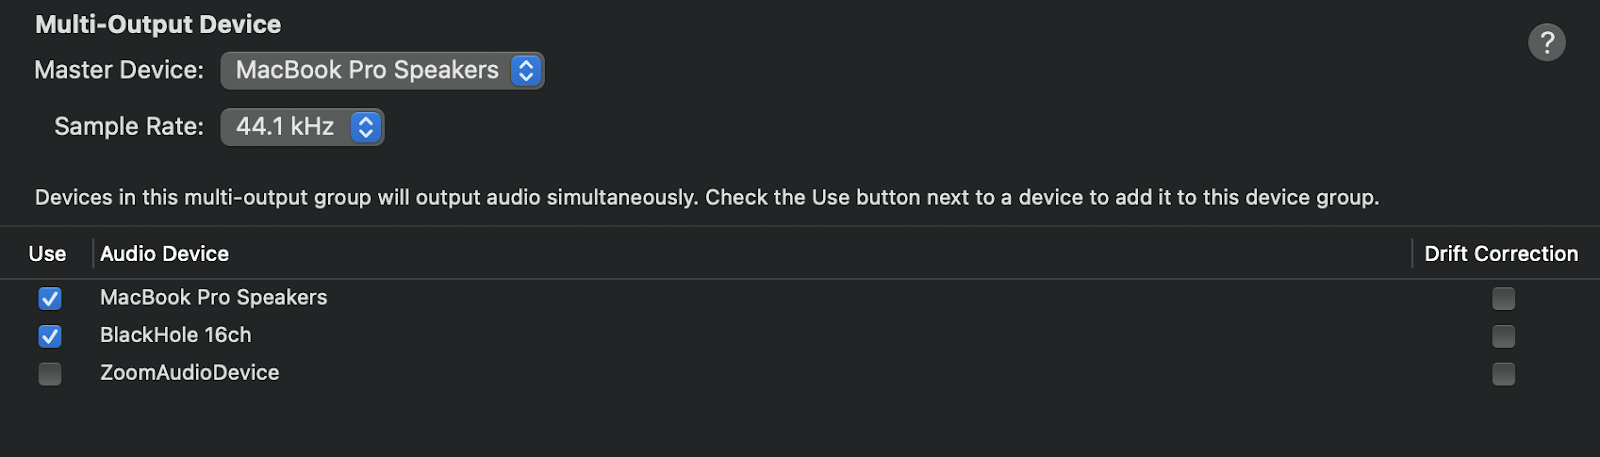
Tip: Ensure Mac speakers are set as the master device and are listed at the top.
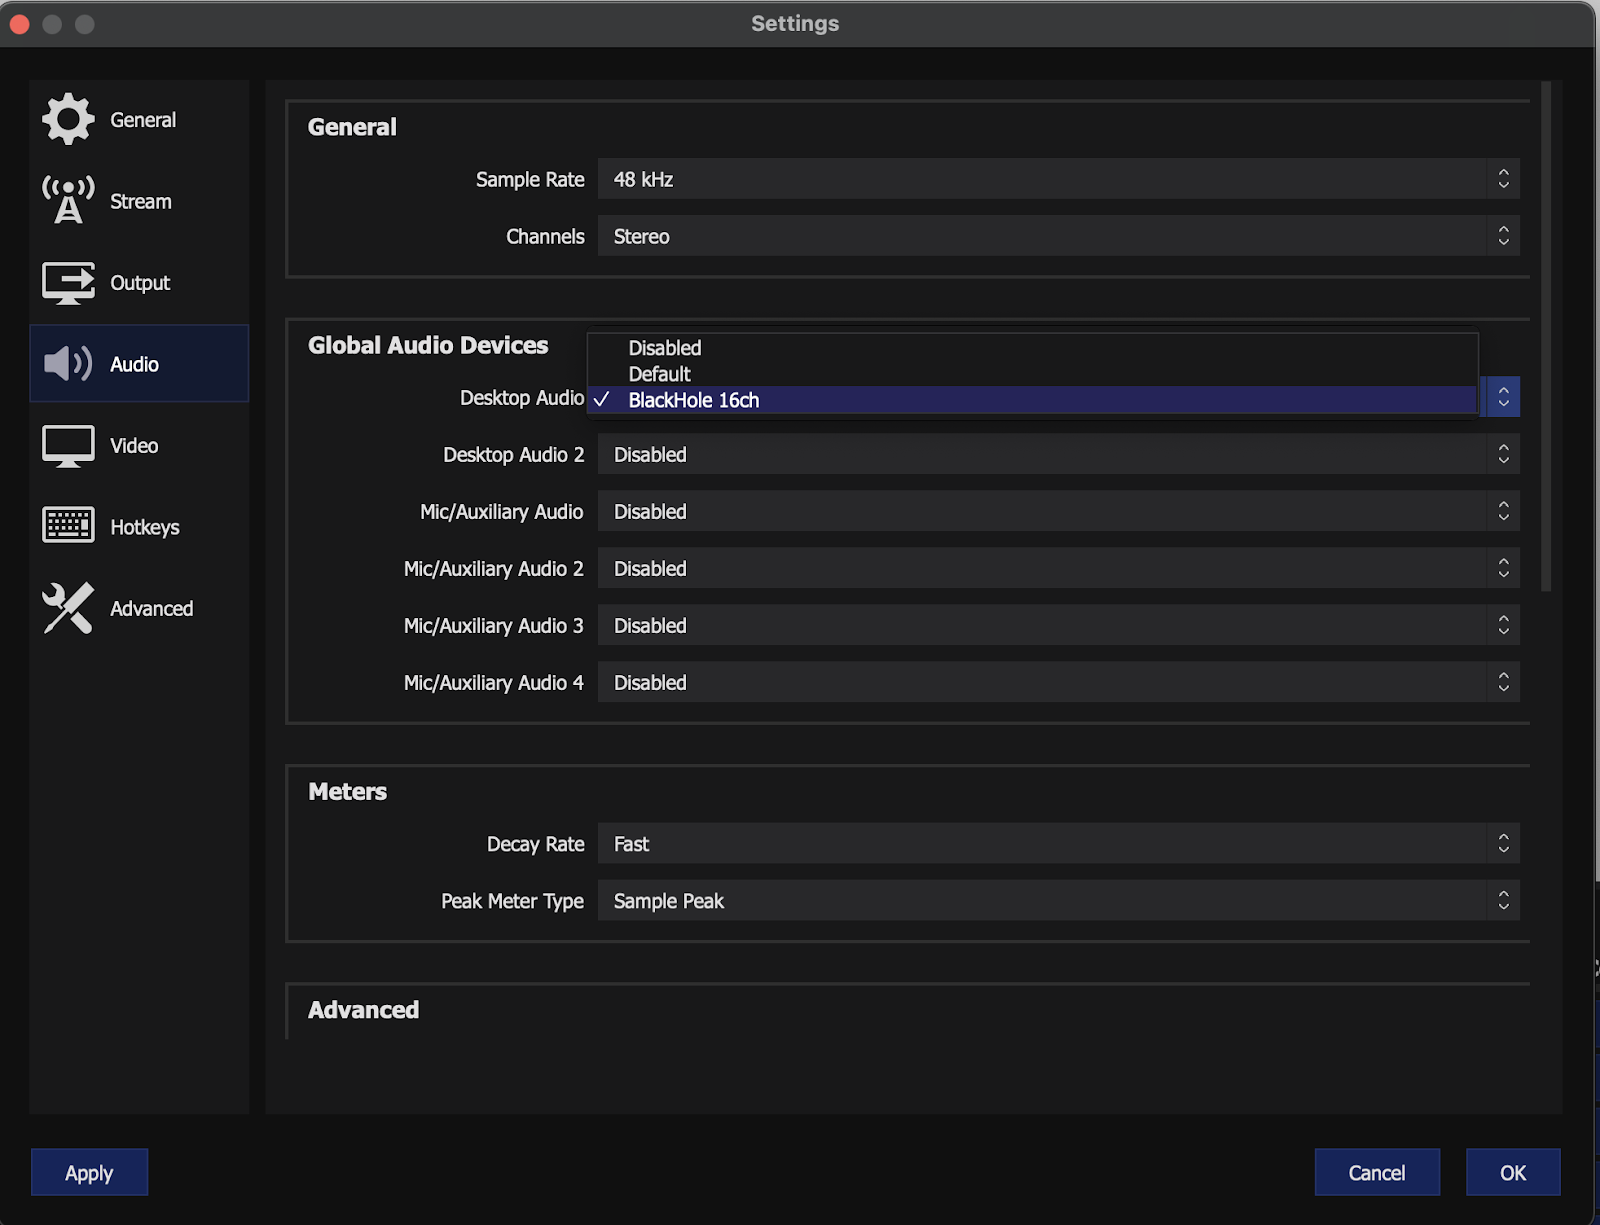
Now, open OBS. After signing in, go to Settings, click Audio, and set Desktop Audio to BlackHole 16ch.
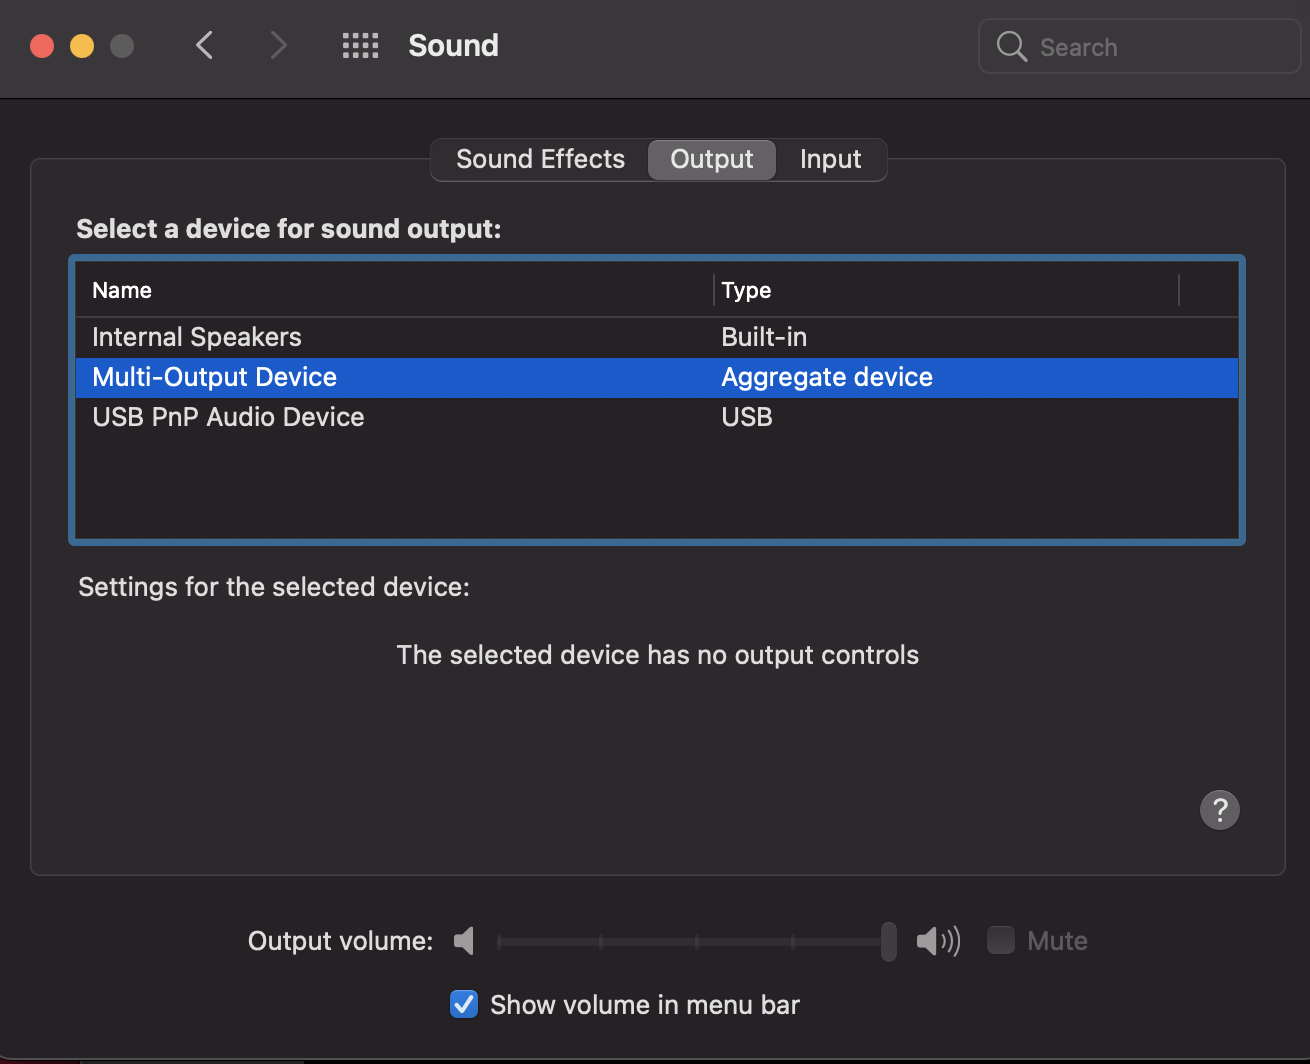
There’s one final step before you’re ready to screen record Apple Music on your Mac with audio. With BlackHole and OBS configured, open System Preferences and click Sound.

Then, go to the Output tab and set Multi-Output Device as the default output.
And that’s it. Click Start Recording in OBS to test it. This method is popular because you only have to configure it once—and you’ll be ready to record anytime.
Method 3: EaseUS RecExperts (All macOS versions)
EaseUS RecExperts is a premium macOS app made for recording system audio — even from DRM-protected sources like Apple Music. It’s one of the few tools that works out of the box without any setup headaches.
How to Record Apple Music with EaseUS RecExperts on Mac
Download EaseUS RecExpert from the official EaseUS website.
Link: [EaseUS RecExpert]
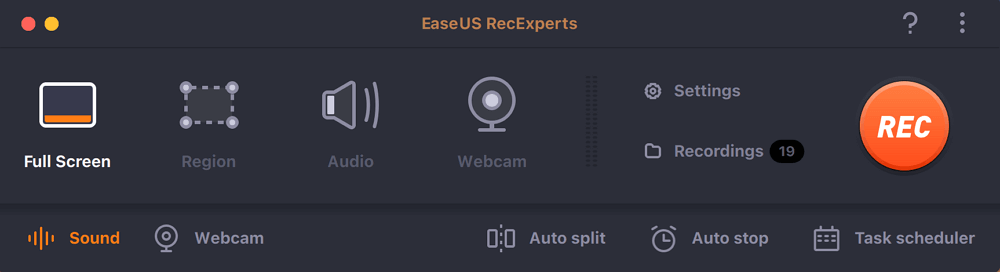
Install the app and register your account. Then, launch the app. The interface will look like this:
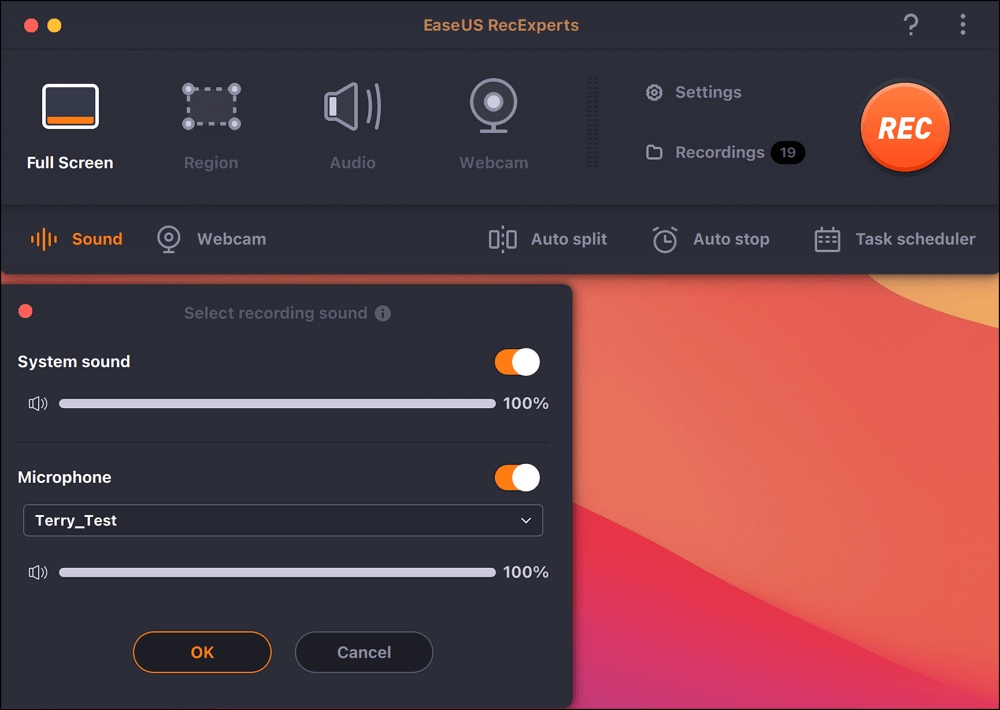
Next, choose an audio source. Click Sound and make sure the System sound is toggled on. Then, click OK.
That’s it—you’re now ready to screen record Apple Music with audio on your Mac.
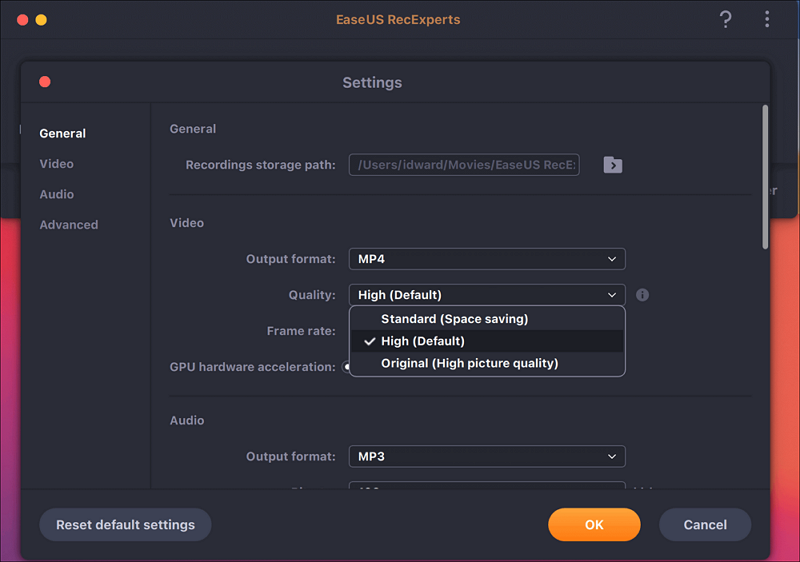
You can optionally adjust the output quality of your recordings. To do so, go to Settings, configure the Video and Audio settings, and then click OK.
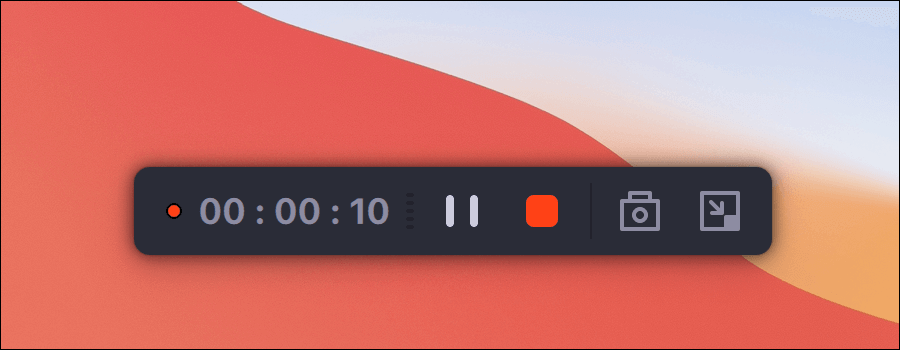
Once everything is set, click REC to start your recording.
When finished, you can view all recorded files using the built-in player in EaseUS RecExpert.

Overall, EaseUS RecExpert is an excellent choice in 2025 for Mac users looking for a quick, hassle-free way to record Apple Music. Tech forums often recommend it for capturing music or streaming video audio, as it effectively bypasses the DRM mute issue.
If you value your time and are willing to use a trial version or purchase the app, this is arguably the easiest method available.
Conclusion
Apple Music isn’t meant to be recorded, and most built-in tools won’t let you. But if you’re using a Mac in 2025, there are still a few reliable ways to get it done. Just make sure you pick the method that fits your setup.
FAQs
Q: Why doesn’t Apple Music record with sound?
A: Apple blocks internal audio during screen recordings to protect music copyrights. That’s why, even though you hear the song while it’s playing, the recording ends up completely silent — no matter which app you use.
Q: Can I screen-record Apple Music just for personal use?
A: Technically, it still breaks Apple’s terms. Even if you’re not sharing it, recording streamed music may fall under copyright violations in many places. It’s one of those things that feels harmless but isn’t allowed.
Q: Is it possible to screen-record Apple Music with audio on iPhone?
A: Unfortunately, no. The iPhone’s screen recorder won’t pick up Apple Music’s sound. You must connect your iPhone to a Mac and record the sound from there if you want the audio.
Q: How can I record Apple Music with audio on a Mac?
A: If you’re using a newer macOS like Ventura, OBS Studio can capture screen and sound without hassle. To make it work on older systems, you’ll need to add a tool like BlackHole and OBS Studio. You can also try EaseUS RecExperts—it’s easier to set up, though it’s a paid app (with a free trial).