.png)
You’re not alone if you’re trying to figure out how Twitch works. The platform has grown into more than just a place for gamers — it’s now home to live creators of all kinds.
Whether you want to watch streams or try streaming yourself, this guide has you covered. Learn how to get started and make the most of Twitch in 2025.
Gettings Started as a Viewer
Create a Twitch Account
To start using Twitch, you must create a free account — the process takes just a minute.
Head over to twitch.tv and click on Sign Up.
To begin, choose a username (it’ll be your Twitch identity). Then, create a strong password. Finally, enter your email and birthdate.

Next, Twitch will ask you to enter your verification code sent to your email address. Make sure you do, as it unlocks features like the ability to chat during streams.

Navigating the Twitch Interface
Upon logging in, you’ll see the home page with recommended live channels and categories. At the top, there’s a search bar to find specific streamers or games.

On the top-left sidebar, you’ll see followed channels (once you follow some) and browsing options.

Clicking Browse lets you explore categories (games, IRL, music, etc.) and discover streams by topic.

Each stream’s page features the live video player and, to the right, the live chat. Familiarize yourself with the Twitch layout.
The Following section highlights when your followed channels go live. You can also click categories like Just Chatting or Fortnite to explore active streams.
Finding and Following Streamers
Twitch has something for everyone — from competitive esports to chill variety streams. Let’s say you’re into Fortnite and want to find streamers who play it live.
Head to the Browse tab and look for the “Fortnite” category. You’ll see a grid of live channels currently playing Fortnite. Click on one that looks interesting to start watching.

If you like the vibe, hit the Follow button on their channel so you can easily find them again the next time they go live.

Supporting Creators: Subs, Bits, and Prime
If you enjoy someone’s stream, subscribing is one of the best ways to support them.
You’ll see a Subscribe button below the stream.

A basic Tier 1 subscription usually costs $4.99/month, but Twitch adjusts the price based on your country — it might be as low as $1.49 in some regions.
What do you get when you sub?
- Custom emotes to use in chat
- A subscriber badge next to your name
- Access to sub-only perks, like special streams, Discord roles, or giveaways — depending on the streamer
It’s a way to support your favorite creators and unlock a few cool extras at the same time.
Have Amazon Prime? You get one free subscription each month through Prime Gaming. Just link your Amazon and Twitch accounts, and you can support a creator without spending extra.
Not ready to subscribe? That’s okay — you can still show love by cheering with Bits (Twitch’s virtual currency).
Using Twitch Chat and Emotes
Twitch chat lets you react and interact in real time. Just type in the chat box beside the stream to join in.

Each channel has its own rules, so be respectful. To reply to someone, use @username, or drop emotes to express yourself.
There are two types of emotes:
- Global emotes (like Kappa, PogChamp)
- Channel emotes, unlocked by subscribing to a streamer
Tip: Prefer to watch silently? That’s totally normal — many Twitch viewers never chat at all.
Becoming a Streamer on Twitch
Ready to go live? Twitch gives you all the tools you need to broadcast your content and build a community.
Before you hit the “Start Streaming” button, you must set up your account properly, choose the right software, and understand Twitch’s basic rules. Here’s how to get started.
Preparing Your Account for Streaming
The same Twitch account you use to watch streams also works for streaming — there’s no need to create a separate “streamer” account. You’ll just need to adjust a few settings before going live.
Make sure your account is email verified, and it’s a good idea to add a phone number as well. Most importantly, Twitch requires two-factor authentication (2FA) to start streaming.
To enable 2FA, click on your profile, go to Settings, and select Security and Privacy. Under Security, click Set Up Two-Factor Authentication.

Next, click Enable 2FA.

Provide your phone number and click Continue. You will receive a 7-digit security code to verify your phone number.

Once 2FA is enabled, your account is ready for streaming.
Tip:
Keep your Stream Key private — it’s like your broadcast password.
While you’re here, add a profile picture and bio if you haven’t already. First impressions matter, and people often check your profile before following.
Choosing and Setting Up Streaming Software (OBS, Streamlabs, Twitch Studio)
Before you go live, you’ll need broadcasting software. Most streamers use one of these three:
- OBS Studio – Free, open-source, and the go-to for people who want full control.
- Streamlabs Desktop – Easier to set up, with built-in alerts and overlays. Just a bit heavier on performance.
- Twitch Studio – The simplest option. Great for beginners but more limited overall.
They’re all free, so try one out. Many new streamers start with Streamlabs or Twitch Studio and later switch to OBS.
You can grab them from their official sites: OBS, Streamlabs, or Twitch Studio.
Installing and Configuring OBS
Once OBS is installed and launched for the first time, you will be prompted to use the Auto-Configuration Wizard.
OBS will use this to recommend the best settings based on your system and internet connection. Click “Optimize for streaming, recording is secondary.”

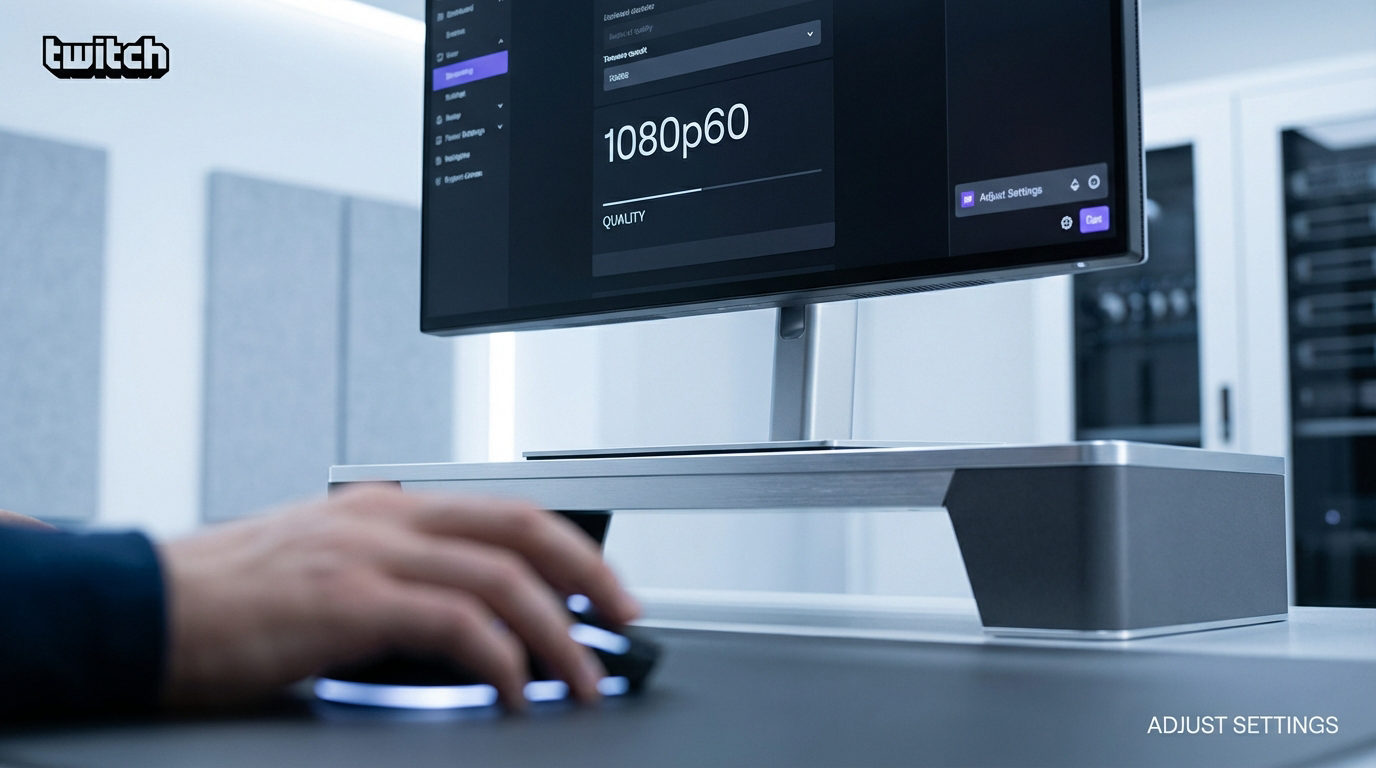
Set your base resolution and FPS according to your preferences, then click Next.

Choose Twitch as the service and click Connect Account to log in.

Authorize OBS to access your Twitch account.

Enable “Prefer hardware encoding” and “Estimate bitrate with bandwidth test.” If you want further optimization, you can also check “Test Enhanced Broadcasting.” Then, click Next.

OBS will now test your setup and suggest recommended settings. After the test is complete, click Apply Settings.

Tips:
You can also connect your Twitch account using a Stream Key from your Creator Dashboard (Settings > Stream). Just copy it and paste it into OBS.
Check out OBS’s official guide [here] if you’re using OBS for Twitch and want a full walkthrough of its features.
Wondering what kind of hardware you need to stream? Twitch has a useful hardware recommendations page. It shows which specs are best for different quality levels.
Customizing Your Twitch Channel
Setting up your Twitch channel isn’t just about making it look nice — it’s about getting everything ready behind the scenes too. That includes your profile, panels, chat tools, and a few other features that help people feel at home when they visit.
You don’t need to overthink it — just get the basics in place, and you’ll be off to a solid start.
Profile Setup and Branding
First impressions matter, so it’s worth setting up your profile properly.
Head to your Twitch Creator Dashboard, click your profile, and select Channel. You will see “Customize your channel” banner; click Edit.

Go to Brand and click Add Profile Picture. Twitch recommends a 256×256 px size for your channel/profile picture. From here, you can also add a profile banner at the top of your page (Twitch recommends a 1200×480 px banner size).

To further personalize your profile, change your Profile Accent Color and upload a Video Player Banner.
From About under Profile Settings, you can write the Bio of your channel, which will serve as the About panel on your channel page, and click Save Changes to apply.

Here, you can add up to 5 Social Links that will be displayed on your channel profile.
Go to the Schedule tab, where you can click Add Stream to give your viewers an idea of when you will be live.

You can give your scheduled stream a title, category, time you will start the stream, how long it will last, and the frequency of the stream. Then, click Save Changes to add it to your Schedule for your viewers to know.

These small details help your channel stand out and make it easier for new viewers to remember you.
Tip: Want more customization options? Twitch has a full guide [here].
Creating and Managing Info Panels
Your info panels show up under your stream. They help you share important details like your bio, stream schedule, donation links, and social handles.
To customize them, go to your Channel, click the About tab, and toggle on Edit Panels.

You can upload custom image banners for a cleaner look or by installing extensions on your channel.

Popular panels include “About Me,” “Rules,” and “Donate.” Use bold headers or simple graphics to keep things skimmable and organized.
When you’re done, toggle off Edit Panels to preview how it looks to your viewers.
Even simple panels can make your channel feel complete — and cut down on repeated questions in chat.
Tip:
Your past streams (VODs) and clips if you want to edit them, can do so through Videos tab, by clicking Edit Videos.
Chat Moderation and AutoMod Settings
Twitch chat can get messy fast — so smart moderation is key.
Start by enabling AutoMod from Creator Dashboard > Settings > Moderation.

It filters categories like hate speech, bullying, and sexual content. You control how strict each category is, and flagged messages appear for mod review instead of auto-deletion. Click AutoMod and select Turn On AutoMod.

Scroll down to configure Chat Privileges. You can require viewers to verify their email, phone number, or account age — and even limit chat to followers or subscribers. These settings are key to blocking bots and fake accounts.

Tips:
Consider adding a bot like Nightbot or StreamElements for auto-messages, basic spam control, and chat engagement.
For a comprehensive guide on setting up and managing moderation tools, refer to Twitch’s official moderation guide.
Going Live: Your First Broadcast
You’re all set up — now it’s time to go live.
Before you start, fill in your stream title, pick a category (game/topic), and add a few tags. This helps people find you. You can do this directly in OBS under Stream Info.

If it’s your first stream, test your setup using Twitch Inspector. Just log in and hit Run a stream test — it’ll flag any connection issues.

Many streamers use a “Starting Soon” screen so viewers have time to join, but it’s optional.
To go live, just click Start Streaming in OBS. Engage with chat, watch your stream quality, and don’t stress about the occasional lag or frame drop.

After you end the stream, Twitch gives you a summary — showing your viewer count, chat activity, followers, and more.
If you’ve got a schedule, try to stick to it. Even a loose one helps viewers know when to show up.
Tip:
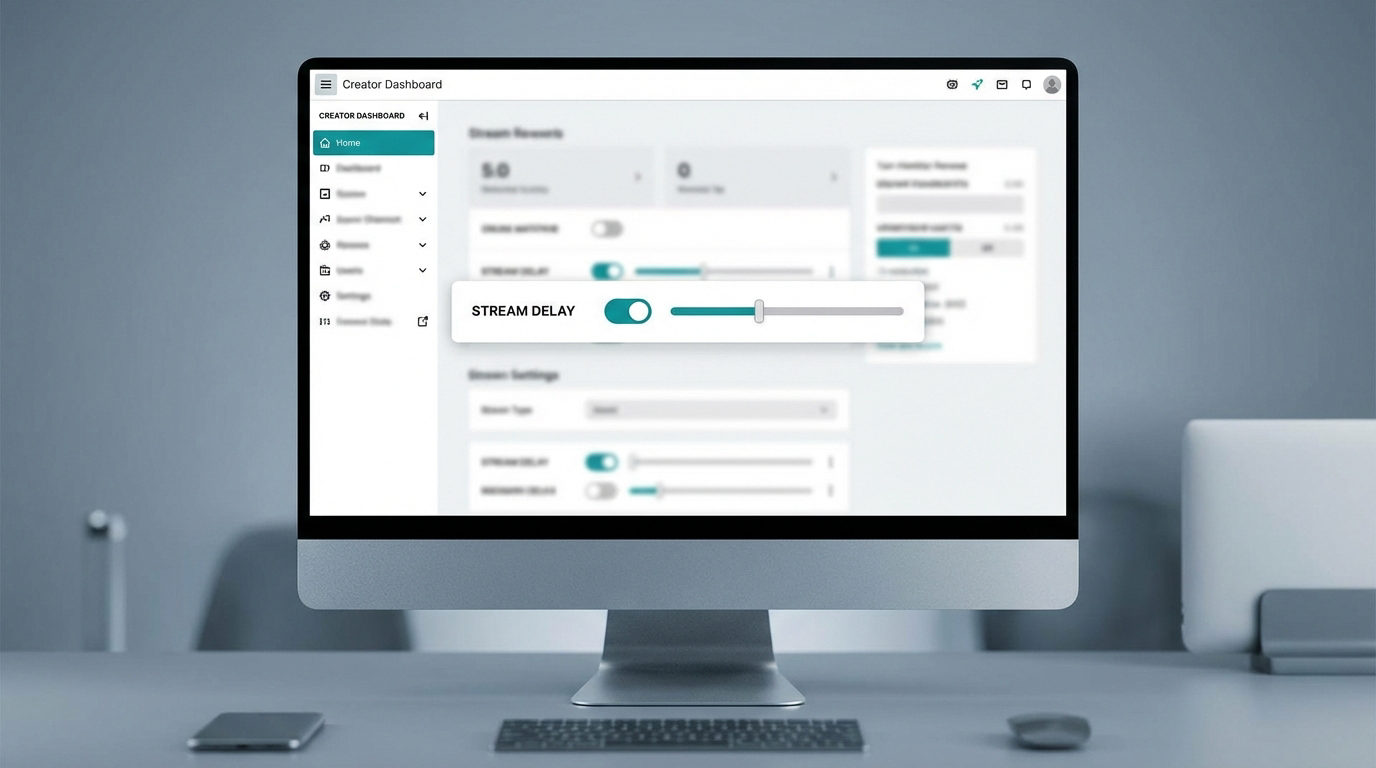
Once you hit Affiliate, you unlock tools like Channel Points, Bits, emotes, and sub badges — all under Viewer Rewards in your dashboard. They’re great for engagement and building community.
Conclusion
That’s pretty much it. Twitch can feel like a lot at first, but once you get the hang of things — it’s actually simple. You’ve got the tools, the setup, and now the steps to go live or just hang out and watch.
Don’t overthink everything. Start small. Stream when you can. Talk to people. And yeah, have fun with it — that’s what makes it worth doing.
FAQs
Q: How much internet speed do I need to stream?
A: For smooth streaming:
- 720p @ 30fps → 4 Mbps upload
- 1080p @ 60fps → 6–8 Mbps
Always leave headroom — a stable connection matters more than raw speed.
Q: Can I stream with one monitor?
A: Yes — but it’s inconvenient. You’ll need to alt-tab a lot. Some streamers use a phone or tablet to watch chat.
Q: What’s the difference between Twitch Affiliate and Partner?
A: Twitch offers two monetization tiers: Affiliate and Partner.
To become an Affiliate, stream at least 500 minutes over 7 different days, average 3 viewers, and reach 50 followers — all within 30 days. Once eligible, Twitch auto-invites you.
Affiliates earn money through subscriptions, like Prime, Bits (1¢ each), and ads. They also unlock Channel Points, emotes, sub badges, and ad incentives.
Partner status requires a manual application and typically needs 75 average viewers, 12 active days, and 25 streaming hours in a month. Twitch also reviews content quality and consistency.
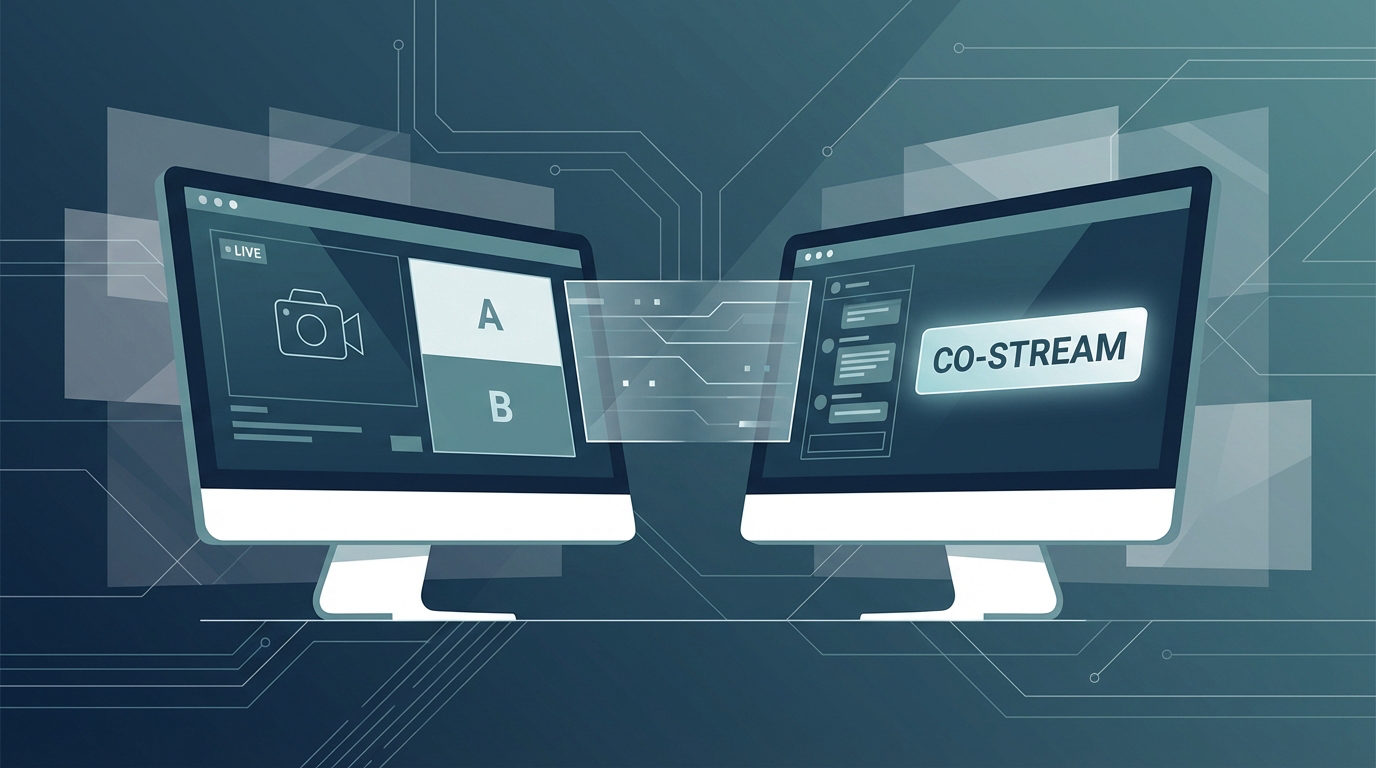
Partners get more emote slots, priority support, and Squad Stream. They also have access to stream teams, a verified badge, and 60-day VOD storage compared to 14 days for Affiliates.
Summary: Affiliate gets you earning. Partner offers more features, reach, and recognition.
Q: How do I change my username?
A: On twitch.tv, go to Settings. Under Profile Settings, click Edit (pencil icon) next to your username, type a new one, and confirm. You can change it once every 60 days.