.png)
If you’ve ever downloaded a movie (from legal sites, of course), chances are you already know VLC as a white-and-orange cone icon. What many people don’t know is that it also comes with built-in streaming features.
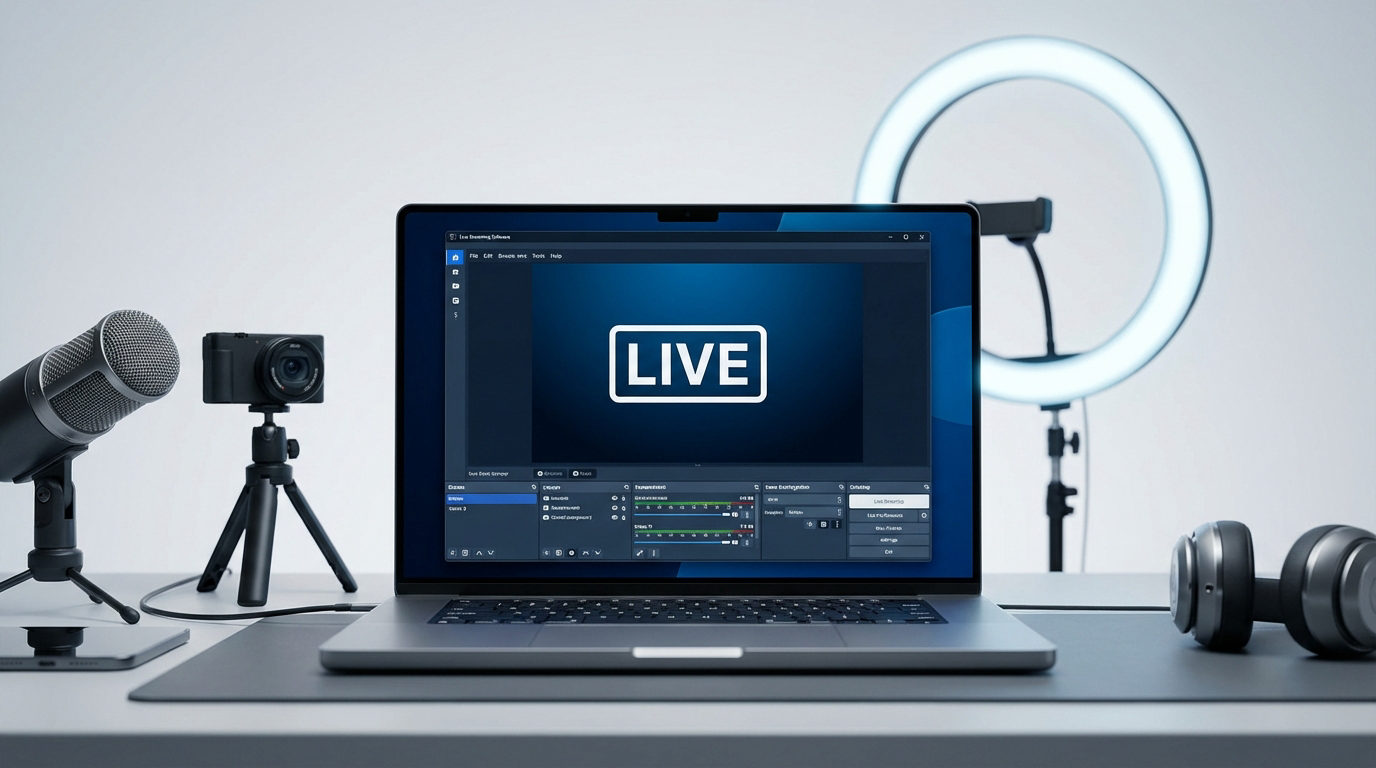
The VLC media player supports almost every codec, audio, and video format, making it one of the best media players out there. It also allows you to stream videos, your desktop, or even a webcam feed directly over the Internet.
Not sure where to begin? Here’s a detailed guide on how to stream using the VLC media player.
Why Use VLC for Streaming
VLC is a free, open-source media player that has been around for quite a while. Previously known as VideoLan Client, VLC is available across Windows, macOS, Linux, and mobile devices. It can handle any audio or video format you throw at it: No need for extra codecs or plugins.
Whether you’re a regular streamer or just testing the waters, VLC makes it possible. It is also known for its lightweight application that uses system resources efficiently. You can ensure a smooth streaming experience.
The open-source nature of VLC means you don’t have to worry about licensing fees or expensive add-ons. This makes VLC super accessible for first-time streamers who don’t want to invest in complex software right away.
Getting Started: Installing VLC Media Player
First off, go to www.videolan.org/vlc/ and download the VLC media player.
Once the file is downloaded, run the installer file and follow the on-screen prompts to complete the process. Once installed, open VLC to confirm it’s working. You’ll notice its clean interface with the familiar orange traffic cone logo.

Avoid downloading from third-party sites, as they may include unwanted software or outdated versions.
Preparing VLC for Streaming
While streaming using VLC isn’t too complicated, there are some steps you should follow:
Step 1: Open the Streaming Menu
Open the VLC media player on your PC and head over to the Media tab at the top left corner. From the dropdown, click Stream.

Step 2: Choose Your Source
A window will pop up asking what you want to stream. You can select a file (like a pre-recorded video), a disc, or even capture your desktop in real-time.

For streamers, the Capture Device is usually the way to go if you’re showing gameplay or tutorials.

Step 3: Set the Destination
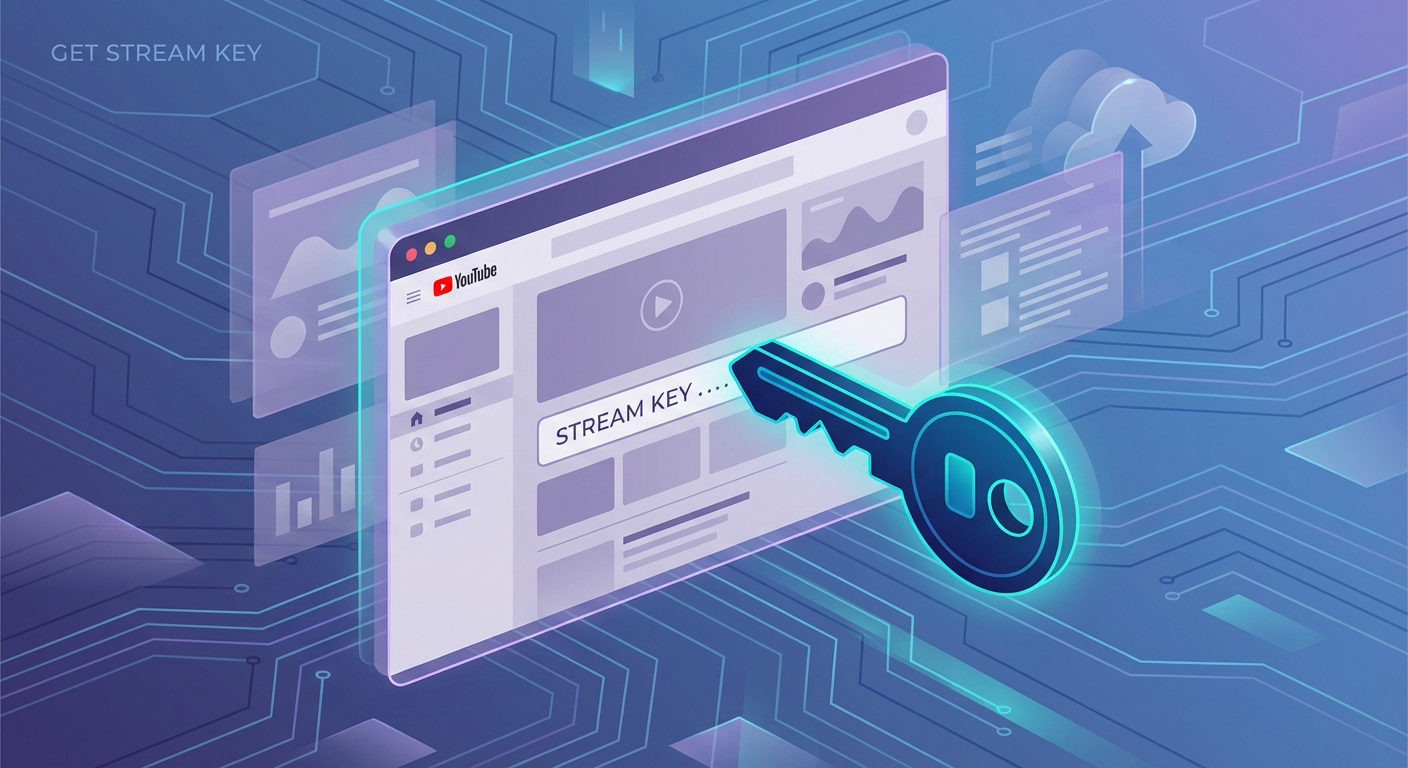
After selecting the audio and video device name, click Stream. Tell VLC media player where you want to stream the content. Click Next and choose an output method. The two most common options are HTTP and RTMP. HTTP is good for private/local streaming, whereas RTMP is perfect for streaming platforms like Twitch, YouTube, or Facebook Live.
If you’ve selected RTMP, enter the server URL or stream key provided by your platform.

Step 4: Pick Your Transcoding Options
A smooth and engaging stream is the correct balance of quality and performance. This is where transcoding comes in.
Under the Transcoding Options, choose your codec settings. H.264 for video and MP3/AAC for audio are standard choices.

During the stream, if you notice any audio or video glitches, try a different codec.
Step 5: Double-Check and Launch
Review your settings and click Next. You’ll see an Option Setup dialogue box. Enable the tick box for Stream all elementary streams. Click on Stream to begin playing the video and start the stream.

Step 6: Test Your Stream
Before broadcasting to the world, check your stream privately. Check audio sync, video clarity, and stability. Fixing small issues now is so much better than facing interruptions mid-broadcast.
If you’re planning to stream regularly, having a dedicated streaming camera can make a world of difference. This is where Hollyland VenusLiv Air shines. It supports 24/7 live streaming, giving you reliability that a standard webcam can’t match. Moreover, with features like 4K image quality and AI tuning, your content will boast exceptional clarity.
Step 7: Accessing the Stream
Once your stream is live, it’s time to check how viewers will see it. If you’re streaming to a platform like Twitch or YouTube, simply log in to your creator dashboard to preview the feed.
For local or private streams, open the Media tab in VLC, and go to Open Network Stream. Type in the network stream URL and click on Play.
The steps might be different depending on the device you are trying to stream to, but the network stream URL will be the same.


Conclusion
Streaming using VLC is straightforward, flexible, and customizable. Configuring settings might seem technical at first, but once you get the hang of it, it’s a powerful tool for going live. Upgrade your streaming setup with the right equipment, and you’re ready to showcase your interests to a wide audience.
FAQs
Is VLC good for streaming?
Yes, VLC is excellent for streaming. It features free, built-in streaming capabilities and supports any audio and video format. VLC is available across Windows, macOS, Linux, and mobile devices.
Do I need additional plugins for streaming with VLC?
No, VLC comes with everything you need to start streaming. That said, you can upgrade hardware like the microphone and camera to boost reliability.
Can VLC stream to platforms like Twitch or YouTube?
Yes, the VLC media player can be used for streaming to platforms like Twitch and YouTube. However, it requires manual configuration. You’ll need to enter the streaming URL and key provided by your platform.
My stream is lagging. How do I fix it?
High network load, incorrect cache settings, or poor internet connection speed can cause this issue. Try switching to a better Internet connection or adjusting cache settings to improve playback.
What kind of internet speed do I need?
While there is no one-size-fits-all approach, you’ll need at least 5 Mbps upload speed for standard quality. Opt for a higher connection if you want to push out HD or 4K content.