.png)
.png) Français
Français .png) Deutsch
Deutsch .png) Italiano
Italiano .png) 日本語
日本語 .png) Português
Português  Español
 Converting a YouTube video into an audio file is easier than it sounds, and multiple tools make it possible without much technical skill.
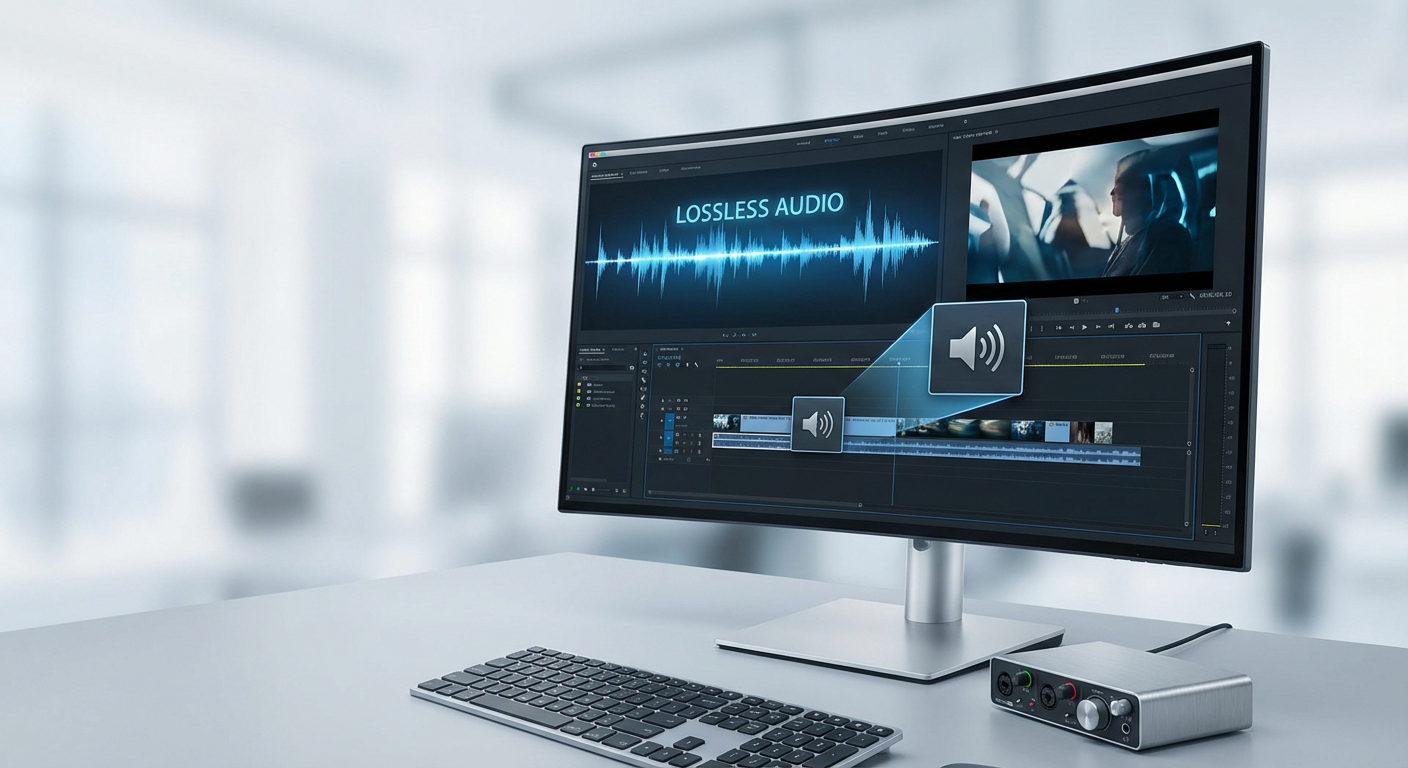
Also, if you’re a content creator planning to convert your own YouTube videos into high-quality audio files later, it’s important to start with great sound from the beginning. That’s where tools like the Hollyland LARK MAX 2 come in. This wireless microphone features 32-bit float recording, which captures every detail with incredible clarity, and OWS Bluetooth monitoring, allowing real-time audio checks without cables.

Hollyland LARK MAX 2 - Premium Wireless Microphone System
A premium wireless microphone for videographers, podcasters, and content creators to capture broadcast-quality sound.
Key Features: Wireless Audio Monitoring | 32-bit Float | Timecode
In this article, I’ll walk you through different methods — mostly free — that you can use to extract audio from YouTube videos. Let’s dive in.
What You’ll Need
- A YouTube video (that you own or have permission to use).
- A web browser or computer.
- VLC Media Player or Audacity (free software).
- Bluestacks and Vidmate (for mobile-based method on PC)
- Internet connection.
Method 1: Use a Free Online Converter (Fast & Easy)
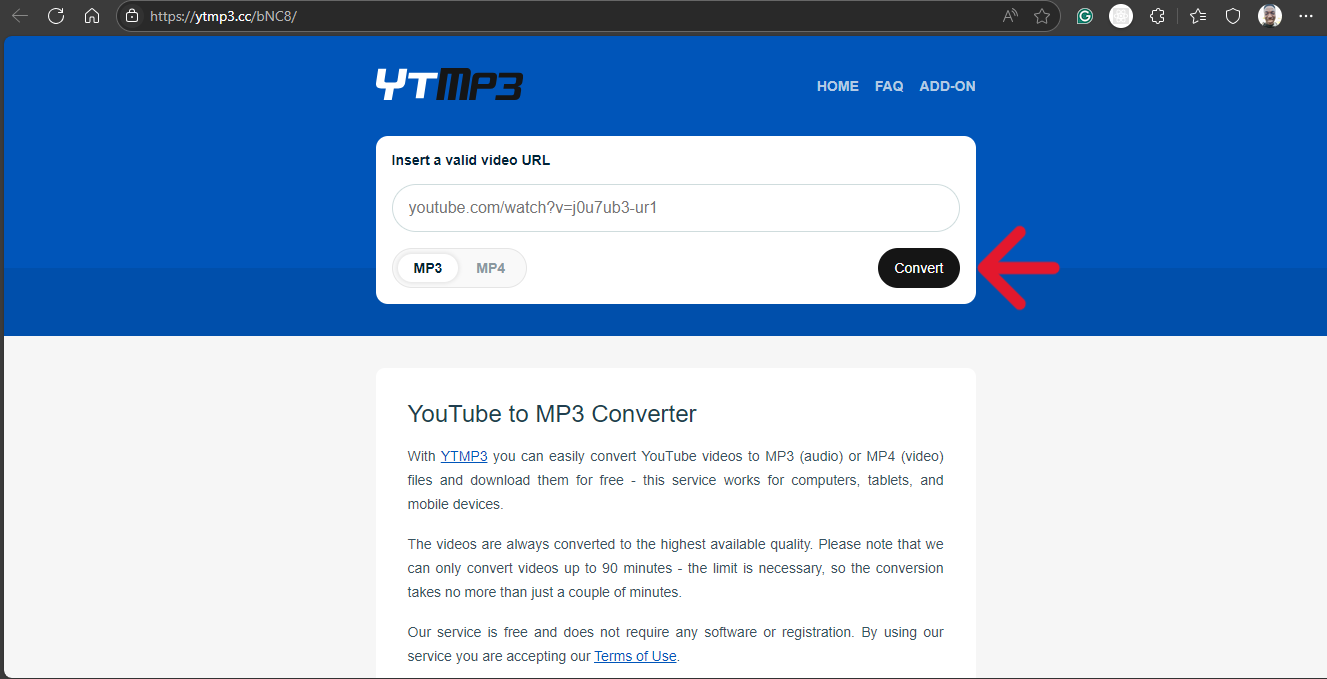
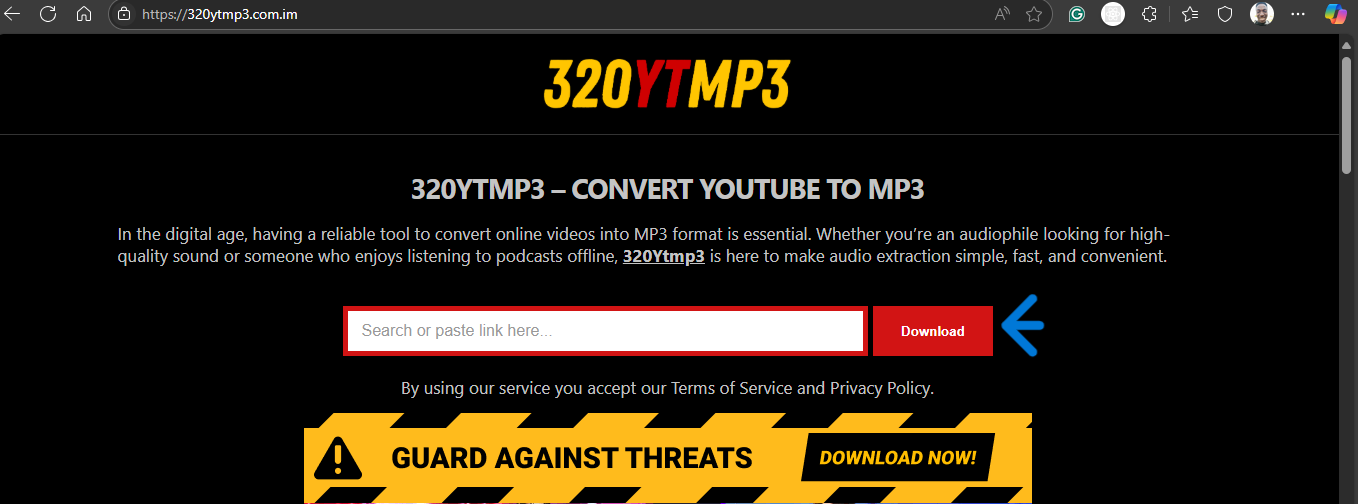
Online YouTube-to-MP3 converters are the quickest way to extract audio — no software needed. Here’s how:
- Go to a trusted converter site like ytmp3.cc or 320ytmp3
- Copy and paste the YouTube link into the input box
- Choose “MP3” as the output format.
- Click “Convert” and then download the audio file.
Pros:
- No installation required.
- Very fast and beginner-friendly.
Cons:
- Often filled with ads/popups.
- Limited control over audio quality.
- Some sites may not support videos longer than a certain length.
Method 2: Use VLC Media Player
VLC isn’t just for playing videos — it can also extract audio.
Steps:
- First, download the video using a site like yt5s.com.
- Open (If already installed) or download VLC Media Player.
- Go to Media → Convert/Save
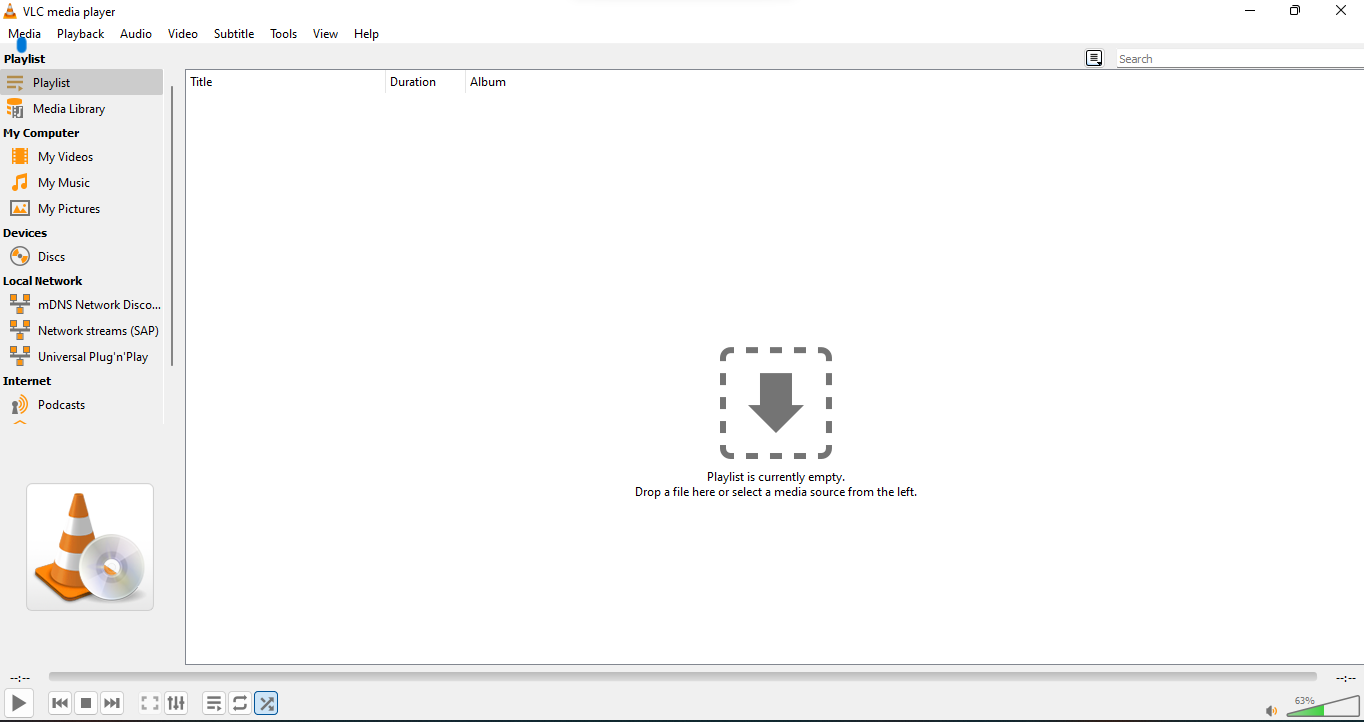
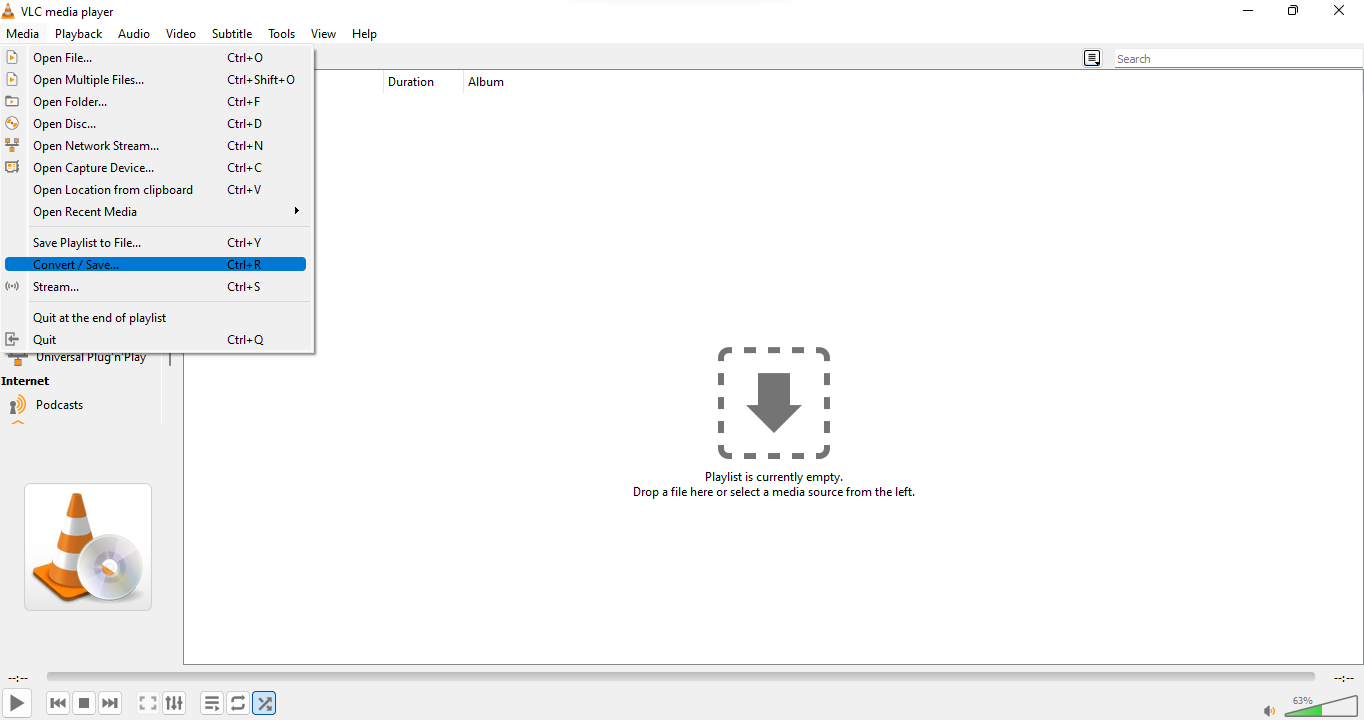
- Click Add, select your video, and hit Convert/Save.

- Under Profile, choose Audio – MP3.

- Set the destination and filename, then click Start.

Pros:
- Higher quality output.
- No internet needed after setup.
Cons:
- The interface may feel technical for beginners.
- Requires a few extra steps.
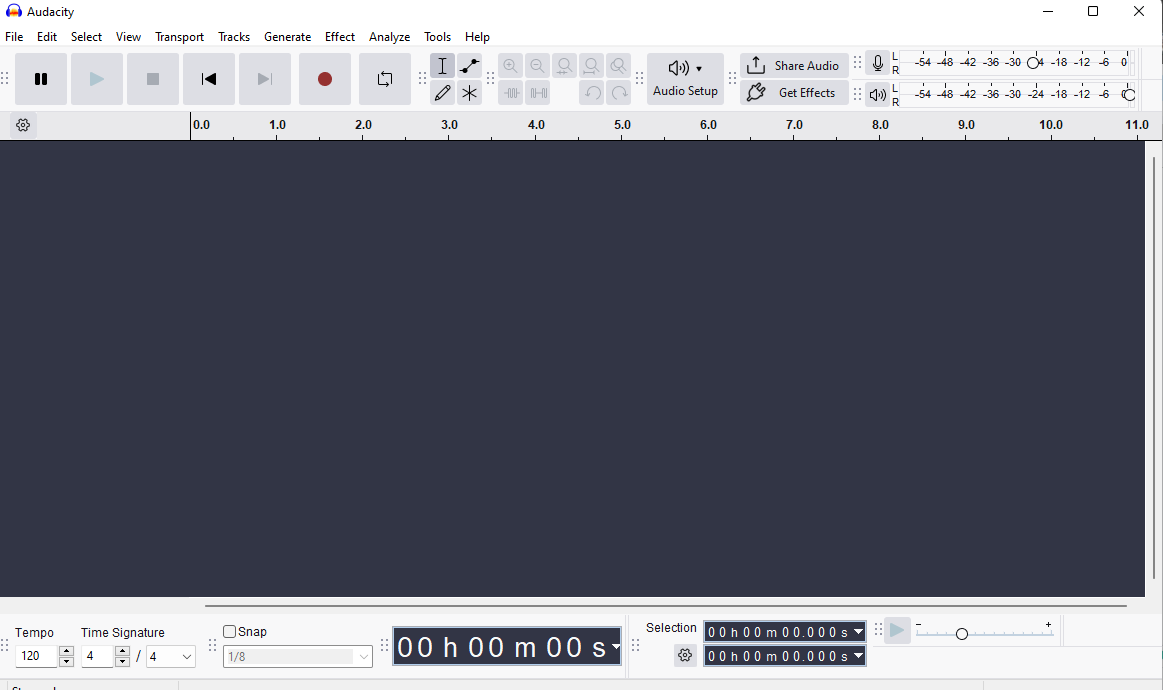
Method 3: Use Audacity for Cleaner, Editable Audio (Advanced but Free)
Audacity is a free, open-source audio editor that allows you to import YouTube audio and make minor adjustments.
Steps:
- Download the YouTube video (or audio) using a free downloader.
- Open Audacity (If installed already) or download from the official site.
- Import the file (File → Import → Audio

- Edit as needed (e.g., trim silence, normalize volume)
- Export as MP3 or WAV
Pros:
- Great for audio polishing.
- Full editing control.
Cons:
- Learning curve.
- More suitable for creators/editors.
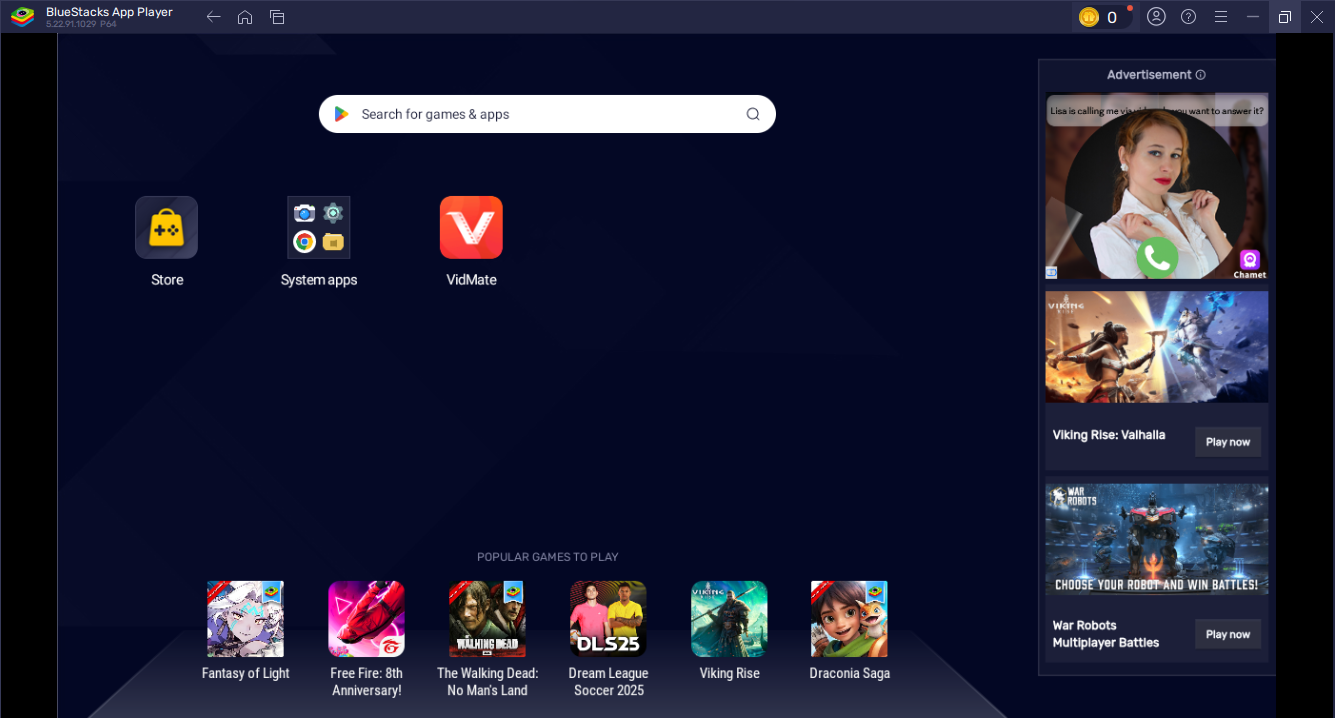
Method 4: Use BlueStacks with Vidmate (Android Emulator)
If you’d rather use a mobile-based app on your PC, BlueStacks allows you to run Android applications directly on your computer. Paired with Vidmate — a popular app for downloading and converting videos — this setup gives you a smooth way to extract audio from YouTube videos.
Steps:
- Download and install BlueStacks and the Vidmate APK from their official websites.
- Launch BlueStacks — it might take a few minutes to fully load on first use.
- Once it opens, you’ll see a familiar Android-like interface
- Open Vidmate, paste your YouTube URL into the search bar

- Tap the Download button and choose MP3 as the output format
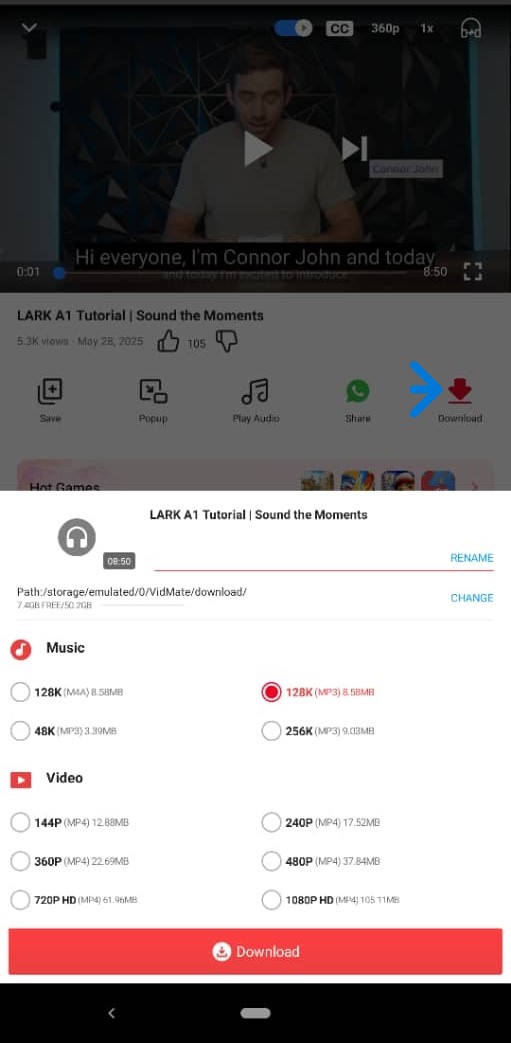
- Wait for the download to complete, and your audio will be saved
Pros:
- Access to mobile-only apps on PC
- Vidmate handles both video and audio conversions within the app
Cons:
- Requires extra setup
- Emulators can be heavy on low-spec systems
Method 5: Use 4K YouTube to MP3 (Freemium Desktop Tool)
If you’re looking for a clean, no-ads, and more stable desktop alternative, 4K YouTube to MP3 is a great pick. It works offline after installation, supports batch downloads, and delivers high-quality audio. While it’s technically freemium, you can get by just fine with the free version if you’re not doing heavy conversions.
Steps:
- Download and install 4K YouTube to MP3
- Copy the URL of the YouTube video you want to convert
- Open the software and paste the link
- Choose the audio format (MP3, M4A, or OGG)
- The audio will be downloaded automatically

Pros:
- Clean, ad-free interface
- High-quality output
- Supports batch conversion
Cons:
- Daily conversion limit on the free plan
- Some features are locked behind a paywall
Method 6: Use ClipConverter.cc (Browser-Based Classic)
ClipConverter.cc is one of the longest-standing tools for converting YouTube videos to MP3. It’s a browser-based option that allows for simple trimming and format selection, and works without nrequiring any installation
Steps:
- Visit clipconverter.cc
- Paste your YouTube video URL into the box
- Choose your output format (MP3, M4A, AAC)
- Trim the audio if needed by adjusting the start/end time
- Click Start, then download the audio file

Pros:
- No download required
- Basic audio trimming feature
- Multiple format options
Cons:
- Sometimes blocked by YouTube
- Ads and pop-ups may interrupt the flow
Method 7: Use YouTube Premium’s Background Play (Paid, Limited Use Case)
If you just want to listen to YouTube videos without watching them — especially on mobile — YouTube Premium gives you the option to play videos in the background and even download them for offline viewing. While it doesn’t let you export to MP3, it’s great for podcast-style listening.
Steps:
- Subscribe to YouTube Premium
- Open the YouTube app
- Tap Download under the video you want
- Listen to the background while doing other tasks
Pros:
- Seamless, no third-party tools needed
- Perfect for mobile users
- Supports offline playback
Cons:
- Doesn’t save files in MP3 format
- Requires a monthly subscription
Method 8: Use Wondershare UniConverter (Premium Desktop Software)
If you’re looking for a full-featured desktop tool for downloading, editing, and converting YouTube videos, Wondershare UniConverter is a premium option worth considering. It supports a wide variety of formats, offers fast conversion speeds, and includes built-in editing tools.
Steps:
- Download and install Wondershare UniConverter.
- Open the app and click on the Downloader tab.
- Paste your YouTube video URL.
- Select the desired audio format and quality.
- Click Download to save the audio file.
Pros:
- Professional-level features.
- Batch conversion, editing, and compression.
- Great for power users or content creators.
Cons:
- Not free (limited trial available).
- It may be too advanced for casual users.
Quick Tips
- For best results, download the highest available video quality (720p or above).
- Stick to common formats like MP3 or WAV for compatibility.
- Always make sure you’re not violating copyright or terms of service — use only videos you’re allowed to convert.
Conclusion
There are several ways to turn a YouTube video into an audio file, depending on your needs and experience level. Free tools like online converters and VLC make it easy for anyone to extract audio quickly.
Whether you are saving lectures for offline listening or repurposing your content, these methods give you plenty of flexibility.
FAQs
1. Is it legal to convert YouTube videos to MP3?
It’s only legal if you own the content or have permission. Downloading copyrighted material without the right may violate YouTube’s terms.
2. What’s the best format to save audio in?
MP3 is the most common and compatible format. WAV is higher quality but takes more space.
3. Can I convert YouTube videos to audio on my phone?
Yes. Many converter sites are mobile-friendly, but use caution with pop-ups and redirects.