.png)
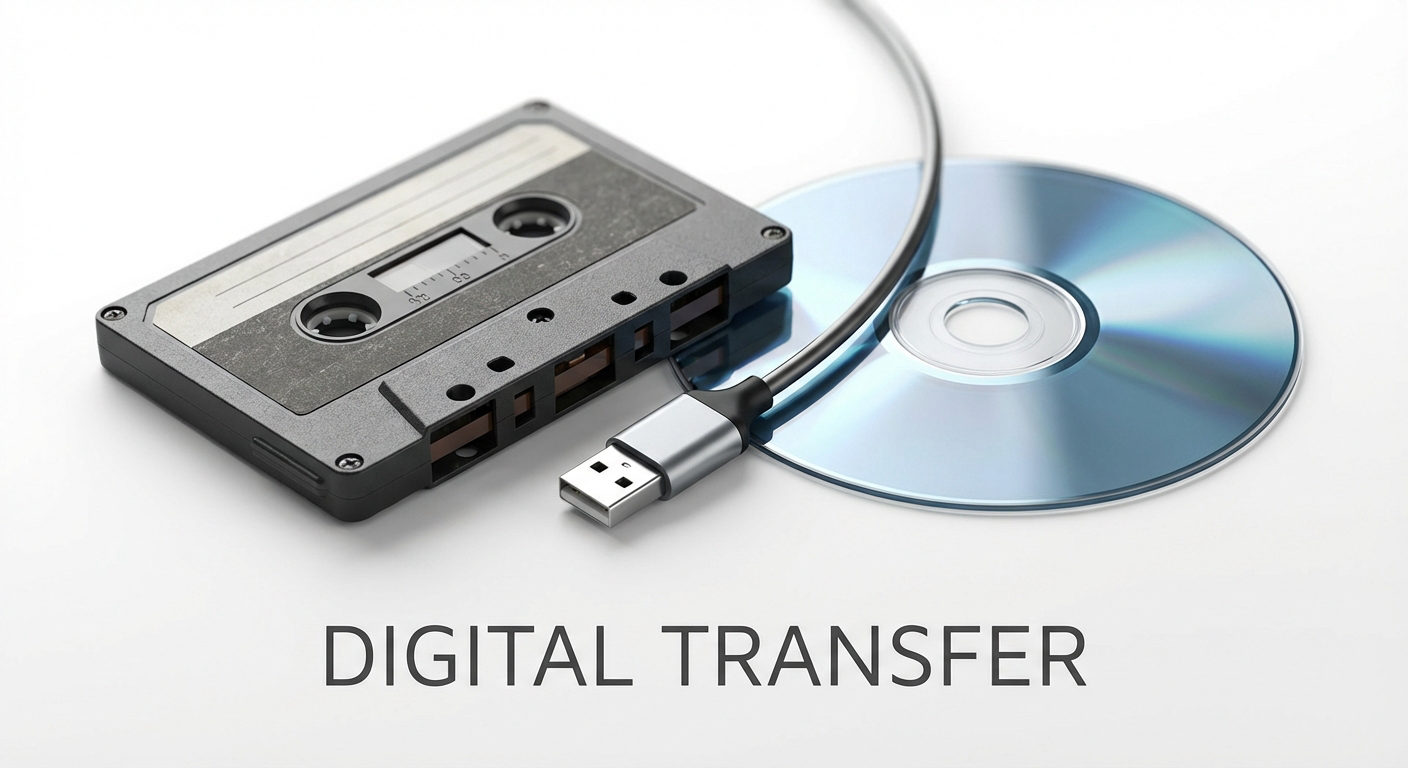
Audio tapes carry personal stories, music, and memories worth preserving. Over time, analog tapes wear out or break. Transferring them to CD is a smart way to protect memories. The process is simple and rewarding, especially if you’re archiving voice recordings, interviews, or storytelling.
If you’re adding narration during the transfer, use a clean and reliable microphone. The Hollyland LARK MAX 2 offers 32-bit float recording and OWS Bluetooth monitoring. This ensures your voice is clear and distortion-free.

Hollyland LARK MAX 2 - Premium Wireless Microphone System
A premium wireless microphone for videographers, podcasters, and content creators to capture broadcast-quality sound.
Key Features: Wireless Audio Monitoring | 32-bit Float | Timecode
Now let’s look at how to transfer audio tape to CD:
What do you Need To Make the Transfer?
Before getting started, make sure you have the following tools:
Cassette Player
Any player with RCA or headphone jack output will work. Clean the tape heads for improved sound quality.
Computer with CD Burner
Use a desktop or laptop with a CD/DVD drive that supports burning.
Audio Interface or USB Capture Device
This converts the cassette’s analog signal into digital. USB audio adapters are affordable and user-friendly.
Audio Recording Software
Use free programs like Audacity or built-in options like GarageBand. These let you record and edit your cassette audio.
Blank CD-R Discs
CD-Rs are compatible with almost all CD players. Avoid CD-RWs if you’re aiming for compatibility.
CD Burning Software
Try iTunes, BurnAware, or Windows Media Player to burn your cleaned audio onto a CD.
Audio Cleanup Software
Tools like iZotope RX can remove hiss, background noise, and tape hum.
How To Transfer Audio Tape to a Computer? (Step by Step Guide)

To transfer an Audio tape to CD, you need to transfer it first to your pc. Here is a step-by-step process to do it:
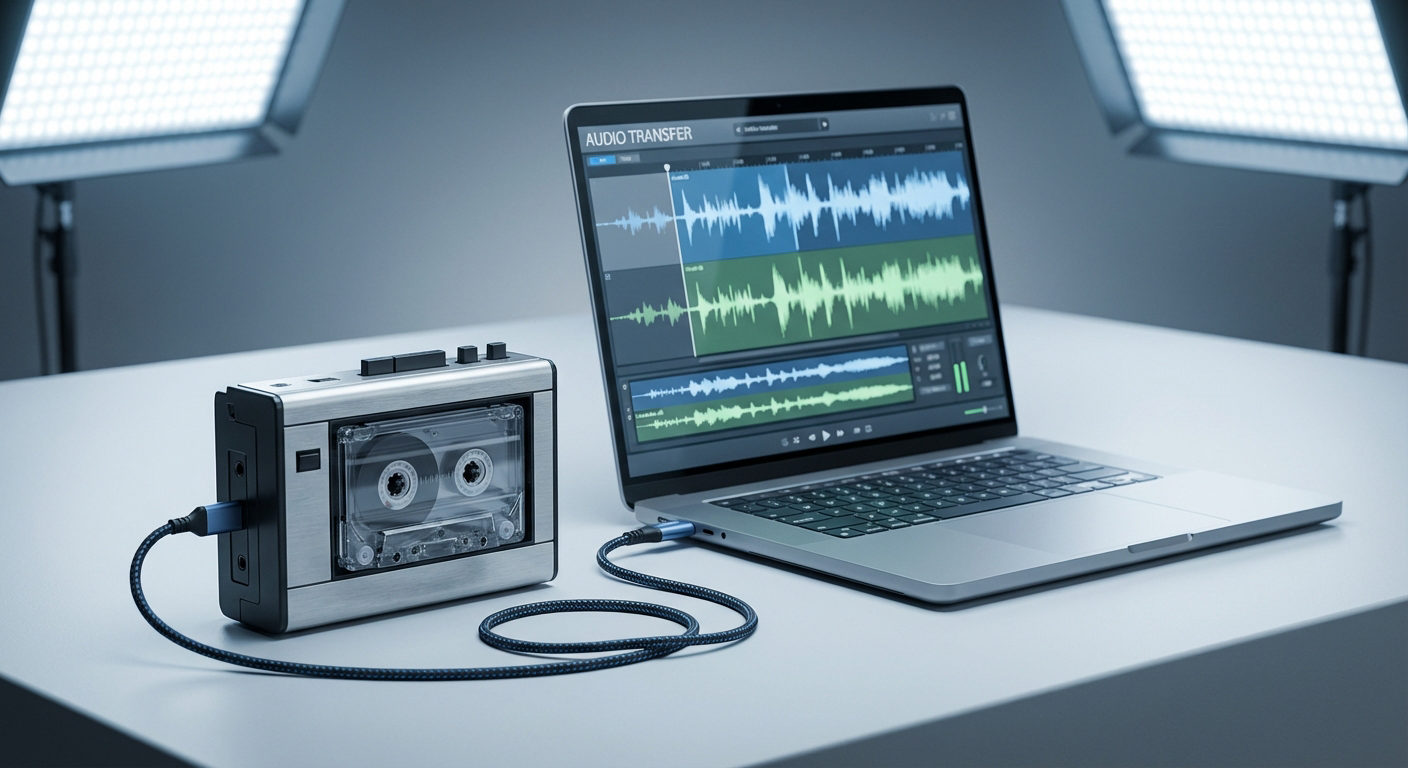
Step 1: Connect Your Cassette Player to the Computer

Check the output jack on your cassette player. Most have either a 3.5mm headphone output or red/white RCA jacks.
Use the appropriate cable:
- 3.5mm-to-3.5mm cable for basic players
- RCA-to-3.5mm cable for larger stereo systems
If your computer does not have a line-in port, plug into a USB audio capture device. These are easy to set up and usually plug-and-play.
Connect the cassette player’s output to the computer’s input or the USB capture interface.
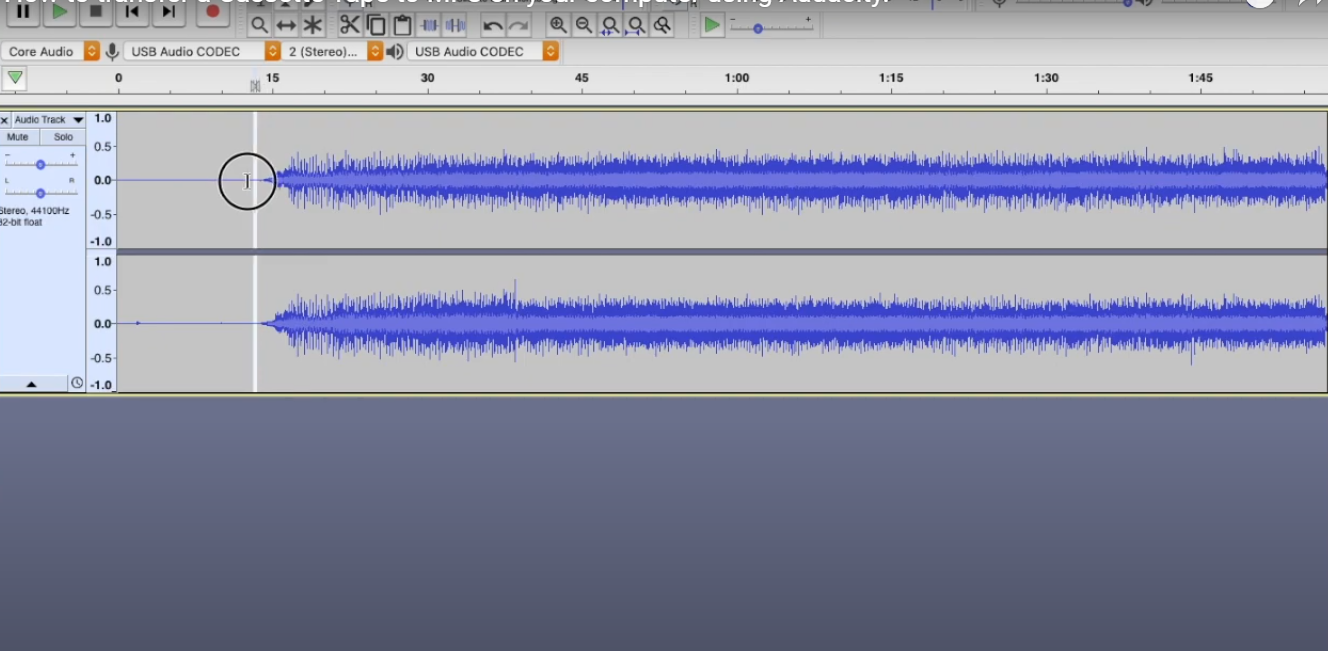
Step 2: Set Up the Recording Software

Open your recording program. Audacity is a great free option.
- Choose the correct input source (line-in or USB)
- Set recording format to 44.1 kHz, 16-bit, which is CD quality
- Adjust input levels. Play the tape while watching the input meters.
- Ensure the levels remain below the red line to avoid clipping.
Step 3: Record the Tape

- Rewind the tape
- Press record in your software
- Then hit play on your cassette player.
The tape will play in real time while your computer records the audio. Watch the waveform and meters as the tape plays.
Sit in a quiet room to avoid noise during recording. You can speak into a separate mic if you’re documenting notes while archiving.
Step 4: Clean Up the Audio
Once the recording is done, you can improve the sound quality.
Trim Silence
Use your software’s selection tool to remove:
- Long pauses
- Tape leader noise
- Dead air at the start or end
Reduce Noise
Cassette tapes often have a hiss or low hum.
- In Audacity, select a portion of the background noise.
- Go to Effect > Noise Reduction
- Click Get Noise Profile
- Select the full track and apply noise reduction.
This will clean up the audio without harming the original voice or music.
Normalize and Equalize
Use the Normalize function to bring the audio to a consistent volume level.
Apply gentle EQ to:
- Boost clarity
- Reduce muffled tones
- Cut out the low-frequency rumble.
After editing, export the cleaned file as a WAV. This ensures full quality when you burn it to a CD.
Step 5: Burn the Audio to CD

Now it’s time to create your CD.
Insert a Blank CD
Insert a CD-R into your drive. Open your chosen burning software:
- iTunes
- Windows Media Player
- BurnAware
Add Audio File
Drag the WAV file into your burn list. If you have multiple tracks, add them in the correct order.
Make sure the format is set to Audio CD, not Data CD. This ensures your disc works in most players.
Burn and Finalize
Click burn. Choose a slow burn speed (4x or 8x) to avoid skipping or errors.
If prompted, check the box to finalize the CD. This locks the disc and improves playback on traditional systems.
Once the burn is complete, test the CD in a standard CD player.
Tips for Best Results
- Clean the cassette player’s tape heads before use
- Test the cassette before recording to ensure it is undamaged.
- Record in a quiet room to reduce interference
- Monitor input levels to prevent clipping.
- Use WAV format to preserve sound quality.
- Label your files clearly so they’re easy to find later.r
- Store your final CD in a case or sleeve to avoid scratches.
Transferring old tapes isn’t just about converting formats; it’s also about preserving memories. It’s about preserving personal history. With a bit of care, the results can be surprisingly clear and satisfying.
Final Thoughts
Saving your analog recordings to CD protects memories for years. With a simple setup and the right tools, anyone can do it. Take your time and enjoy the process.
FAQs
Can I use a Bluetooth cassette player?
Yes, but it’s better to use a wired output for the best sound quality.
What if I don’t have a CD burner?
You can transfer the audio to USB or cloud storage instead. Many services let you order physical CDs online.
Is the MP3 format good enough?
MP3 is fine for digital listening. But for burning CDs, always use WAV files.
How do I split long tapes into multiple tracks?
Use label markers in Audacity to split the recording. Export each labeled section as a separate file.
Can I reuse CD-Rs?
No. CD-Rs are write-once only. For test burns, use CD-RWs, but be aware they may not work in all players.