Whether you are a professional or looking to start your podcast, setting up a microphone is essential. And setting up is challenging, but it can be done perfectly with the right tips and guidance. In this post, we will teach you some tips and tricks to help you achieve high-quality audio and remove any mistakes during the setup process.
How does podcast microphone setup affect the overall podcast quality?
As high-quality audio is essential for a podcast’s success, it will engage the listeners and make them return for better quality content. Although a good microphone can make you stand out, your listeners can understand and engage with you efficiently with a proper microphone setup.
And with improper setup, there will be distortions, interference, and many background noises. So, it’s recommended to take some time to set up the microphone effectively for better audio quality.
10 Important Factors to Consider Before Microphone Setup
The podcast microphone setup can have a significant impact on the overall quality of the podcast. Some important factors should be kept in mind, and when implemented, they bring value to your podcast.
1- Choosing the Microphone
A good microphone will deliver high-quality audio that will distinguish you from others. And there are some important key points to consider before buying the microphone:
- Look for the type of microphone; the USB microphone is easy to set up and preferred by new podcasters.
- For large group podcasting, omnidirectional microphones pick up voices from all directions and bring clarity to the sound.
- Always go for microphones that are specifically designed for podcasting.
- And look for a microphone with built-in noise cancellation that can eliminate the background noises.
2- Pop Filter and Shock Mount
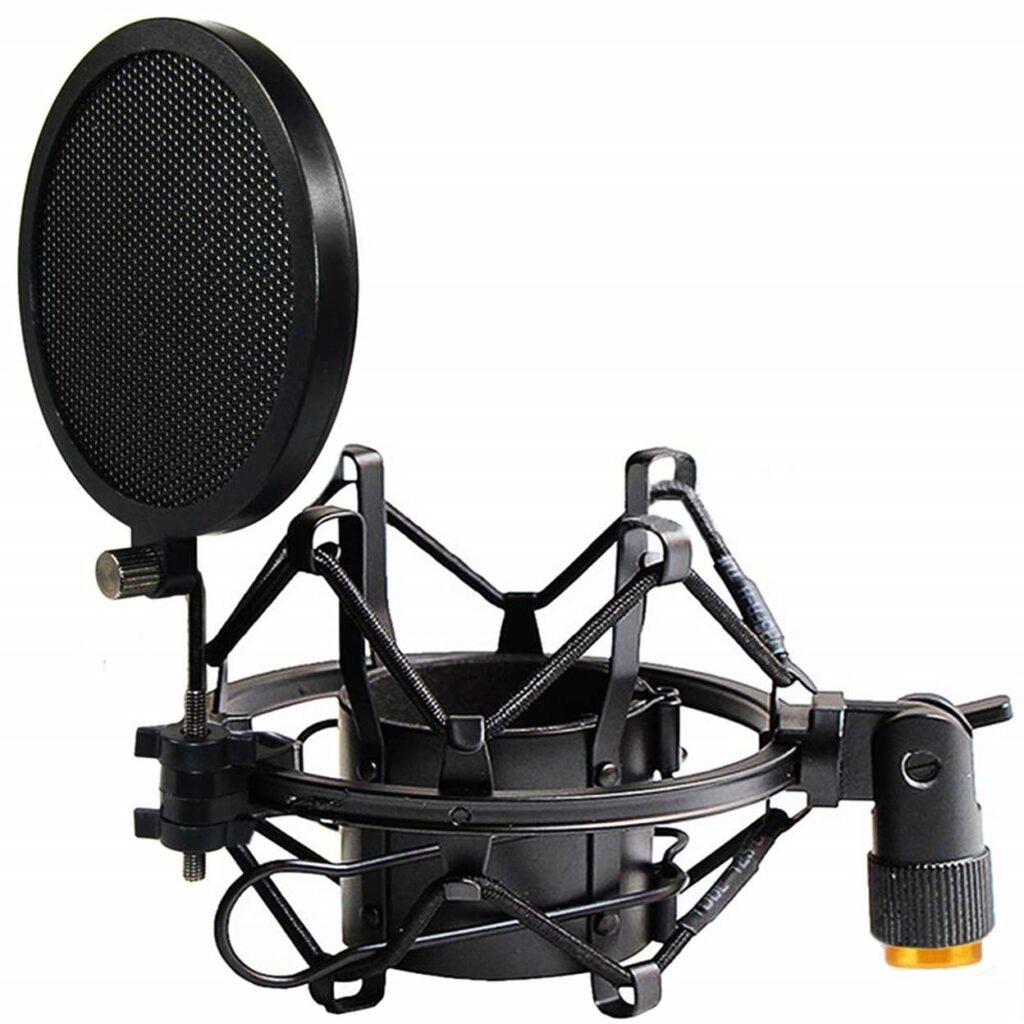
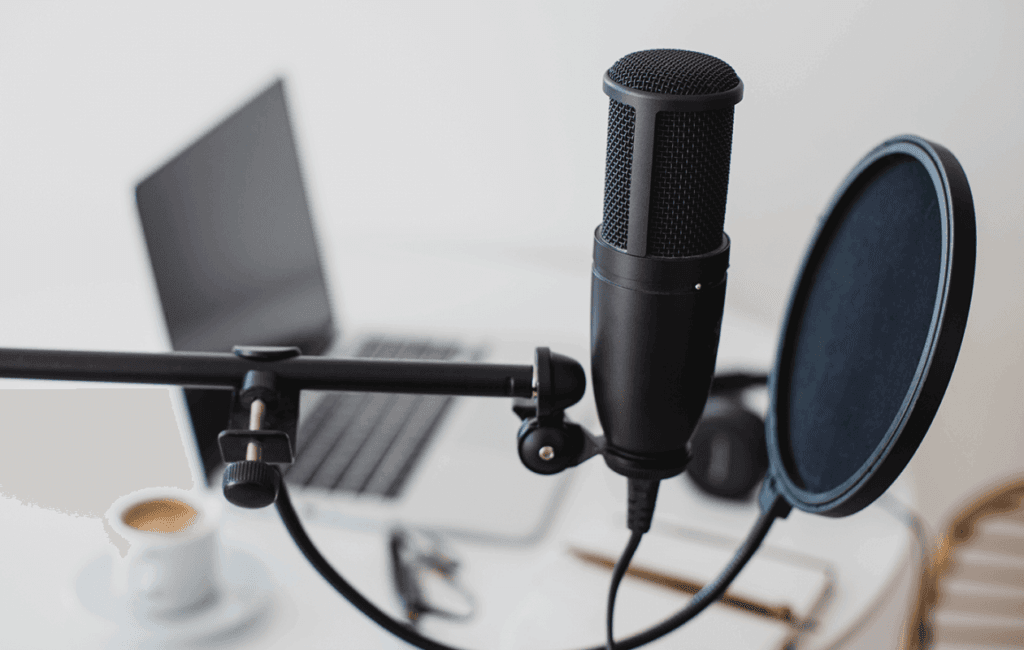
During podcasting, the up and down of speech brings distortion, and the surrounding environment also interferes with sound quality. The pop filter absorbs all these unwanted obstructions and brings smoothness.
You can further enhance the overall quality with a shock mount. It not only tackles the vibrations but also eliminates the handling noises.
3- Location of Podcast Setup
The location is essential for achieving high-quality audio for podcasts. To make your recordings free from background noises and unwanted interference, find a place where:
- Recording can be done with minimal background interference so listeners can hear you well and make the tapes error-free.
- Look for a room with insulation and absorption, usually blankets or foam material that can absorb the sound and prevent sound bouncing.
- Always ensure that no reflective material inside the room may distort the sound.
And away from the outside environment is essential to record seamless and smooth audio quality.
The audio interface is an important factor that acts as a bridge between a microphone and your computer. And the quality of audio signals is greatly affected by the interface because it’s the audio interface that amplifies the signals and brings clarity to the sound.
The microphone and audio interface are interlinked, so an XLR cable is used to ensure the quality of the podcast.
5- Right Microphone Position
With the right microphone placement, you can make your podcasts clear and without any interference from the outside environment. Follow some general tips in this regard:
- The background noises can be reduced by placing the podcast microphone in front of your voice and minimizing the background pick-up.
- The ideal position is 6 to 12 inches away from your mouth but pointing directly to the mouth to avoid frequency distortions and to bring smoothness.
Although the optimal position depends on the type of microphone and with the right microphone placement, you can bring success to your podcasts.
6- Volume levels
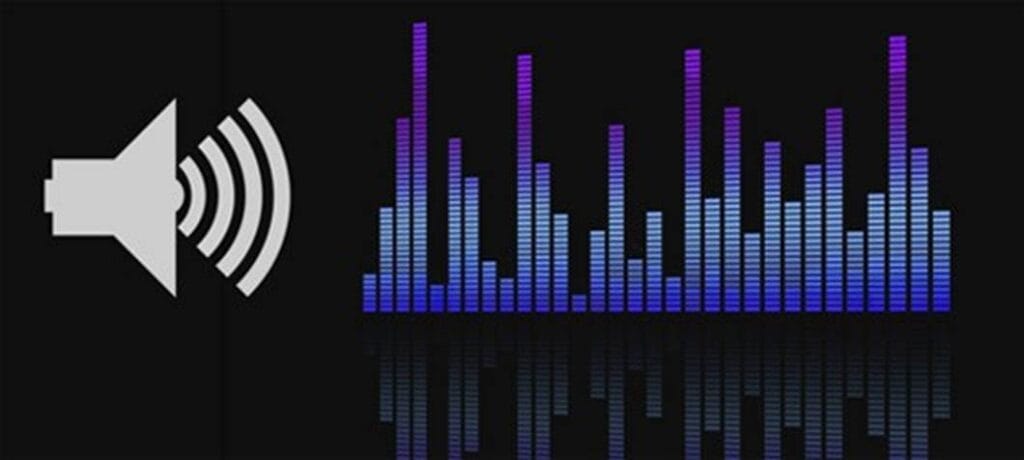
The right volume levels are essential to maintain the overall quality of the microphone. Properly setting the different volume levels make the podcasts easy to understand by eliminating distortions in the recording. The three other parameters must be considered while podcasting:
- Peak Levels: It should be maintained at 0db to -6db, or it will start creating distortions. It’s desirable because listeners may have to listen in noisy environments.
- Average levels: This level should be within the range of -10db to -15db.
- Noise Floor: The noise from unwanted backgrounds should be within the green zone to avoid distortions.
7- Checking the Podcast Bit Depth and Sampling rate
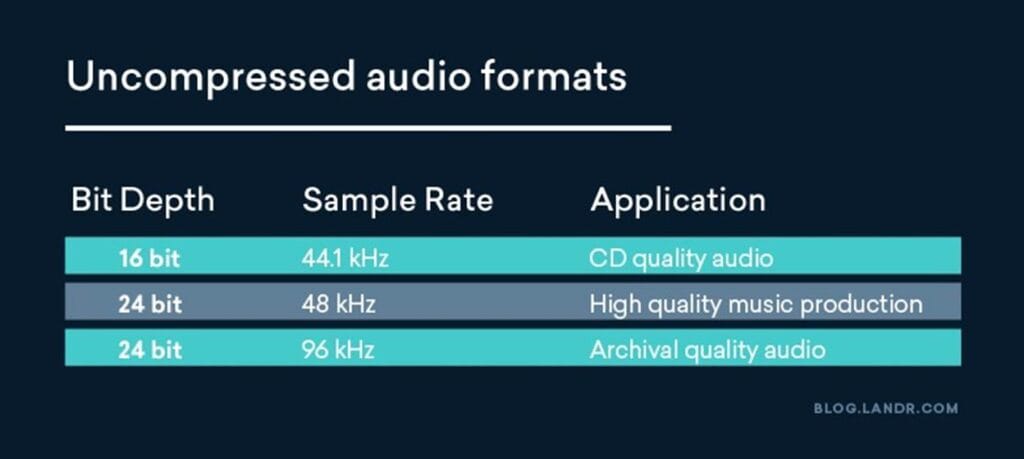
The bit depth or bit rate is the number of bits transferred per unit of time. While the sampling rate refers to the number of audio samples in a second. So, the higher the bits rate, is higher the audio quality and with more extended details.
The podcasts should be recorded at a higher bit rate and sample rate to make your recordings outstanding. The best-recommended bit rates are 96Kbps or 128Kbps and a sample rate of 44.1 KHz.
8- Headphones
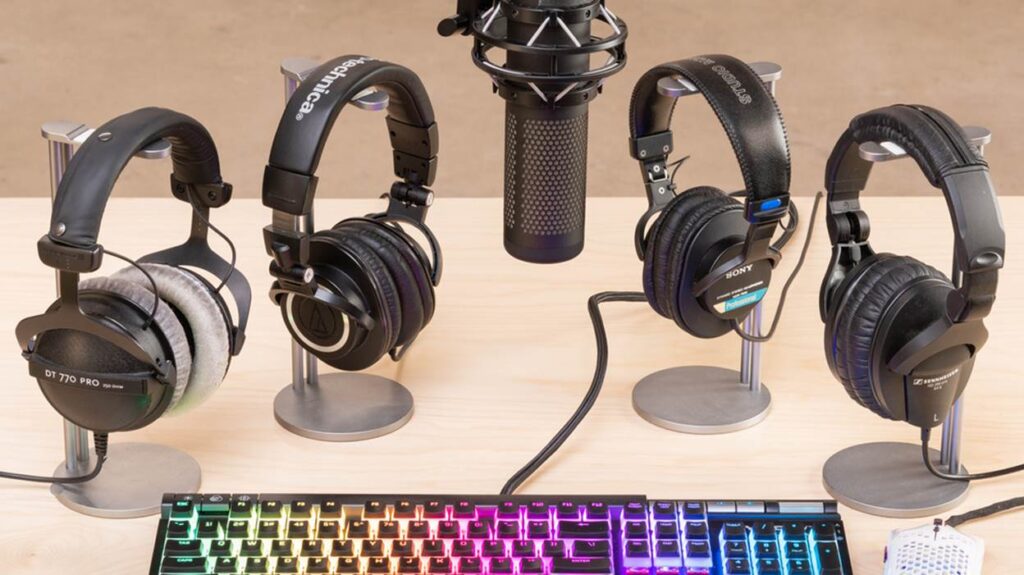
Get yourself one step ahead with the headphone’s ability for real-time monitoring. Connect the headphones directly to the audio interface and start monitoring to analyze the sound quality. Ensure the headphones are perfectly fit to study effectively and eliminate the background noises.
And for group podcasting, the headphones amplifier is essential that can be controlled with a single amplifier set.
9- Test the Podcast Setup
After setting up the microphone, it’s important to check if everything works properly to capture highly-detailed audio. It would be best if you considered a few of these things:
- Make sure that your recording environment is without echo, and it can be done by running tests to determine the quality.
- Identify and solve the technical issues before recording your podcast.
- Recording volume is important: start with a lower voice and gradually increase your voice. Recording the podcasts is good if the microphone stays at an acceptable volume level.
10- Recording and Editing
Recording in 24-bit depth is desirable to achieve high-quality podcast quality. When registering your podcast, editing must be done to remove any background noises or handling sounds that may have picked up during the recording. And the Equalization settings can help you make your audio clear and crisp.
Also, check for distortion or frequency interference to make your audio smooth and natural. During the editing process, if anything goes wrong, then with the podcast backup recorder, you can access the original audio file of the podcast.
Setting up the Microphone
After all these important factors, it will become easy for beginners and professionals to set up a podcast microphone perfectly. Some of the few steps will help you in setting up the microphone:
- First, attach the microphone to the stand with a screwdriver at a height above your head.
- Adjust the microphone sensitivity carefully to pick up sound from a proper distance.
- And connect the microphone XLR cable to the audio interface.
These are easy steps for podcast microphone setup, but you must follow the important factors for better and more advanced quality.
Things to Avoid During Podcast Microphone Setup
As you have considered the important factors, a few things should be avoided during setup for better-quality audio.
- Avoid stressing the microphone: Speaking loudly and closely to the microphone may distort the podcast’s audio. Keeping an appropriate distance is essential for better audio quality.
- Using outdated software and hardware are leading cause of poor audio quality, and it can also result in the loss or storage of lower-standard audio.
- Microphones are essential for checking the quality and amplifying the sound but with low-quality headphones, it’s not possible. It is recommended to avoid the use of such headphones for better editing and good sound quality.
Conclusion
The podcast microphone setup seems daunting, but with the right equipment and proper knowledge, everyone can master this art. This post has covered all the key factors to help you step by step with microphone setup to make your recordings superior quality. You can record pure audio quality with minimal obstructions with the correct microphone placement.
So, whether you are just starting or looking to improve your existing podcast, following the key factors can bring clarity and make the listeners cling to the podcast.
If you’re seeking a versatile and hassle-free audio option for your podcast setup, consider a wireless lavalier microphone. With its compact design, great audio clarity, and freedom from cables, a wireless lavalier can help elevate your podcast recording quality without restricting your movement.
Best Seller
Sale
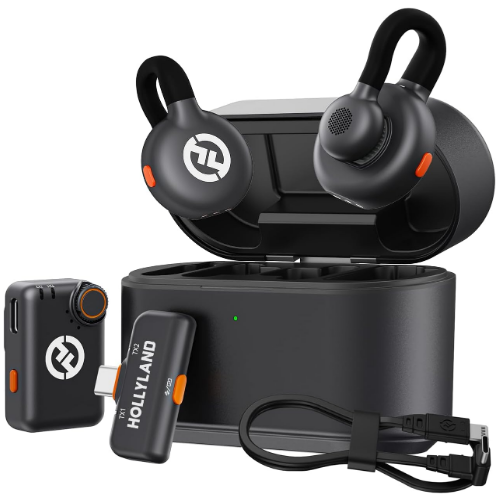
Hollyland LARK M2S – Wireless Clip-on Microphone
- 7g Lightweight, Titanium Clip, Discreet Design
- Clear sound with 24-bit/48kHz, 70dB SNR, 116dB SPL
- Noise Cancellation & 300m Long-Range Stability
- Works with Camera/iPhone/Android/Laptop
- Perfect for Content Creators, Online-Teaching, Streaming
$139
$159
Frequently Asked Questions
What type of microphone is best for podcasting?
Although there are different microphones, XLR microphones are preferred because of their versatility and higher sensitivity. With this, it can amplify noises from far away and reduce the incoming background interferences. It also gives more control over the volume levels and captures better-quality audio than USB microphones.
Which software is best for editing and recording the podcast?
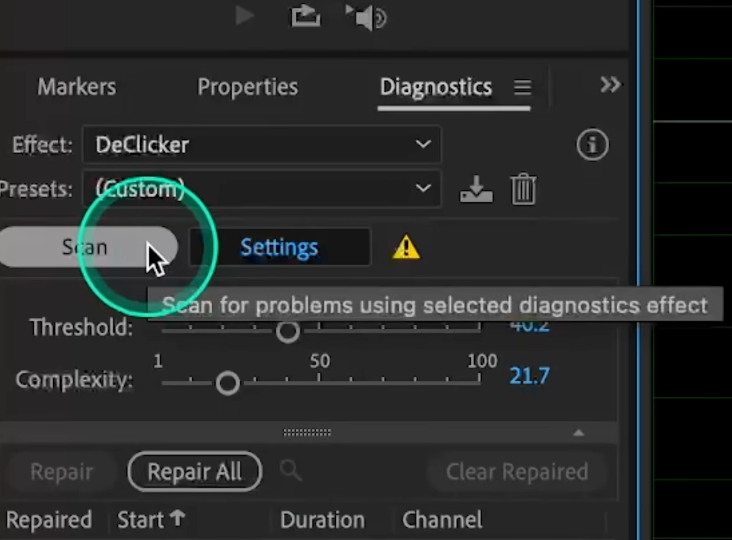
For Mac users, GarageBand is popular software with built-in recording and editing features. Besides this, Adobe Audition is free and open software that can enhance the overall quality of your sound with additional sound effects and brings smoothness to your podcast audio.
How to ensure consistent audio levels throughout the recording?
For consistency, it’s important to check and adjust the recording levels and ensure it’s high enough to capture your voice. In addition, it brings feeling by reducing dynamic range, which is essential to get smoothness in sound frequencies. And keep monitoring the proper levels to check the frequency of ups and down.


.png)


