.png)
.png) Français
Français .png) Deutsch
Deutsch .png) Italiano
Italiano .png) 日本語
日本語 .png) Português
Português  Español
 Eye-catching visuals grab attention, but crisp, clear audio is what keeps your audience watching. If you are vlogging, filming interviews, or creating YouTube videos, your microphone setup can significantly impact the quality of your final product.
Built-in camera mics often pick up too much background noise and not enough clear sound, which can ruin a recording that would have been good otherwise.
No matter what gear you have, this article will show you how to connect a microphone to your camera.
Know Your Camera’s Audio Input Options
Before choosing or connecting a microphone, it is important to know the kind of audio input your camera supports.
- Mic Input 3.5mm
Common on most DSLRs and mirrorless cameras, this tiny round port is often labeled “MIC.” If your camera has this, most consumer-level microphones will work without issues.

- Input XLR
XLR ports, which are larger, three-pin connectors made for high-end audio equipment, are frequently found on professional video cameras.

- Private Ports or USB
Some cameras, especially compact or action models like GoPros, use USB-C or brand-specific ports. These usually require special adapters for connecting external mics.
Tip: If you are not sure about the type of mic input your camera has, be sure to check online or the camera’s manual.
Choose the Right Microphone for Your Needs
The kind of content you produce and the way you record your videos should determine the kind of microphone you use.

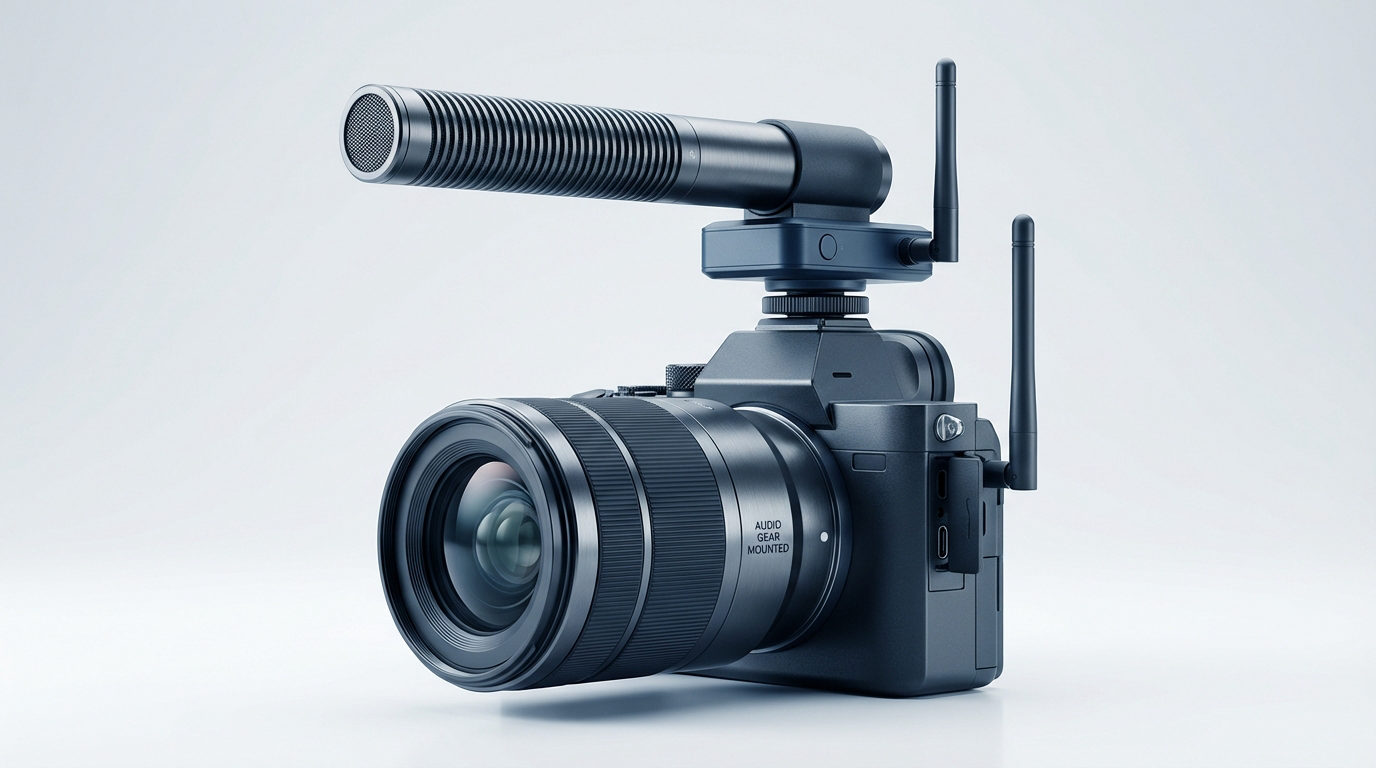
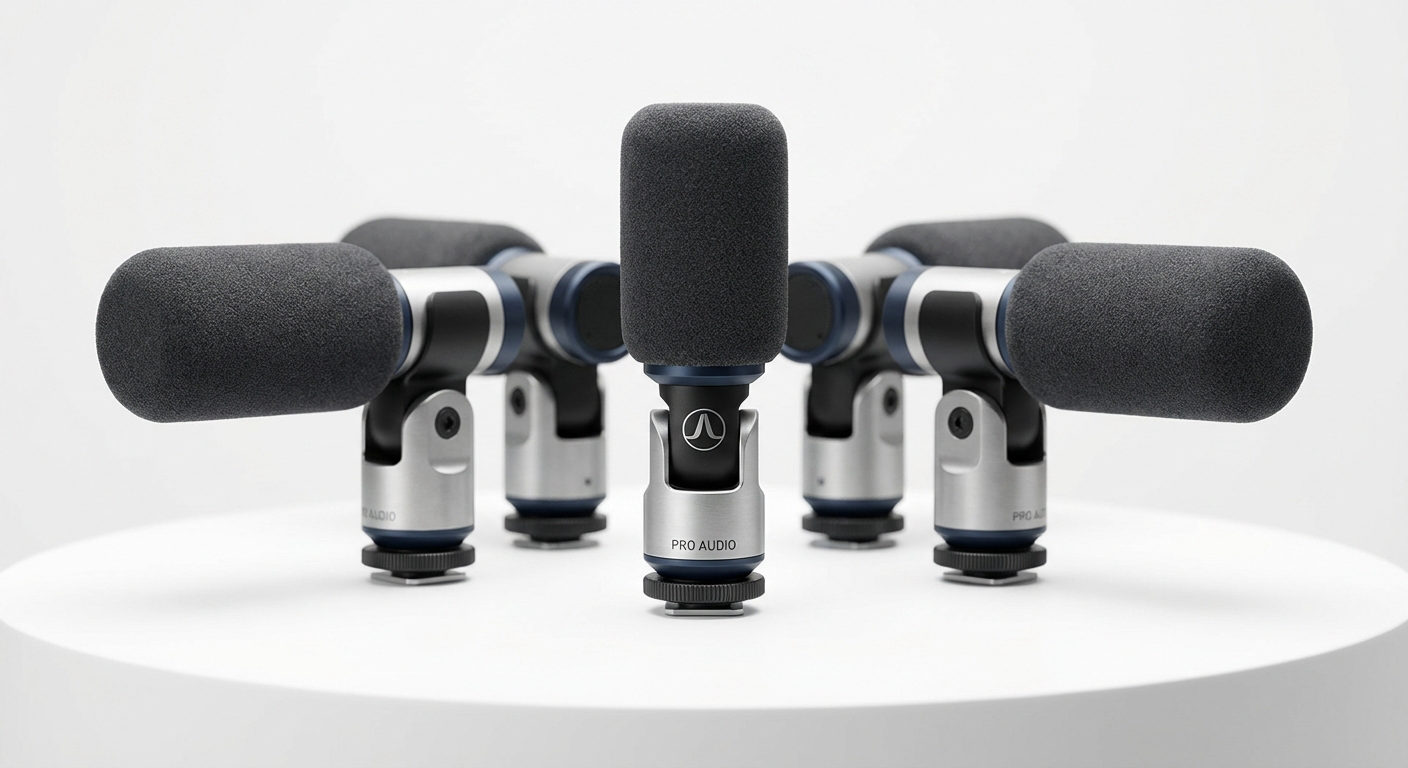
These are used for general-purpose videos like vlogging and interviews. Its features include the ability to mount on top of the camera and a directional pickup pattern. Sennheiser MKE 400 and Rode VideoMic Pro+ are some popular examples of shotgun microphones.
They are perfect for reducing background noise and capturing sound from directly in front of the camera.
- Lavalier (lapel) Microphones

Lavalier mics are often used for talking-head videos, interviews, and tutorials. They come in wired or wireless options, are small, and can be clipped to clothing. Lavalier microphones are excellent for discreetly recording clear conversation.
- Wireless Microphone
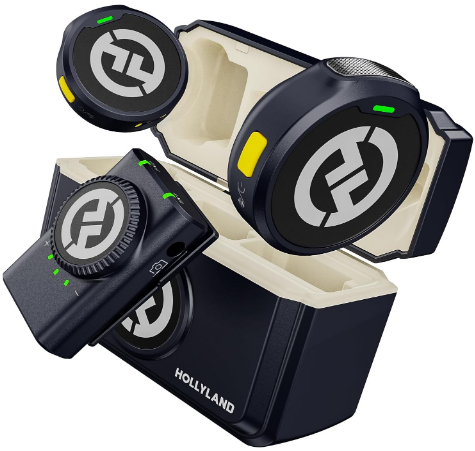
A wireless microphone is mostly used for mobile photography, walk-and-talk videos, and interviews. The receiver is attached to the camera, and the transmitter is clipped to the speaker. They are great for mobility and clean setups, which are very useful in dynamic filming scenarios.
Using the Proper Cable or Adapter
Selecting the appropriate connection type between the camera and microphone can sometimes be challenging and confusing.
- TRS vs. TRRS (Tip-Ring-Sleeve)


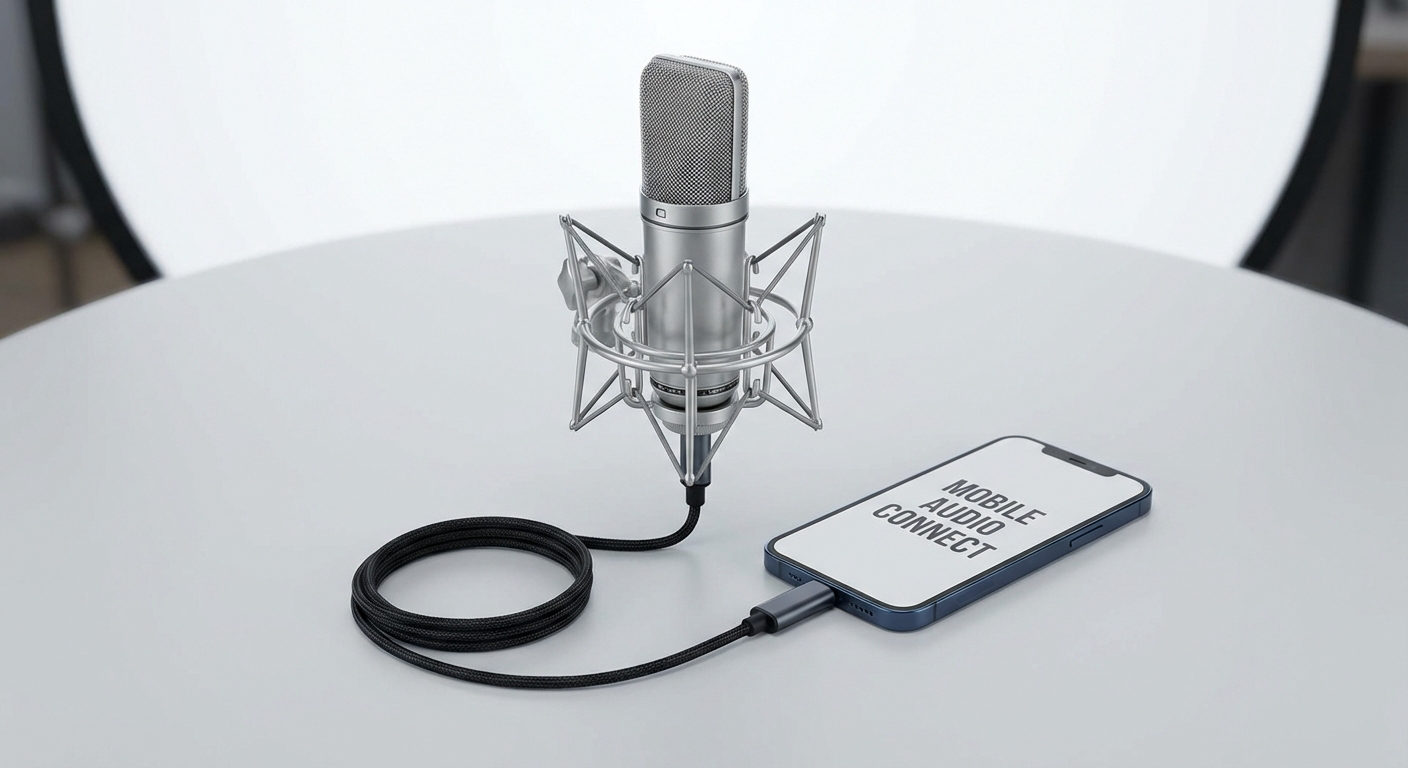
The TRS adapter has two black rings on the plug and can be used with cameras and audio recorders. Laptops and smartphones utilize the three black rings that constitute TRRS (Tip-Ring-Ring-Sleeve).
When connecting a smartphone microphone to a camera, you’ll likely need a TRRS to TRS adapter, like the Rode SC3, for proper compatibility.
- XLR to 3.5mm

An adapter from XLR to 3.5mm will be needed if your camera only has a 3.5mm input and your microphone is an XLR cable or an external audio recorder that records sound separately from your camera.
Installing the Microphone Appropriately
Microphone placement is important if you are aiming for high-quality sound. Here are a few places you can mount your microphone:
- On the Camera

Shotgun microphones typically include a shock mount designed to fit into the hot shoe of your camera. This arrangement is the most straightforward and typical configuration.
- On Clothing

Lavalier microphones ought to be fastened to the speaker’s shirt, either close to the collar or the chest. Keep the microphone away from your fabric to prevent undesired noise.
- On a Boom or Stand

Setting up your mic just out of frame on a boom pole or tripod allows you to achieve a clean, film-style audio.
Setting Up the Audio Settings on Your Camera
Change your camera’s settings after connecting to your microphone to achieve the best recording quality.
- Verify the input selection: Certain cameras may require you to manually switch between internal or external microphone input.

- Adjust audio levels: Volume levels should be between -12 dB and -6 dB to prevent distortion and maintain a strong signal. Avoid clipping over 0 dB.

- Turn off auto gain: If possible, ensure that the Automatic Gain Control is turned off, as it can cause background hiss and uneven volume.

Also, use headphones for live sound monitoring if possible, as it helps to identify problems before recording.
What to Do If Your Camera Has No Mic Input
Zoom H1n or Tascam DR-10L are external recorders that can still produce high-quality sound if your camera does not have an input for an external microphone. These devices can capture sound separately and sync it with your video while editing.
Tip: Clap at the start of your take. It is easier to align audio and video by the crisp sound and motion.
Quick Audio Tips to Level Up Your Sound
- Always place the microphone close to the speaker for better results.
- Recording the room tone for five to ten seconds helps with post-production.
- When recording indoors or outdoors, ensure you use windshields or a deadcat cover, as light airflow can affect sound.
- One quick test can save an entire reshoot. It is therefore important to always test before shooting.
- Use a backup recorder on a different device if you are using wireless audio.
- Sound distortion could be an indication that the microphone input is too loud and the AGC or volume needs to be reduced.
Conclusion
Improving your audio by connecting an external microphone to your camera can make a huge difference to your video quality. While it might seem technical at first, once you understand your camera’s input options, choose the right microphone, and use the appropriate cables or adapters, the process becomes easy.
So, if you’re filming a simple vlog, a professional interview, or a creative project, good sound helps your content feel more polished and engaging.
FAQs
Q: My microphone is not producing any sound. What should I do?
A: You might be using the wrong cable or adapter. Try double-checking the TRS vs. TRRS.
Q: Why does my microphone keep making a hissing/static sound?
A: This issue could be due to either a loss of connection or the automatic gain setting. To resolve this, turn off the automatic gain control and reconnect the microphone.
Q: My camera is not detecting my external microphone. How do I fix this?
A: Check the audio settings to verify if the camera defaulted to the internal microphone.