Adobe Premiere Pro is the leading video editing software with flexibility and diversity. Adding audio to Premiere Pro creates a balance between background music and dialogues to make it more engaging. Therefore, audio integration is crucial to connect effectively with the viewers.
Whether you are a professional or an enthusiast, understanding how to add and edit audio is crucial to transforming your production. This guide provides a step-by-step process to add audio to Premiere Pro precisely.
How to add Audio to Adobe Premiere Pro?
From adding to refining audio, Premiere Pro is crucial to creating a balance between sound effects. So, follow the below process for seamless audio integration with Adobe Premiere Pro to enhance engagement.
Step 1- Importing Audio Files
- Open Premiere Pro Project:
- Launch Premiere Pro on your computer and open the existing project by clicking “Open Project” from the top left menu. Or create a new project by selecting “New Project.”
- Import Audio File
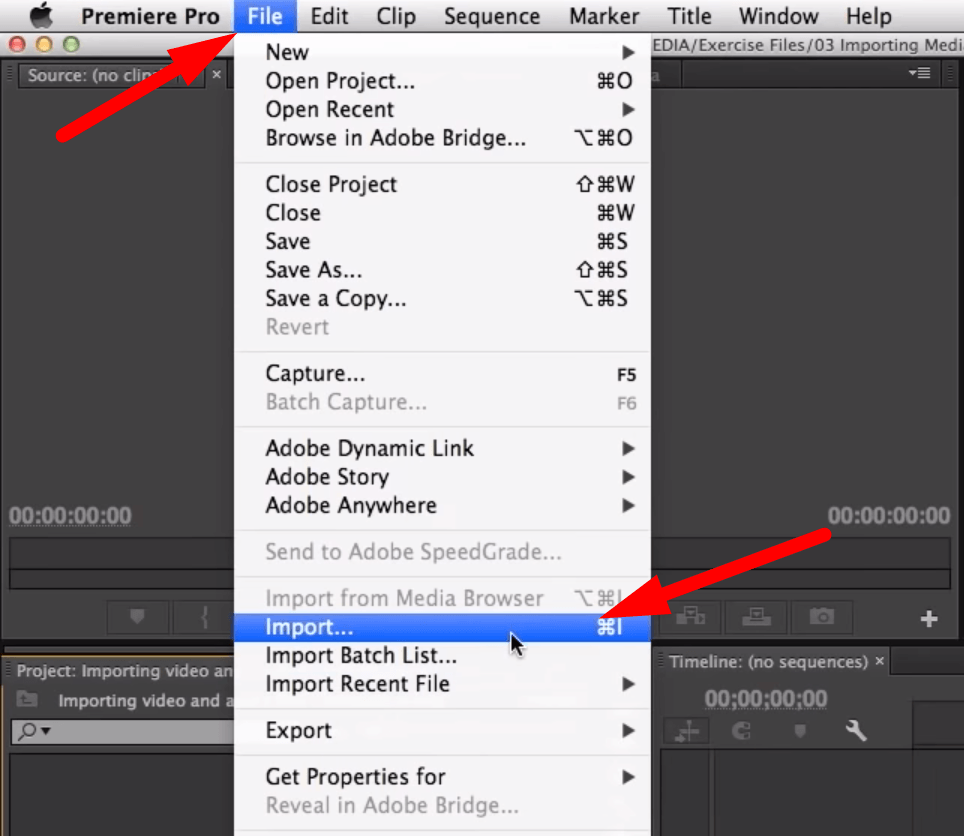
- Go to the “File” from the top-left corner and select “Import” to browse your computer for the audio files.

- Navigate the folder, select the audio files, and click “Insert” to add the audio.
- Also, after opening the Premiere Pro, click on the “Media Browser” from the left menu. Then, browse the files and click to open the audio files.
- Another way is to drag and drop the audio files from your computer to the “project files panel” within Premiere Pro.
Step 2- Adding Audio to the Timeline
- Preview the Audio
- Find the imported audio files in the “Project Panel.”
- Click on the audio to preview them to ensure it works perfectly.
- Create an Audio Track

- If you are starting a new project, right-click in the timelines header area and select “Add track” from the popup menu.
- Specify the number and location of the audio tracks you want to add.
- Drag and Drop the Audio

- Drag the audio clip from the project panel to the sequence in the timeline, then drop the audio to the appropriate audio track.
Step 3- Adjusting Audio Levels
- Select the Audio
- Go to your timeline and select the audio clip to adjust the levels.
- Adjust the Audio Levels

- From the timeline, drag the volume line up or down on the audio clip to adjust the volume levels.

- Another way is to click on the “Audio Clip Mixer” from the top menu bar. Then, drag the slider to adjust the audio levels.
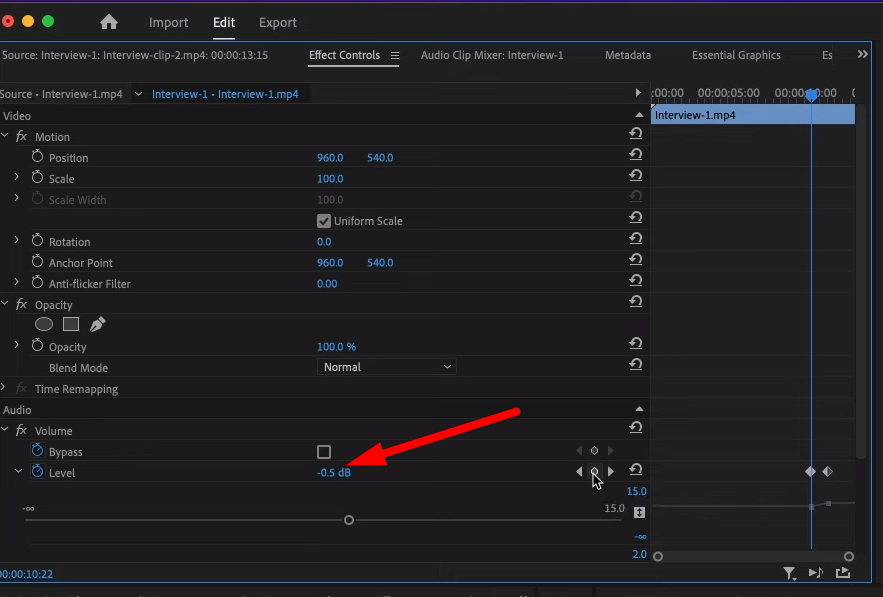
- Go to the “Effects Controls” tab, navigate to the audio, and click “Volume” to open the drop-down menu. Click on “Level” to drag the volume up or down.
Step 4- Adding Keyframes for Audio Levels
- Show Audio Keyframes
- Select the audio track and click on the triangle to expand the track in the timeline.
- Click on the circle “Keyframes” icon, then choose “track” or “clip” keyframes and select “Volume.”
- Add Keyframes

- From the timeline, move the playhead to the point where you want to add the keyframe or adjust the volume.
- In the “Effects Control Panel,” click the “Add or Remove keyframe” button to adjust the volume as needed.
- Use the “pen tool” to precisely control the volume by adding more keyframes.
Step 5- Using the Audio Track Mixer
- Open the Audio Track Mixer
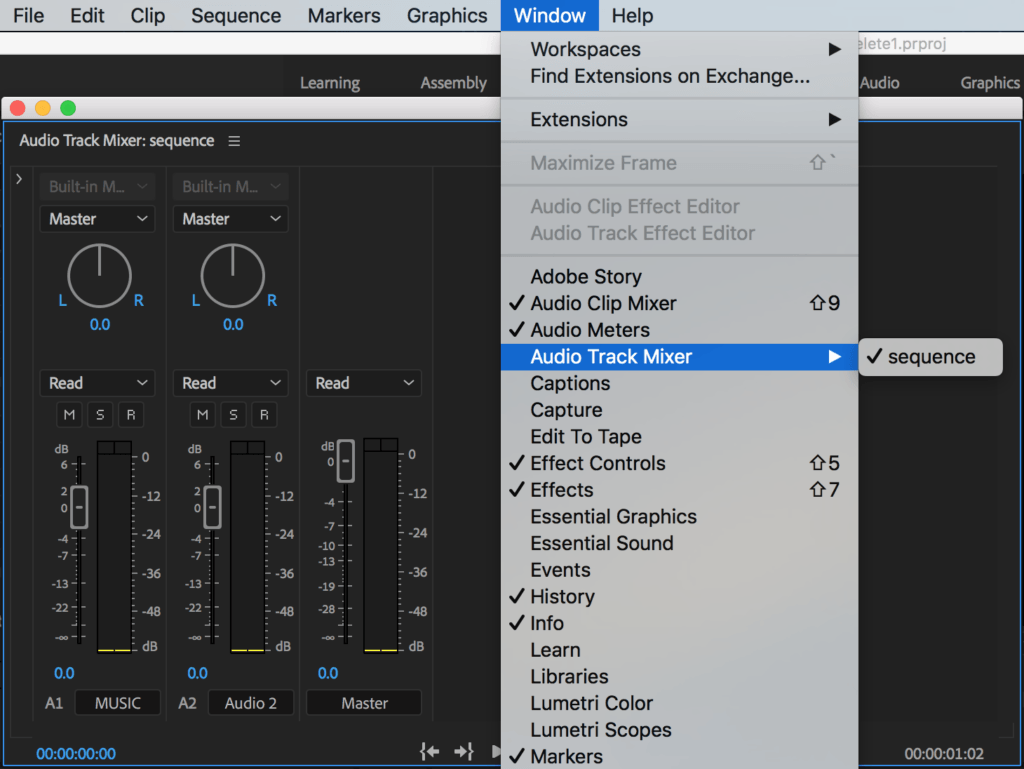
- Click on the “Window” at the top of Premiere Pro, then select “Audio Track Mixer” and choose the sequence from the opened panel.
- Adjust Audio Levels
- Each track in the sequence represents a specific audio track in the timeline and has its own set of controls.
- Drag the sliders to balance the audio levels between tracks. You can also rename the tracks, which will be adjusted simultaneously.
Step 6- Adding Audio Effects
- Open the Audio Effects

- Go to the “Effects” panel from the left menu and click on the “Audio Effects” to expand the folder.
- Apply Audio Effect

- Drag and drop the effect onto an audio clip in the timeline.
- Alternatively, click on the “Effects Control” panel from the top-left menu and select “Effects.”
- After adding the audio effect, click on the “Edit” from the “Effects Control” panel to adjust or modify the audio.
Step 7- Equalizer
- Open Audio Effects

- Click the “Effects” from the menu bar and select “Audio Effects” from the drop-down menu.
- Equalizer
- Select “Equalizer” and drag it to the audio clip where you want to insert the equalizer into the timeline.
- You will have the option to customize the loudness and bass of the audio track.
Step 8- Exporting the Project with Audio
- Open Export

- After completing the project, click on the “File” from the top-left of Premiere Pro and select “Export” from the drop-down menu.
- Choose Audio Format

- From export, select “Media” to open the export window.
- Choose the “File Name” and click “Format” to open the drop-down, then select the audio format.
- Also, set the presets to mp3 and ensure that your export settings include the audio tracks for smooth audio functioning.
- Export
- Click “Export” to save your audio project.
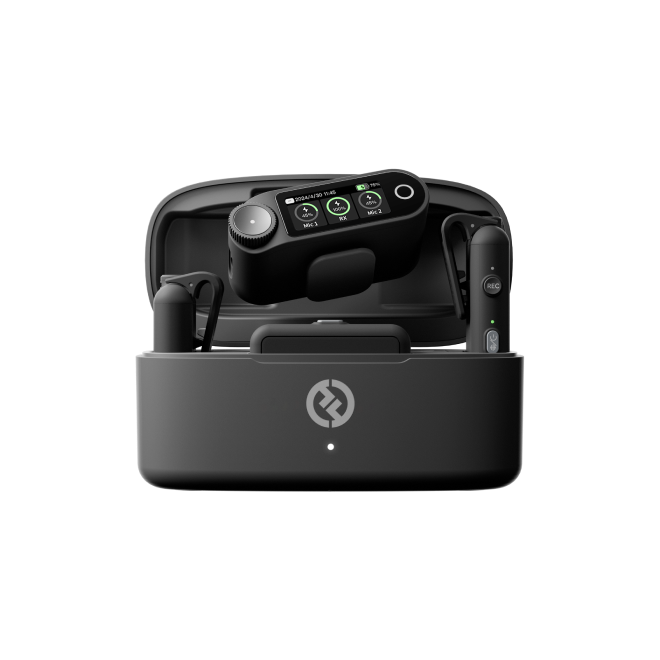
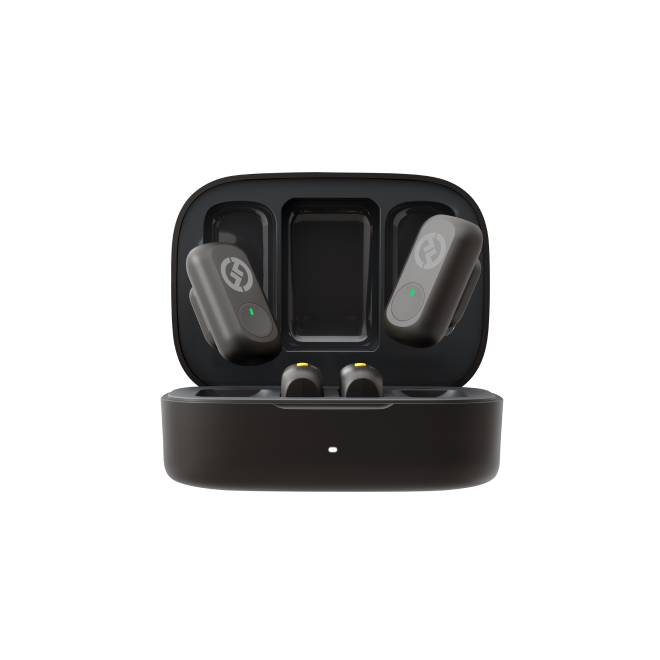
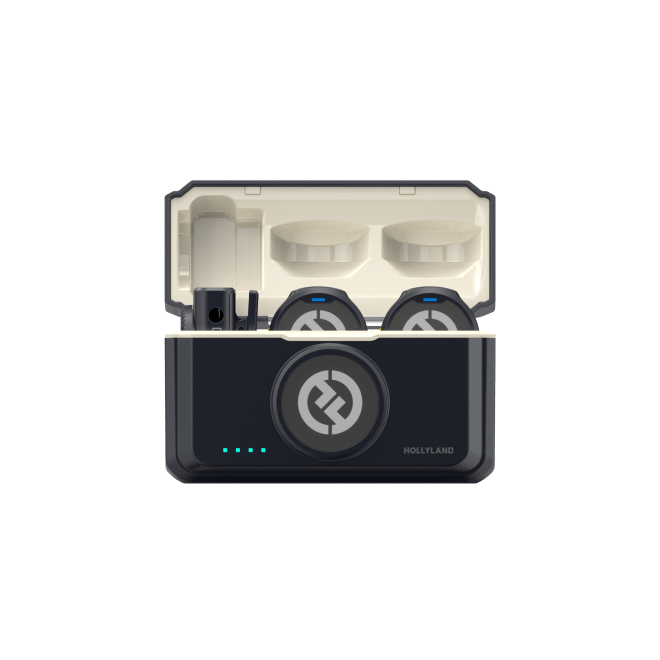
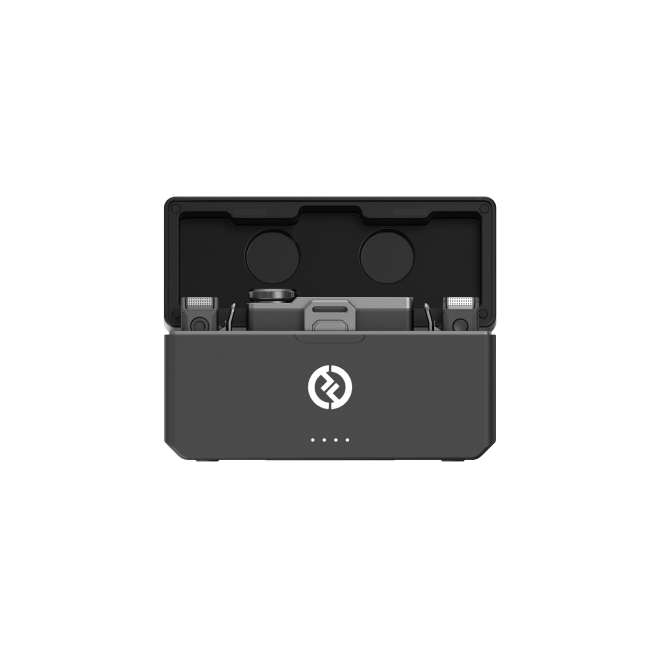
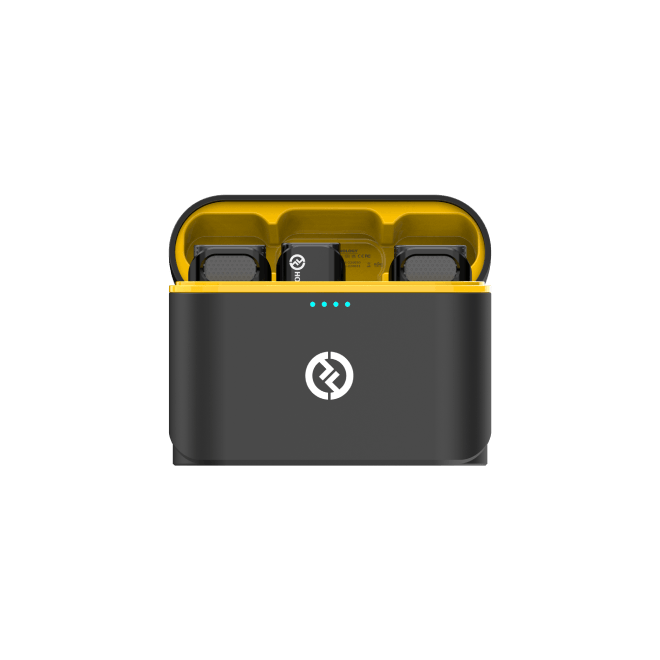
Ensuring clear, professional audio quality is essential for any Premiere Pro project. A wireless lavalier microphone can significantly elevate your sound recording, making your editing workflow smoother and your videos more engaging.
Frequently Asked Questions
How do I import multiple audio files into Premiere Pro at once?
- Using Import Dialog
- Click on “File” from the top-left menu of the Premiere Pro and select “Import” from the drop-down menu.
- Navigate to the folder on your computer containing the audio files.
- Hold down “Cmd Key” on Mac or “Ctrl Key” on Windows and select multiple audio files, then click “Import.”
- Media Browser
- Go to “Window” from the top menu bar and select “Media Browser.”
- Navigate to the folder where audio files are stored.
- Hold down the “Ctrl” or “Cmd” key on Mac and select multiple audio files, then click “Import” to add the audio in Premiere Pro.
Can I edit the audio pitch in Premiere Pro?
Yes, Premiere Pro lets you edit the audio pitch to control your sound completely. Here’s how you can modify the pitch of your audio:
- Go to the “Effects” in the project panel and search for “Pitch Shifter.”
- Drag it to the selected audio track track in the timeline.
- The applied “Pitch Shifter” effect will appear in the “Effects Control” and click on the “Edit.”
- From the popup window, you can edit the pitch of the audio.
How do I remove background noise from an audio track in Premiere Pro?
Removing background noise from the audio brings clarity and improves sound quality. Here’s the process to remove the noise with the built-in DeNoise Effect of Premiere Pro:
- Go to the “Window” from the top menu bar and click “Effects” from the drop-down menu.
- Select the clip, double-click on the audio effects, and choose “Noise Reduction” to open “DeNoise.”
- Alternatively, search for “DeNoise” in the project panel and drag it to the selected track.
- Find “DeNoise Effect” from “effects control” and click “Edit.”
- Click to shift the slider to remove the noise and preview it until it cleans the sound.
What audio formats are supported by Premiere Pro?
Adobe Premiere Pro supports versatile audio formats, seamlessly integrating audio into diverse workflows. Here is the list of compatible audio formats:
- WMA (Windows Media Audio)
- WAV
- AAC
- AC3
- ASND (Adobe Sound Document)
- AIFF, AIF
- MP3 and MP4 (Mpeg4 Audio)
How can I synchronize audio with video in Premiere Pro?
For seamless audio and video synchronization, follow the hereunder methods:
Method 1- Merge Clips
- Select the video and audio clips you want to sync, right-click on them, and select “Merge Clips.”
- Rename the merged file, then set the “Synchronization Point” to “Audio” and check the box “Remove Audio from AV Clip.”
- Click “OK,” and the merged clip will appear in the project panel.
Method 2- Synchronization
- Select audio and video files from the timelines and right-click on them.
- Choose “Synchronize” and select “Audio” as the synchronization point from the popup window.
- Select the track you want to sync and hit “OK.”
Is it possible to automate audio levels in Premiere Pro?
Yes, it’s possible to automate the audio levels for balanced audio, saving time during post-production. There are five different automation modes, and here’s the process to automate the audio levels:
- Go to “Window” and select “Audio Track Mixer” from the drop-down menu.
- Choose an “Automation mode” from the automation menu for the individual audio track.
How do I fade in or fade out audio in Premiere Pro?
Fading audio in and out is essential for a smoother transition and ensures your audio sounds best. Here is the method to use audio fades in Premiere Pro:
- Go to the “Window” and click “Effects” from the drop-down menu.
- With effects open, navigate to “Audio Transitions” and click “Crossfade” to open the folder.
For Fade In, drag “Constant Gain” or “Exponential Fade” at the beginning of the audio in the timeline.
- For Fade Out, drag the transitions at the end of the audio in the timeline.
Can I copy audio effects from one clip to another in Premiere Pro?
Yes, you can easily copy audio effects from one clip to another to maintain consistency with multiple clips. To copy and paste the effects, follow the process:
- Select the clip and choose “Edit” from the “Effects control panel” or right-click on the clip and choose “Copy.”
- Select one or more clips and click “Edit” and choose “Paste Attributes” or right-click on the selected clip and select “Paste Attributes.”
What is the difference between the Audio Clip Mixer and the Audio Track Mixer?
Use the Audio Clip Mixer when needed to change the audio levels of individual clips or to mix individual clips between audio tracks. Audio Track Mixer enables you to change the audio levels of the whole track. Therefore, ensuring consistency between different clips and smooth audio work is ideal.
How can I loop audio in Premiere Pro?
Audio looping in Premiere Pro is essential to extend the short audio clip to meet the video length without copying and pasting the clip. Follow the hereunder process to loop the audio seamlessly:
- After adding the audio and video clip, go to the “Ripple Edit Tool” and click “Remix Tool.”
- The sound panel will open automatically with the selected track and select the “Music.”
- Select and drag the audio clip to match the length of the video clip.
- It will make seamless edits to your music to ensure its smoothness and consistency.


.png)


