.png)
Suppose you’ve ever gone live on Twitch and felt like something was missing. Your gameplay is solid, your mic sounds good, but the vibe is still a little empty. Music is usually the missing piece. But for many streamers, adding music becomes frustrating fast. Copyright warnings, muted VODs, messy audio settings, Spotify not being picked up, or the fear of “doing it wrong” stop creators from using music altogether.
This guide breaks everything down into clear, beginner-friendly steps so you can safely add music from Spotify, YouTube, local files, and other sources.
What You Need Before Adding Music to Your Twitch Stream
Before we jump into the methods, make sure you understand how Twitch handles music and how your streaming software processes audio.
Check Music Permissions
Twitch does not allow streaming copyrighted songs that you don’t own the rights to. Even if the music plays fine during the live broadcast, your VOD may get muted afterwards. Before choosing any music source, ensure you’re using:
- Royalty-free music
- Music you own or licensed
- Soundtrack by Twitch
- Independent artist-licensed tracks
- Streamer-friendly playlist platforms
How to Add Music to a Twitch Stream Using Local Audio Files
To add local music files to a Twitch Studio stream, you’ll need to use a different application since Twitch Studio does not have a dedicated media source for local files. Local audio files (MP3, WAV, OGG) are ideal because they give you full control and no copyright problems if you legally own or have licensed them.
Option I – Adding Local Music Files in OBS Studio
- Open OBS Studio → Go to Sources → + icon.

- Now, click on VLC Video Source.

- Name the source (e.g., Music), and click OK.

- Set the desired options for your playlist.

- Click on the + icon.

- Select the Add Files option.

- Choose your MP3/WAV file playlist and click Open.

- Check Local File and click OK.

- The Music will be added to the Audio Mixer. You can use it to lower music volume and ensure it doesn’t overpower your microphone.

Option 2 – Adding Local Music Files in Streamlabs Desktop
If you are streaming with Streamlabs, here’s the quick method to add local music to your Twitch streams.
- Open Streamlabs Desktop and go to Sources.
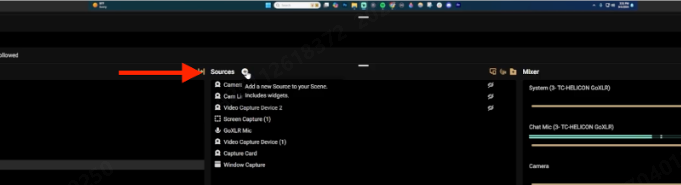
- Click on Media file → Add Source.
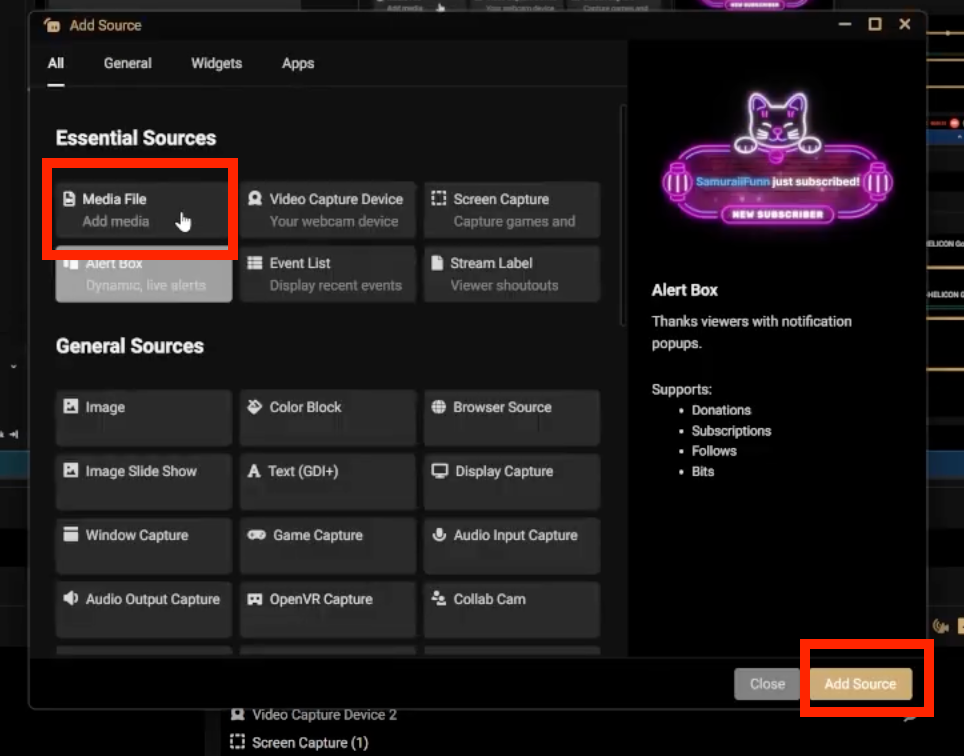
- Scroll and select your music. If you want to add a new source instead, toggle that and click Add source.
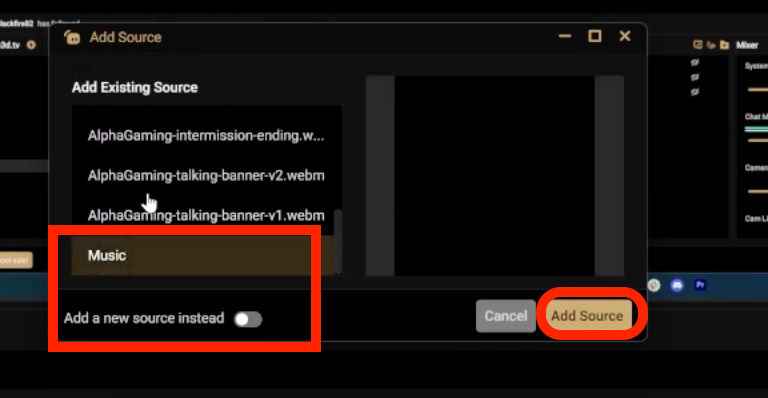
- You can see the Music added in the Mixer bar. Adjust the volume levels and hit the Go Live button.
How to Add Spotify or YouTube Music to Your Twitch Stream
Spotify and YouTube are common music sources, but remember, they are not licensed for VODs. These are popular but must be added carefully due to copyright rules. Below, we have discussed the steps to add Spotify music to Twitch streams. Similar methods can be followed to add YouTube music too.
I. Using Spotify to add Music to Twitch through OBS Studio
You can use Spotify in two ways:
- Through a web browser (Chrome, Firefox, Edge, etc.)
- Through the Spotify desktop application
Either option works for capturing audio inside OBS.
Option # A – Spotify through Web Browser
- Open Spotify through your browser(say Chrome). Once your music source is ready, move back to your OBS Desktop window.

Method #1- Capture Spotify Using Desktop Audio
- Check if Desktop Audio moves in the OBS Audio Mixer

- If you do not see the Desktop audio, click on Settings in the right corner.

- Next, click Audio → choose the device that plays your system audio (e.g., Speakers, Headphones, Realtek, etc.) → click OK.

- When you play a song, OBS will start detecting it through Desktop Audio. You’ll see the audio levels move inside the Audio Mixer.

This confirms the sound is being captured for your stream. This is the simplest method because OBS automatically captures whatever plays on your computer.
Method #2 – Isolate Spotify Using Application Audio Capture
If you want a more direct and controlled way to add music to your Twitch streams. Now we move to the method where you do not use Desktop Audio.
This lets you isolate only Spotify audio and prevent other desktop sounds from being captured.
- At the bottom of OBS, click the + button in the Sources panel.

- Choose the Application Audio Capture (BETA) option.

- Rename the source (example: Spotify Google Chrome, or any browser you are using) and click OK.

- In the configuration box, go to the Window dropdown, choose the browser tab where Spotify is open, for Example: [Chrome.exe], and click OK.

- A new audio bar labelled Spotify Google Chrome appears.

This means only Spotify is being captured, and no other browser sound or desktop notifications. This completes the Browser Method using Audio Capture.
Option B – #Spotify using the Desktop App
This method lets you capture only the Spotify app’s audio, without capturing your entire system sound. It’s perfect if you want clean, isolated music control.
- Install the Spotify Desktop app.

- Go to the Sources panel at the bottom of OBS. Click the + (Add) button.

- Choose Application Audio Capture (BETA) from the list.

- A naming window will appear. We call this the “Spotify App” and click OK. This helps differentiate between Spotify via browser and Spotify via app.

- In the Window dropdown, look for the Spotify application.
- It may appear with different system-level identifiers, such as spotify.exe. Next, click OK.

- OBS will now isolate and listen only to the Spotify app’s audio. A new audio bar labelled Spotify App will appear in the Audio Mixer.

II. Using Spotify to add Music to Twitch through Streamlabs
If you stream through Streamlabs, follow these steps:
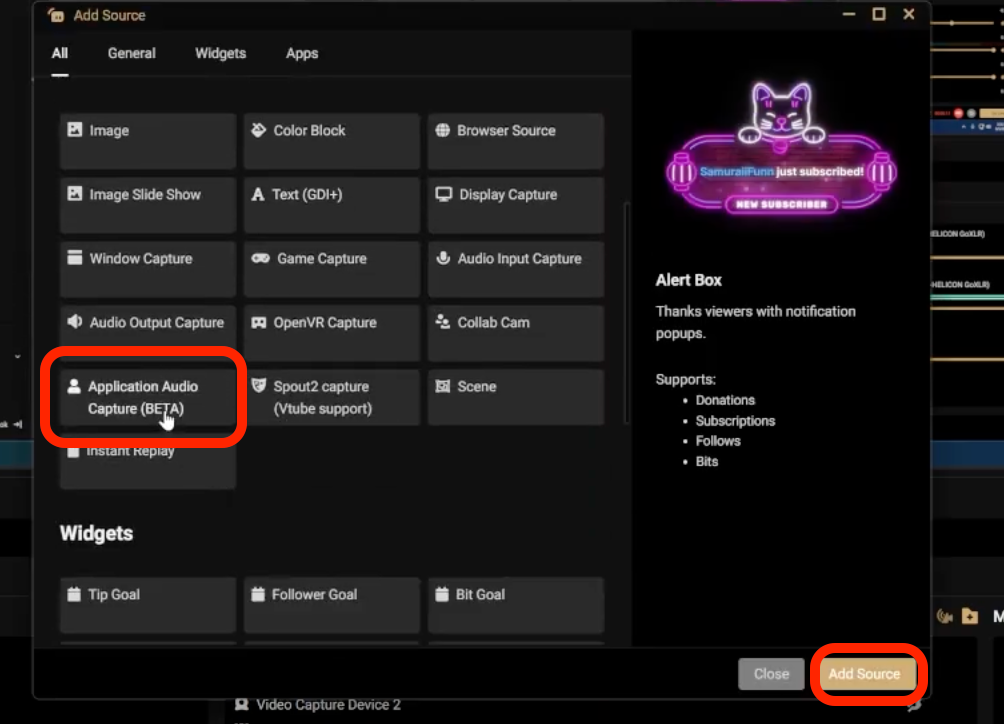
- Click on the + icon in the Sources menu.

- Choose Application Audio Capture (BETA) → Add Source.
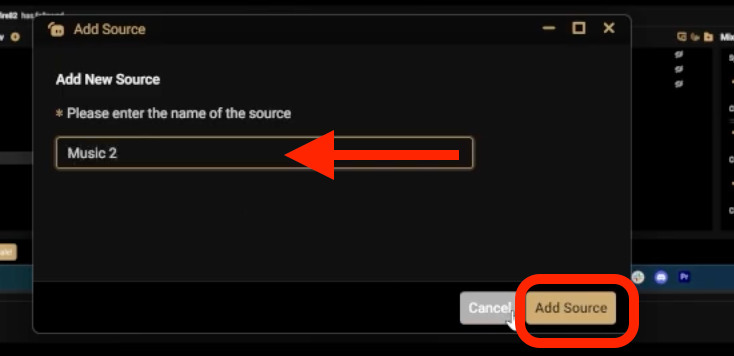
- Name the source, say ‘Music 2’, → Add Source.
- If you’re adding multiple audio or video sources or managing different music tracks across scenes. Having a stable, high-quality backup workflow becomes essential.
- Devices like the Hollyland VenusLiv Air help with this by supporting 24/7 streaming, high-resolution capture, and clean audio input. Also, ideal for keeping a master recording even when your Twitch VOD excludes certain music tracks.
- Now choose the music source you want to add.
- For Spotify, ensure you have Spotify music running in the background through the browser or app.
- Choose [Spotify.exe] under Windows.
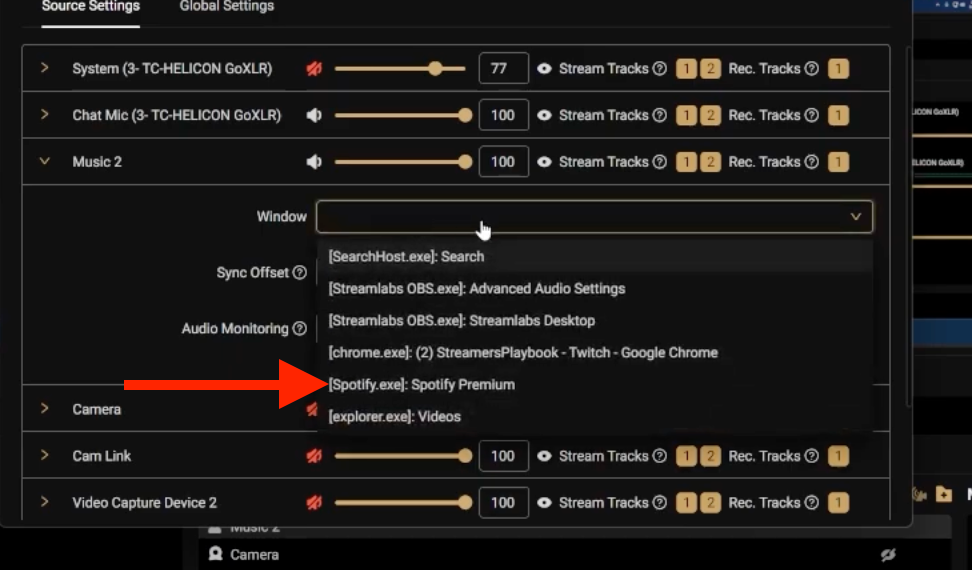
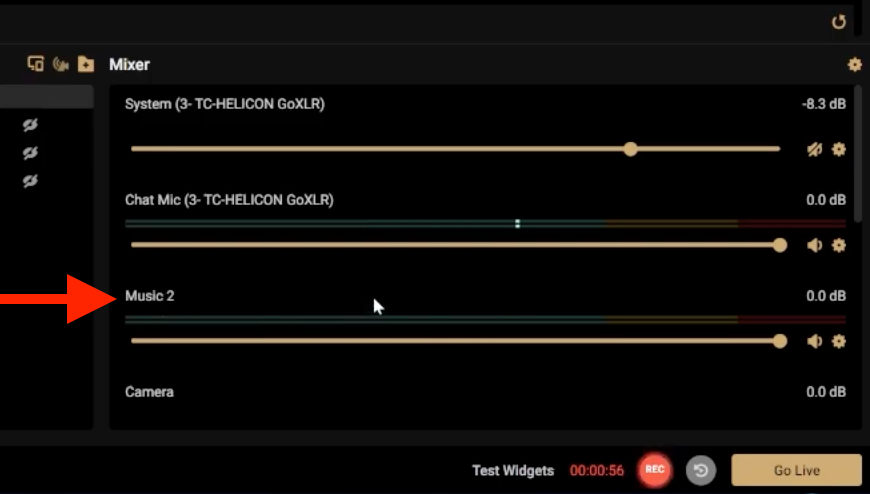
- “Music 2” now appears in the Mixer. This ensures Spotify music is successfully added to be streamed on Twitch through Streamlabs.
Conclusion
Add music to your Twitch stream confidently by choosing rights-cleared sources, isolating music with application capture, and utilising multi-track routing to ensure VODs remain clean. Use Soundtrack by Twitch or licensed libraries for the safest results. For pro workflows and secure master copies, pair software routing with hardware like the Hollyland VenusLiv Air 2 to archive edit-ready recordings.
FAQs
Q1. Can I use Soundtrack by Twitch to avoid VOD muting?
Not any longer. Twitch officially shut down the Soundtrack by Twitch service on July 17, 2023. This means you can no longer add new tracks to it. Instead, you’ll need to use other rights-cleared music libraries or ensure routing and licensing compliance manually.
Q2. How do I keep music out of my Twitch VODs while still letting it play live?
Use multi-track routing in your encoder. In OBS (Advanced Output), enable multiple audio tracks, assign mic/game to the stream/VOD track, and assign music to a stream-only track. For Streamlabs, do partial routing. Twitch Studio lacks VOD routing. Test local recordings to confirm the final VOD file has no music.
Q3. How do I stop my VOD from getting muted if I use Spotify for live music?
Mute Spotify from the VOD track by assigning it only to the live audio track using OBS’s Advanced Audio Properties. This allows followers to hear music during the live stream but keeps it out of recordings and VODs. Always test your audio tracks before starting a session.
Q4. How can I allow song requests safely without risking copyright strikes?
Enable requests only from vetted libraries (Soundtrack, Pretzel, Lickd, royalty-free lists). Configure your song-request bot to accept approved sources only, block open Spotify/YouTube requests, and log every played track. Review user submissions before adding them live. This reduces unexpected copyrighted songs being played on stream or saved to VODs.
Q5. Do I need extra hardware for backups and better audio control?
Not necessarily. Most streamers manage music and routing using software tools like OBS or Streamlabs. However, audio interfaces and mixers such as GoXLR, Elgato Wave Link, or Beacn Mix can make balancing channels easier. Hardware isn’t mandatory, but it can improve workflow, consistency, and overall sound quality.