In recent years, the audio recording industry has seen the rise of groundbreaking tools, with no exception to the Rode Wireless GO II.
When the first Wireless Go microphone came out in 2019, people loved its small size and not-so-great sound. However, the need for a compact yet wire-free audio solution without compromising on quality was still a persistent demand.
Fast forward to the present, the Rode has introduced its second generation, the Wireless GO II – a new benchmark in wireless audio technology.

Designed with the modern content creator in mind, the Wireless GO II addresses the challenges faced when capturing high-fidelity audio with smaller devices like DSLRs or iPhones.
Not to mention, it retains the essence of its predecessor, but it also introduces a plethora of improvements such as double transmitters, extended battery life, and an increased transmission range of 200 meters.
Moreover, its versatility extends beyond traditional recording setups; for example, you can connect it to a camera, computer, or even the latest USB-C devices like iPad Pros and numerous Android phones.
So, if you have bought this latest Rod Wireless Go 2 Model and now looking for ways to maximize its use, especially in charging and maintenance. You have come to the right place.
In this article, we’ll expertly walk you through the optimal charging procedure for the Rode Wireless Go II so that you achieve peak battery performance and longevity.
Stay tuned!
Unboxing the Rode Wireless GO II: What’s Inside?
The Rode Wireless GO II is one of the industry’s leading wireless microphone systems. It boasts a suite of components meticulously designed for peak performance.

Let’s peel back the layers and see what lies within its package.
- Receiver: A crucial component that captures the signals from the transmitters.
- 2 Transmitters: These devices send your audio signals to the receiver.
- Furry Windshields (x3): Essential for outdoor recordings, this helps reduce wind noise.
- SC20 USB-C to USB-A Cables (x3): Use these cables to charge and connect your devices.
- SC5 TRS to TRS Memory Cable: This facilitates the connection between the receiver and other audio devices.
- Carry Pouch: A convenient pouch to keep your equipment safe and organized on the go.
Charge Case for Wireless Go 2: A Quick Overview
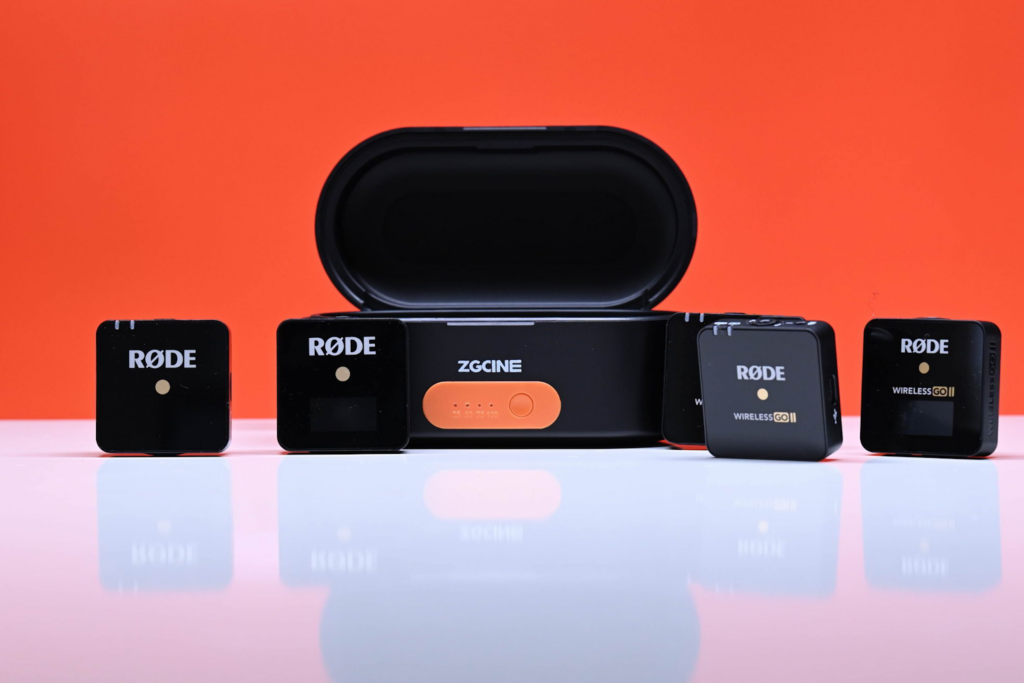
While our primary focus in this article is to guide you through the charging process for the Rode Wireless GO II, having familiarity with its Charge Case is fundamental.

For those new to the device, the Charge Case of Wireless GO II is designed as an optional accessory.
While a charging case is a nifty addition, it’s not a constant necessity. The receivers don’t always need to be tied to it. Particularly if you’re storing them for an extended period, it’s advisable to keep their charge between 50% to 80%.
Moreover, a double click of the power button outside the case halts charging.
At the forefront of the charging case, illuminating power lights provide insights into the case’s battery life.
The hierarchical system is straightforward—the case charges first, which in turn powers the units inside. Hence, ensuring the case itself has ample charge is crucial.
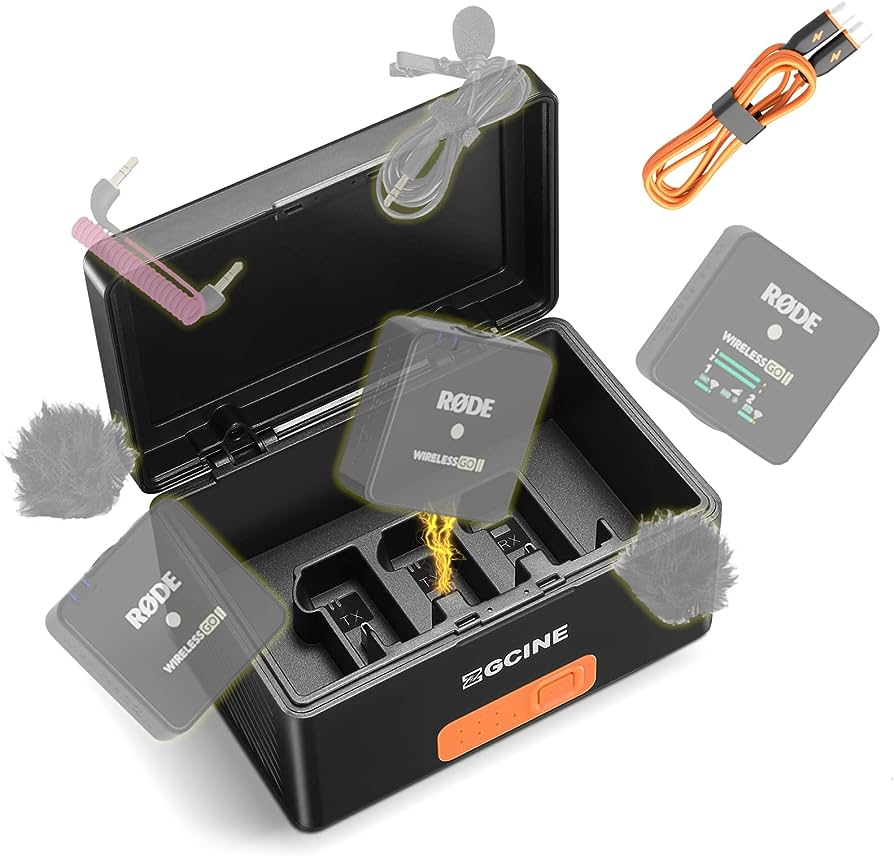
Another notable feature of the charging case is its space optimization.
Not only does it secure the units with precision, but it also thoughtfully accommodates essential accessories such as cable for your camera or a couple of microphones.
Remarkably, the design caters to units even with their furry wind muffs attached, addressing a common pain point of many users who find most charging units too restricting.
There’s a discreet yet accessible USB-C port at the back of the charging case that ensures charging is hassle-free.
Now let’s move to the process of how this charging case integrates into the charging process of the Wireless GO II.
How to Charge the Rod Wireless GO II: A Step-by-Step Guide

The Rode Wireless GO II is typically designed for its intuitive use. In this section, you’ll have a clear understanding of its charging process. Here, we break down the charging process into three steps to make things easier for you:
Step 1: Prepare the Charge Case
It’s essential to set the stage right before starting the charging process. Thus, let’s start by unzipping the Charge Case to access its internal compartments.
Step 2: Place the Units
Proper alignment and placement are crucial to ensure optimal charging.
Start by inspecting each unit—the transmitter and receiver. Identify the USB-C port and the flat face on each device. The case’s interior provides intuitive guidance to eliminate guesswork:
- Receiver (“RX” Slot): This is the designated space for the receiver unit.
- Transmitters (“TX” Slots): Two slots are marked “TX,” dedicated to the transmitters.
Step 3: Initiate Charging
As soon as the units are correctly placed within their respective slots, the charging process initiates automatically.
To reassure users, keep an eye out for any indicator lights or sounds (if any) that signal the beginning of the charging process. These indicators serve as immediate feedback, confirming that the units are charging as intended.
How to Charge the Charge Case Itself?

Charging the Charge Case is also paramount to give power to the Wireless GO II units. Follow these guidelines to charge the charging case:
- Locate the USB-C port on the Charge Case.
- Use one of the provided USB-C cables that came with the Wireless GO II kit.
- Connect the other end of the cable to a reliable power source. This could be a desktop computer, laptop, or high-quality USB charger.
How to Read the Charge Case Status LED?
The Charge Case for the Wireless GO II possesses an LED indicator that communicates the charging status and battery health.
Situated near its USB-C port, the Charge Case boasts an indicator LED and an adjacent status-check button.
While the LED offers real-time insights into the charging and battery status, the status-check button serves as a manual prompt to ascertain the current battery health of the Charge Case itself.
How to Check the Charge Status of the Case When Plugged In?
When you’ve securely mounted the Wireless GO II units inside the Charge Case, keep an eye on the LED:
- Solid blue: This indicates active charging is underway for the transmitters and receiver. In simpler terms, your equipment is currently drawing power.
- Solid green: The case is 100% charged.
- Flashing green: Nearly there, with a charge level between 50% and 99%.
- Flashing amber: It’s charging, but the level is between 10% and 50%.
- Flashing red: The charge is between 0% and 10%.
How to Check the Charge Case’s Battery Health?
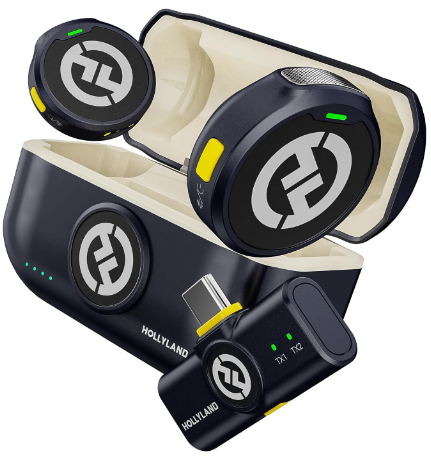
If you’re curious about how much battery the Charge Case has left? Press the status-check button. The LED will display colors based on its current charge level. The above-mentioned color indication can help you interpret the battery. These LED indicators are common in most wireless microphone kits with charging cases. However, a few brands, like the Hollyland Lark M2, don’t require users to press the status-check button as they automatically reveal the battery’s health and charging levels.


Hollyland LARK M2 - Mini Lavalier Microphone
An incredibly lightweight and compact wireless button microphone that captures high-fidelity audio.
Key Features: 9g Button Size | 48 kHz/24-bit | 40 Hours Battery
It all boils down to the fact that the LED indicator, coupled with the status-check button, provides a clear, color-coded system to keep you informed of both your Wireless GO II units and the Charge Case’s power status. You must familiarize yourself with these signals ensuring you’re always powered up and ready to capture audio.
Conclusion
The Rode Wireless GO II stands out for its cutting-edge technology and user-friendly design in the sea of audio recording tools.
To use its full potential and ensure its battery longevity, understanding the intricacies of its charging process is paramount.
The Charge Case with its innovative design not only offers protection but also provides an efficient charging system so that you’re always ready for your next recording session.
Properly charging and caring for both the Wireless GO II and its Charge Case amplifies the device’s performance. So make sure to charge it using the mentioned guidelines to extend its battery lifespan and enjoy many years of impeccable audio capture.
If you’re looking into battery best practices for your Rode Wireless Go II, pairing it with a reliable wireless lavalier microphone can further optimize your audio workflow. A high-quality lavalier mic enhances sound clarity, complementing your carefully maintained wireless system.
Frequently Asked Questions
How long does the Wireless GO II take to fully charge in the Charge Case?
Depending on the remaining battery, typically, a full charge is achieved in 1-3 hours.
Can I charge the Wireless GO II units without the Charge Case?
Yes, the units can be charged using the provided USB-C cables, even outside the Charge Case.
What does a flashing red LED on the Charge Case indicate?
A flashing red LED signifies a critically low battery, suggesting immediate charging is required.
Can I use any USB-C cable to charge the Charge Case and the Wireless GO II?
While the provided USB-C cables are recommended, high-quality USB-C cables from reputable brands should also be compatible.
Is there any risk of overcharging the Wireless GO II or the Charge Case?
Wireless GO II and its Charge Case, usually come with safeguards against overcharging. However, for best practice and device health, it’s advisable to unplug once fully charged. If you are aiming to store them, it is recommended to charge them 50-80 percent for optimal performance and longevity.


.png)


