.png)
The video streaming market significantly took off during the COVID-19 pandemic and is currently valued at $2.6 billion. With a CAGR of 18%, the value is projected to reach $9.8 billion by 2033.
At the forefront of live-streaming is Facebook, one of the most popular platforms. Facebook allows you to live-stream for up to 8 hours, an insignificant challenge for the 24/7 streaming power of the Hollyland VenusLiv Air with its advanced 4K30fps camera quality.
In this easy-to-follow tutorial, we will guide you through how to successfully set up a Facebook livestream.
What Do You Need for a Facebook Live Stream?
Before we get into the step-by-step guide of live streaming on Facebook, here are some essentials you must already have in place.
Camera
A camera is the foundational requirement for setting up a live stream on Facebook. If you will be going live with your mobile phone, chances are it already has an inbuilt camera which can be used for this purpose; the same goes for most laptops.
However, to achieve Facebook’s recommended live streaming quality, we advise that you use external cameras that are better suited for this purpose.
Audio Equipment
A good microphone is necessary for the success of your live stream. Likewise, for great live stream quality, you also need a good pair of headphones.
Stable Internet Connection
The recommended upload speed for live streaming on Facebook is 3 to 6Mbps or higher. If you put together the best cameras and most expensive audio equipment, without having a stable internet connection by the side, you might as well not livestream on Facebook at all.
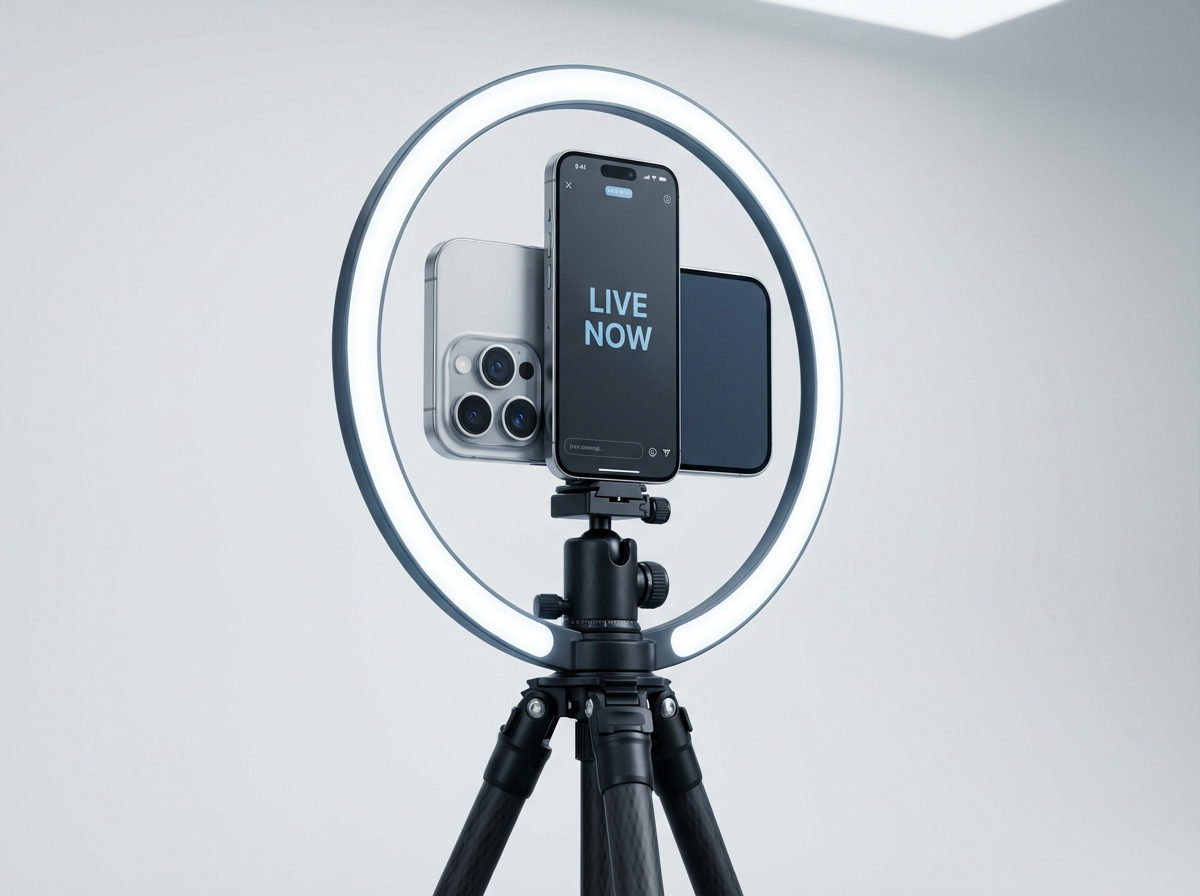
How to Go Live on Facebook from a Mobile Phone
So let’s take a step-by-step approach to going live on Facebook from your mobile phone.
Step 1: Open the Facebook Mobile App
The first step to going live on Facebook is to open the app on your mobile phone.
Step 2: Create Post

Initiating any content on your Facebook profile can be done by attempting to create a post, including live streaming. Simply tap on the “What’s on your mind?” box at the top of the Facebook home screen.
Step 3: Live Video
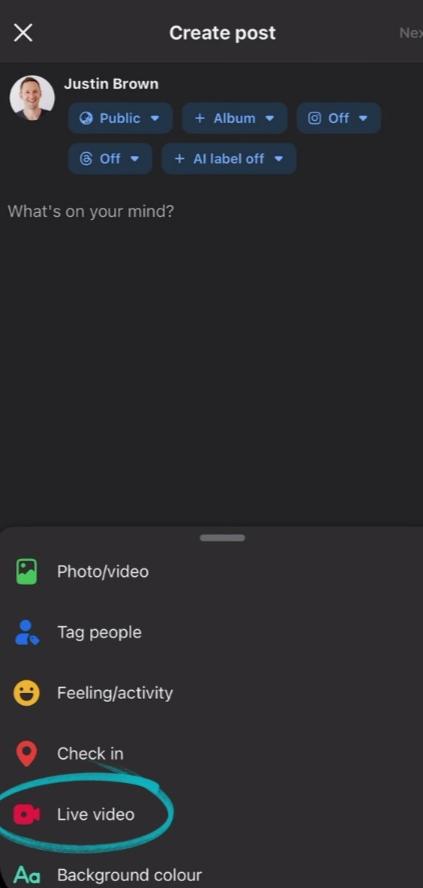
Inside the ‘create post’ interface, click on “Live Video” from the options of the different content types you can initiate. If it’s your first time, you will be asked to grant Facebook access to your camera and microphone. Click on “Accept.”
Step 4: Select Audience


Next up, define your audience by setting your privacy settings. This is you choosing who you want to view your live stream. Privacy options include Public, Friends, and Custom.
Step 5: Add Description

The description is like a caption that gives the audience an idea of what the live stream is about. Endeavor to always use an engaging description, so as to grab the attention of more viewers.
FREE TIP: Sometimes, include a “Mentioned You” text before typing the rest of your description. This is an effectively proven trick to capture audience attention.
Step 6: Get Ready, Launch!
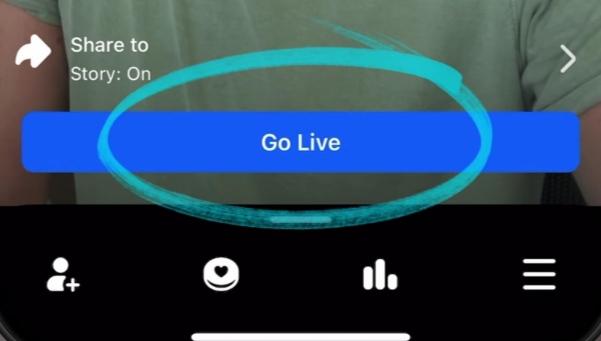
Once every other thing has been put in place and you are ready to go, click on “Go Live,” and your live stream will begin immediately after the countdown.
When you’re done and ready to end the live stream, click “Finish,” and your live stream will be immediately cut off.
How to Go Live on Facebook from a Desktop Computer
Contrary to some beliefs that going live on Facebook from a desktop computer is somewhat technical, we believe it is pretty easy, so long as you are familiar with your hardware setup and follow the steps.
Step 1: Open Facebook

Open web.facebook.com on your desktop browser. Ensure you are logged in already.
Step 2: Go to Live Video

At the top of your Facebook news feed, next to the red camera icon, click on “Live Video.” Another route to this is to simply go to facebook.com/live/producer.
Step 3: Set Preferences

Before going live, select if you wish to go live right now, or if you would like to ‘Create an Event’ so you can schedule a live stream for later.
Choose your streaming destination, whether you would like to live stream to a group, a page, or your profile timeline.
Step 4: Choose Video Source


Select if you want to live stream using your webcam or via a streaming software (this will be covered next).
Step 5: Go Live

Click on “Go Live,” then grant Facebook the necessary permissions to use your computer’s microphone and camera. A preview of the visuals your webcam captures will be shown to you, so you know whether to change your webcam or not.
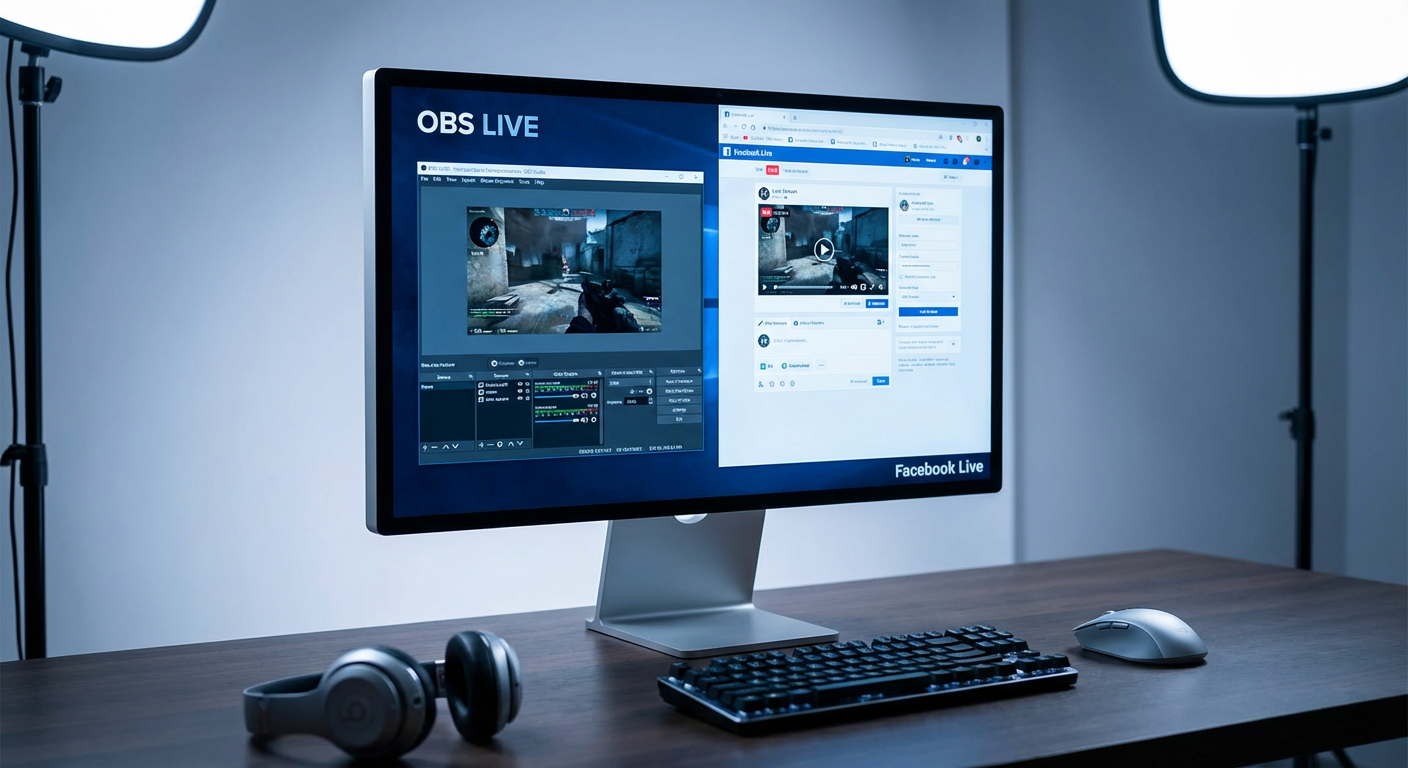
How to Go Live on Facebook Using Streaming Software
Although Facebook offers you all the necessary tools needed to make your streaming experience a pleasant one, there are several third-party software with even more advanced features that significantly enhance the quality of your stream.
Here is how to get it done:
Step 1: Open Facebook
Go to the Facebook site on your computer. From your news feed, click on “Live Video.” You will be directed to Live Producer. From Live Producer, click on “Go Live.”
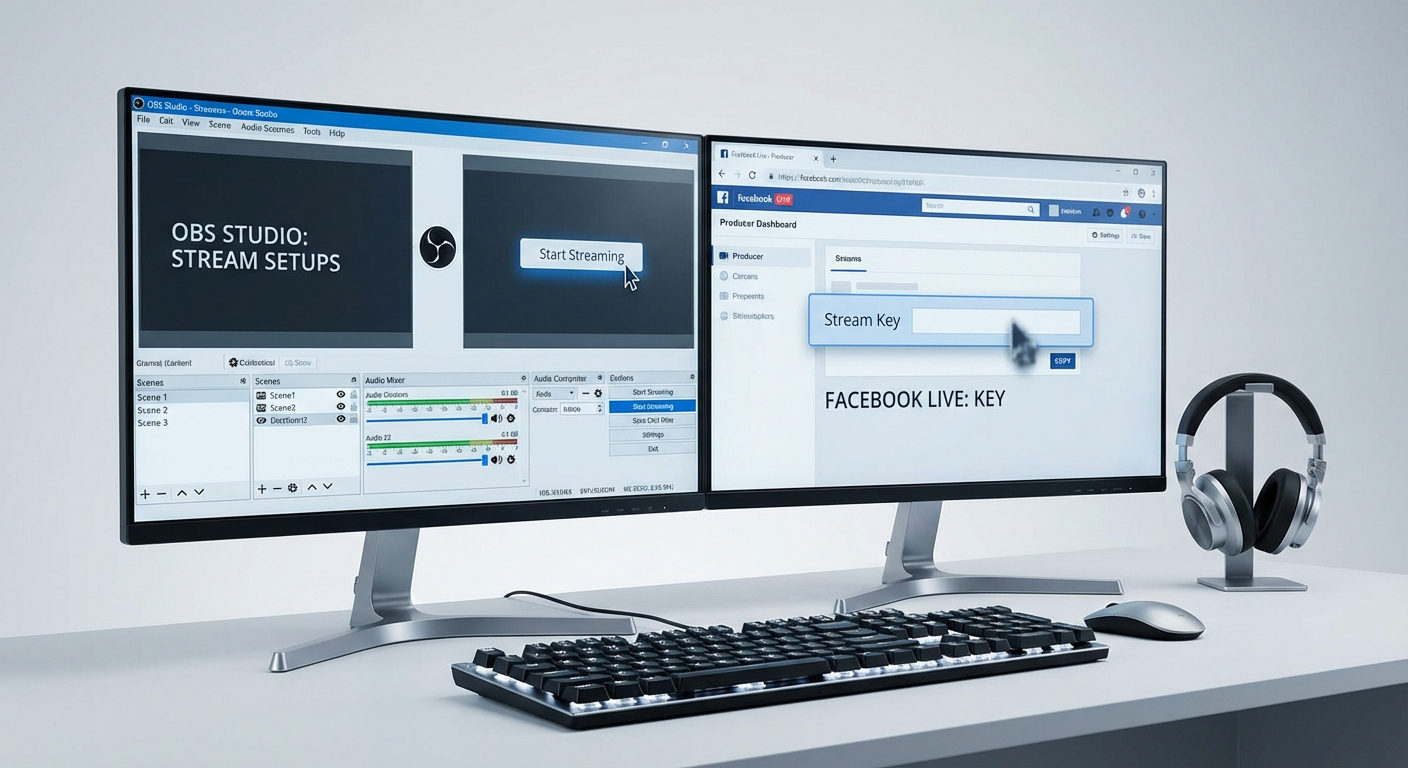
Step 2: Set Video Source
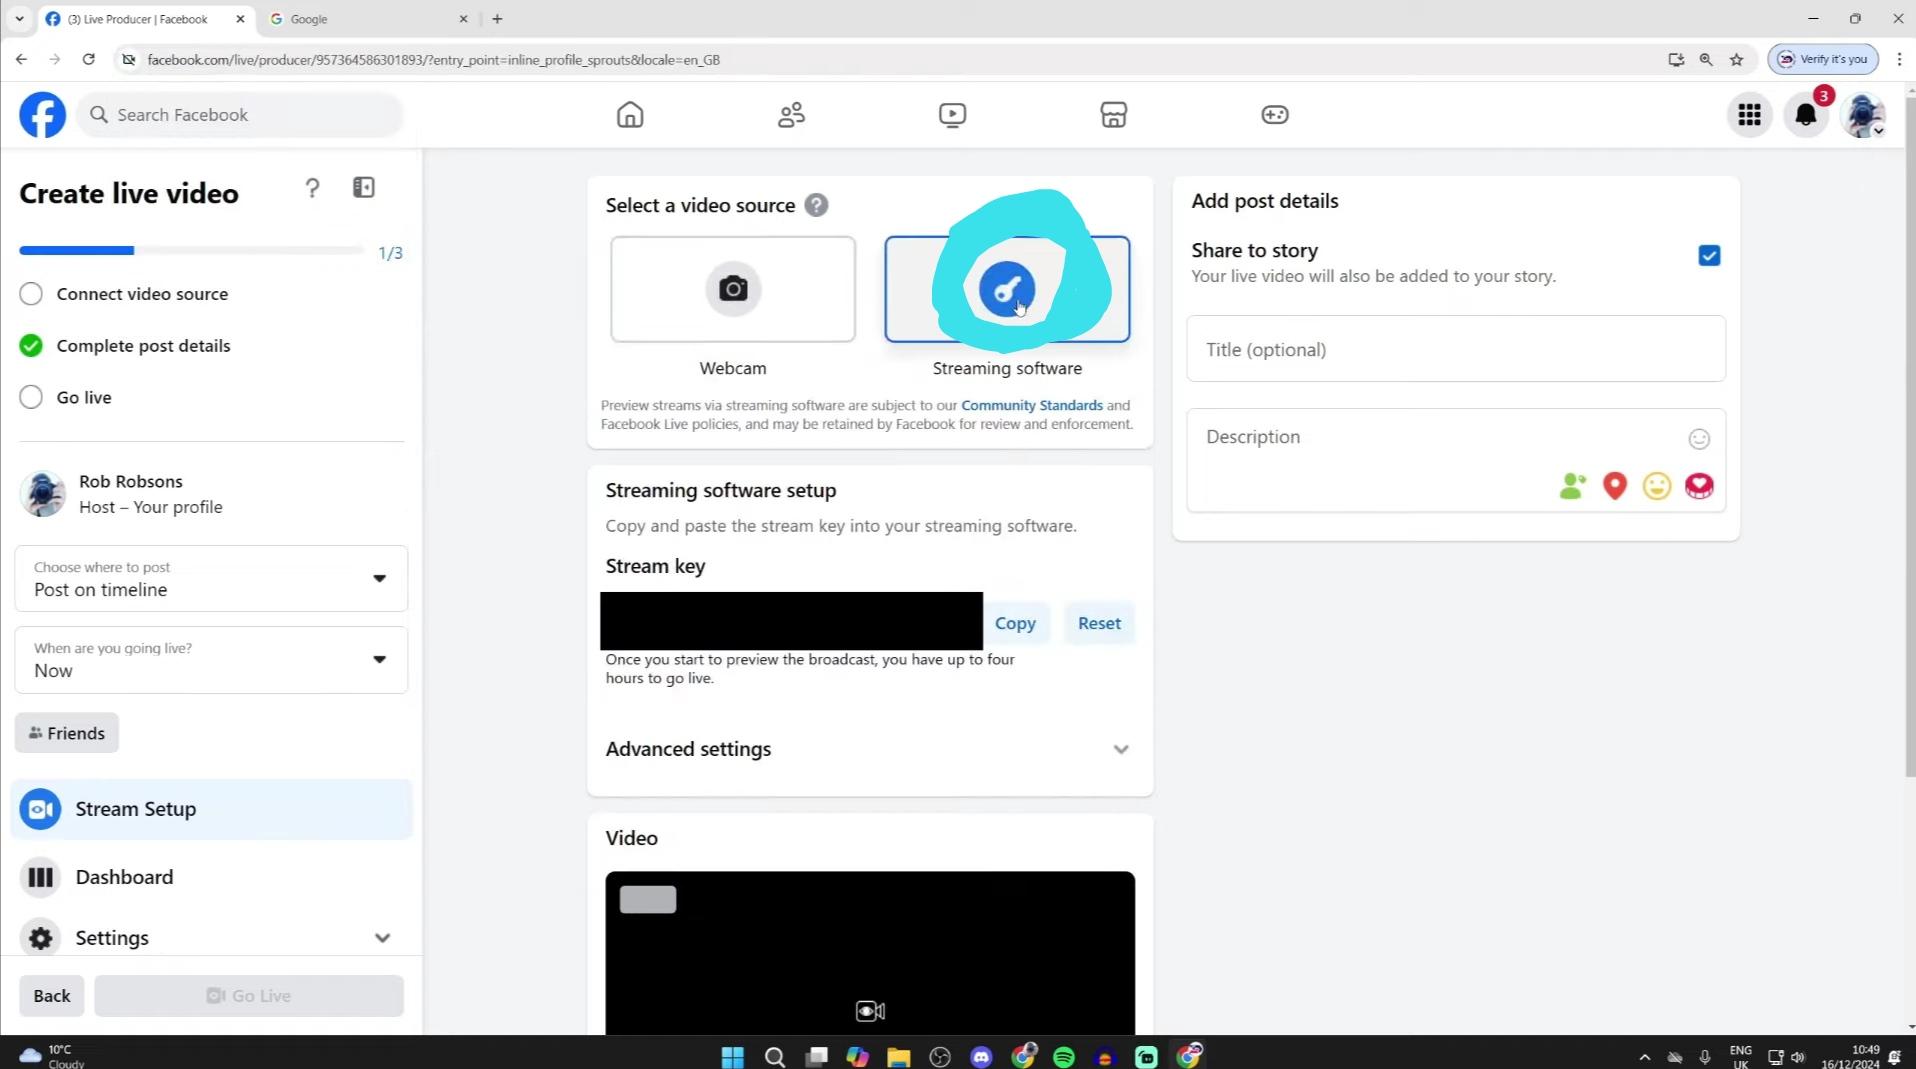
For your video source, select “Streaming Software,” instead of webcam. A unique Stream Key will then be generated for you in the streaming software setup module.
Step 3: Copy Stream Key

Copy the stream key or server URL, then paste it into the output settings of your preferred 3rd party streaming software.
Step 4: Go Live

Now, from your streaming software, launch your live stream by clicking on the “Go Live” button or any similar iteration of it according to your preferred streaming software.
Step 5: Confirm Preview

In your Facebook Live Producer screen, a preview of your live stream will pop up, but no, you’re not live yet. The Preview only shows you the current look of things and how it will appear once you’re on air.
If you’re fine with it, you can finally click on “Go Live” again inside Facebook Live Producer, and your live stream has finally begun.
Conclusion
As an influencer, content creator, or small/medium-sized business owner, Facebook Live streams can be a key catalyst to scaling up your operations, as long as you know your way around it. With the guide we provided in this article, you are well on your way to hitting every possible milestone.
FAQs
Q: Are there requirements to live stream on Facebook?
A: For personal Facebook accounts, there are no requirements. You can begin live streaming any time. However, for pages, you must have at least 100 followers and have been active for 60 days or more. The reason for this is to limit the activity of spam accounts and protect viewers.
Q: How can I reach large audiences with my Facebook livestreams?
A: To gain as much reach as possible with your live videos on Facebook, try to schedule your live streams ahead of time. This helps your audience set a reminder for when your live-stream starts. Scheduling also makes it easier to create as much awareness as possible before you begin streaming.
Q: What happens to my videos after my live stream ends?
A: That is for you to decide. You can choose to delete your live stream once it ends or to leave it online. We recommend that you leave it online so that viewers who missed the live stream can catch up. Also, Facebook allows you to download the MP4 version of your live-streams.