.png)
Instagram, known for its sharing of creative expression, offers a live streaming feature that allows users and influencers to share their live video feed with followers. This enables them to be part of the journey, whether they are traveling, having casual conversations, or simply expressing themselves. Live streaming has never been this fun and easy.
This guide will ensure that you can easily start your own live stream on Instagram by following simple steps, as both are the same for Android and IOS applications. You can also use your PC to go live using Instagram Live Producer.
Method 1: Using a Smartphone
Steps
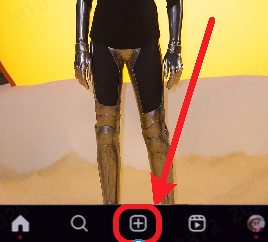
- Log in to your Instagram App and tap the Plus (+) symbol.
- Swipe across the options on the bottom left of the screen until you see the Live option.
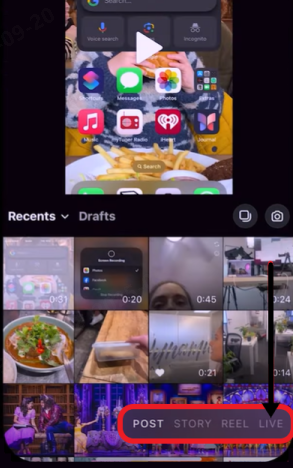
- Your front camera should turn on. For now, the live stream is not active.
- To share your live stream, select the Share option at the top of the screen.

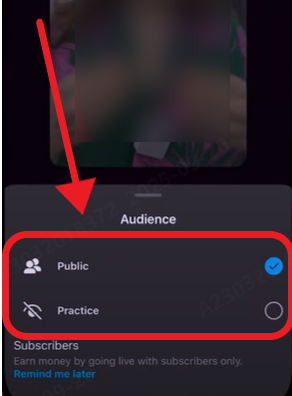
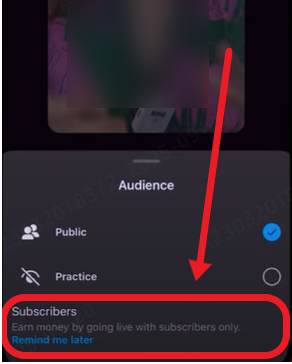
- To share the live stream with everyone, you can select the Public option; however, if you want to practice, you can choose the Practice option, where users can test new features, filters, and practice their opening monologues if needed. The settings are the same for both options.
- For users with a large fan following, you can also select the subscribers option at the bottom. You can set a reminder by selecting the Remind me later option.
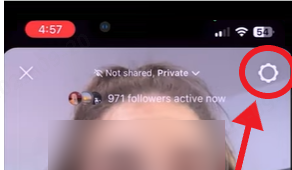
- Before going live, ensure that you have the perfect settings, as this can definitely affect the quality of your live stream. Begin by clicking the Settings option on the top right of the screen.
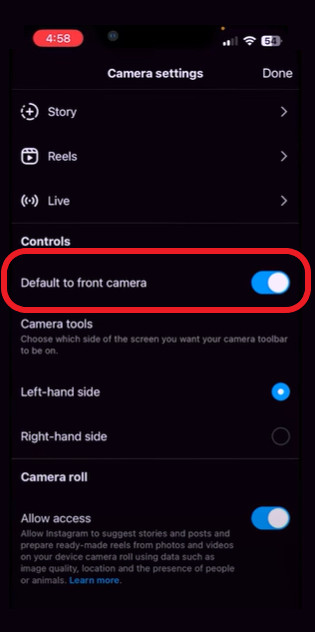
- You can set your front camera as the default camera for live streaming; however, if you want, you can also use the rear camera by toggling off this option.
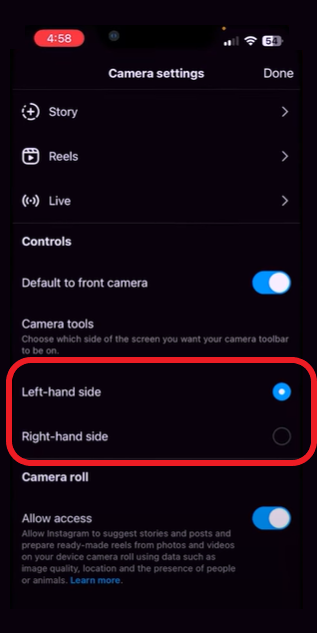
- You can also adjust the location of the camera tools, either on the right or the left of the screen, depending on your preference.
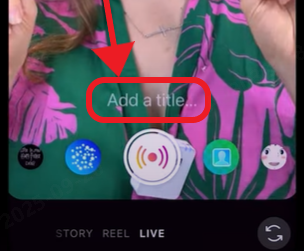
- Now, all we have to do is add a title to your live stream. Tap the Add a title option. Ensure the title is trending enough to generate traffic towards your livestream, making it more successful by inviting more viewers.
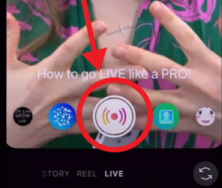
- Tap on the Go Live icon in the center to go live.
Method 2: Using a PC
Live streaming from your PC is a little different than your smartphone. Instagram Live streaming on a PC requires a live streaming software such as Streamyard or Ecamm. A whole lot of other live streaming software is also supported.
Steps
- Begin by logging into your Instagram account on a web browser.
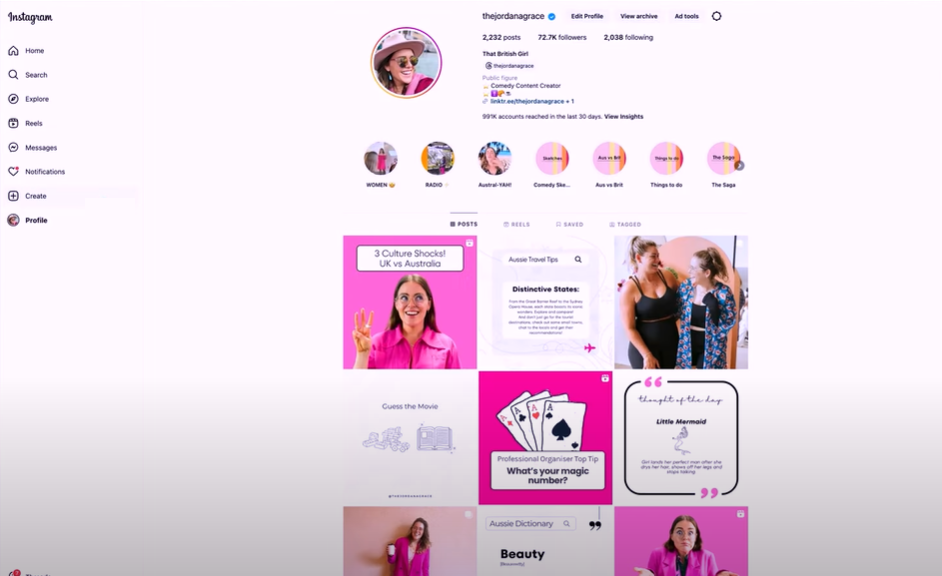
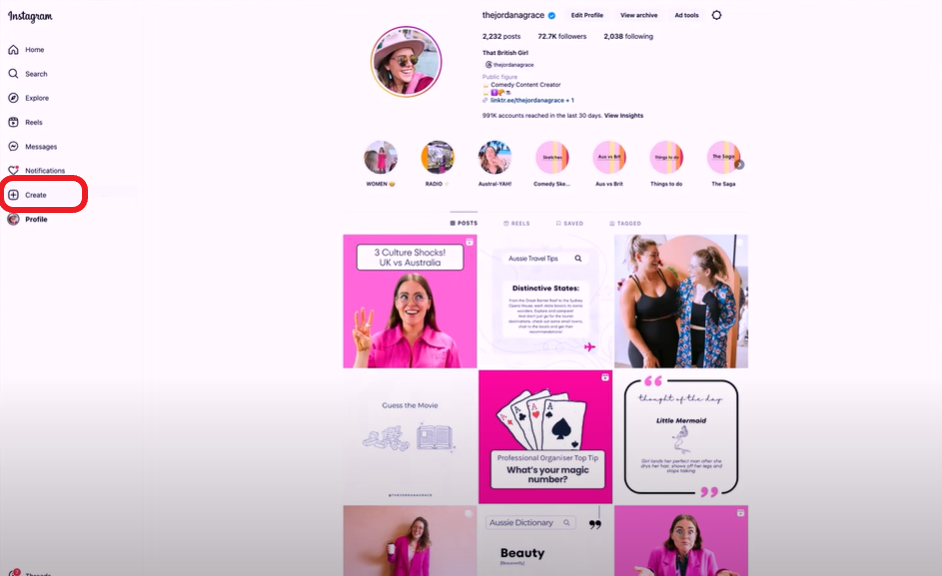
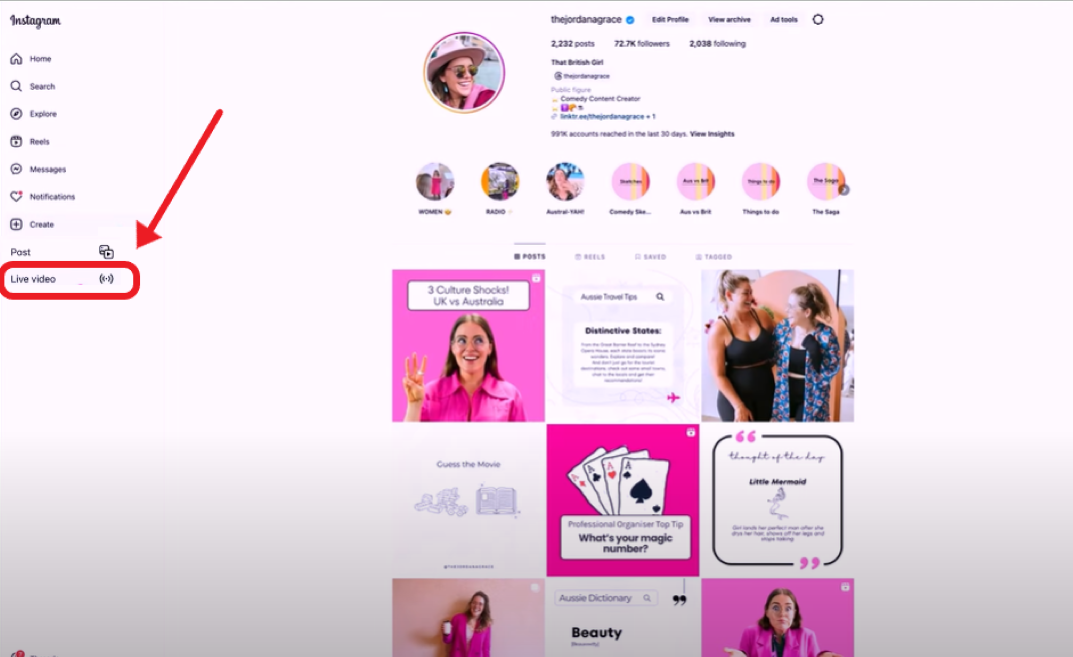
- On the options on the left, select the Create option.
- In the drop-down, select the Live video option.
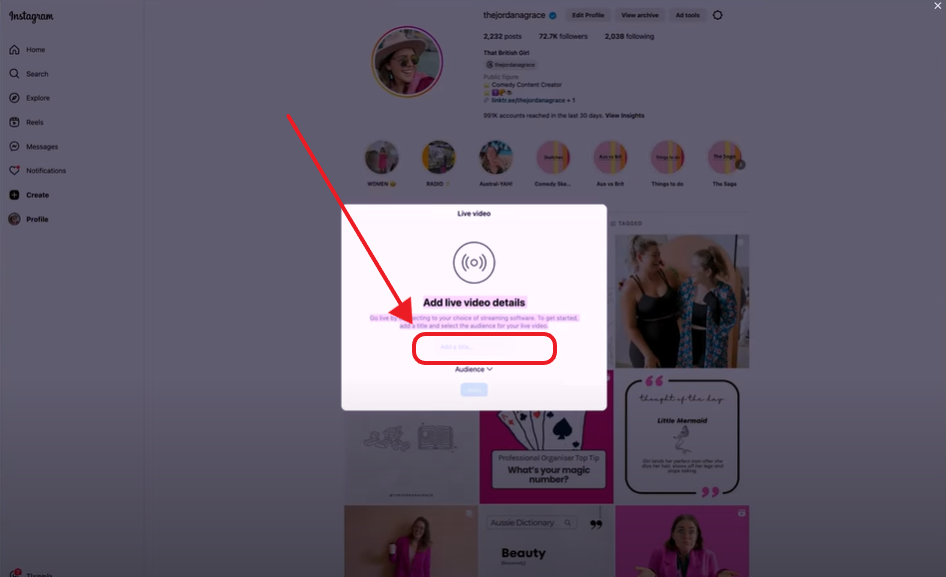
- Add detail about your live stream by first adding the live stream title.
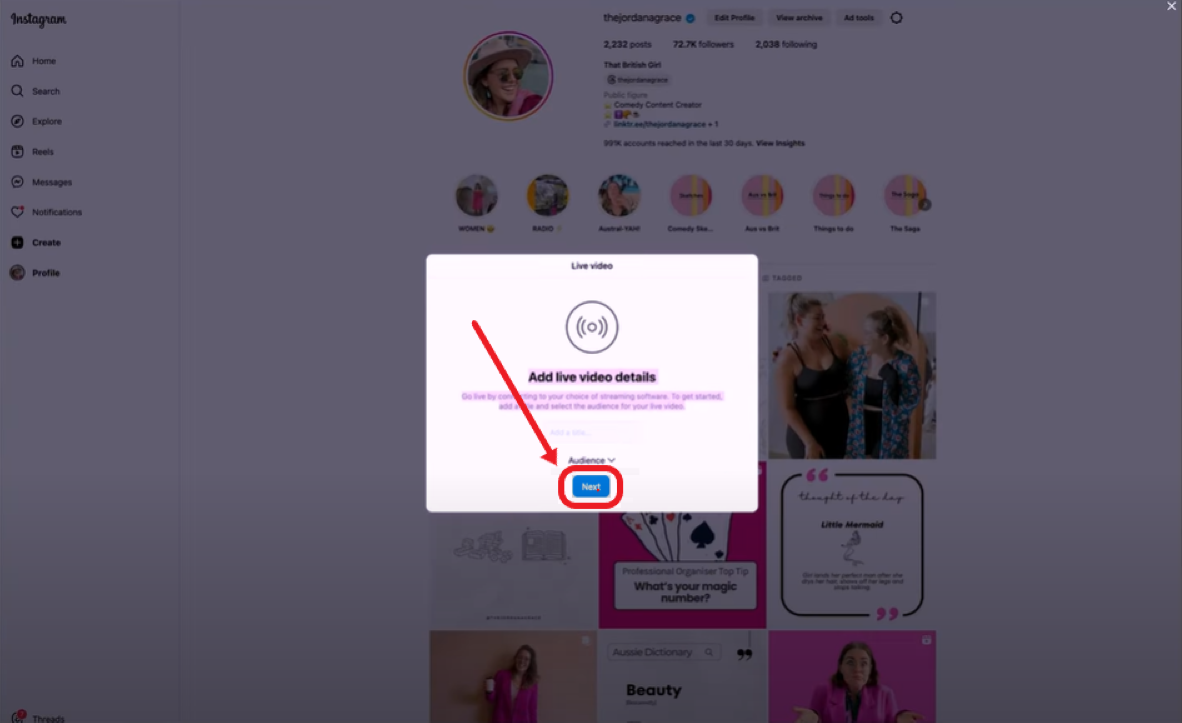
- Just like in the application, you can select your audience type by clicking the Audience option.
- You can select between Public or Practice based on how you would like to live stream.
- Once you’ve added all the details, click on Next to proceed.
- Once you’ve configured your live stream settings, you will have your live stream URL and the stream key, both of which will be needed to host through your live streaming platform.
- You can either use the webcam of your PC or you can use a secondary high-quality live streaming camera. This option is great for users who take live streaming very seriously and do not compromise on quality. A live streaming camera, such as the Hollyland VenusLiv Air, is perfect as it can livestream 24/7 in 4k at 30 fps with AI fine-tuning.

Tips to Improve Stream Quality
Before we conclude this guide, here are some tips to make your live stream quality great when doing it on a personal computer.
- High-quality microphone. Microphones are crucial, especially when live vlogging in an open space, and to ensure quality doesn’t take a hit, you can use a lavalier microphone.
- Stable Internet connection. We cannot stress enough how important a stable internet connection is, as it can either make your live streaming enjoyable or a nightmare. We recommend using at least a 5 to 15 Mbps connection to ensure live streaming in 1080p HD.
- Minimal CPU processing. Ensure unnecessary applications are not running in the background to allow the CPU to run your live streaming software smoothly, preventing any hiccups during live streams.
- High-End GPU. A graphics card isn’t essential for live streaming on your PC, but it’s recommended because it makes rendering and processing smoother when using third-party software.
- Perfect Lighting. A well-lit background can improve the quality of your streams, making them look premium and more enjoyable for your viewers. You can use ring lights or soft box lights to enhance the overall lighting in your stream.
Conclusion
Hopefully, with this guide, you can now live-stream on Instagram on both of your devices, whether it’s your phone and your personal computer. Of course, this guide is to help you learn how to go live; however, you can explore more options on the application, such as using filters and scheduling a live stream.
FAQs
1. Do filters work on Instagram during a live stream?
Yes, filters work during live streams, and you can select from different options to share your quirky and creative personality with your audience by adding some fun filters to make your live stream more interesting.
2. How do I moderate chats on my live stream?
To ensure your live stream chats remain civil and for everyone to enjoy, you can enable the moderator option in the settings. The moderator option will allow you to remove anyone who does not follow your live stream rules. The moderator works automatically and does not require input from the user during the live stream. You can configure your moderator settings to target words that you don’t want discussed in your live streams.
3. Are streaming software on PC free?
Yes, software like Streamyard offers a limited free version that allows you to stream for a fixed duration. The free version does not allow for branding; however, paid plans offer various options, including branding and promotional content.