If you’re a power user, you might frequently seek ways to enhance your computer’s performance without having to make expensive hardware upgrades. One of the ways you can boost your machine’s performance involves using Xtreme Memory Profile (XMP) to enhance your RAM’s performance. For those unfamiliar, XMP is a technology developed by Intel that allows users to manipulate memory settings, such as overclocking the compatible DDR4 and DDR5 RAM modules, consequently yielding improved performance.
Users who do RAM-intensive tasks like gaming and video editing can benefit from increasing their RAM frequency using XMP. However, enabling XMP can lead to challenges, including the potential absence of audio playback on your machine. If you’ve encountered the issue of audio not playing after activating XMP, this article is for you.
Within this comprehensive guide, we will delve into diverse solutions for this matter, including answers to some of the most frequently asked questions on this subject. Without further ado, let’s dive in right away!
Table of Contents
9 Fixes to No Audio Play With RAM XMP enabled
Check the Audio device and Settings
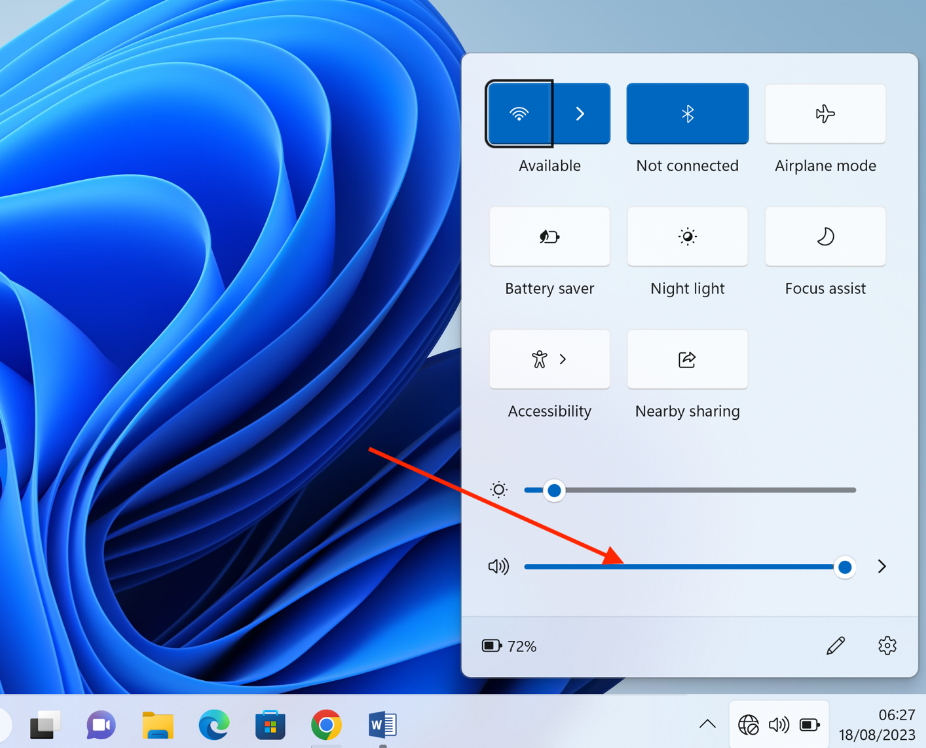
Even after enabling XMP, it is possible that the no audio issue is being caused by your audio settings. So, before getting into the more complex process, verify that your audio output device (such as speakers or headphones) is properly connected to the correct audio jack or port on your computer.
You may also disconnect all the devices connected via USB and Bluetooth and test the audio output with the built-in speakers. Additionally, ensure that the volume settings are not muted or set too low. Adjust the volume of your device and that of your media player to an audible level and check if the audio playback is restored.
Restart Your Computer
While it may seem like a straightforward approach, restarting your computer can frequently resolve software-related issues that might have emerged due to recent changes or updates. When you restart your computer, the operating system reloaded its settings and drivers, which can help fix temporary glitches that impact audio playback. Many users have successfully addressed audio problems by merely restarting their computers.
Test with Different Audio Outputs
Issues with audio playback might not always be related to software settings. There’s a possibility that the specific audio output device (e.g. your built-in speakers) you’re using could be faulty. To eliminate this possibility, try connecting your audio output device (speakers, headphones, etc.) to different audio ports if available. This can help determine if the issue is with the audio device itself or the software configuration.
Disable XMP and Test
If the no audio play issue starts immediately after enabling XMP, you can temporarily disable the XMP profile in the BIOS/UEFI settings. To disable XMP, you will need to boot to your machine’s BIOS/UEFI settings. Depending on the motherboard of your machine, the XMP settings could be among the quick settings or hidden in the Advanced settings.
After disabling XMP, restart your computer and check if the audio playback is restored. If audio works fine without XMP, it suggests that the changes you made to the memory settings are not supported by your system. You can then experiment by manually adjusting memory settings or selecting a slightly lower XMP profile to find a configuration that works reliably for your system.
Update the Audio Drivers of your machine.
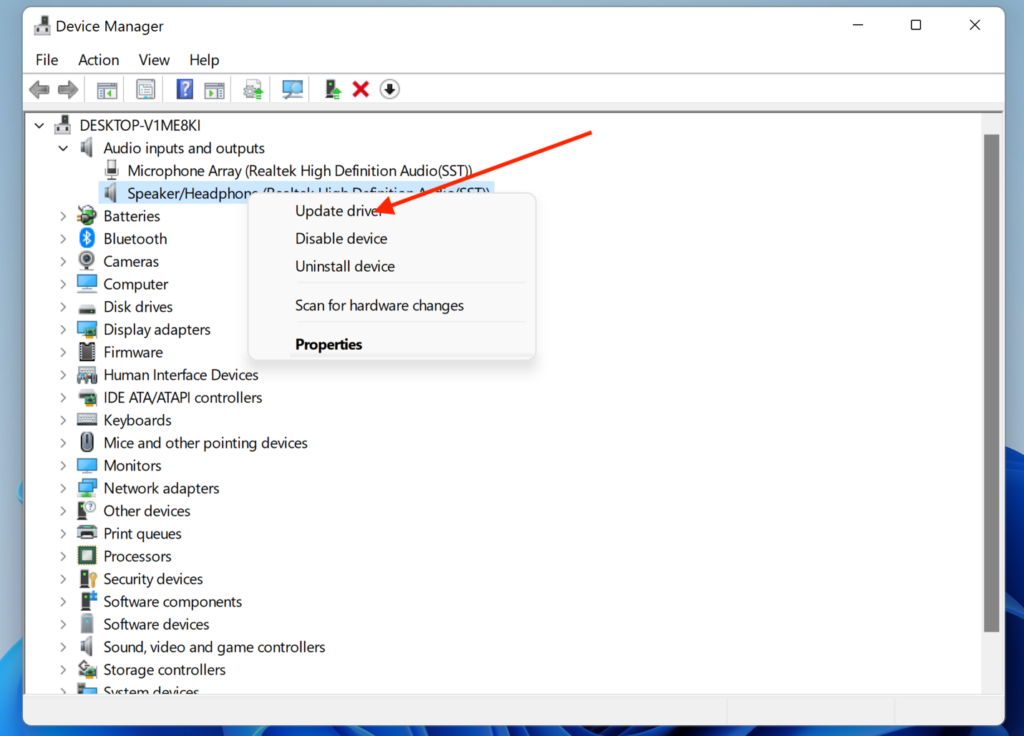
Audio drivers are essential software components that enable communication between your operating system and audio devices such as speakers. Outdated or incompatible audio drivers can lead to audio problems. Visit your computer manufacturer’s website or the motherboard manufacturer’s website to locate the latest audio driver for your specific model.
Download and install the driver and then reboot your machine. Another option is to update your audio drivers via the Device Manager (as shown in the above image). To do this, right-click the Windows icon and choose “Device Manager.” In the audio section, right-click the driver you wish to update and select the “Update Driver” option. If an update is available, Windows will search for it and install it on your machine. Alternatively, you can update all drivers by performing a system-wide update.
Check BIOS/UEFI Settings
The Basic Input/Output System (BIOS) or Unified Extensible Firmware Interface (UEFI) is the firmware interface that controls hardware interactions during the boot process. When you enable XMP, it affects memory settings, which can possibly affect other devices like speakers. If this is the case, go to your BIOS/UEFI settings, navigate to the memory settings section, and make sure that the XMP profile you applied is compatible with your system. You may also consider reverting to default memory settings and then test audio playback.
Update BIOS/UEFI Firmware
As stated earlier, your BIOS/UEFI firmware is the software responsible for booting up your computer and initializing hardware components. Over time, manufacturers release updates to this firmware to enhance compatibility, improve stability, and address various issues. These updates can also affect how hardware components, like audio, function.
It’s recommended to keep your BIOS/UEFI to ensure seamless performance of all your hardware devices. To update your BIOS/UEFI firmware, visit your computer manufacturer’s website and download the latest firmware version. Make sure to follow the provided instructions for updating, as improper firmware updates can cause serious problems. For most devices, you will need to keep your device connected to power when updating your BIOS/UEFI firmware to avoid any errors.
Check for System Conflicts
It is also common for third-party software applications or hardware components to conflict with the settings you’ve applied, such as XMP profiles. Such applications may include overclocking tools, monitoring software, and even certain drivers that might interfere with your system’s stability and lead to audio issues.
To identify if these conflicts are causing the problem, temporarily disable any third-party software that modifies system settings. If you installed some drivers, you may consider disabling them to find out of this resolves the issue. This can help you isolate the source of the issue and determine whether it’s related to XMP or some other conflicting software.
Install new RAM sticks.
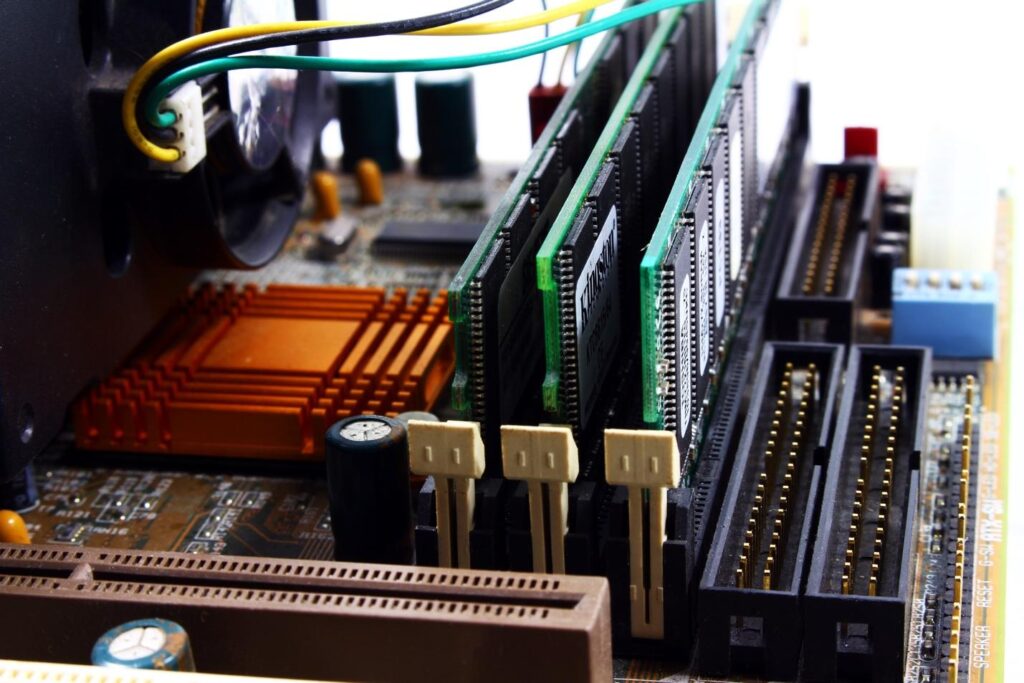
Sometimes, audio issues can be attributed to faulty or incompatible RAM modules. Or maybe the RAM sticks in your machine do not support the XMP profile you chose. If you’ve tried all the troubleshooting steps we have shared without success, it might be worth considering the possibility that one or more of your RAM sticks are causing the problem.
You can begin by reseating RAM modules, ensuring they are properly seated in their slots. Start by removing and reinserting them, making sure they click securely into place. Additionally, test individual RAM modules by removing one at a time and testing audio playback with each configuration to identify if a specific RAM stick is causing the issue. If this doesn’t fix the issue, consider installing new RAM sticks.
Conclusion
Enabling XMP comes with several benefits, such as enhancing your RAM’s performance, but it also comes with drawbacks, such as disabling your device’s audio devices. We’ve provided several solutions that you can attempt to resolve this issue. Begin with the simpler ones, such as restarting your computer, updating audio drivers, and testing with different audio devices. If these initial steps prove ineffective, you can then proceed to more intricate solutions, like updating your BIOS/UEFI firmware or installing new RAM sticks.
FAQs
Should I enable XMP on my device?
Enabling XMP can provide benefits such as enhanced RAM performance, leading to improved overall system speed, particularly for memory-intensive tasks like gaming and video editing. However, it’s important to note that enabling XMP might also introduce compatibility issues, stability concerns, and potential impacts on other hardware components, including audio.
Why is there no audio playback after enabling XMP?
Enabling XMP can optimize your RAM’s performance but may lead to conflicts that affect audio playback. It is common for changes made to memory settings to inadvertently disrupt audio functionality. If you experience this issue, you can fix it using several methods, including updating drivers, updating your BIOS firmware, and disabling conflicting software. You may even consider disabling XMP if these fixes don’t resolve the issue.
What’s the first thing I should check when encountering no audio after enabling XMP?
Begin by ensuring that your audio output device (speakers, headphones, etc.) is correctly connected to the appropriate audio port, and that volume settings are not muted or set too low. You may also restart your machine to reload all the system settings, drivers, and devices.
Does updating audio drivers solve the no audio playback problem?
Yes, updating audio drivers is essential. Outdated or incompatible audio drivers can lead to audio problems. You can update drivers through the Device Manager or by visiting your computer or motherboard manufacturer’s website for the latest driver version.