.png)
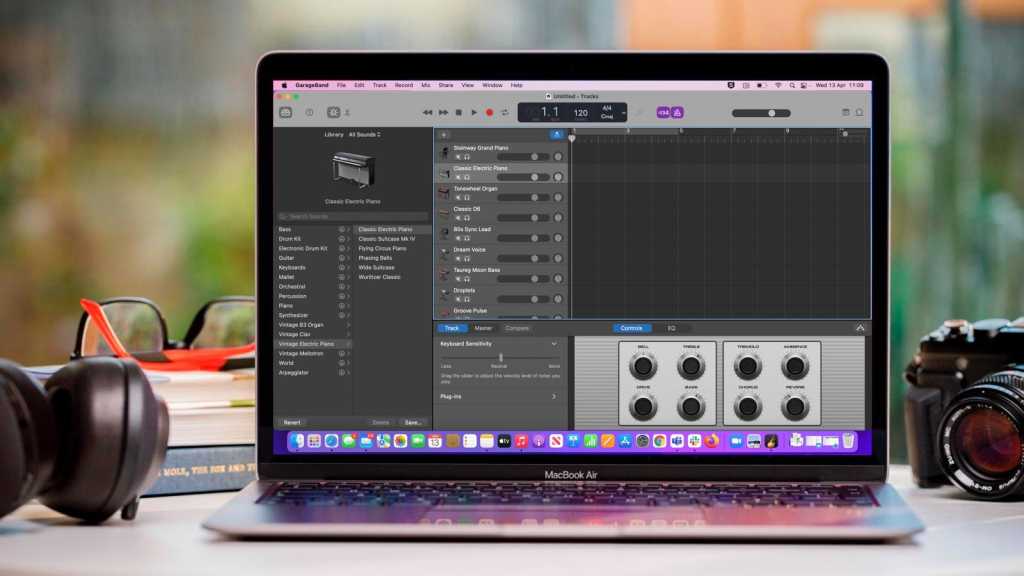
GarageBand is Apple’s free digital audio workstation application with a library of percussions, rhythms, and vocals. It is the perfect application for iOS users to create and share their music. The simplified design and editing software of GarageBand makes navigating the application’s considerable functions easy.
This software allows users to learn, craft, and grow their GarageBand experience as it starts everyone off from the same point. This platform is ideal for expert and novice musicians alike, ensuring users feel comfortable even with their lack of familiarity as it introduces different instruments and sounds for users to play around with.
Pre-Recording Setup
Before we get onto the recording process, there are a couple of things to be considered. These are as follows:
Choosing Your Input Device
You can use your internal device microphone to record audio, but we suggest investing in an external mic if you want superior and enhanced audio. Your internal mic picks up noise from the front, side, and behind your device. An external microphone will aid in reducing any unwanted background noise. It can be placed far enough from the instrument to pick up all the sound-radiating parts equally, giving a reproduced sound similar to what the ear hears.
Be sure to choose a durable microphone that fulfills all of your needs. We recommend picking a microphone that works on all: vocals, acoustic and electric guitar, drums, and amp, providing audio transparency and clarity.
Connecting your microphone to GarageBand is pretty simple. All you have to do is plug your microphone into your computer’s audio input port or a USB port or, for better audio quality, an audio interface connected to your computer’s FireWire or USB port.
Finally, be sure to adjust audio input levels to your liking. You can do this by following these steps:
Step 1: Under the Apple menu, select System Settings.

Step 2: Go to Sound and then go to Input.
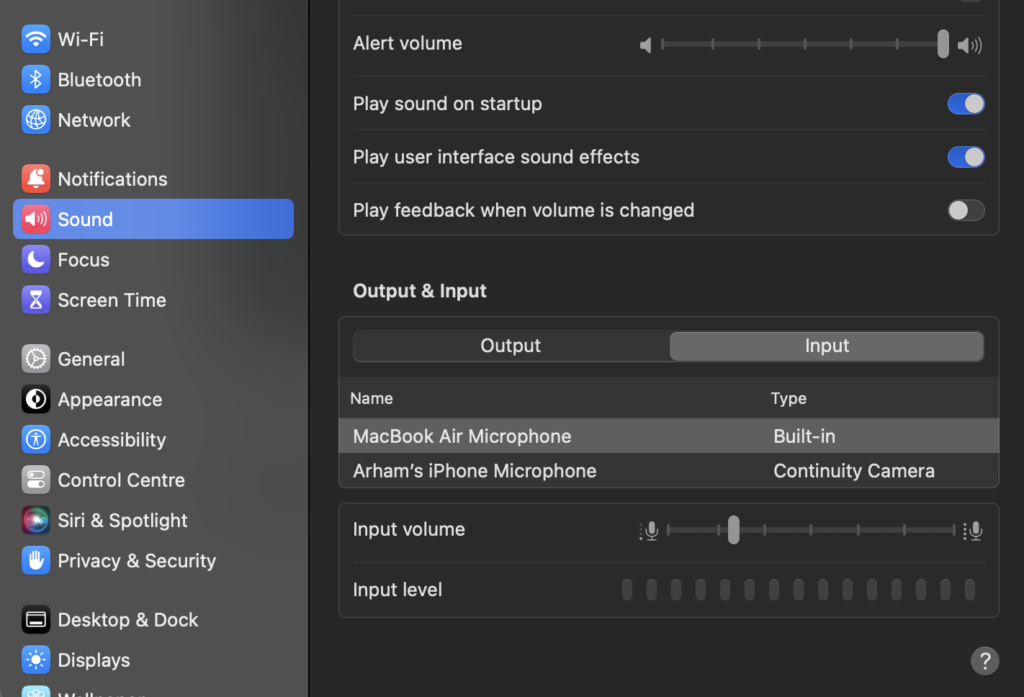
Step 3: Select the external microphone that you plugged into your device.
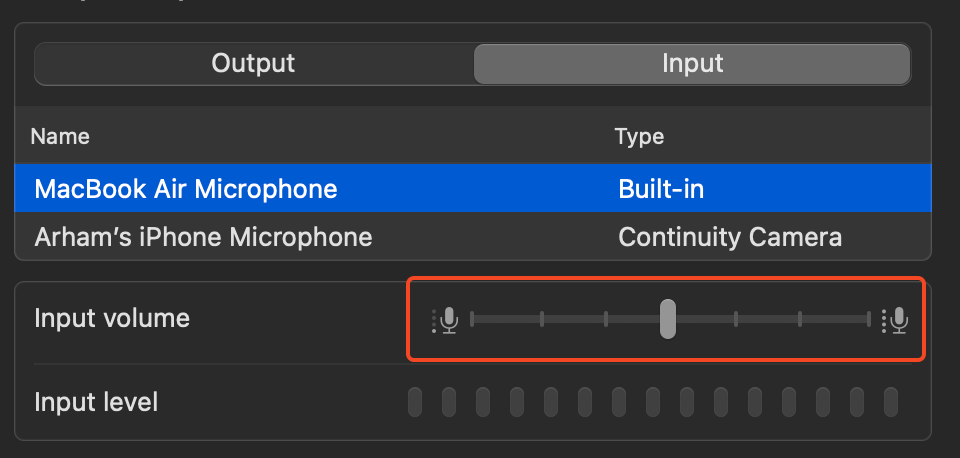
Step 4: Slide the input volume to adjust the recording volume for the microphone.
Selecting The Right Track Type
The next thing you must do before recording is select the right track type. “Right” in this situation is whatever works best for you according to your requirements.
The term software instrument can be anything from software synths to emulation of all sorts of keyboard instruments (some of which will cost you a fortune to record or get hold of), to orchestral libraries, to all kinds of string instruments, to drums, and so on.
There’s no denying a well-recorded, good acoustic instrument, played by a good player in a good room, will sound the absolute best in most instances.
However, software instruments are solid and reliable tools that are becoming more and more realistic, allowing users to create with instruments they may not have access to or the skills to use. Moreover, GarageBand comes with these built-in virtual instruments. These features allow you to create an entire song without knowing how to play a single instrument.
We suggest choosing a track type that works for you, be it a virtual instrument that can be triggered on a MIDI keyboard or a real instrument such as a grand piano.
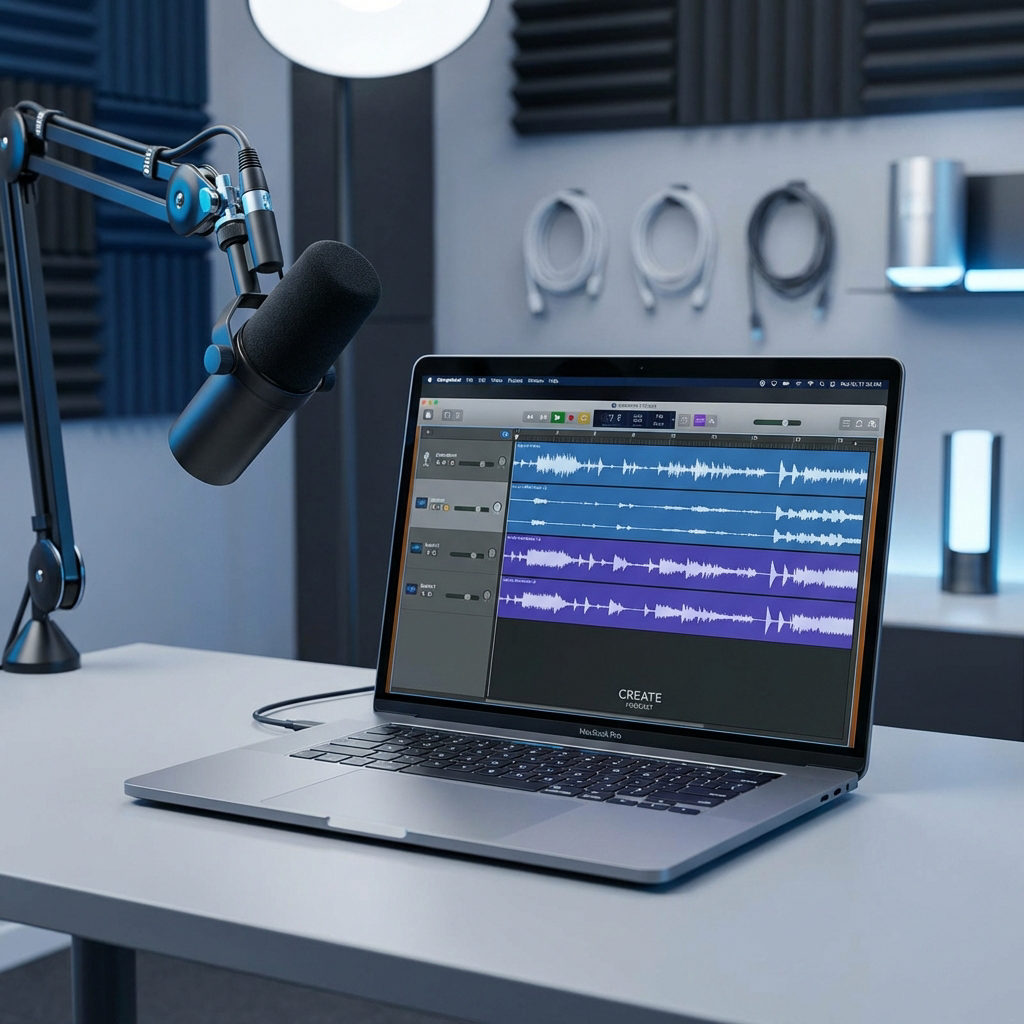
Setting Up Your Recording Environment
The first step to creating a comfortable and welcoming recording environment is to find a quiet and isolated space where you can record without interruptions, background noise, or echoes. Ideally, you want a room with soft surfaces, such as carpets, curtains, or furniture, that can absorb sound and reduce reverberation. You also want to avoid windows, doors, or vents that can let in unwanted sounds from outside or inside your building.
You will also need a headset to monitor your audio and avoid feedback. The acoustic isolation of headphones allows you to listen to a monitor mix at a comfortable volume, with improved fidelity and dynamic range.
The final step is to set up equipment such as instrument cables, stands, or a pop filter and test your sound before recording. It is always wise to sound-check. Even with the best tech, issues can happen. Ensuring you have backups is essential, but always sound check to ensure your levels are good.
Recording Process
Going through the above steps before recording will only help elevate your recording experience and ensure that the end product is something you are delighted with. Now, let’s get to the fun part and get to recording!
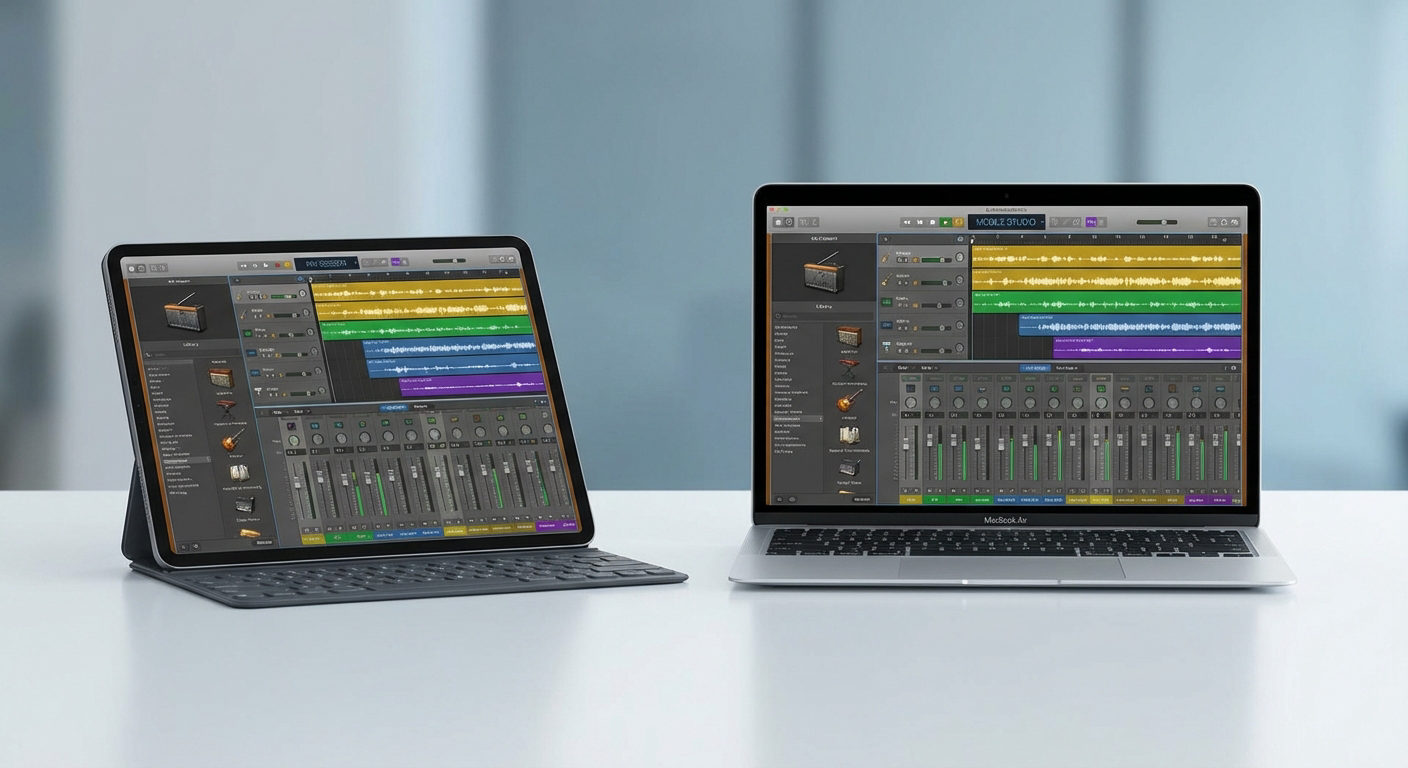
Step 1: Navigating the GarageBand Interface
The GarageBand interface is designed to provide a user-friendly and intuitive environment for creating music. Before starting recording, you need to identify the main recording controls. Garageband offers a built-in tuner, metronome, and a variety of audio effects and processors to enhance your music.
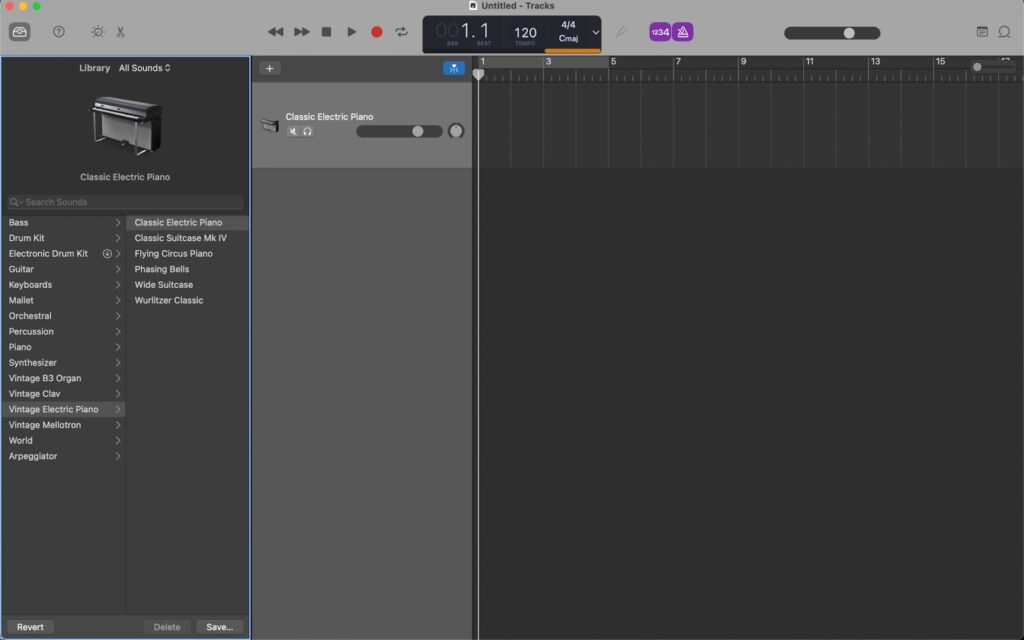
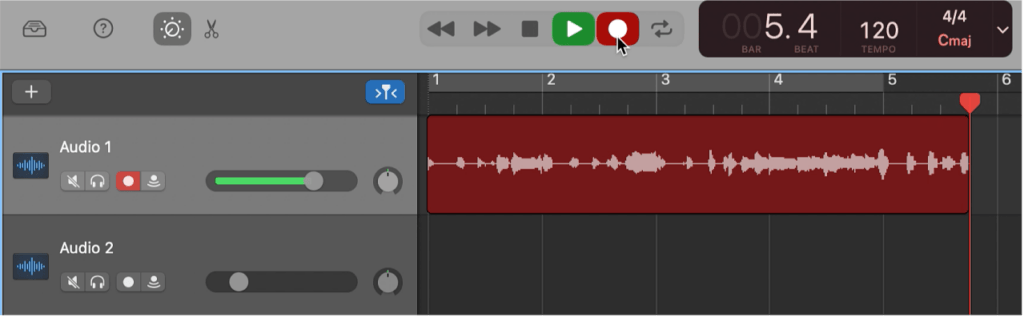
The main window displays tracks horizontally, where you can add and edit different types of tracks, such as audio, MIDI, and virtual instruments. The toolbar at the top of the window provides easy access to various tools and functions. Here, you can find the recording, editing, and mixing controls.
Step 2: Starting Your Recording
There are stop, play, and playback/forward buttons on the top of the GarageBand window. The last button next to these buttons is a red dot that is your record button. You can click on this button to start recording your audio. Clicking the same button will stop the recording.
The duration of that period before beginning recording can be set in bars or beats (count-in) or seconds (pre-roll).
Count-in is how many measures you will get a metronome tick sound before playback or recording starts. Count-in does not have monitoring, so anytime only count-in is selected, nothing will be heard during the count-in, even if it is counting in over existing items.
Pre-roll is how many measures you will get the current media playing back before the cursor position begins playing back or recording. The advantage of pre-roll over counting is that it has monitoring.
After you’ve picked whether you’re counting in or using a pre-roll, or both, you’re all set to start performing your recording! Be sure there isn’t any noise in the background causing disruptions, and take your time.
Step 3: Overdubbing and Layering Tracks
You can add additional layers of instruments or vocals to create complete compositions and collaborate with your friends or other musicians on the same project. Garageband also has an expansive spectrum of effects and controls to manipulate your sound, including reverb, chorus, distortion, and so on.
Recording to more than one audio track at a time allows you to record several instruments simultaneously. Using the count-in feature can also be helpful for accurate layering.
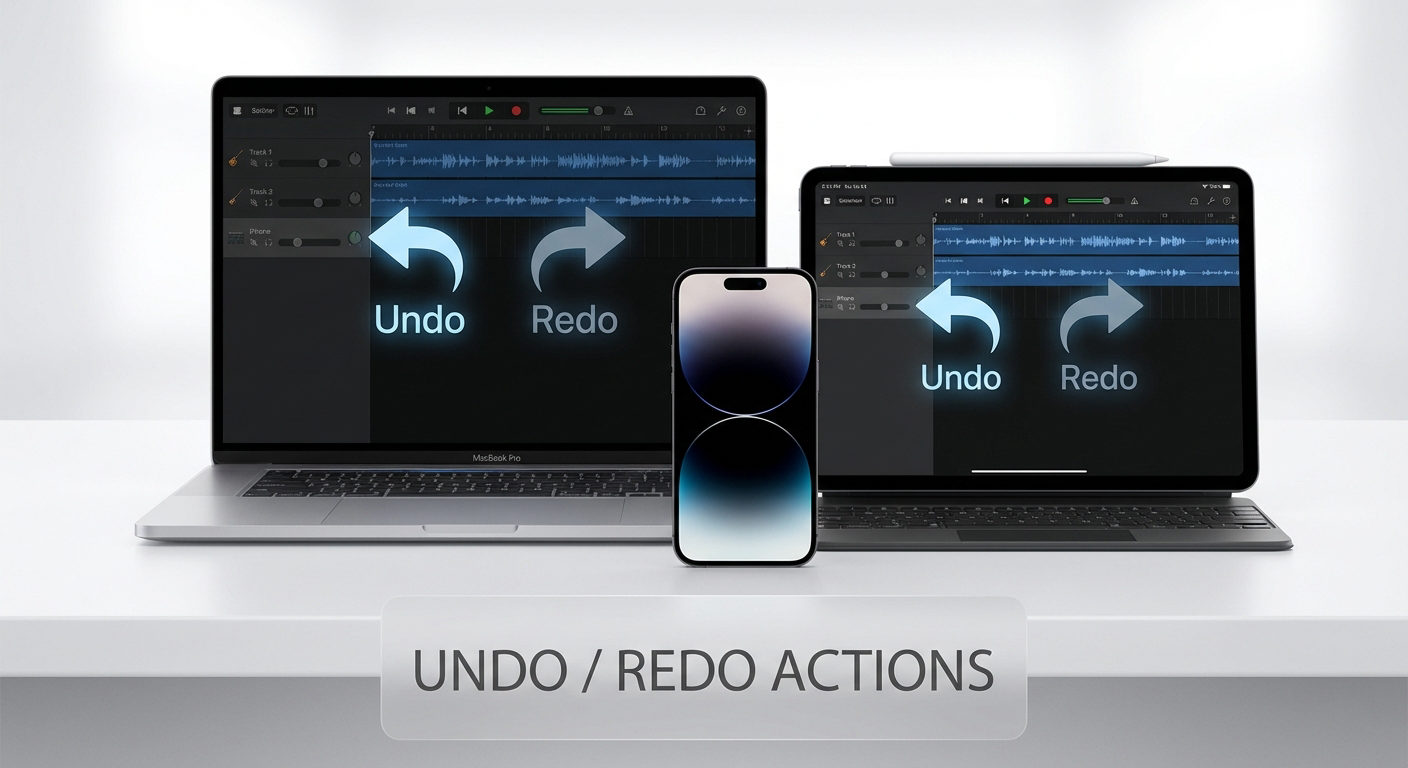
Step 4: Editing and Refining Your Recordings
Editing is an essential step after you’re done recording. It helps make your work sound the best it can. Fortunately, GarageBand comes with a ton of editing tools that are effective, super easy, and simple to use to refine your audio and to get it sounding just how you want it to.
You can copy, trim, or split a clip and fade in and out the track’s volume. The Trim tool allows you to change the length of audio clips by dragging the edges to your preferred positions. The split at playhead tool lets you cut out sections of your audio by creating a break or cut at the playhead place. This comes in handy for removing mistakes or unnecessary content.
Additionally, automation is another effective tool in GarageBand that enables you to adjust the volume of an audio track within itself manually. Adding control points along the clip can create fades, volume adjustments, and other dynamic effects.
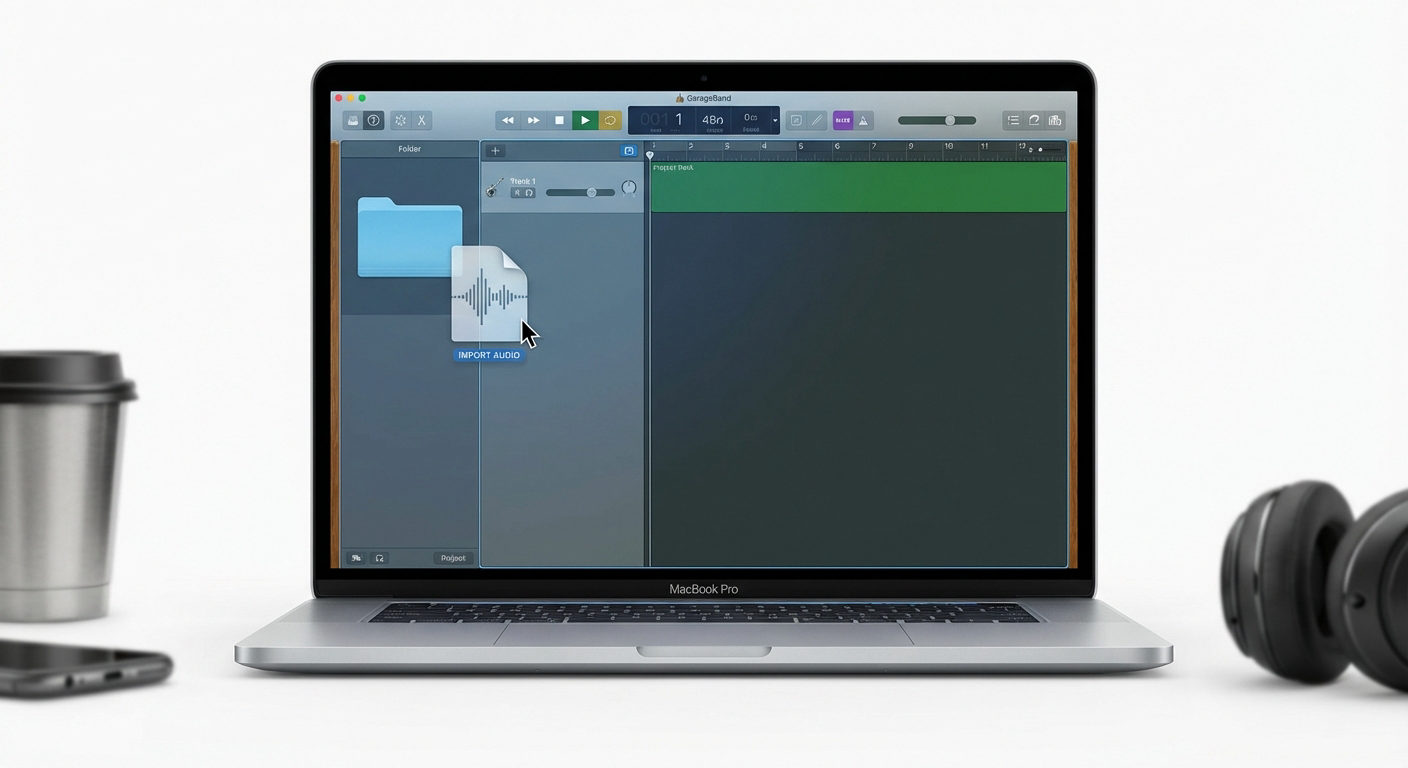
Exporting and Sharing Your Music
After you’re done recording, it’s time to export your music so you can share it with your friends and family! Fortunately, GarageBand makes it incredibly easy for you to export music to keep on your device or for you to upload it on an online platform to share with the world. Let’s get on to see how:
Choosing the Appropriate Audio Format
GarageBand allows you to export your audio in multiple formats, such as an MP3, AAC, AIFF, or WAV file. The most popular of these formats are WAV and MP3. The noteworthy difference between these two is that MP3 files are compressed and small-sized audio files in which some of the original audio may be lost. In contrast, WAV files are uncompressed audio files with much larger file sizes than MP3 files.
When picking the correct format for your audio, the choice between WAV and MP3 formats entirely depends on the intended use. If audio quality is your top priority, WAV is undoubtedly the better choice. This file format is ideal for professional needs, where audio quality can not be compromised.
However, if reducing file size and guaranteeing compatibility across various hardware and software platforms is your goal, then MP3 is the format for you. MP3 files are more compact and petite than WAV, which makes them perfect for sharing and streaming over the internet. While audio quality may drop slightly, MP3 files are generally more than adequate for your everyday recording needs.
Exporting Your Recording
To export a new GarageBand project, follow the steps given below:
Step 1: Go to the File menu, then pick Save As.
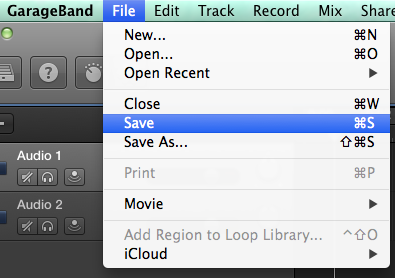
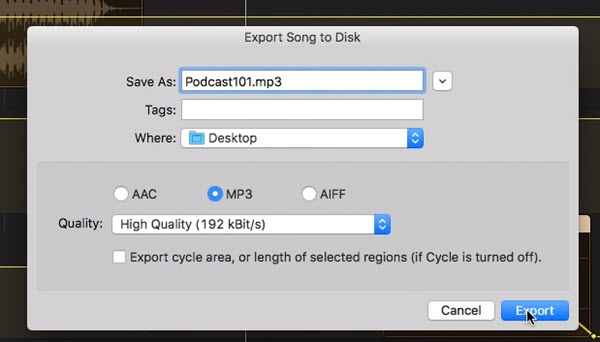
Step 2: GarageBand will open the Save dialogue box where you can customize the export settings, i.e., enter the file name, save location, and format for the audio and sound quality.
Step 3: After entering all the necessary details, click “Export” to export your audio file.
Saving your audio file as a GarageBand project preserves all your tracks, automation, etc. However, if you want to use your audio in applications like Apple Music, it is best to save the file as an MP3. To keep your file as an MP3, go to the Share menu and then select Export To Disk.
Sharing your music with the world
After you’re done exporting your music to your device, go the extra mile and upload it to online platforms such as SoundCloud, Spotify, or Apple Music so your friends, family and people on the internet can enjoy your art, too!
Additional Tips and Techniques
Here are a couple more additional tips and tricks to make full use of all the functionalities offered by GarageBand to help you create music that exceeds all expectations.
Monitoring Your Levels to Avoid Clipping
Maintaining proper audio levels is crucial in the recording process to ensure a clean and clear sound. Clipping occurs when the audio signal is too loud, causing distortion and a loss of quality. Fortunately, GarageBand provides level meters and tools to help you monitor and control your audio levels effectively.
You can automate volume levels over time. If certain parts of your recording are too loud or soft, you can use automation to adjust the volume during playback. GarageBand also has an input monitoring feature that lets you hear your input signal in real-time. This can help you gauge the volume levels before recording. You can enable input monitoring by clicking the “I” button in the track controls.
Utilizing GarageBand’s Built-In Loops and Instruments
GarageBand has a rich library of royalty-free loops and software instruments that can significantly enhance your music productions.
You can find the Loop Browser in the bottom-right corner. The Loop Browser is categorized by instrument types and genres. Explore the various options and click on a loop to preview it. This helps you find the right sound for your project.
The Instrument Library is located in the track header. Here, you can select software instruments, including keyboards, synthesizers, guitars, and more.
Adjust the volume levels of your loops and software instruments to achieve a balanced mix. GarageBand also provides a range of audio effects. Experiment with reverb, delay, and other products to enhance the sound of your loops and instruments. Playing around with different combinations will help you discover your unique sound.
Practicing and Experimenting
Regular music production practice, whether recording, editing, or mixing, is essential for skill development. The more you practice, the more comfortable and proficient you become with GarageBand’s features.
Experiment with the variety of virtual instruments available in GarageBand. Try different presets, adjust parameters, and explore the vast range of sounds you can produce.
Collaborating with other musicians or producers and sharing ideas and techniques can provide fresh perspectives and inspire new approaches to your work. Remember that creativity often flourishes when you step out of your comfort zone and embrace experimentation’s possibilities.
To ensure your GarageBand recordings feature clear, crisp vocals without the hassle of cables, using a wireless lavalier microphone can make a big difference. This compact and user-friendly accessory lets you capture professional-quality audio effortlessly, giving you the flexibility and freedom to record comfortably from wherever you choose.
Frequently Asked Questions
What is the recording limit on GarageBand?
GarageBand tracks time in measures. It allows a maximum of 9999 steps. Setting the bpm to 40 (the minimum value) puts your maximum recording time at 1000 minutes. However, this limit is only per project, which means you can have as many projects as you like.
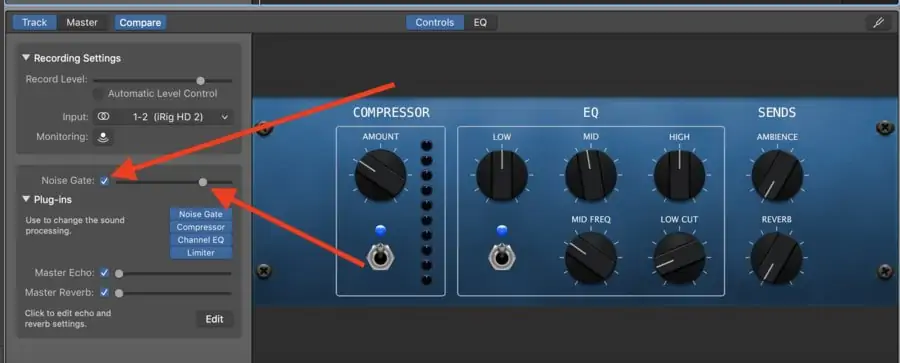
How to limit background noise in GarageBand?
To eliminate background noise in Garageband:
Step 1: Press the B key to open the Smart Controls.
Step 2: Check the Noise Gate box.
Step 3: Slide the Noise Gate bar to the right to set the noise gate threshold level.
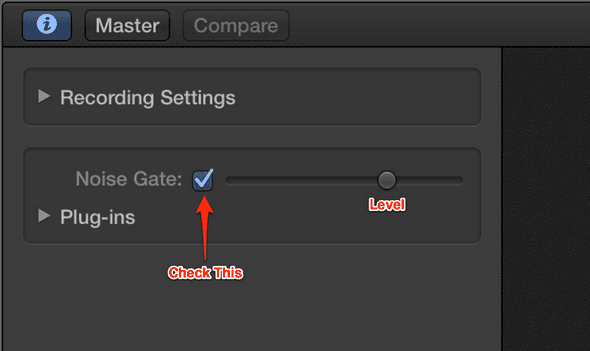
Step 4: Keep sliding until you reach between -50 and -15 dB. This is the designated volume beneath which all sound will be eliminated.
Do I need an external microphone to record on GarageBand?
No, you do not necessarily need an external microphone to record on GarageBand. You can register your voice, an acoustic instrument, or any other sound using your computer’s built-in microphone. However, using an external microphone will produce audio with superior quality.