.png)
Live streaming becomes simple once you follow a reliable routine. You choose a platform, pick an encoder, connect them with a stream key, test, and then go live. This guide gives you practical, beginner-friendly steps that work for YouTube and similar streaming platforms.
Before You Start Your Live Stream
- Use a stable network. Test your upload speed and keep the streaming bitrate well below that number.
- Plug devices into power. Batteries die faster while streaming.
- Keep audio simple. A quiet room and a basic mic beat a noisy space.
- Do a private test stream. Confirm video, audio, and chat before you go public.
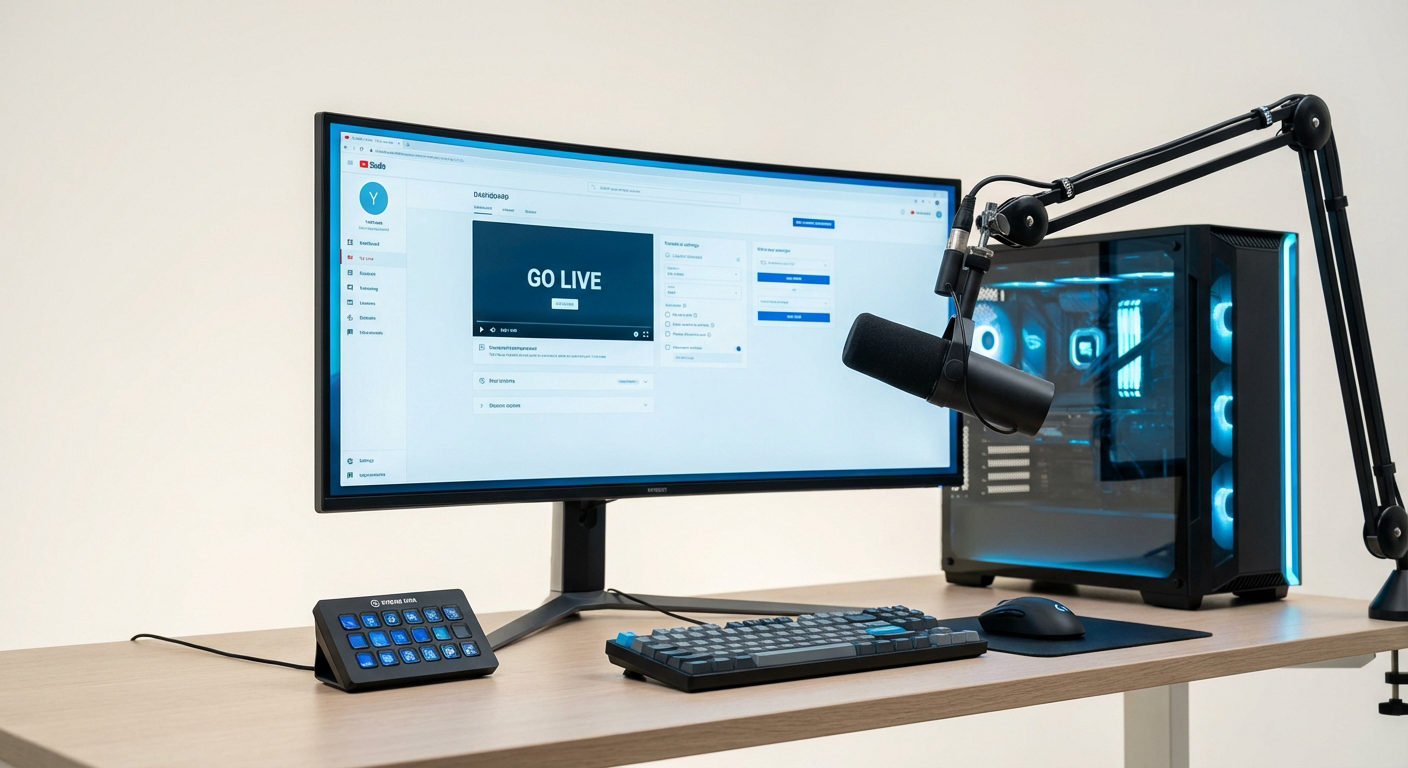
Method 1: How to Set Up a Live Stream Directly From YouTube
YouTube Studio allows you to live stream directly from your browser, eliminating the need for additional setup. Here’s how:
- Sign in to your YouTube account and go to YouTube Studio. This is where you manage streams and channel settings.

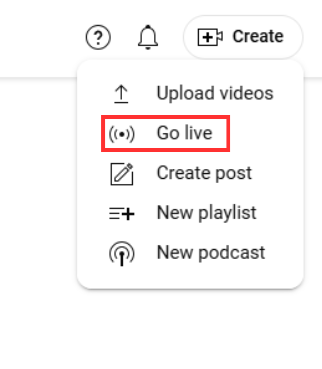
- Click the Create button (camera icon with a plus sign) in the top-right corner.

- Then select Go Live to open the Live Control Room.
- Request access to streaming by clicking on the “Request” button.

- If you are accessing the live stream for the first time, then it may ask you to verify your phone number. Do so by clicking “Verify.”

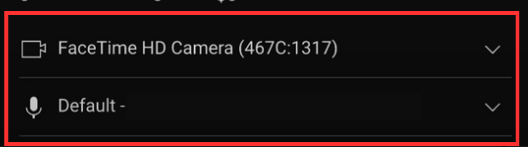
- After verifying, choose the built-in webcam option. (Make sure that your camera and audio devices are connected to your PC.)

- Fill in the basic details for your live stream, including the title, description, category, and privacy settings.

- Decide who can watch your live stream. YouTube offers three visibility options: Private, Unlisted, and Public. Select the option that best fits your needs before going live.

- You can also schedule your live stream video for later.

- Grant your browser permission to access your camera and microphone.

- Preview your settings.

- Select the devices you’ll use for the live stream. For smoother performance, use a 4K 30 fps video streaming webcam that supports 24/7 live broadcasting, such as the Hollyland VenusLiv Air.
- When ready, click Go Live. Your stream will start immediately, and viewers can join via your channel.

This method is ideal for beginners or those who need to make broadcasts, as it doesn’t require any additional software.
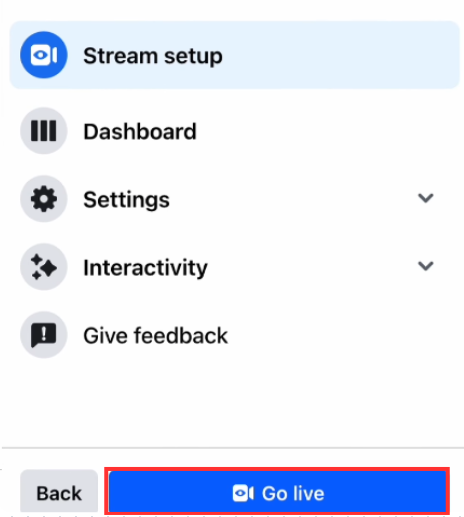
Method 2: How to Set Up a Live Stream Directly From Facebook
Go live on Facebook from your computer using your browser. No extra software needed.
- Open Facebook

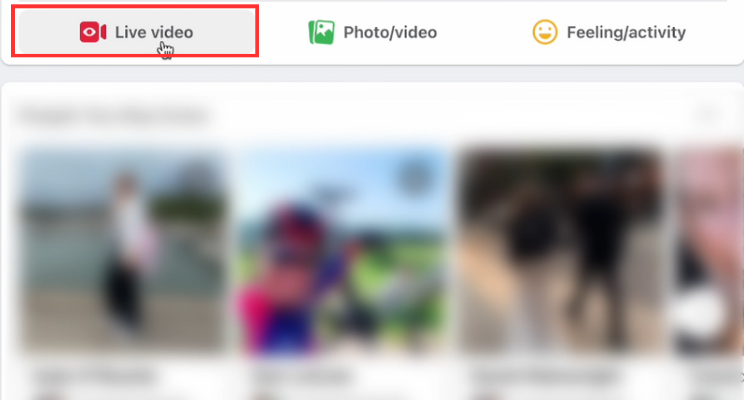
- Click Live video in the post composer.
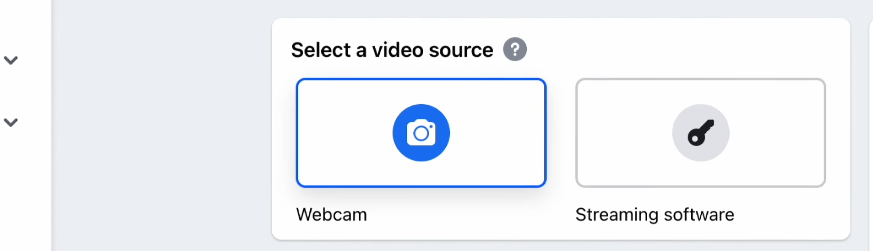
- In Live Producer, select Webcam as your video source.
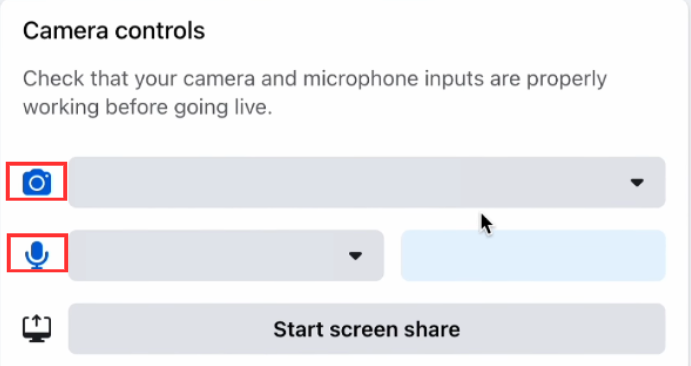
- In Camera Controls, Choose your camera and microphone. Grant browser permissions if asked.
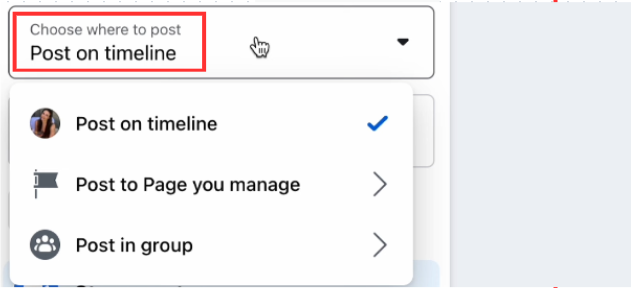
- Choose where you want to post your live stream.
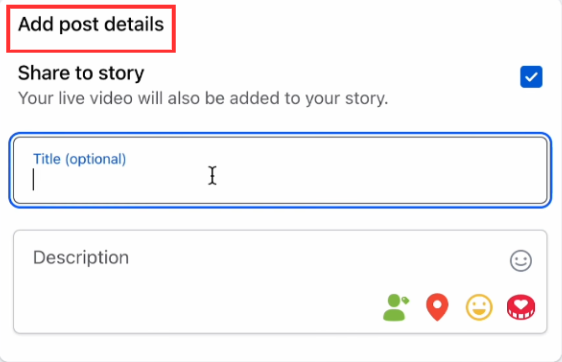
- Add post details. Add a title and description.
- Click Go Live. Watch comments and respond in real time.
Method 3: How to Set Up a Live Stream with OBS Studio
Learning to set up a live stream with OBS on any streaming platform will improve the quality of your content and captivate your viewers like never before.
- Download and Install OBS Studio.

- In Sources, click +.

- Add Video Capture Device
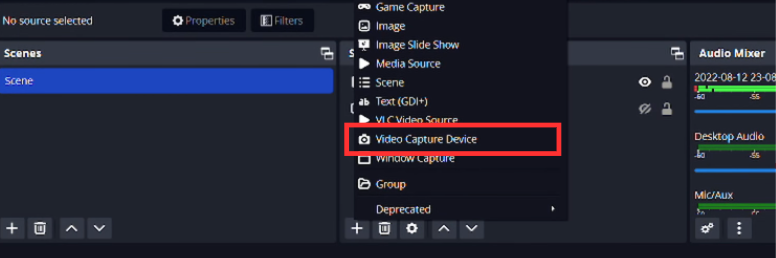
- Choose the camera that you want to select for your live stream.

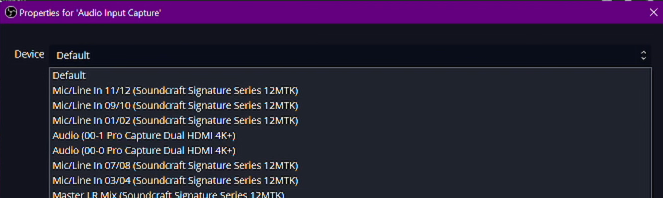
- Add Audio Input and Output Capture
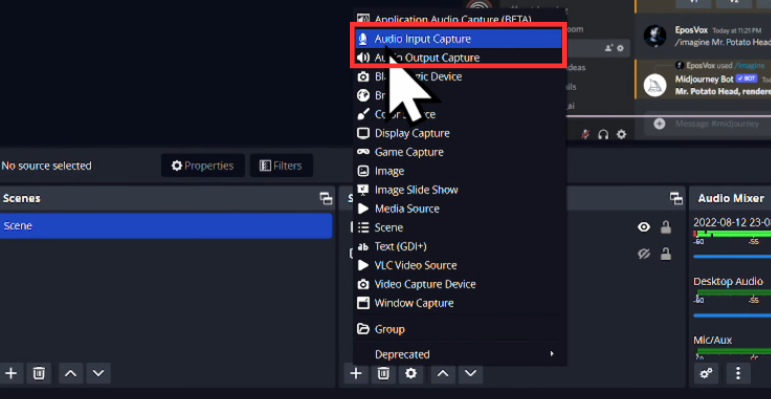
- Choose the microphone that you want to use for your live stream.
- Log in to your preferred streaming platform (YouTube Studio is shown in this method).

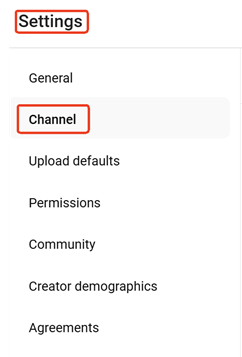
- Go to Settings and then select Channel.
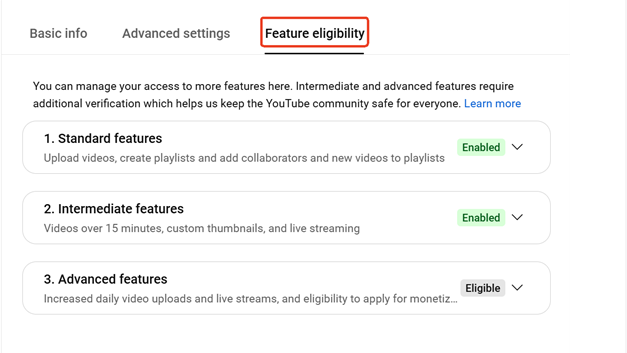
- Click the “Feature eligibility” button. Make sure Live Streaming is enabled. (Activation for new accounts may take up to 24 hours.)
- Click “Go Live” within YouTube Studio to access the Live Control Room.

- Choose the Streaming Software option.

- Click “Copy” to copy your live stream key directly to your clipboard.

- Now open OBS Studio and configure video settings in the “Output” tab according to your needs.

- In the Stream tab, select Service > YouTube – RTMPS (choose this option based on your preferred streaming platform). Paste your Stream Key.

- Adjust your audio using the “Audio Mixer” on the homepage.

- Click Start Streaming in OBS. Your broadcast will now appear on YouTube.

Method 4: How to Set Up Multiple Live Streams Using StreamYard
StreamYard is a browser-based tool that simplifies live streaming. It doesn’t need heavy installations, and you can connect directly to your preferred streaming platform. Here’s how:
- Open StreamYard in your browser and log in to your account

- On the dashboard, click Create a live stream.

- Choose whether you want to start a live studio or schedule a pre-recorded video to go live.

- Select your preferred streaming platform as your destination (select multiple to stream on various platforms).

- Add your stream title and description. You can set these separately for each destination.

- If you like, you can schedule the stream for later. Once done, click Create live stream.

- You’ll be taken to the studio where you can test your camera, mic, and layout (Ensure that you have connected your devices to your PC beforehand).

- Press Enter Studio.

- When you are ready to go live, click Go Live in the upper-right-hand corner.

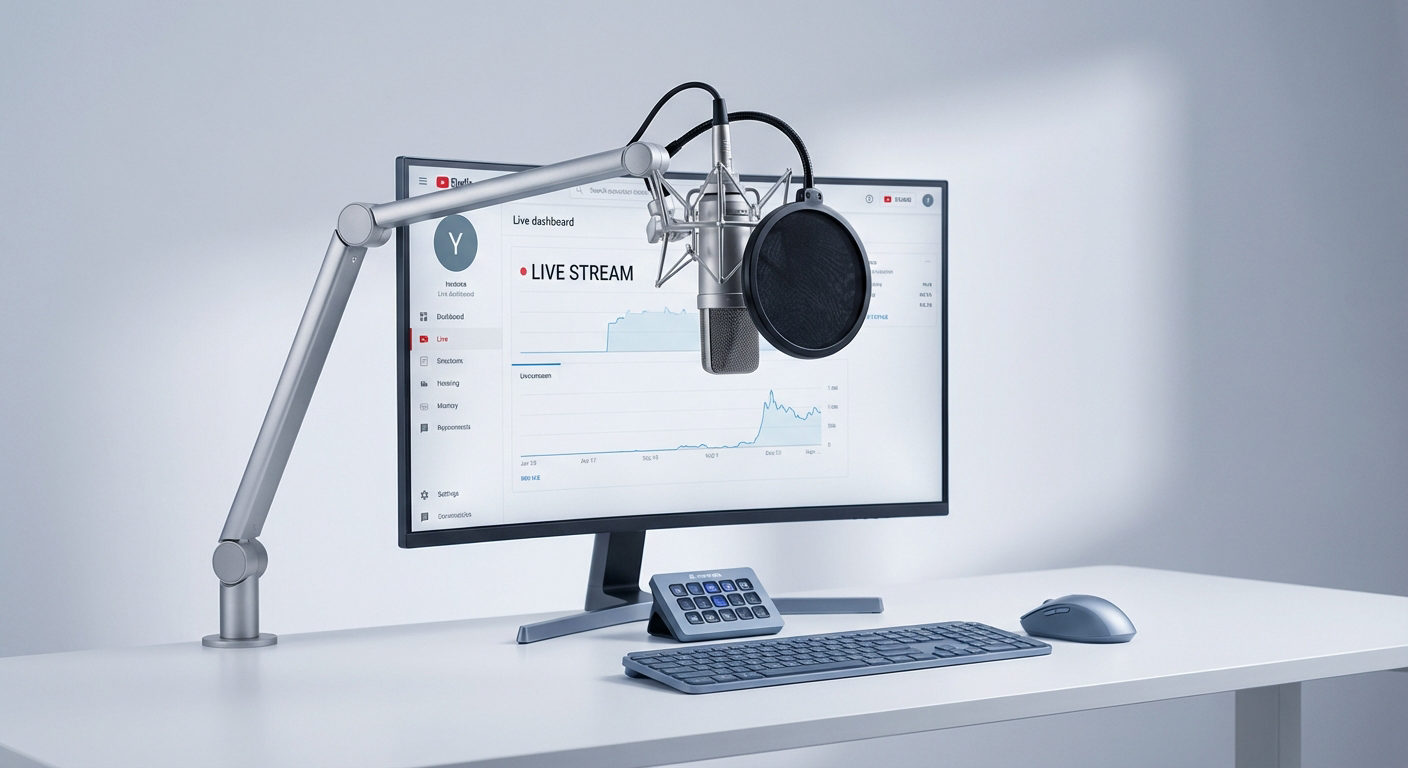
Essential Equipment to Set Up Live Streaming
Get these pieces ready before you go live. Keep it simple and reliable.
Camera
Use what you have. A mirrorless or DSLR gives the best look. A recent smartphone or a quality USB webcam also works for talking heads.
Microphone
Audio matters more than pixels. Use a USB mic, a lavalier, or a shotgun mic close to you. Monitor levels and avoid echo with headphones.
Lighting
Even light makes a huge difference. Use a softbox, ring light, or face a window. Keep the background darker than your subject.
Encoder
You need an encoder to send video to your platform.
- Software encoder: OBS Studio or similar on a computer.
- Hardware encoder: a small box or camera that streams directly over RTMP, suitable for longer or unattended sessions.
Stable internet
Prefer Ethernet. If you must use Wi-Fi, stay near the router. Test upload speed and set your stream bitrate at least 30 percent below that number.
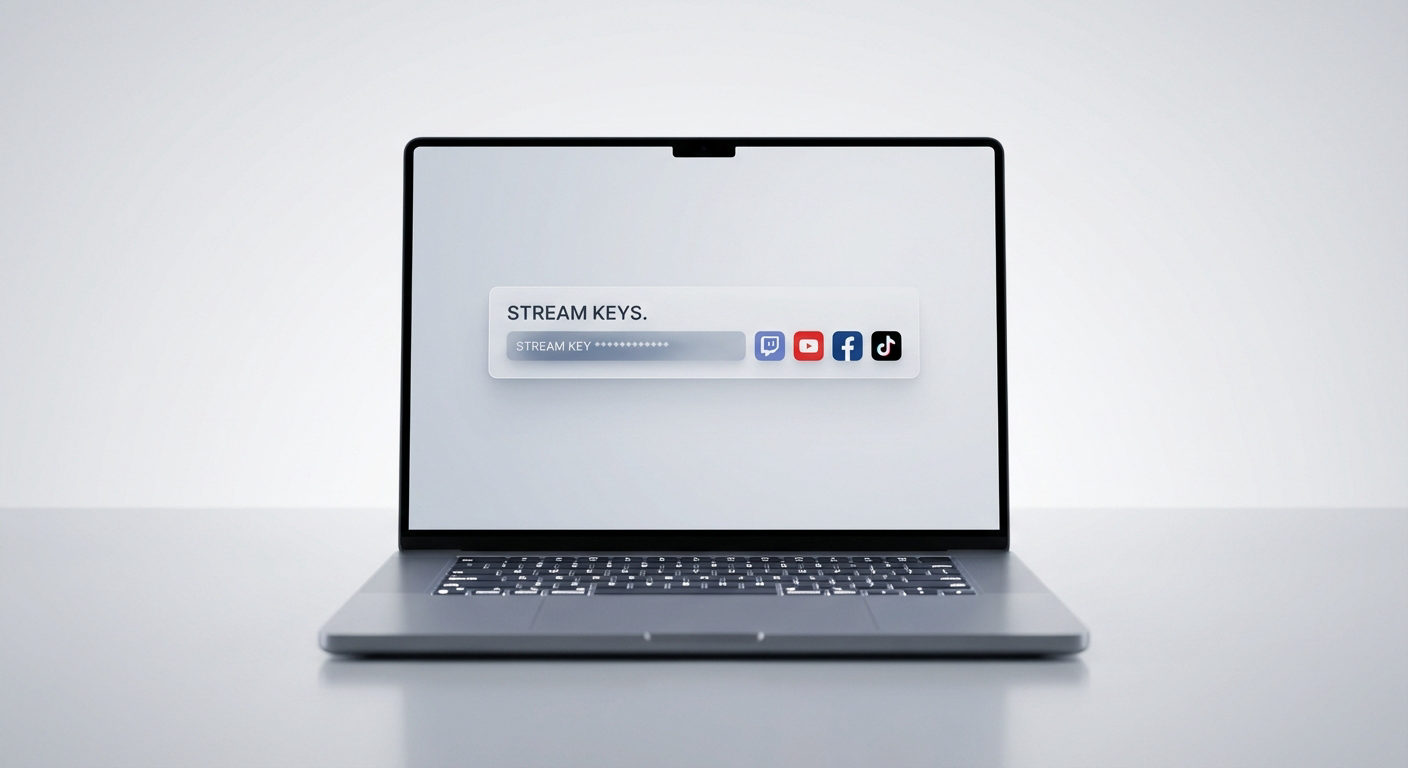
Streaming platform
Pick where you will go live: YouTube, Twitch, Facebook, or a multistream service. Create the event, copy the stream key, and keep it private until testing.
Live production software
If you stream from a computer, use a studio app to switch scenes, add graphics, and record a clean copy while you stream.
Conclusion
Pick a method that fits your gear, connect the encoder with a stream key, and start with safe settings. Do a private test stream, fix minor issues, then go live. Keep it simple. Stable network, clean audio, and explicit scenes beat complicated setups every time.
FAQs
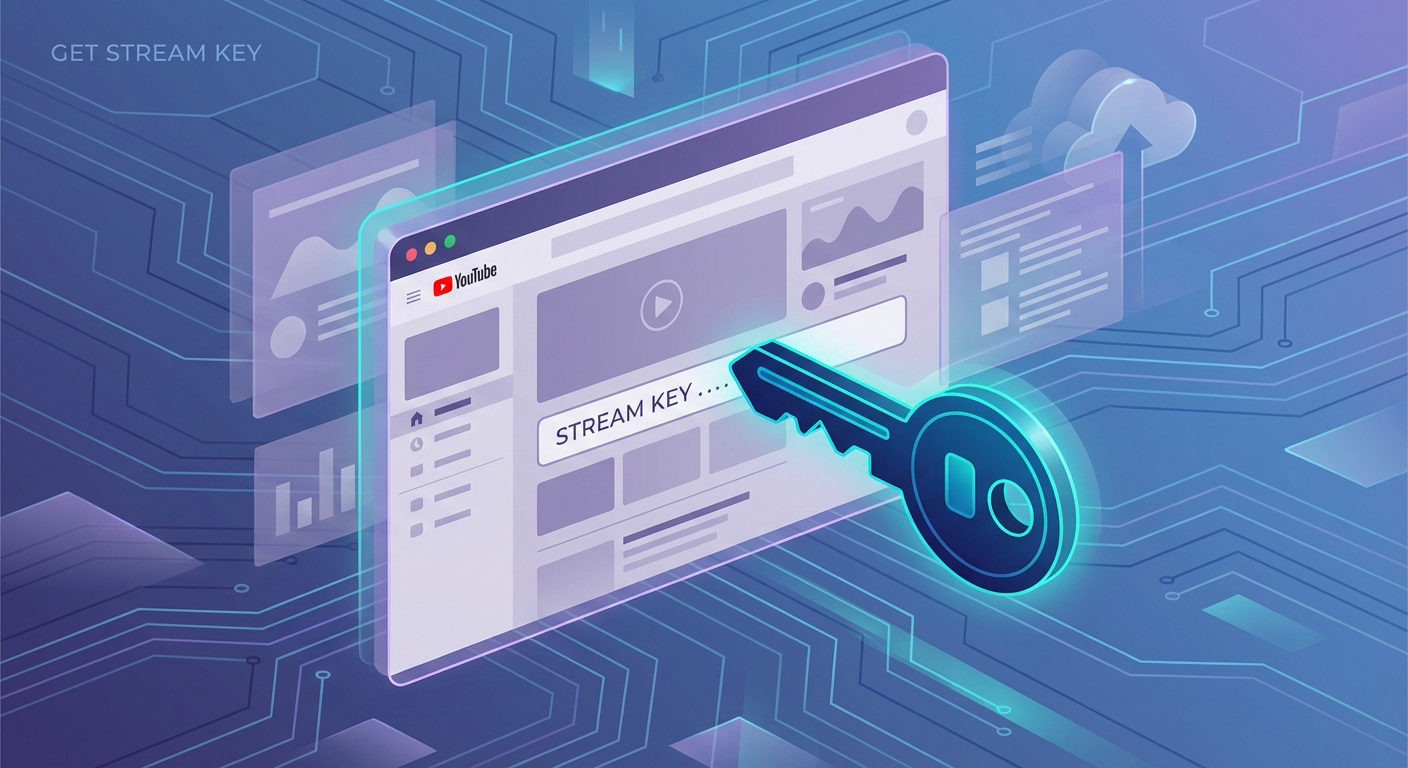
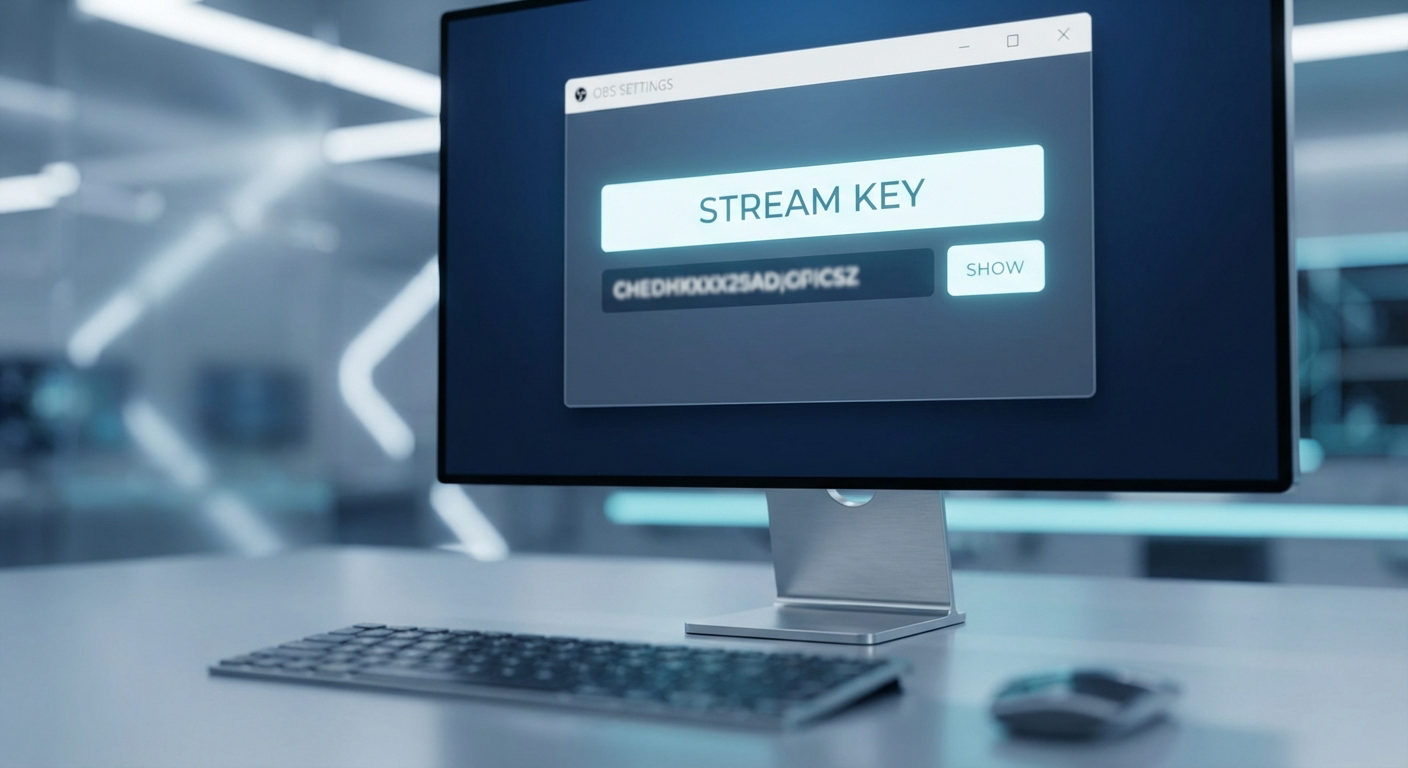
1) What is a stream key, and where do I find it?
A stream key is a unique code that links your encoder to a specific destination. You will find it in your platform’s live dashboard. Copy it into OBS or your hardware encoder. Treat it like a password. Reset it if you think it leaked.
2) How much upload speed do I need?
Take your planned bitrate and add at least 30 percent headroom. If you stream at 4,500 Kbps, aim for an upload speed of 6 Mbps or more. If your connection is shared, consider a lower bitrate or an Ethernet hardware encoder for stability.
3) Should I use 30 fps or 60 fps?
Use 30 fps for talking heads and slides. Use 60 fps for sports, gaming, or fast motion. If bandwidth or CPU is tight, favor 30 fps. Smooth audio and stable video matter more than high frame rates.