.png)
“Can you hear me now?” shouldn’t be the most repeated line in your Zoom meetings. When it is, you risk sounding unprepared, losing your audience’s focus, and even damaging your professional credibility.
Before you risk another “we lost your audio” moment, it’s time to test your setup. The good news? You don’t need to be a tech expert to test Zoom video or audio.
In this guide, we will walk you through how to test Zoom video and audio before your next meeting, step by step.
How to Test Audio on a Zoom Call?
Testing your Zoom audio is easier than you think, just a few clicks here and there, and you’re all set to sound your best. Here’s how to do it:
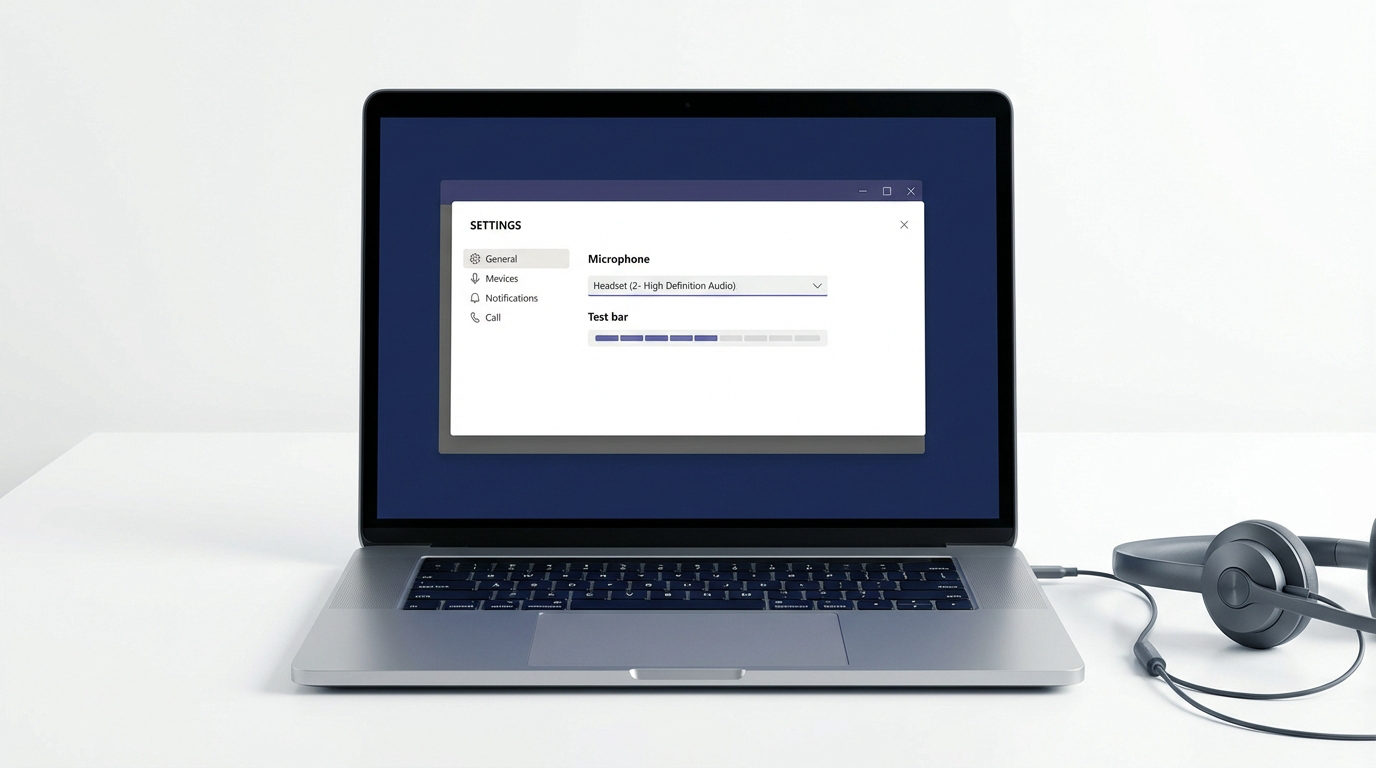
Step 1: Open Zoom Audio Settings
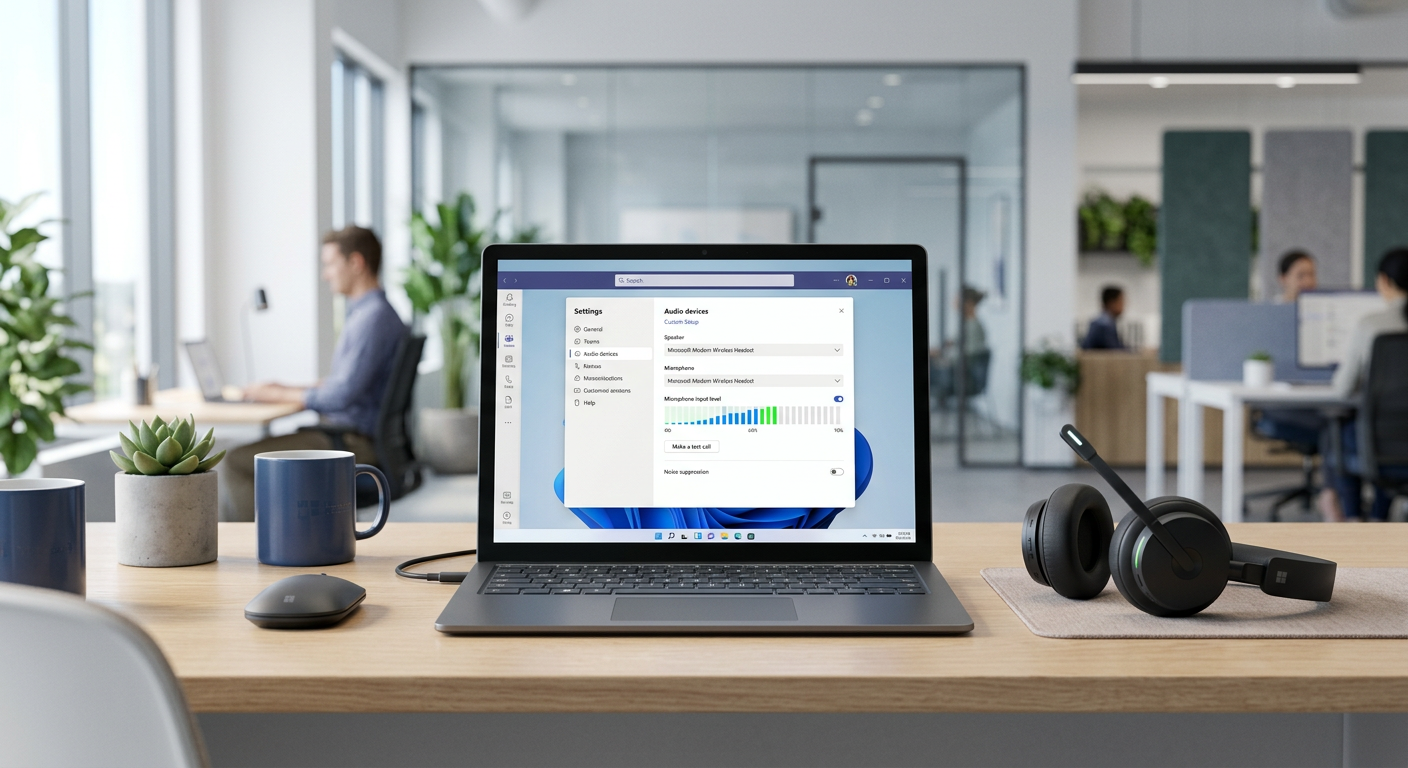
Launch the Zoom desktop app. Click your profile icon in the top-right corner and select Settings. From the left menu, choose the Audio tab. Here, you’ll find the options to manage your microphone and speaker settings.

Step 2: Select Your Preferred Devices
In the Audio settings, use the dropdown menus to select your preferred microphone and speaker. Ensure that you’ve connected any external devices (such as headsets or USB microphones) before launching Zoom, so they appear in the list.

Step 3: Test Microphone Input
Before proceeding, plug your microphone into the computer using a 3.5mm cable or a USB connection, depending on the type of microphone.
Click “Test Mic,” speak normally, then stop to hear the playback. If the recording isn’t clear, try switching microphones or adjusting the input volume manually. If needed, check the box for “Automatically adjust microphone volume” so Zoom can handle input levels for you.
If you’re using a wireless mic like the Hollyland LARK MAX 2, just connect the receiver to your PC, smartphone, or tablet. Zoom will pick it up right away. It keeps your voice clear, even if you move around up to 1115 feet. Its 32-bit float internal recording lets you store audio up to 8GB.

Hollyland LARK MAX 2 - Premium Wireless Microphone System
A premium wireless microphone for videographers, podcasters, and content creators to capture broadcast-quality sound.
Key Features: Wireless Audio Monitoring | 32-bit Float | Timecode

Step 4: Test Speaker Output
Click “Test Speaker” to play a ringtone. If you don’t hear it, switch speakers from the dropdown list or adjust the output volume until the tone plays clearly.
Step 5: Optional – Tweak Background Noise Settings
Once you have configured these settings, simply suppress the background noise or choose either low or medium.

And that’s all, you are all set!
If you are already in the meeting and encounter any audio or video issues, you can simply click the “mic” button and then navigate to the audio settings.

Here you can easily test Zoom audio and video individually, and click on “End Test”.
How to Test Video on a Zoom Call?
Now that we know about setting up audio on Zoom calls, it’s time to move on to tweaking the video settings. All you have to do is follow some easy steps as follows:
Step 1: Start a Test Meeting
Start by creating a meeting on your Zoom client. After that, click on your profile picture or your initials in the top-right corner of the screen. A menu will appear.

Step 2: Navigate to the Video Tab
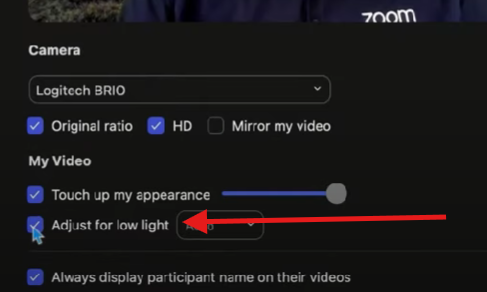
From the menu, simply click on the settings option and afterwards click on the video tab. Here, you will see a preview video from your selected camera (which could be either the back or front camera).

Step 3: Select Your Camera
In case you have multiple cameras, select the desired camera from the list.

Step 4: Fix Camera Orientation
If your selected camera shows you upside down or even sideways, fix it with the rotate button on the right side of the preview window, until it’s right.

Step 5: Adjust for Low Lighting
Below the preview, check the “Adjust for low light” option under the “My Video” section. This improves visibility in dim environments.
If you are going for a formal interview or meeting, yoy may even choose to select the Background. For that, follow these steps:
- Click on the “Background and Effects” tab in the menu.

- Pick any background from the list and select the appropriate Background for your meeting theme.
- Similarly, switch to the other tabs to find avatars and screen effects.
But what if you are in the meeting already and didn’t have time to check your video settings before you joined? No worries. You still got it.
Simply head over to the “Start Video” option and click on “Video Settings” to access the same menu and tweak the settings as per the above-mentioned instructions.

Final Checklist to Follow Before Joining a Zoom Call
Now that everything is set up and working smoothly, you’re ready to join your Zoom call with confidence. Just follow this quick checklist to be double sure nothing’s missed:
| ✅ Microphone tested and input volume properly adjusted for clear, balanced sound ✅ Speaker output is clear and audible at comfortable levels ✅ Webcam functioning and centered with a stable view ✅ Lighting adjusted; video resolution optimized in settings ✅ Background apps and notifications are disabled to avoid interruptions ✅ Zoom client updated to the latest version for smooth performance ✅ Background or virtual Background set appropriately (if using) ✅ Clothing checked for camera-friendly colors and contrast ✅ Meeting link, agenda, or notes easily accessible ✅ Power source connected or battery sufficiently charged ✅ Headphones plugged in (if needed) to avoid echo or feedback |
Final Thought
That’s a wrap on how to test Zoom video and audio Before Your Next Meeting.” It might feel like a lot the first time, but once you’ve done it, you’ll wonder why you ever skipped it before. It’s a simple routine that saves you from those awkward “You’re on mute!” moments.
Once you’ve nailed your setup, every meeting feels smoother, calmer, and a little more in control. So breathe easy, trust your setup, and head into that Zoom call knowing you’ve already taken care of the behind-the-scenes stuff.
FAQs
1. Can I test Zoom audio and video without being in a meeting?
Yes, you can. Zoom allows you to test both your microphone and camera through its settings without joining a live meeting. It’s a great way to check everything in a calm, distraction-free environment.
2. Will my audio or video settings stay the same for future meetings?
Zoom usually remembers your last-used settings. However, if you plug in a new device or switch networks, it’s worth revisiting the settings before your next meeting to avoid surprises.
3. What should I do if Zoom keeps switching to the wrong mic or camera?
This happens when multiple devices are connected. Go to Zoom’s Audio or Video tab, manually select your preferred device, and test again. Disabling automatic switching in your computer’s sound settings can also help.
4. Is there a way to improve video quality without buying a new camera?
Absolutely! Position yourself near a window with natural light, use a clean background, and ensure your webcam lens is free from smudges. Small tweaks can make a big visual difference.
5. Can I use the same testing process on mobile devices?
Zoom on mobile has fewer testing options, but you can still preview your video before joining and use the built-in mic test in your phone’s settings. For full control, the desktop client offers a more feature-rich experience.