.png)
.png) Français
Français .png) Deutsch
Deutsch .png) Italiano
Italiano .png) 日本語
日本語 .png) Português
Português  Español
 A Facebook personal account helps you connect with friends and share moments from your life. Beyond social networking, Facebook also allows you to create a page for your business or events. However, every Facebook Page must be linked to a personal profile, which can cause personal notifications and newsfeed updates to mix with important page activity. This makes it easy to get distracted or overlook key alerts.
While you can’t create a Page without a personal profile, there is a straightforward way to keep your personal activity separate and manage your Page more efficiently. Let’s move on to the step-by-step guide:
How to Unlink a Facebook Page from a Personal Account (Step-by-Step)
Step 1: Create a New Facebook Account
- Log out of your Facebook account on your device, then create a new account. You can use an alias for the new account or a variation of your name.
- We recommend that you use a different email ID from the one you currently use on Facebook and complete the rest.
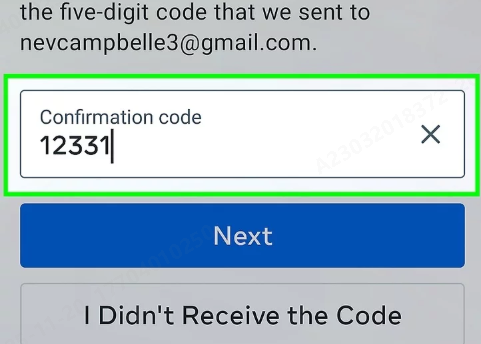
- You will receive a code to verify your email. Enter the code when prompted to complete your registration.
Step #2: Use the New Account as an Admin for the Facebook Page
The first step is to log out of the newly created account and log back in to your existing account.
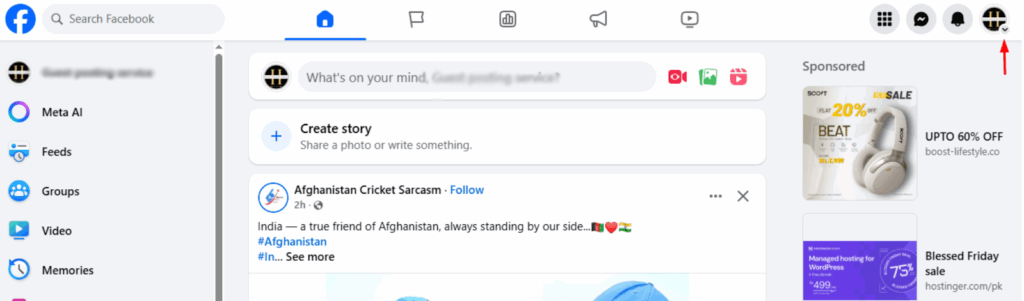
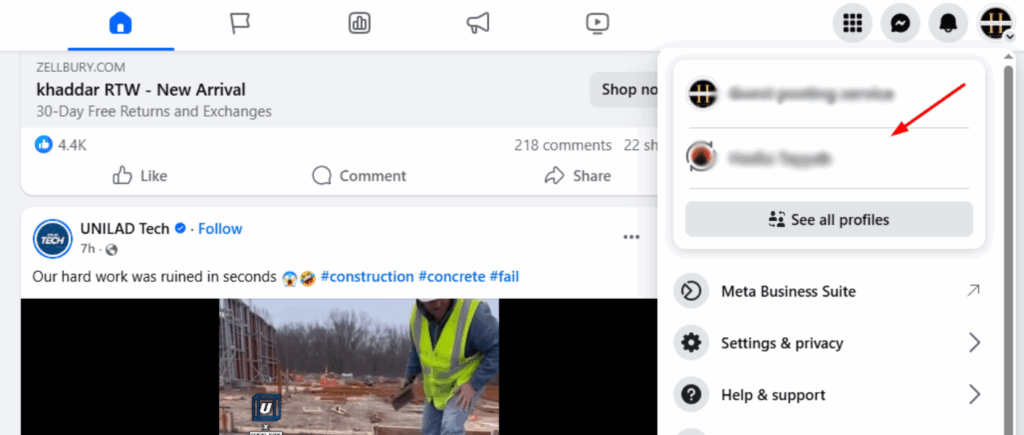
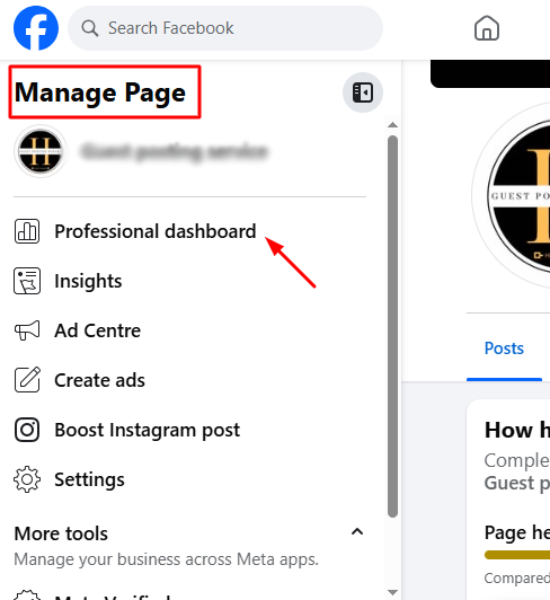
- Click the down arrow on the profile icon at the top-right corner of your Facebook profile and select the page you want to unlink from your personal account.
- Once you open the page, look at the left sidebar; you will see the Manage Page menu. Click on the professional dashboard option from the sidebar.
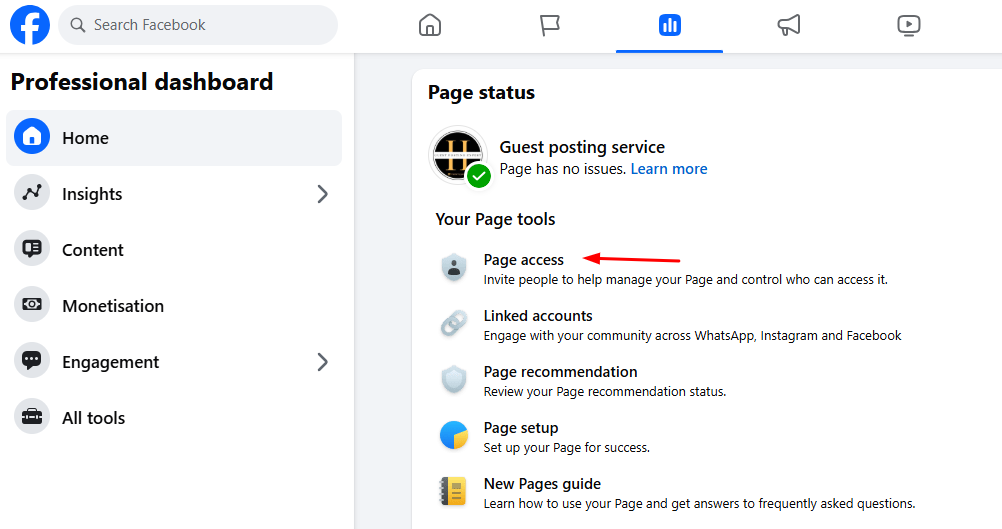
- After clicking the professional dashboard, you will see your page tools. Click on “Page access” from there to manage access.
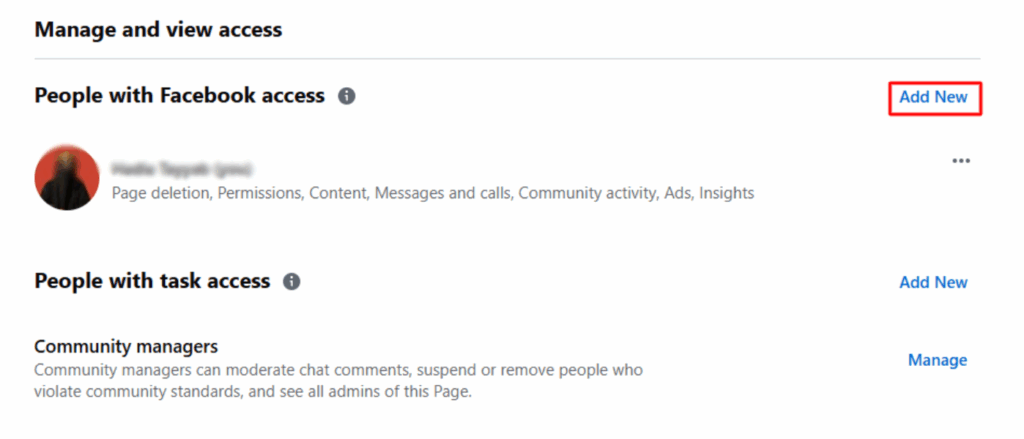
- A new tab will open showing “Manage and View Access” options. Click “Add New” in front of the “People with Facebook Access” option because you need to add another account as a manager.
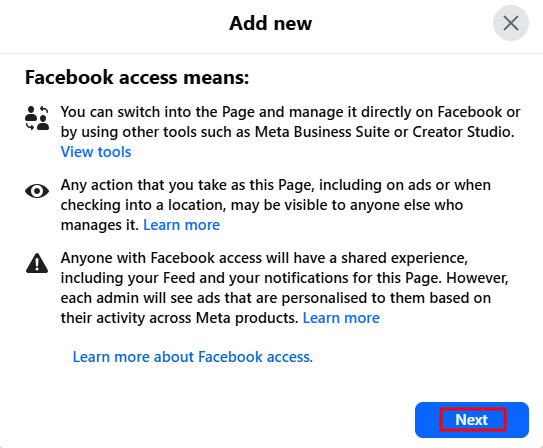
- A small notification pop-up will appear explaining what Facebook Access means. Click Next to continue.
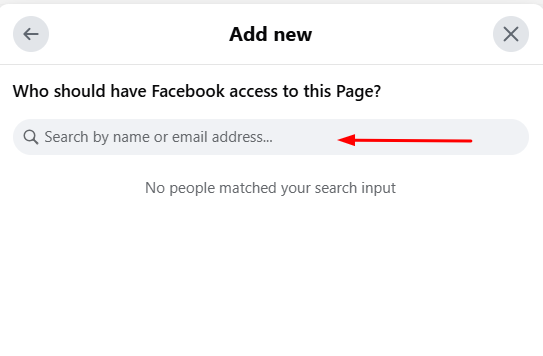
- You’ll now see a search bar. Type the name of the Facebook profile you want to add (for example, the new account you created).
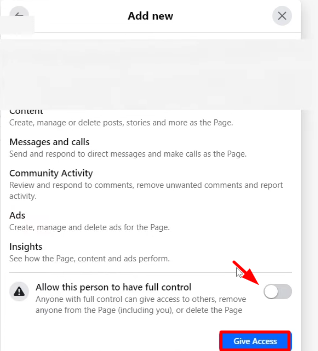
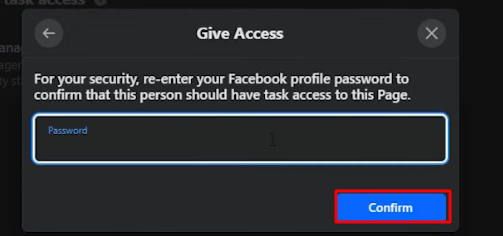
- After selecting the new Facebook profile, it will ask for access. Toggle on the “Allow this person to have full control” option. Click Give Access and enter your password again to confirm.
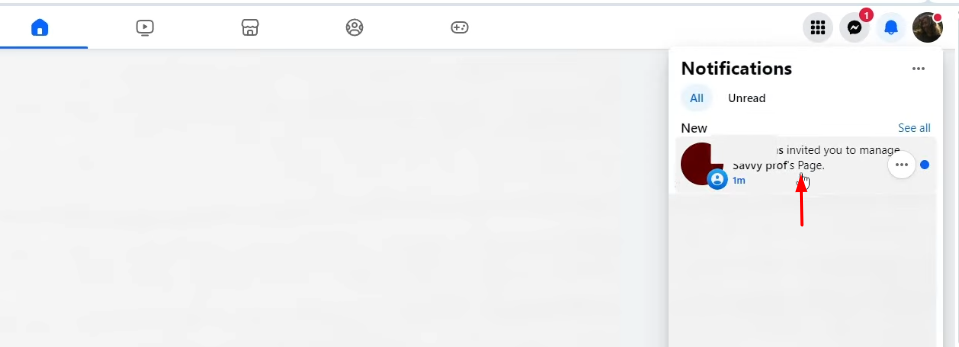
- Now, log in to the new account you added. Click the notification bell at the top right, and you’ll see an invite to manage the page. Click on the notification, and it will redirect you to the profile.
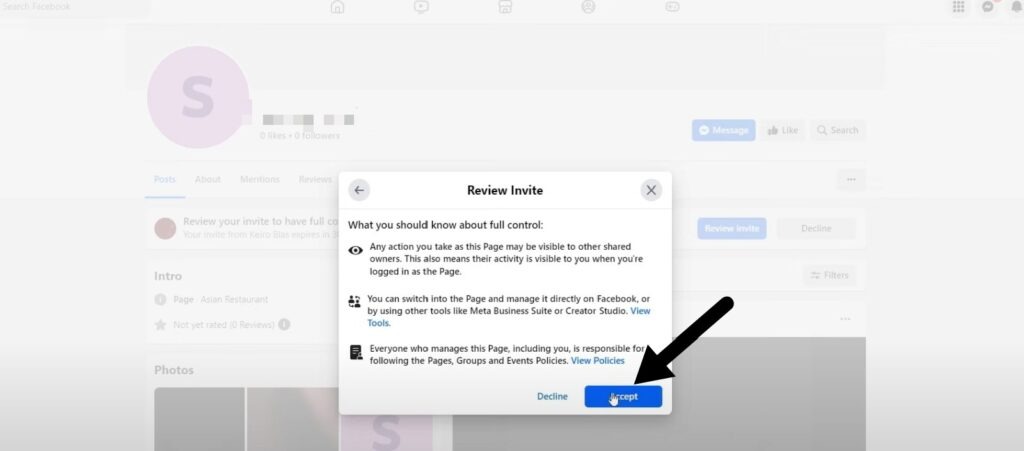
- Click on “Review Invite.”

- Tap on the “Next Button” and then choose the “Accept option.” Now, your new Facebook profile has been linked to your Facebook page.
Step #3: Add Admin Using Meta Business Suite (Alternative Method)
Meta Business Suite offers a more professional and compliant way to manage page admins without navigating through multiple Facebook menus. This centralized dashboard is especially useful if you manage multiple pages or prefer a streamlined admin management experience. The process is simpler and often more reliable than the standard Facebook page method.
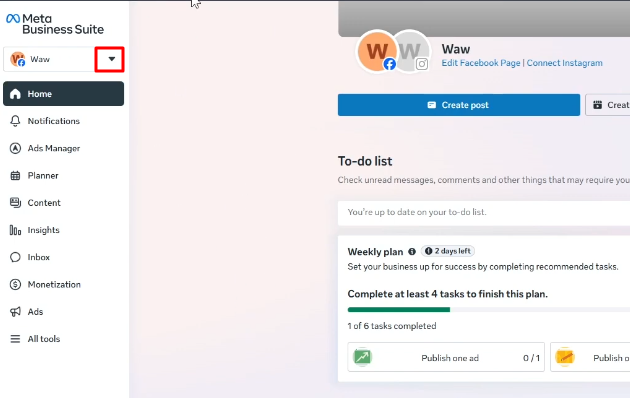
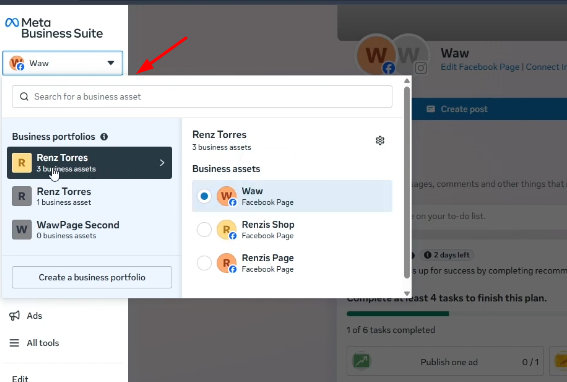
- Go to business.facebook.com and log in with your Facebook credentials. Once logged in, you’ll see your dashboard. Click on the down arrow on the top left to see your multiple Facebook pages.
- Select the business page you want to manage from the left sidebar.
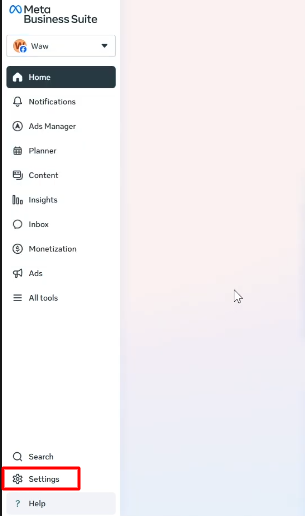
- Click on “Settings” (gear icon) in the bottom left corner.
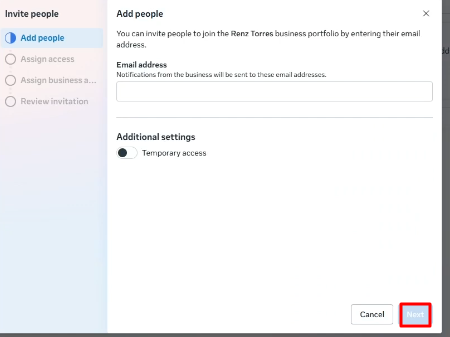
- Select “People” from the left top menu options and then click on the blue “Invite People” button from the upper right corner to invite a new admin.

- After clicking the invite people option, it will ask for their email. Enter the new admin’s email address or Facebook profile name in the search box and select “admin” from the dropdown menu and click next.
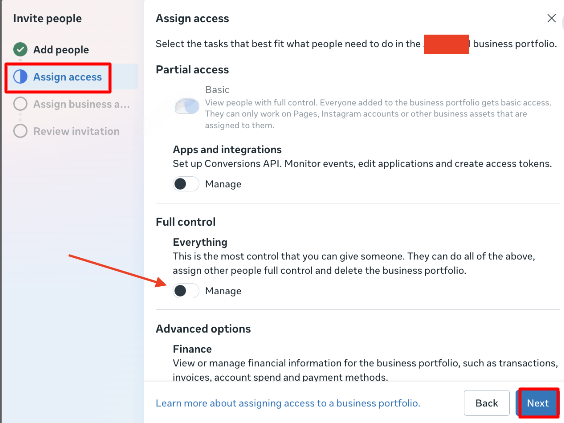
- Then it will take you to the “Assign Access” option to open the permission settings, toggle on the “Full Control” option to give complete admin access, and then click “Next” to proceed.
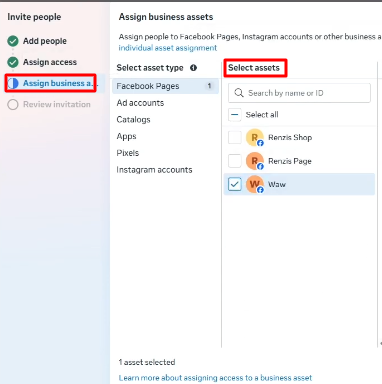
- In the third option, select the new account that you want to add as a new admin.
- After selecting the asset, you will see the option to assign permissions on the right side; scroll down to the toggle for full control access and click next.
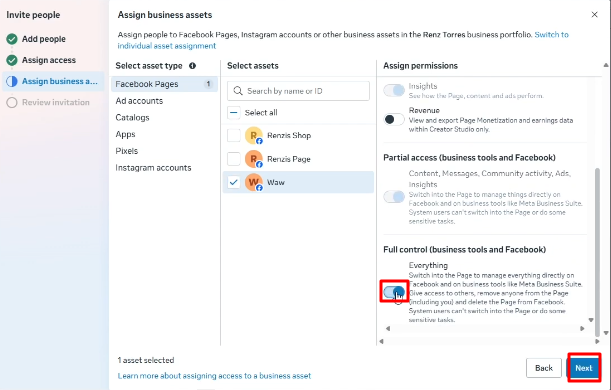
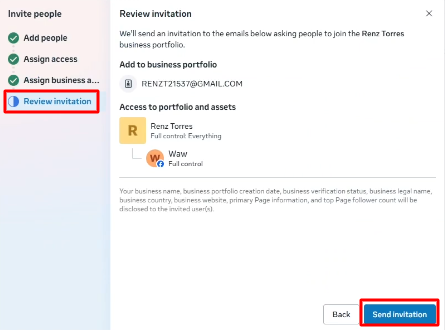
- Review your invite and send the invitation. The new admin will receive an email notification to accept the invitation. Follow the accepting method the same as that which is mentioned in step #2.
- Once they accept, you can proceed to Step #4 to remove your personal account
Step #4: Unlink Your Facebook Page From Your Personal Account
- Log in to your new Facebook account to disconnect your old personal account. Follow the same process as you did when adding the new account as an admin.
- Locate the account you want to remove, then click the three dots next to it and click on “Remove Access” for confirmation.

Conclusion
You’ve successfully separated your Facebook business page from your personal account. Remember to keep your new business account clean by avoiding personal friend requests. For a more compliant approach, consider using Meta Business Suite instead of creating multiple personal accounts. This method keeps your business notifications separate while following Facebook’s policies. Test your setup, adjust notification settings, and explore Meta Business Suite for professional page management.
FAQs
Does a Facebook page have to be linked to a personal account?
Yes, Facebook requires every page to be linked to a personal Facebook account. You don’t have to worry, though; the details on the personal profile will not show up on the page and vice versa. It will only appear if you manually share these details between the pages.
Can I transfer a Facebook page to another account?
Yes, you can transfer your Facebook Page to another account through Meta Business Suite. Go to your Page settings, open Page Access, and click Add New. Enter the name or email of the new account, give full control, and click Give Access. After the new user accepts the invitation, return to Page Access, click the three dots next to your name, and select Remove Access. The Page will now be managed by the new account.
What happens if my Facebook page does not have an admin?
Facebook labels pages with no admin as an unofficial page. To make it official, you have to assign an admin. To do this, click “Is this your business?” and follow the prompts on the next page to merge the page with a verified page. Note that the information on both accounts must match to merge the two pages. Alternatively, you can claim the page by providing verifiable information from your personal account.
What if the new admin doesn’t receive the invitation notification?
If the invitation isn’t received, verify the correct email was entered and ask them to check their notification bell and spam folder. Have them enable page invitations in Settings → Notifications → Pages. Try resending the invitation or use Meta Business Suite instead. If their account is new or restricted, contact Facebook Support for manual assistance.