.png)
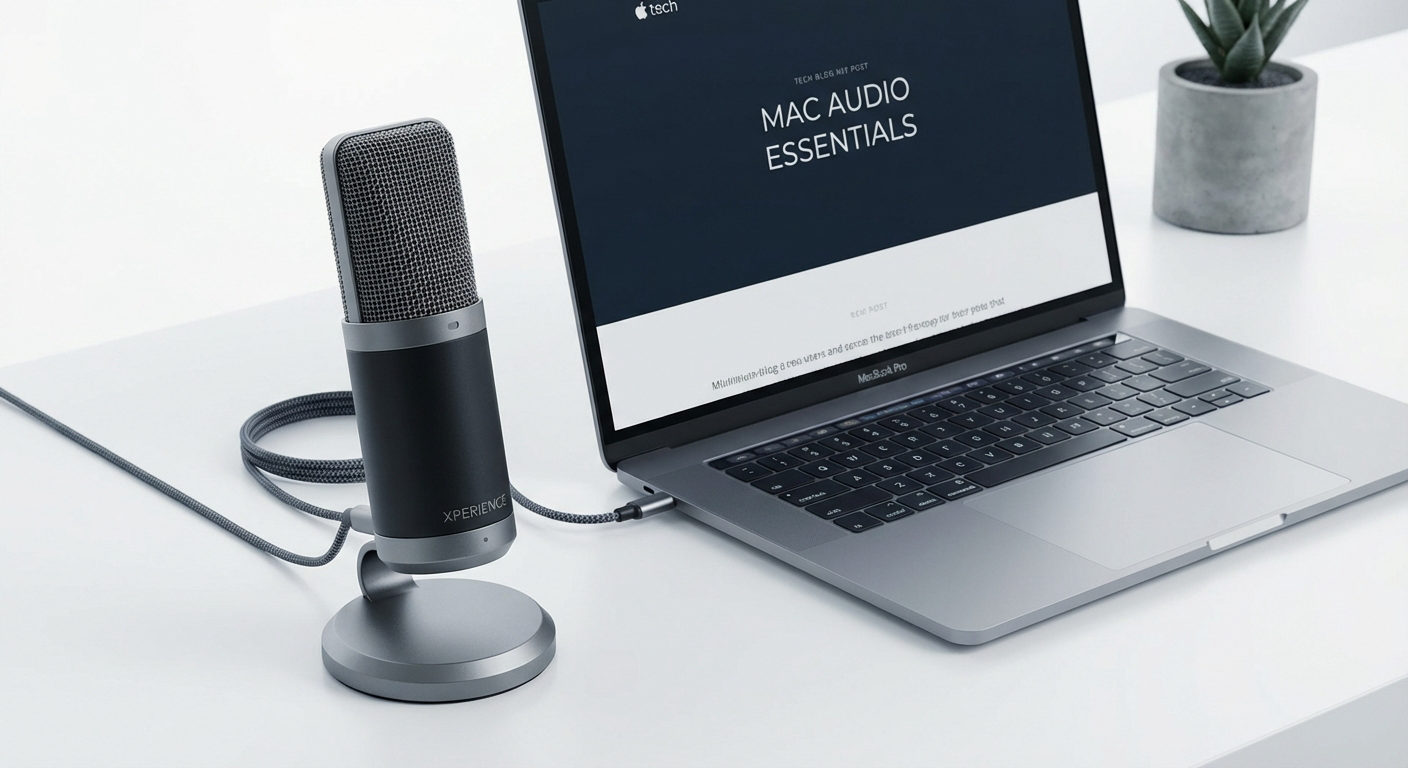
If you want to use a microphone on your MacBook for video calls, recording, or other tasks, it’s important to set it up correctly. While MacBooks have built-in microphones, you can also use an external mic for better sound quality and extra functionalities.
In this guide, we’ll walk you through the steps to select and set up your MacBook microphone for internal and external microphones. We’ll also provide fixes for common microphone issues to ensure the best audio experience. So, keep reading to learn more!
How to Use a Microphone on a MacBook?
MacBook comes with an internal built-in microphone. However, the internal microphone may not always deliver the best sound quality, especially in noisy environments. This is where an external microphone comes in handy, providing better clarity and noise-reduction capabilities.
Whether you’re using the built-in microphone or an external microphone, setting it up ensures optimal performance. Below are instructions for using both types of microphones on your MacBook.
Using Your MacBook’s Built-in Microphone
The internal MacBook microphone is typically located near the top of the display or along the keyboard area, depending on the model. It allows users to make voice calls, record audio, and use voice commands. Below, we’ve explained instructions on how to use and set up a MacBook internal microphone:
- From the top-left corner, open your Mac menu dialog box. Choose the System Preferences option.

- Locate and click on the Sound option featuring a small speaker icon.

- A new window will pop up. From there, click on the third tab named Input.
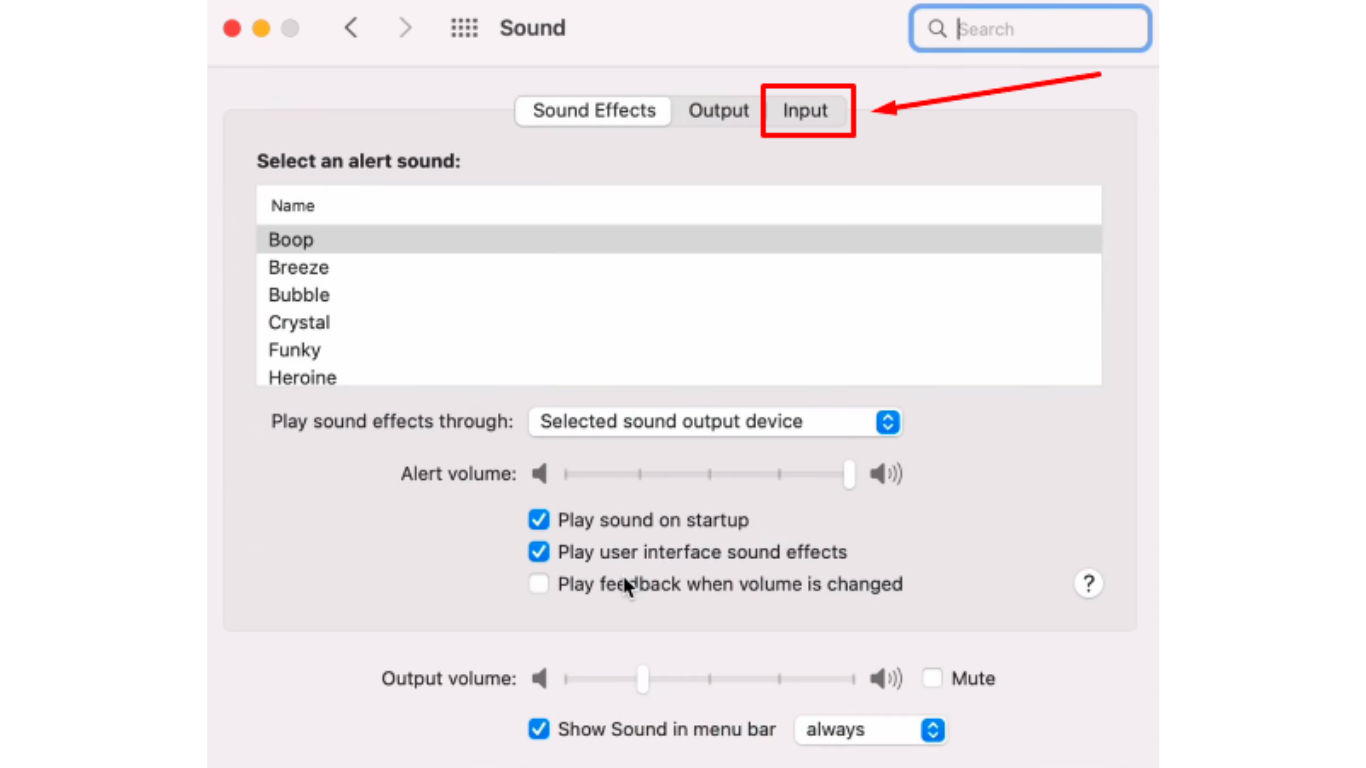
- Under “Select a device for sound input”, choose the microphone labeled as Built-in.
- Next, adjust the Input Volume to ensure your microphone picks up sound. To do that, click and hold the slider button and drag it to the right to increase the microphone sensitivity.

- Then, speak into the microphone and check the input level indicator. If the input level fluctuates, your microphone will work and be ready to use.
Using an External Microphone on a MacBook
Keep in mind that built-in internal microphones do not deliver high-quality audio and often catch background noise. So, you must consider using an external microphone for clearer and more professional sound. External microphones are compact devices that need to be plugged in for use. They come with several excellent features that are mostly unavailable in MacBook’s built-in microphone.
When choosing an external microphone, look for an all-purpose option with functionalities like clear audio capture and noise reduction, such as the Hollyland Lark M2S. This microphone features a logo-free, sleek design and durable titanium clip-on. Its dual-level noise cancellation capability and long battery life of up to 9 hours make it suitable for every MacBook user.

Hollyland LARK M2S - Wireless Hidden Microphone
An ultra-discreet wireless microphone featuring a clip-on transmitter for an “invisible” fit.
Key Features: No-Logo Fit | Ti+ Design | 48 kHz/24-bit
Here are instructions on how to set up an external microphone with a MacBook:
- From the Mac menu, choose System Preferences or System Settings.

- Locate and click on the Sound option. This option features a small speaker icon and is located in the lower section.

- Connect your external microphone to the MacBook using a USB-C adapter, Bluetooth, or another compatible connection, depending on the model.
- Go to the Input tab. Under Choose a device for sound input, click the name of your external microphone, which is marked as USB or Port.
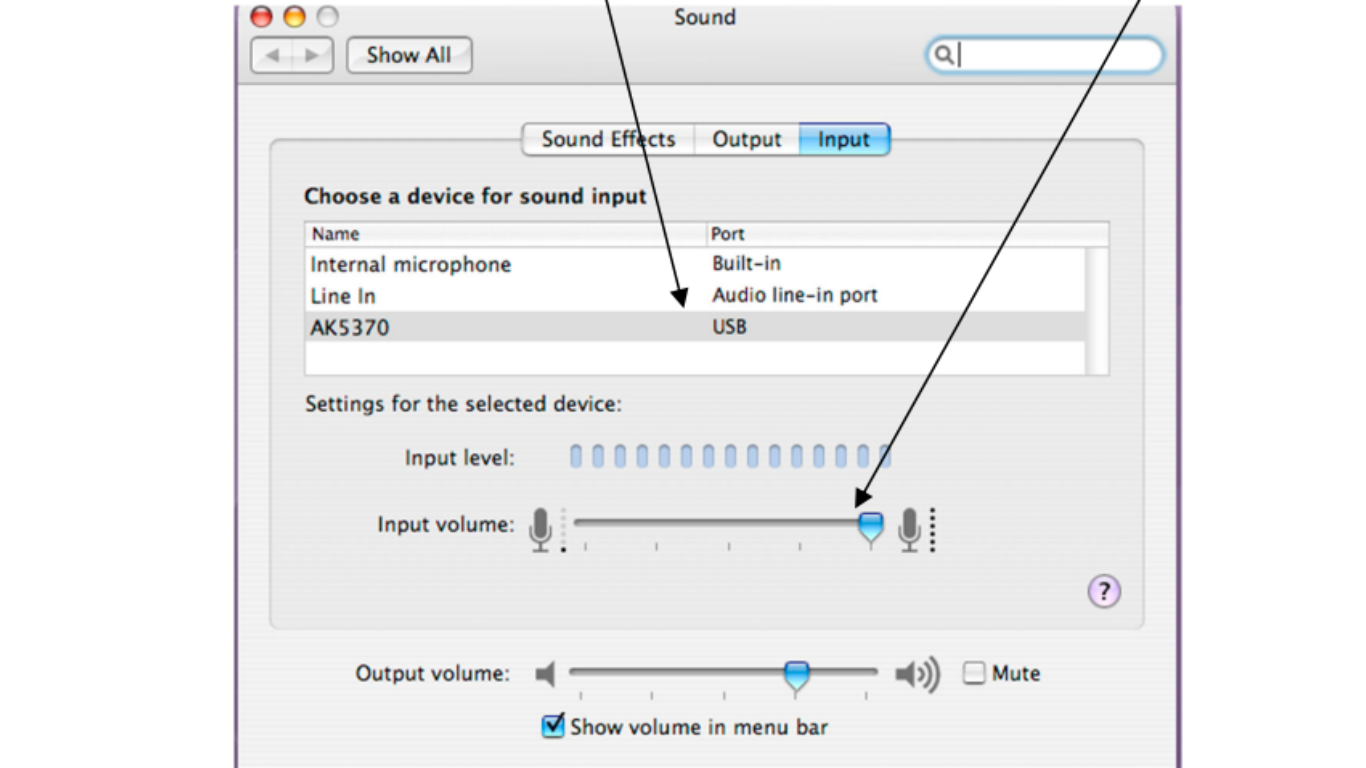
- Next, adjust the Input Volume. Click and hold the slider button, then drag it to the right to increase microphone sensitivity and ensure it picks up sound properly.

- To test if the microphone is operational, speak into the microphone and check the input level indicator. If the input level fluctuates, your external microphone is working correctly.
Tips for Using Your MacBook’s Microphone:
- Before recording, move to a quiet room. This helps minimize background noises.
- If using an internal microphone, enable Background Noise Reduction on your MacBook. The latest models have this capability, so you need to check by going to System Settings > Sound and enabling it.
- Locate the exact spot of your MacBook microphone. Then, position yourself about 6–12 inches from the microphone for optimal clarity.
- Avoid covering the microphone area with your hands or objects.
- After use, keep your MacBook in a clean area to prevent dust buildup in the microphone grills. If you are using an external microphone, place it in its container after every use.
How to Allow Apps to Use Your Mac’s Microphone?
When you install or open an app that needs microphone access, you may have noticed that macOS asks you for permission. If you accidentally deny it or don’t see the prompt, you can manually enable microphone access through system settings.
Enabling microphone permissions ensures that apps like Zoom, Viber, Telegram, WhatsApp, and others can function properly. Follow these steps to allow apps to use your Mac’s microphone:
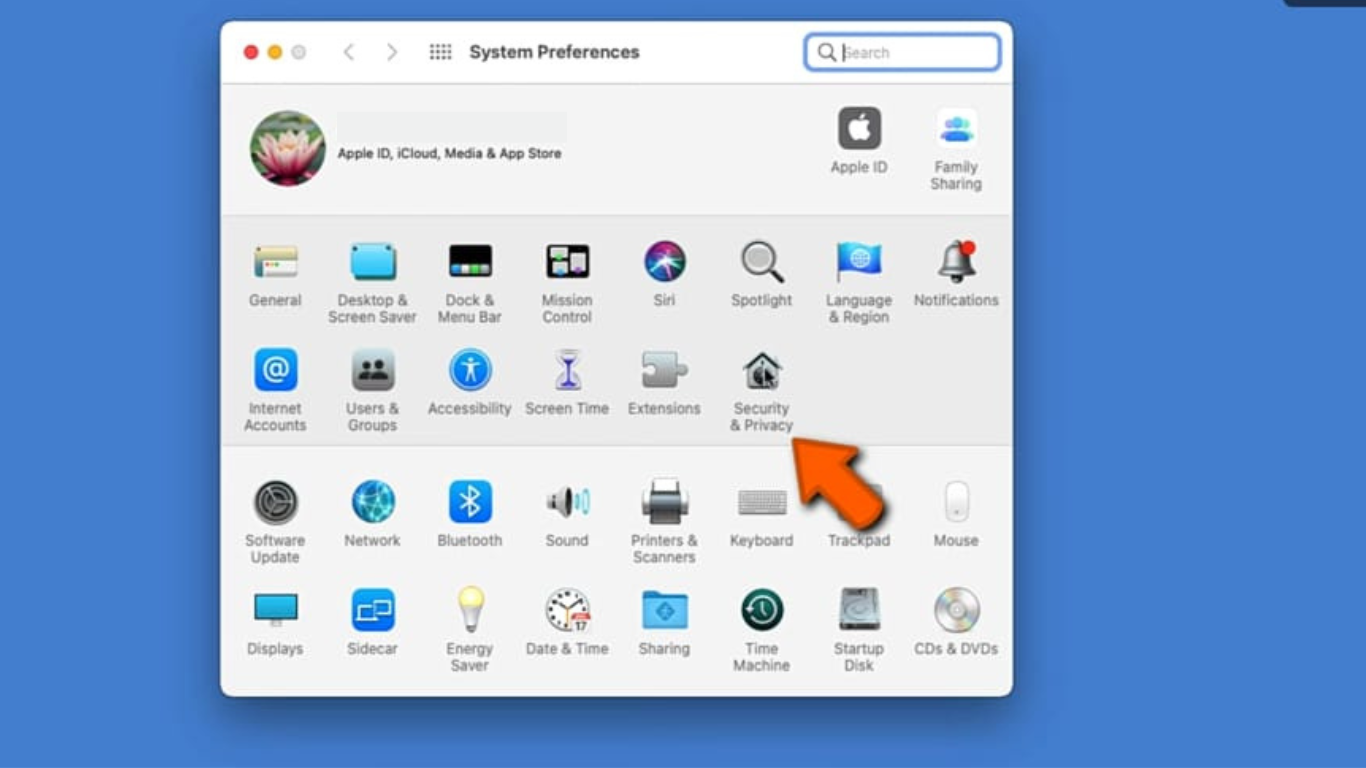
- Click the Apple menu in the top-left corner. Next, choose System Preferences or Settings.
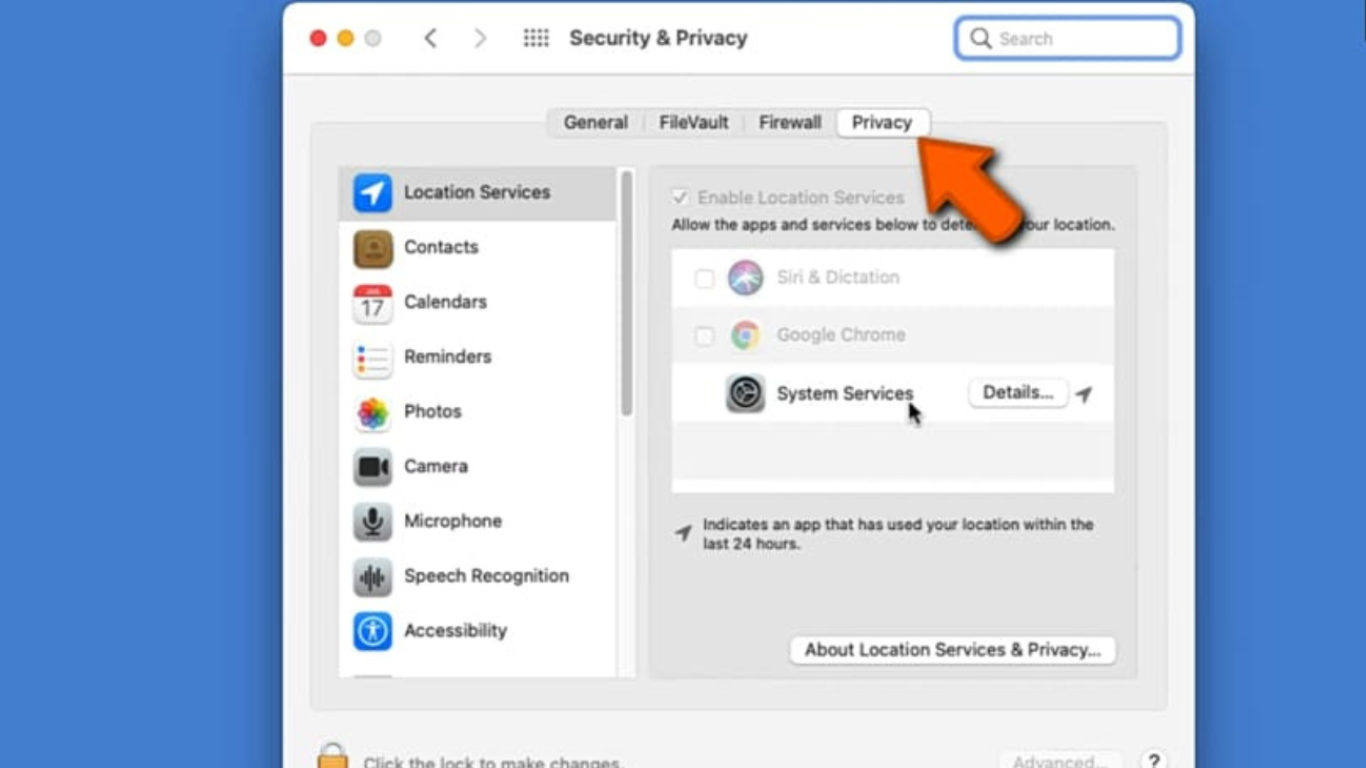
- Select Security & Privacy.
- Next, click the Privacy tab.
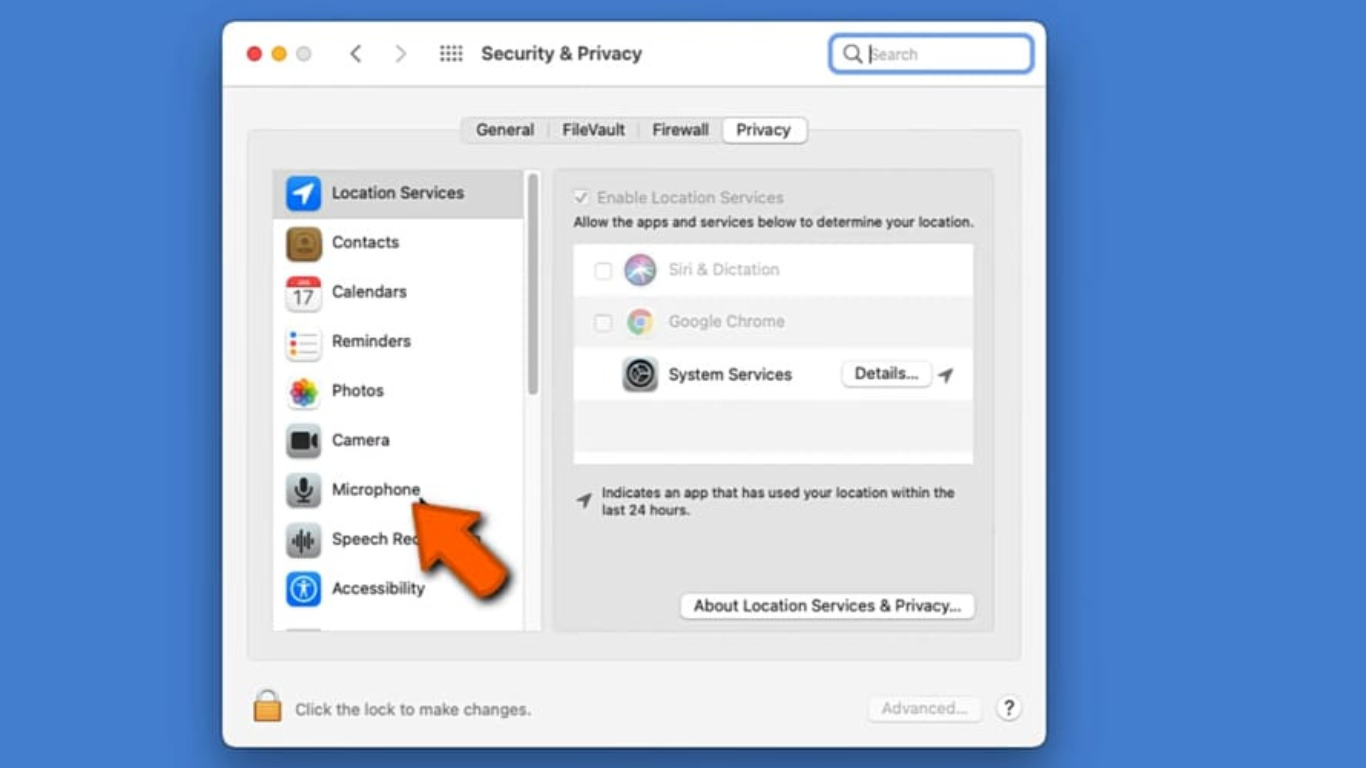
- Scroll down and choose Microphone from the left sidebar.
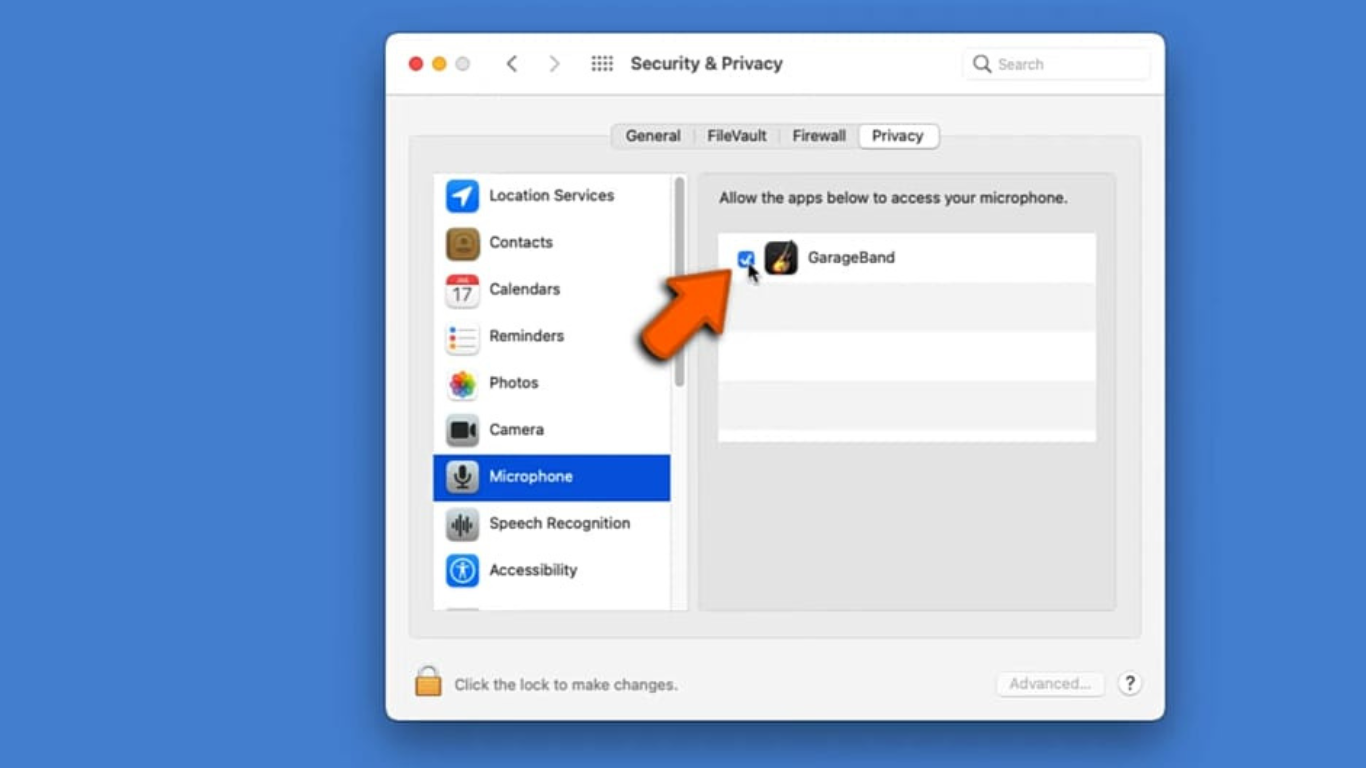
- You’ll see a list of all apps that have requested microphone access. Check the box next to the apps you want to allow. If the app is not listed, launch it and try using the microphone again; it should request access.
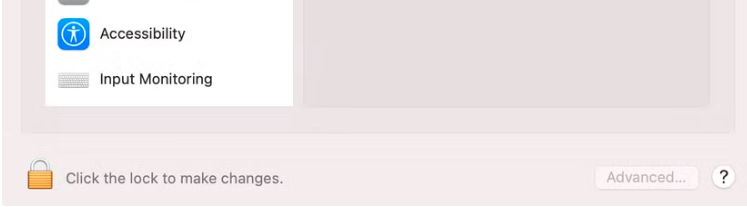
- If the checkboxes are locked, click the “click the lock to make changes” icon at the bottom left. Then, enter your Mac password to make changes.
- Close the settings and restart the app to apply the new changes.
Now, your granted apps can use the microphone without any issues!
Troubleshooting Common Microphone Issues
If your Mac’s microphone isn’t working as expected, don’t worry! The issue could be due to incorrect settings, software glitches, or even a temporary system bug. Below, we’ve listed fixes targeted to common microphone issues to help you restore clear audio.
- Microphone Not Detected
Ensure your Mac recognizes the microphone. Go to System Preferences > Sound > Input and select your microphone marked as Built-in (for Internal or Port/ USB (for external) microphone). If an external mic is missing, try disconnecting, reconnecting, or restarting your Mac.
- Low or No Sound Pickup
Adjust the microphone sensitivity. For that, go to System Preferences > Sound > Input and move the Input Volume slider to the right. Also, ensure you’re not blocking the mic.
- Microphone Not Working in Apps
Some apps require permission to use the microphone. To grant access, go to System Preferences > Security & Privacy > Privacy > Microphone, then check the box next to the app name. Restart the app to apply the changes.
- Unwanted Noise Issues
If your microphone picks up too much background noise, enable noise reduction if available on your Mac model. You can also try using an external microphone, as many come with built-in noise cancellation for better audio clarity.
- Update your MacBook’s OS
Sometimes, outdated macOS versions can often cause microphone problems. So, updating your Mac can help resolve bugs and improve performance. For that, click Apple logo > System Settings > General > Software Update. If the update is available, download and install it. Lastly, restart your MacBook to apply the changes.
Conclusion
Using a microphone on a MacBook is simple, whether it’s the built-in mic or an external one. Start by selecting the right input device in System Preferences > Sound > Input and adjusting the input volume for clear audio. If you’re using an external microphone, ensure it’s properly connected via USB or an adapter. Also, microphone access should be granted to apps in System Preferences > Security & Privacy to avoid any issues. Keeping your Mac updated and restarting it can help resolve common mic problems. With the right settings, you’ll enjoy smooth and hassle-free audio for calls, recordings, and more!
FAQs
- Where is the microphone icon on Mac?
Well, the placement of the microphone icon differs depending on the app. In Dictation, it shows on the screen when enabled. In Security & Privacy settings, it’s under the microphone section. Apps like Zoom or Google Meet display it in their interface when the mic is in use.
- How do you turn on the microphone on a Mac?
The mic is always on by default, but if it’s not working:
- Click the Apple icon at the top-left.
- Select System Preferences > Sound > Input and choose your mic.
- Adjust the Input Volume by slightly moving the slider to the right.
These steps help increase mic sensitivity and ensure it’s working.
- How do I test my mic on my Mac?
- Go to System Preferences > Sound > Input.
- Make sure the Input Volume slider is moved towards the right.
- Speak near the mic. If the Input Level bars move, the mic is working fine.
- Why is my MacBook mic not working?
There can be several reasons for this, such as low mic sensitivity, the wrong input device selected, restricted app permissions, temporary system glitches, and many others. To fix this, check your microphone settings and ensure the correct device is selected for audio input.
- How do I use the microphone to type on my Mac?
You can use Dictation for voice typing:
- Go to System Preferences > Keyboard > Dictation and turn it on.
- Then, open any text field where you want to write.
- A mic icon will appear. Simply speak, and your Mac will type for you!