.png)
 简体中文

A microphone can become the main attraction in an ASMR video. Gentle fingernail taps on its body, a soft brush moving across its grille, or a slow scratching pattern can create different sounds without needing a collection of expensive props.
The challenge is producing these sounds clearly without clipping, handling noise, or unwanted vibrations. You also need to protect the microphone from damage while experimenting with different textures.
This guide explains how to make your mic ASMR-ready when the microphone itself is the trigger object. You will learn which parts to tap or brush, how to position the recording microphone, how to control sound levels, and how to follow a practical 15-minute recording session.
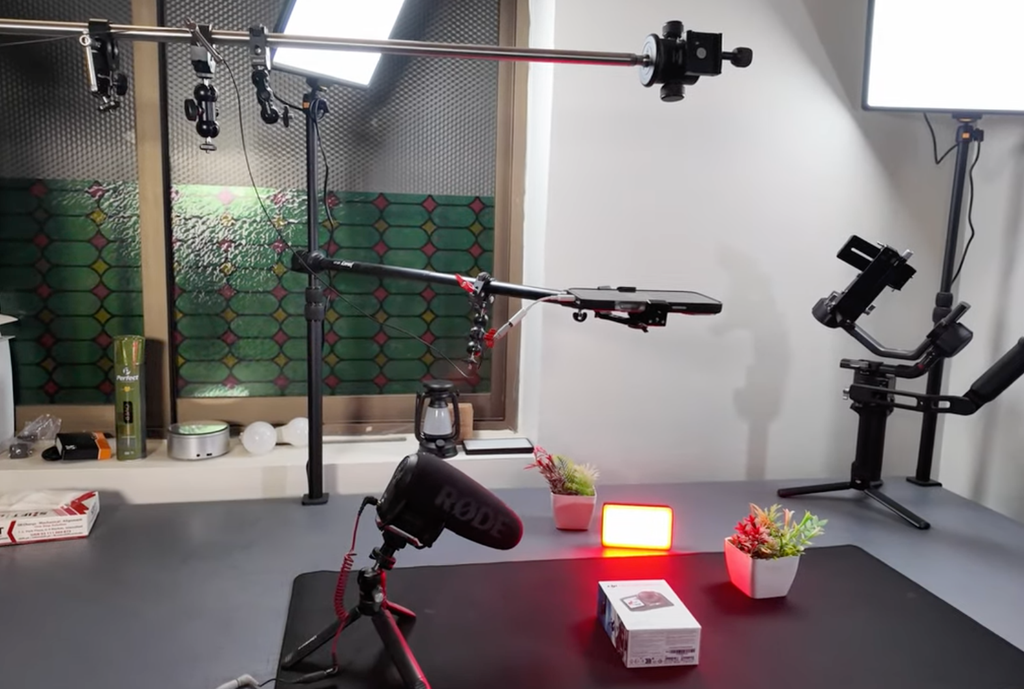
What Makes a Microphone Suitable for ASMR?
For microphone-focused ASMR, the microphone is both the object creating the trigger and, in some setups, the device recording it. Understanding this distinction helps you choose the right technique and avoid damaging your equipment.
Capture Subtle Sounds Without Distortion
ASMR often relies on quiet details, including light fingernail taps, gentle brushing, and soft scratching. These sounds can become difficult to hear when the recording contains excessive background noise or the input level is too high.
Start in a quiet room. Turn off unnecessary fans, silence notifications, and move away from humming appliances. Record a short sample and listen through headphones before filming a full session.
If a light tap sounds clear but a stronger tap crackles or distorts, reduce the force of the tap or adjust the available recording level. Increasing playback volume will not repair distortion already captured in the recording.
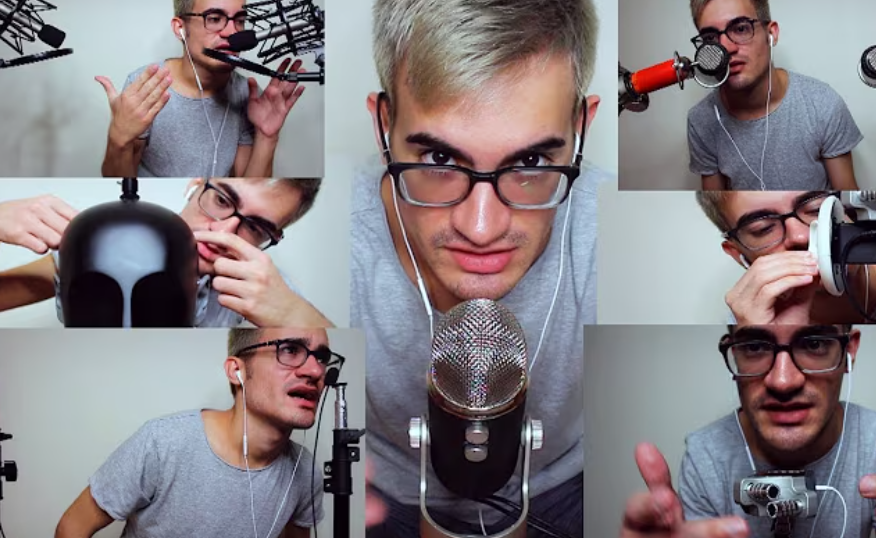
Understand the Difference Between the Trigger Mic and Recording Mic
When the microphone itself is the ASMR trigger, you need to think about two roles:
- Trigger microphone: The microphone being tapped, scratched, brushed, or handled to create the sound.
- Recording microphone: The microphone capturing those actions for the video.
Sometimes one microphone serves both roles. For example, a second microphone or phone can record the sounds made by tapping a spare microphone. In another setup, you might film and record with a separate device while interacting with the trigger microphone.
This distinction matters because tapping a microphone that is actively recording through its own capsule may produce handling noise or a sudden impact rather than the controlled sound you want. If possible, use a separate recording device to capture the trigger sounds.
Choose Safe Tools for Microphone Sounds
You can create several textures with simple tools. Start with your fingertips before introducing brushes or other objects.
Try these specific sounds:
- Fingernail tapping: Light, irregular taps on a suitable hard outer surface.
- Silicone-bristle brushing: Slow strokes across a protected exterior surface.
- Soft makeup-brush brushing: Gentle movements across the microphone’s outer body.
- Wooden-stick tapping: Very light taps on a solid, non-delicate housing.
- Microfiber-cloth rubbing: Slow strokes across the exterior of an unplugged microphone.
- Fingertip scratching: Short, controlled movements on a durable outer casing.
Avoid sharp tools, excessive pressure, and direct contact with delicate capsules, exposed connectors, or sensitive grille components. Never assume that a microphone’s grille can withstand scratching simply because it looks solid.
How to Prepare Your Microphone for ASMR Recording
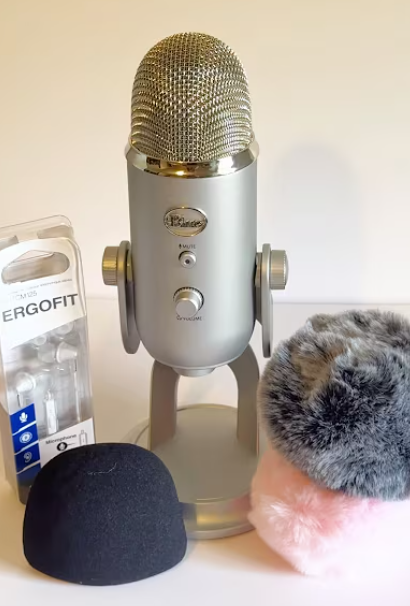
Choose a Quiet Recording Space
A quiet room makes it easier to hear subtle differences between tapping, brushing, and scratching. Curtains, rugs, and upholstered furniture can help reduce reflections, although they will not eliminate every background sound.
Place the trigger microphone on a stable surface or hold it securely without squeezing it. If it is resting on a desk, check whether the desk transmits vibrations from your hands.
Record five seconds of room tone before beginning. Listen for fan noise, traffic, electrical hum, or other sounds that could distract from the microphone triggers.
Position the Recording Microphone 5–15 cm Away
For close-up ASMR, start with the recording microphone approximately 5–15 cm from the trigger source. This is a practical starting range, not a universal setting.
Move the recording microphone closer if gentle brushing is too quiet. Move it farther away if the taps sound harsh or overloaded. Make small adjustments and compare short recordings instead of changing several settings at once.
If you are using your phone to record the trigger microphone, keep the phone steady and make sure its built-in microphone openings are not blocked. A separate recording microphone can offer more placement flexibility, but it is not essential for a beginner.
Protect the Trigger Microphone From Handling Noise
Handling noise happens when movement or contact creates unwanted sound in the recording. Gripping a microphone tightly, rubbing a cable, or knocking the stand can produce loud thumps that overpower delicate triggers.
Secure the trigger microphone in a suitable stand if the design allows it. Keep cables from dragging across the desk, and avoid touching the recording microphone while performing a sound.
Before each take, check that the stand, desk, and nearby objects are stable. A few seconds spent securing the setup can save time during editing.
How to Create Different Microphone ASMR Sounds
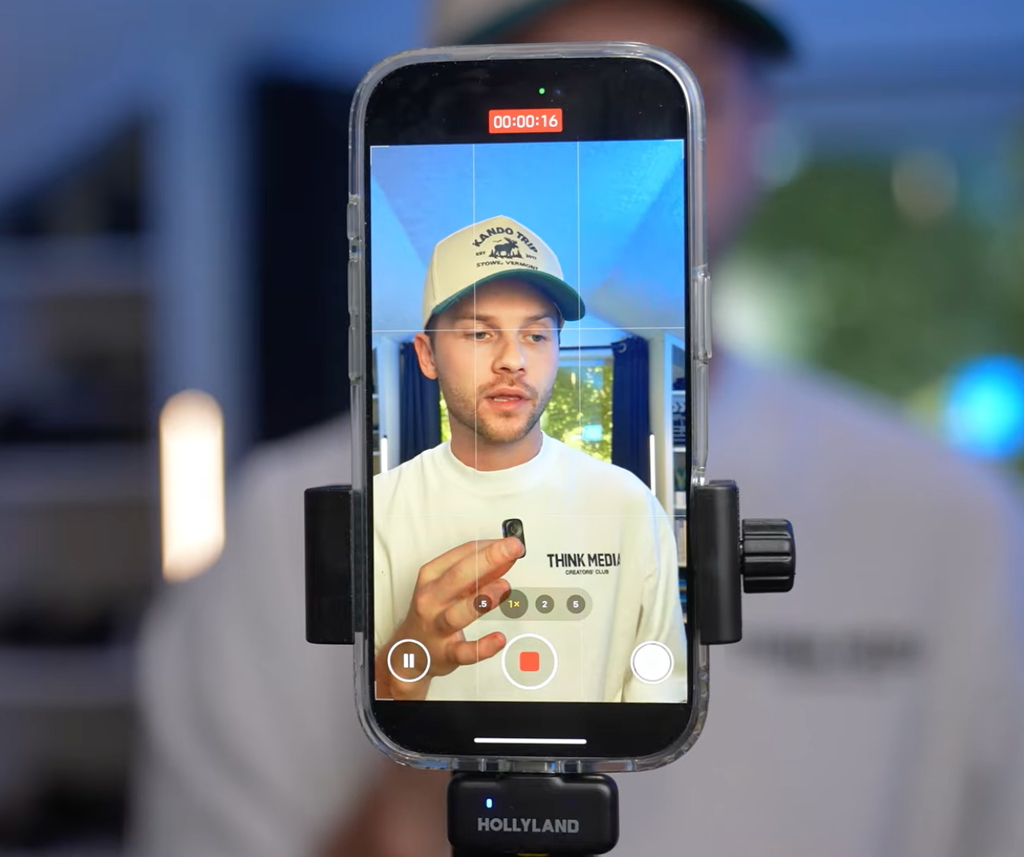
Record Gentle Microphone Tapping
Begin with light fingertip taps on a durable part of the microphone’s outer housing. Try a slow sequence of three taps, pause for two seconds, and repeat with a slightly different rhythm.
Next, use a fingernail to make softer taps on an appropriate hard exterior surface. Compare the results to identify which pattern creates a clear sound without harsh peaks.
Keep the movement controlled. Heavy tapping can create abrupt transients, overload the recording, or damage delicate components. Avoid striking the capsule, exposed connectors, or fragile grille materials.
Create Soft Scratching and Brushing Textures
Use a soft makeup brush or silicone-bristled brush to create a different texture from tapping. Begin with slow strokes across a suitable exterior surface, keeping the pressure light and consistent.
For scratching, use only a surface and tool that are safe for the microphone. If you are uncertain whether the grille or housing can tolerate contact, avoid scratching it directly. You can instead create a similar sound on a protective accessory or a spare, nonfunctional microphone.
Record each technique separately so you can compare the sound. A soft brush may produce a smoother texture, while gentle fingertip movements can create more irregular patterns.
Experiment With Microphone Handling Sounds
Slowly moving an unplugged trigger microphone can produce subtle handling sounds, but this technique requires care. Some microphones have fragile connectors, delicate grilles, or internal components that can be damaged by impact.
If you want to record handling sounds, use gentle movements and avoid shaking or knocking the device. Do not move the microphone by its cable or allow it to strike the desk.
For a more controlled result, keep the trigger microphone in a stable position and move your fingertips or brush instead. This makes it easier to repeat a sound and maintain a consistent recording level.
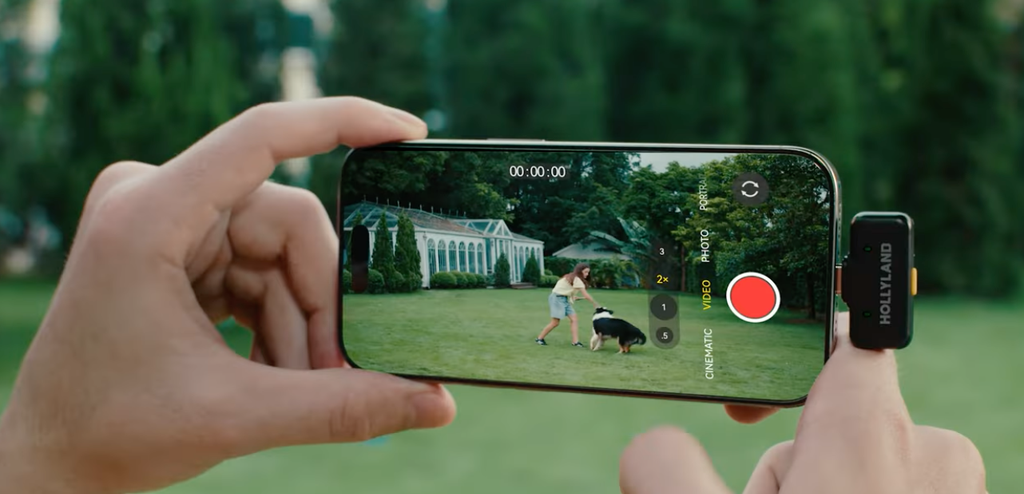
Keep the Sound Consistent Between Takes
Consistency helps when you combine several clips into one ASMR video. Keep the recording microphone at the same distance, use similar tapping pressure, and maintain a steady pace.
If you change the microphone position, make a note of it so you can reproduce the best sound later. Avoid increasing gain halfway through a sequence unless necessary, because this can create noticeable volume differences between clips.
How to Adjust Recording Levels for Microphone ASMR
Set Levels to Avoid Clipping
Clipping occurs when the incoming signal exceeds the recording system’s available level, producing harsh distortion. This can happen when a gentle sound is followed by a stronger tap.
For digital recording, keeping peaks below 0 dBFS is essential. Around −12 dBFS can be a useful starting target for many recordings, leaving headroom for stronger sounds. The exact level depends on your equipment and recording workflow.
If the recording distorts, soften the action or lower the available input gain. Do not confuse the recording level with headphone volume: turning up your headphones does not improve the original audio.
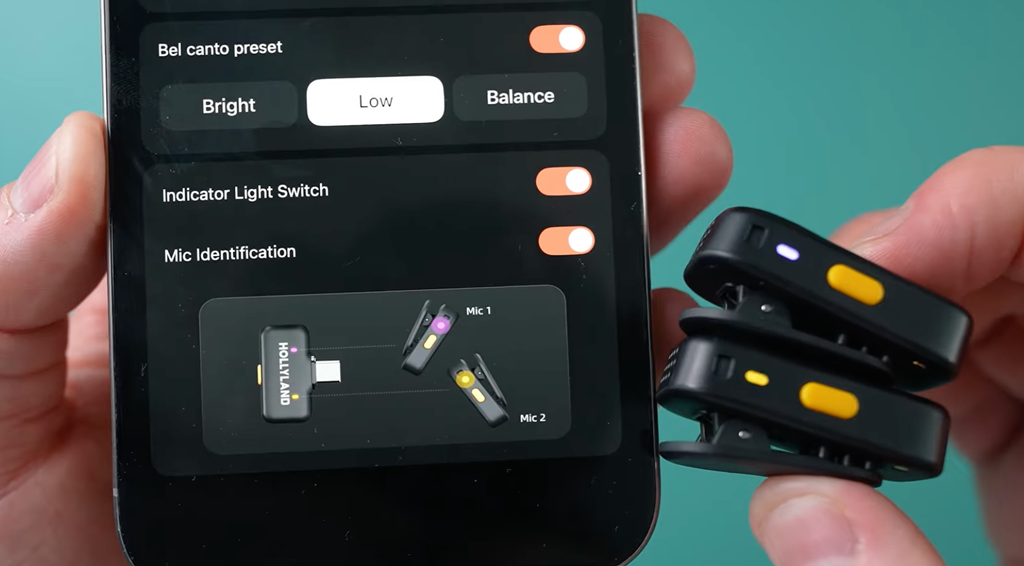
Use Noise Cancellation Carefully
For spoken ASMR, use AI noise cancellation when room noise is distracting. When capturing tapping, scratching, and brushing, prioritize a separate recording setup that preserves the natural texture of these sounds.
Use this rule when working with the Hollyland LARK A2 or another microphone that offers adjustable noise cancellation:
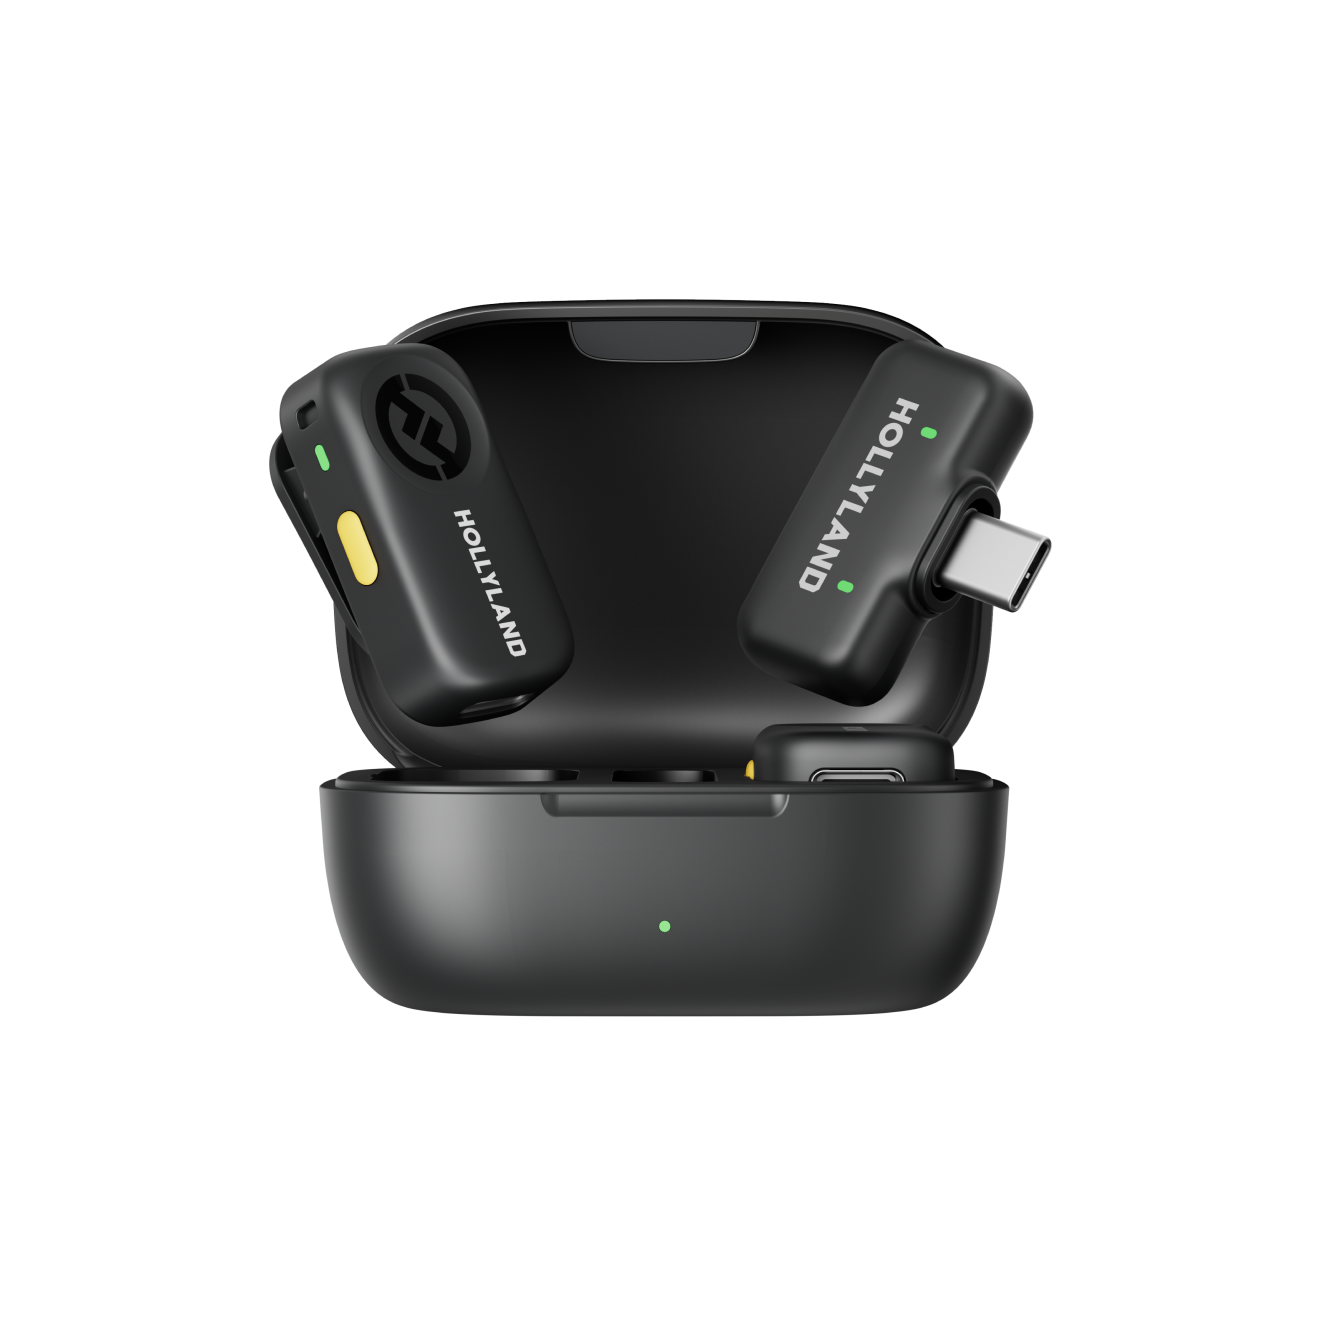
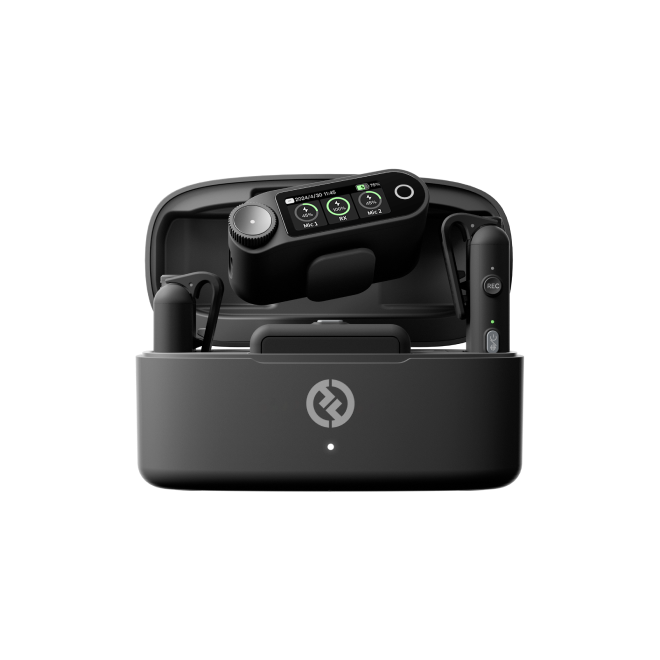
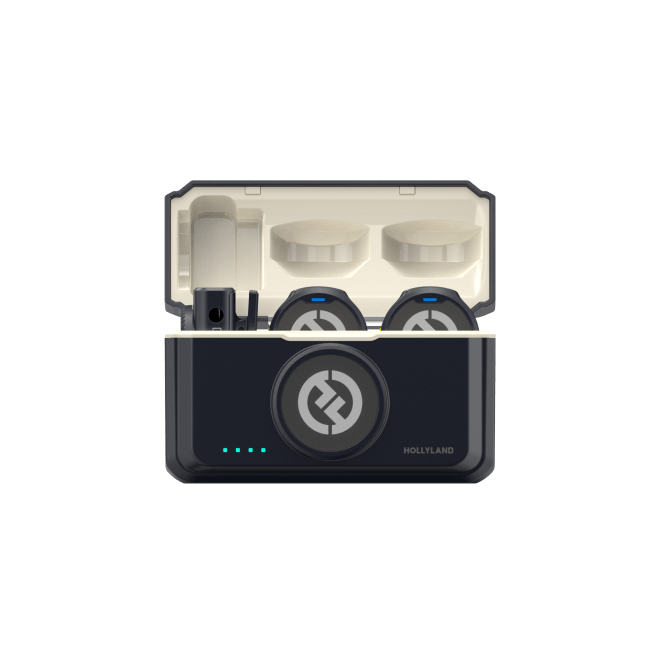
Hollyland LARK A2 - Clip-on Microphone
An ultra-light 8.5g wireless microphone engineered for effortless mobile recording, featuring smart AI noise cancellation and studio-grade sound.
Key Features: 8.5g Clip & Go | AI Noise Cancellation | 42 Hours Battery
- Whispering, soft-spoken content, and talking triggers: Turn noise cancellation on when room noise interferes with the voice.
- Microphone tapping, scratching, brushing, paper sounds, slime, cleaning, and ambience: Turn it off or use the lowest available app level to preserve the raw texture.
The LARK A2’s AI noise cancellation is adjustable through supported controls and the HollyAudio app. These controls are relevant when using the system to capture speech or other sounds; they do not turn the LARK A2 into a specialist microphone for every microphone-trigger technique.
Apply Minimal Audio Processing
Start with simple edits, such as trimming unwanted pauses and making small volume adjustments. Heavy noise reduction can make brushing and scratching sound watery, metallic, or uneven.
Avoid excessive compression that makes every tiny background sound equally loud. The goal is a natural, comfortable listening experience, not maximum volume.
Keep an unprocessed copy of your recording. Comparing the original and edited versions helps you identify when an effect removes the detail you intended to preserve.
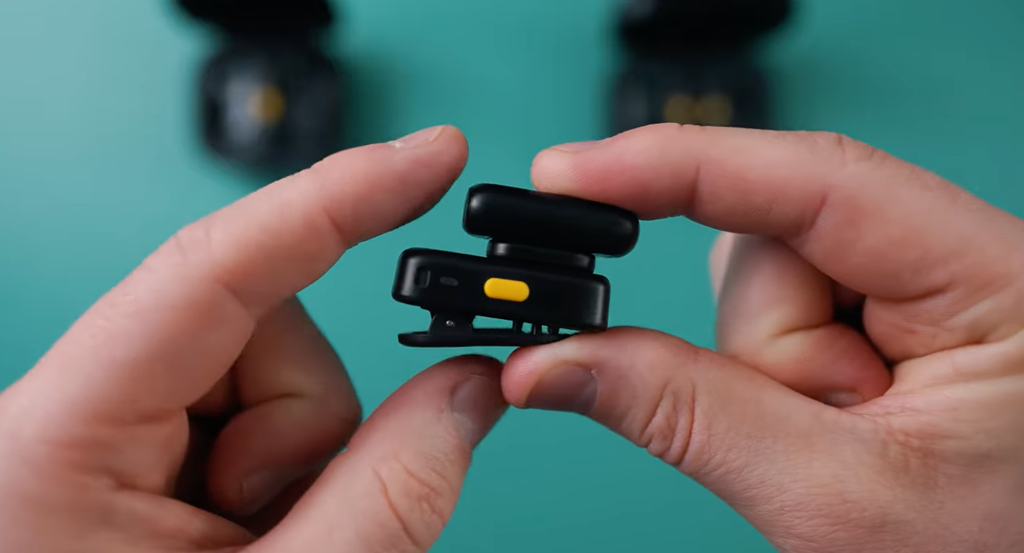
How to Use the Hollyland LARK A2 in a Microphone ASMR Setup
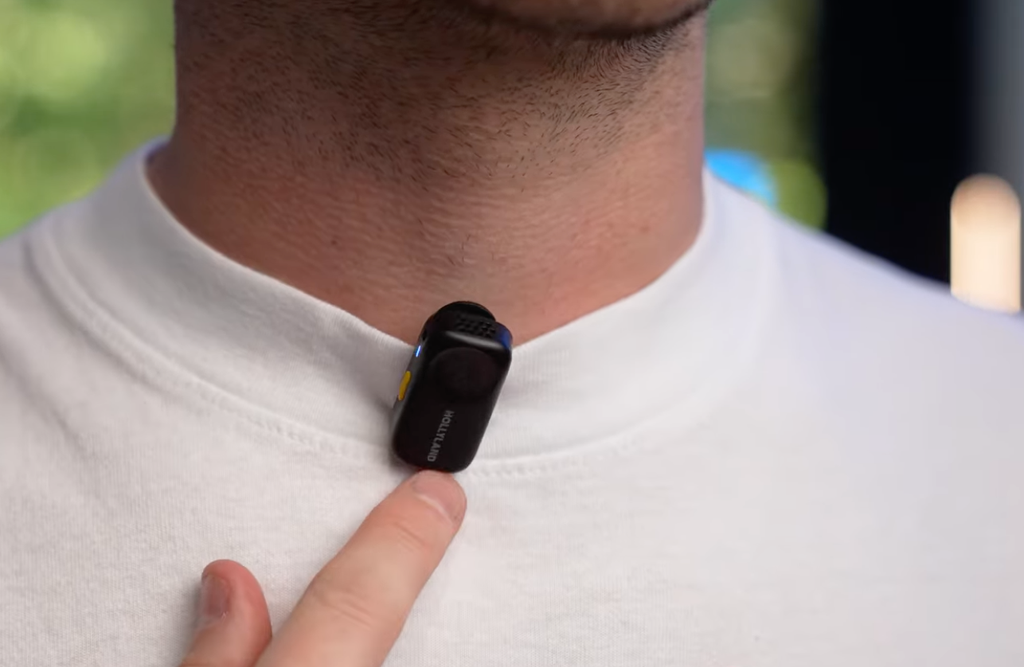
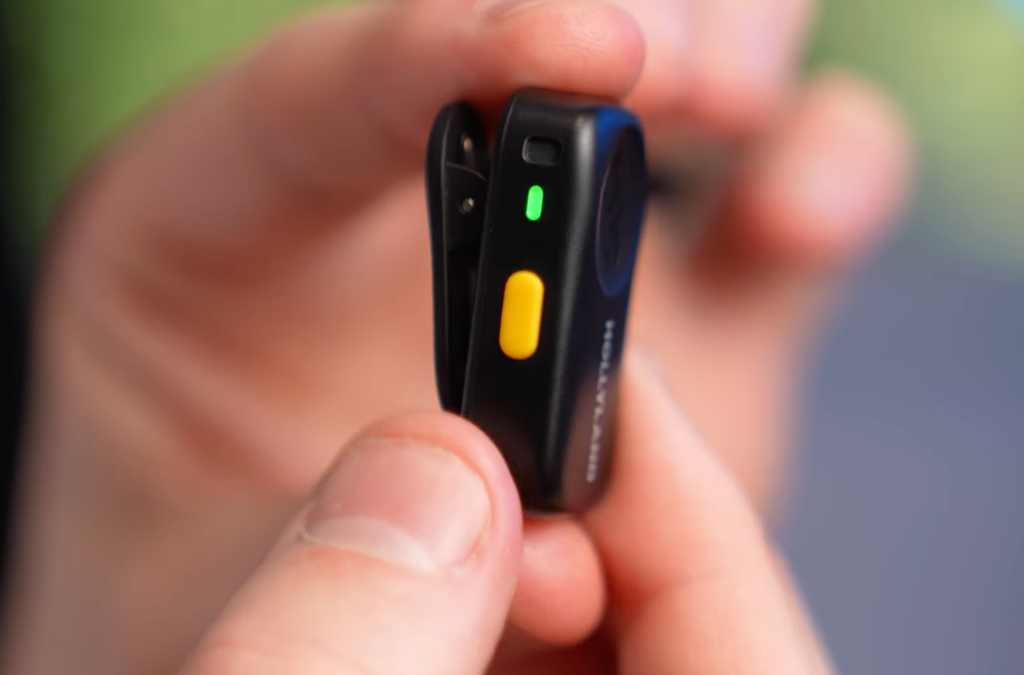
The Hollyland LARK A2 is a compact wireless lavalier system designed for smartphone content creation. It is not the main recommendation for microphone-body tapping or specialist binaural recording. Its more relevant role in this guide is capturing a spoken introduction, whispered commentary, or a voiceover alongside microphone-trigger sounds.
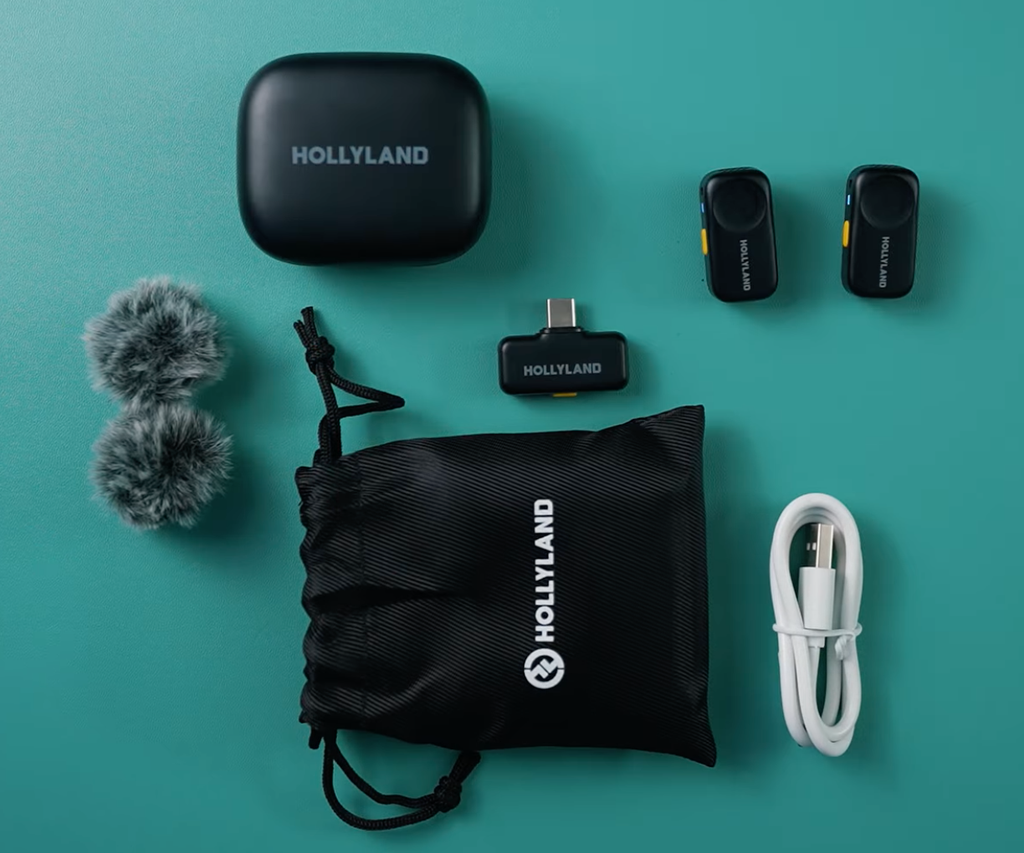
Connect the LARK A2 to a Compatible Smartphone
The LARK A2 mobile system is available with USB-C and Lightning receiver options. Choose the version that matches your smartphone’s port; the compatible receiver plugs directly into the phone without an additional port adapter for that connection. It is designed for plug-and-play recording, so the HollyAudio app is not required just to begin recording.
The LARK A2 is smartphone-focused and does not have a camera version or a 3.5 mm camera output. Do not purchase it expecting to connect it directly to a camera using a camera receiver.
Complete a Quick Pre-Recording Check
Before recording a spoken introduction or voiceover, confirm that the receiver and transmitter are powered and connected. Record a short clip and listen for clear speech, fabric rubbing, and background noise.
Keep the transmitter away from collars, jewellery, and fabric that could rub against the microphone. For this microphone-trigger format, record the spoken track separately if the wearable transmitter is not well positioned to capture the object sounds.
The LARK A2 supports 48 kHz/24-bit audio and has an approximately 8.5 g transmitter. These specifications can be useful for mobile voice recording, but they do not guarantee a better result in every environment.
Use the LARK A2 for Whispered Introductions and Voiceovers
If your video begins with a soft-spoken introduction, the LARK A2 can provide a convenient wireless way to capture your voice while the phone frames the trigger microphone and your hands.
For spoken ASMR, use AI noise cancellation when room noise is distracting. For the microphone’s tapping, scratching, and brushing sounds, use a separate recording setup where possible and preserve the natural texture rather than relying on noise reduction.
Know When a Different Microphone Is Better
The LARK A2 is worth considering as a beginner wireless microphone for smartphone-first creators who record whispering, soft-spoken narration, or talking ASMR. It is not a dedicated binaural microphone, nor is it the obvious first choice for creators who want highly detailed microphone-body textures or head-related 3D audio. For those goals, a dedicated close-recording or binaural setup may be more appropriate.
For current pricing and package options, view the official Hollyland LARK A2 listing.
How to Fix Common Microphone ASMR Problems
Reduce Background Noise
Problem: Fan noise, traffic, or room hum competes with the microphone sounds.
Fix: Move to a quieter room, turn off unnecessary noise sources, and bring the recording microphone closer to the trigger. Avoid aggressive noise reduction if it removes delicate brushing or scratching details.
Make Quiet Sounds More Audible
Problem: Light tapping or soft brushing is difficult to hear.
Fix: Start by moving the recording microphone closer to the trigger source. Check that the correct input is being used, then adjust the available gain gradually if needed. Raising the volume alone may also make background noise more noticeable.
Fix Harsh or Distorted Tapping
Problem: Strong taps sound crackly, harsh, or overwhelming.
Fix: Reduce the tapping force, move the recording microphone farther away, or lower the available input gain. Record another short sample and compare it with the original.
Prevent Handling Noise
Problem: Thumps, rubbing, or cable noise interrupts the recording.
Fix: Stabilize the trigger microphone, keep cables away from moving hands, and avoid touching the recording microphone. If the stand or desk transmits vibrations, reposition the setup on a more stable surface.
Frequently Asked Questions
Can I Make Mic ASMR Videos With a Microphone I No Longer Use?
Yes. A spare microphone can work as a trigger object if its exterior is in good condition. Check for loose components, damaged grilles, or exposed connectors before using it, and avoid handling anything that could cause further damage.
Should I Record Each Microphone Trigger in a Separate Clip?
Recording each trigger separately makes it easier to compare sounds and arrange them during editing. You can create individual clips for tapping, brushing, and scratching before combining the best recordings into one sequence.
Can I Use a Microphone Stand for Mic ASMR?
Yes. A stable stand can hold the trigger microphone in position and reduce unwanted movement. Make sure the stand does not transmit desk vibrations or create noise when you interact with the microphone.
Why Do Some Microphone Tapping Sounds Differ From Others?
The sound depends on the microphone’s exterior material, shape, construction, and the surface being tapped. Different microphones can produce noticeably different tones even when you use the same tapping technique.
Can I Add Voiceovers to Microphone ASMR Videos?
Yes. A short whispered introduction or voiceover can introduce the recording session without distracting from the main sounds. Record the voice separately when necessary so it does not interfere with the microphone-triggered audio.
Conclusion
Making your mic ASMR-ready is about creating controlled, repeatable sounds without damaging the microphone or overwhelming the recording. Start with gentle fingertip tapping, experiment with safe brushing techniques, keep the recording microphone 5–15 cm from the trigger as a starting point, and listen to short samples before filming a complete session.
A quiet space, sensible recording levels, and minimal processing can make a bigger difference than adding equipment too early. If you also record whispered introductions or voiceovers, a smartphone wireless lavalier such as the LARK A2 may be useful alongside your main microphone-trigger setup.