.png)
Adding audio to your videos on YouTube is not just about enhancing their quality; it’s also about amplifying engagement and leaving a lasting impression on your viewers. In today’s digital age, where attention spans are limited and competition is fierce, audio plays a pivotal role in capturing and retaining audience interest. Whether you’re a seasoned content creator, a budding vlogger, or an aspiring filmmaker, mastering the art of audio integration is essential for standing out in the crowded online landscape.
Think of audio as the heartbeat of your video content. It sets the tone, establishes the mood, and breathes life into your visuals. From the subtle background music that evokes emotions to the crisp voice overs that narrate your story, every element of audio contributes to the overall impact of your videos. By harnessing the power of sound, you can create an immersive experience that resonates with your audience on a deeper level.
In this comprehensive guide, we’ll delve into the intricacies of adding audio to your YouTube videos, exploring Youtube Studio tools to help you seamlessly integrate sound into your content.
Adding Audio to your YouTube Video
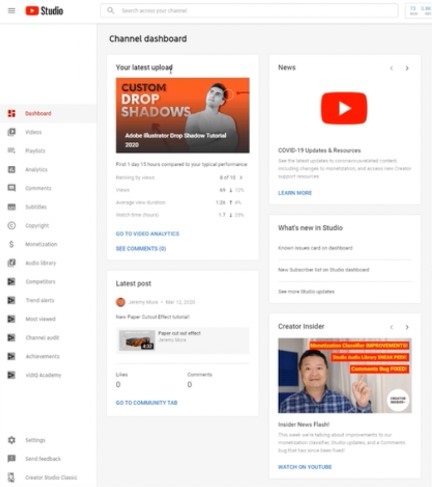
YouTube’s Studio interface is now available for managing videos and gaining insights into channel analytics. This interface serves as an intuitive platform for uploading content to YouTube and making targeted edits to video segments deemed inappropriate. Additionally, users can tap into YouTube’s extensive built-in library to incorporate background music or transition effects into their videos.
However, caution must be exercised to avoid selecting unlicensed music, as this could lead to video removal or potential channel suspension. Alternatively, users have the option to include their own recordings or voiceovers in their YouTube videos. Refer to the following instructions to understand the process of integrating personalized audio into a YouTube video.
Accessing YouTube Studio
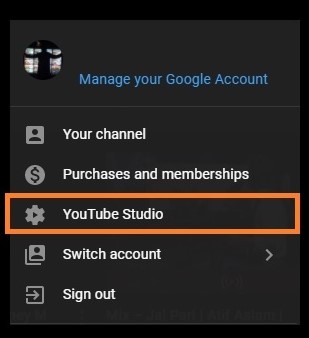
To access YouTube Studio, start by opening any web browser and visiting the YouTube website. Once there, look for your account’s display picture, typically located in the top-right corner of the page.
- Open any web browser and navigate to YouTube.
- Locate your account’s display picture positioned in the top-right corner of the screen.
- Click on the display picture to reveal a drop-down menu.
- From the menu options, select YouTube Studio to access the studio interface.
Uploading Your Video to YouTube Studio
The initial step in sharing your content on YouTube is uploading your video to YouTube Studio. This process involves accessing your YouTube account, navigating to YouTube Studio, and initiating the upload procedure.
- Access your YouTube account and proceed to YouTube Studio.
- Locate and click on the Create button situated at the top right corner, distinguished by a camera icon accompanied by a plus sign.
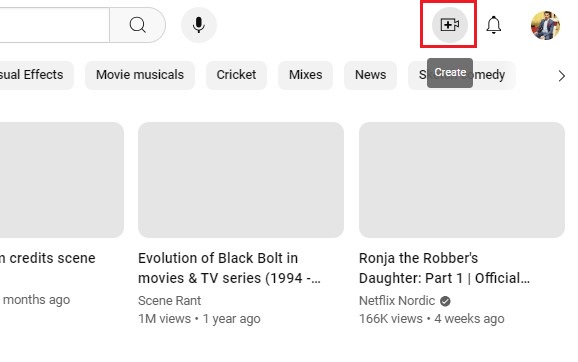
- Choose the Upload videos option from the menu that appears.
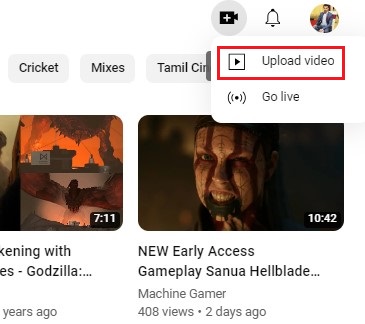
- Follow the instructions provided to select and upload your video file from your computer.
Accessing YouTube Video Editor
Once your video has been uploaded to YouTube Studio, the next step is to access the YouTube Video Editor. This can be accomplished by navigating to the Content section and locating your uploaded video.
- After your video has been successfully uploaded, locate it within the Content section of YouTube Studio.
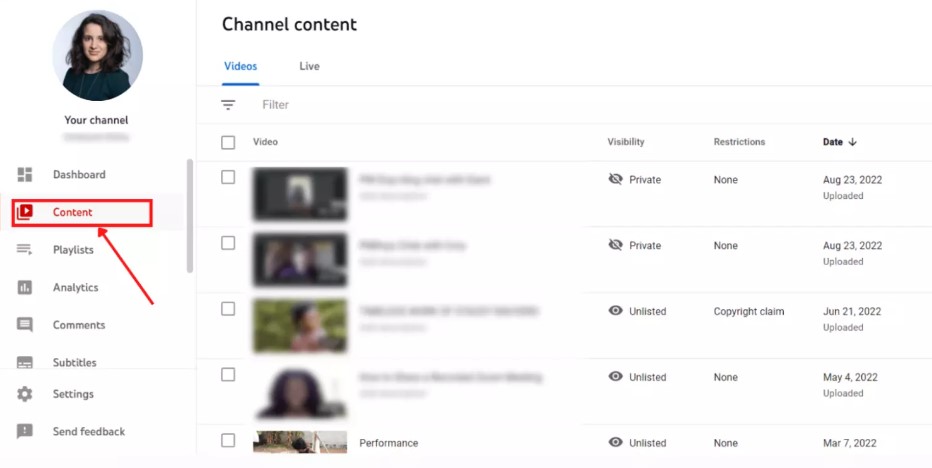
- Hover your cursor over the desired video and either click on the pencil icon (Details) or directly on the video title.
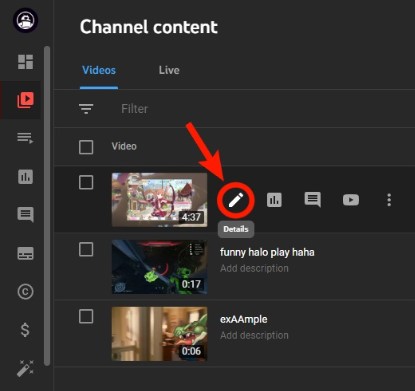
- On the left-hand side menu, choose Editor to gain access to the suite of editing tools provided by YouTube.
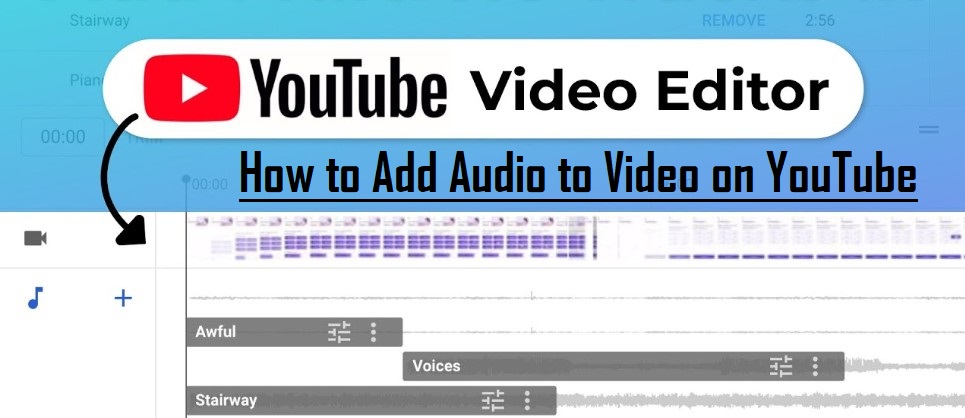
Adding Audio into Your Video
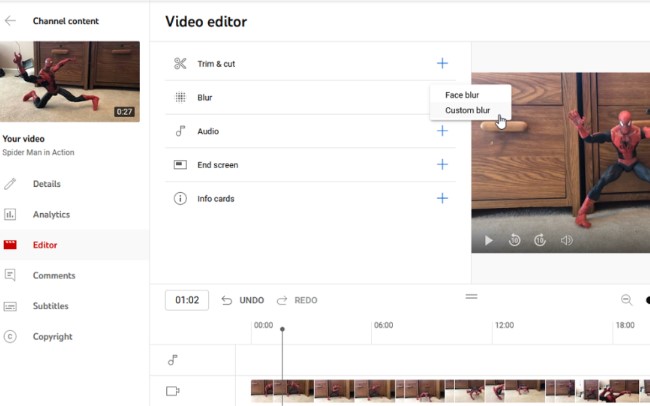
The process of enhancing your video with audio involves accessing the Audio tab within the Editor interface. This tab provides entry to YouTube’s extensive Audio Library, where you can explore a variety of music and sound effects to complement your video content.
- Within the Editor interface, identify the Audio tab situated on the menu bar, which grants access to YouTube’s Audio Library.
- Browse through the library or utilize the search function to discover suitable music and sound effects. To preview a track, simply click on the play icon adjacent to it.

- Upon finding the desired audio, click on the + (add) button associated with the track. YouTube will seamlessly integrate the selected audio into your video.
Adjusting Audio Levels
Once you’ve incorporated audio into your video, it’s crucial to ensure that its volume is appropriately adjusted to harmonize with the visuals. This step often entails fine-tuning the volume levels to strike a balance between the original video’s audio and the newly added track.
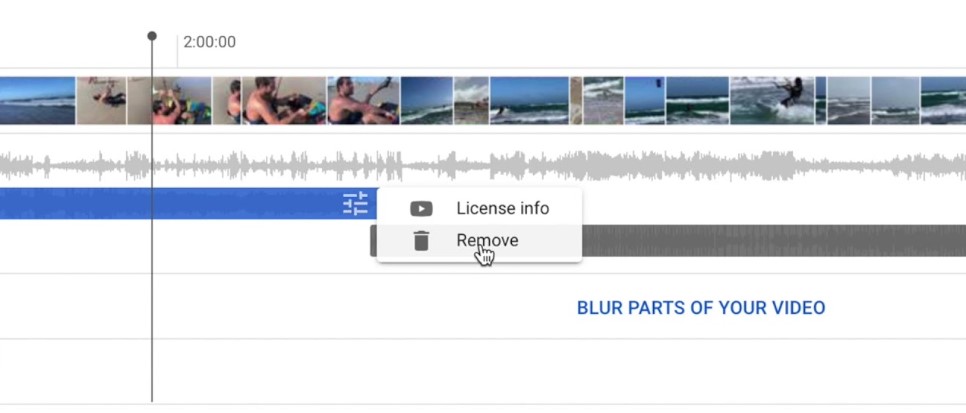
- Following the addition of audio, it’s essential to adjust its volume to achieve a harmonious blend with your video. This may involve lowering the volume of either the original video’s audio or the newly added audio track to achieve a balanced sound.
- Utilize the sliders within the audio track timeline to make precise adjustments to the volume levels of both the original audio and the added track.
Previewing and Saving Your Edited Video
Before finalizing your edits, it’s imperative to preview your video to ensure that the audio enhancements align seamlessly with the visuals. This step allows you to make any necessary adjustments and ensure that the overall audio-visual experience meets your expectations.

- It’s crucial to preview your video once you’ve added and adjusted the audio to confirm that everything sounds satisfactory.
- If you’re content with the audio integration, proceed to click on Save to apply the finalized changes. Keep in mind that the processing time may vary depending on the length of the video.
Publishing Your Edited Video
Once you’ve saved your video with the newly integrated audio, it’s ready to be shared with your audience, replacing the original version on your channel. This ensures that viewers experience the enhanced audio quality when watching your content.
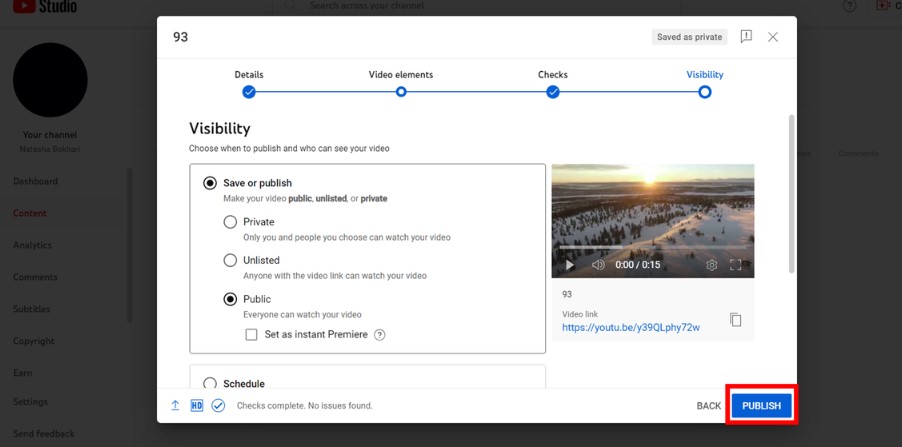
- Upon saving your video with the incorporated audio, it becomes available for viewing by your audience, replacing the original video on your channel.
- Should you desire additional edits or adjustments, you can revisit YouTube Studio at any time to modify the video.
How to Utilize the Audio Library
Following the discontinuation of the Video Editor module in 2017, YouTube introduced the capability to add music directly within the YouTube Video Editor Module. While numerous video editing software options exist for YouTube content creation, users can also leverage the extensive collection of Free Music and Sound Effects available in the YouTube Audio Library.
Here’s a guide on how to incorporate music into your YouTube videos using the YouTube Audio Library.
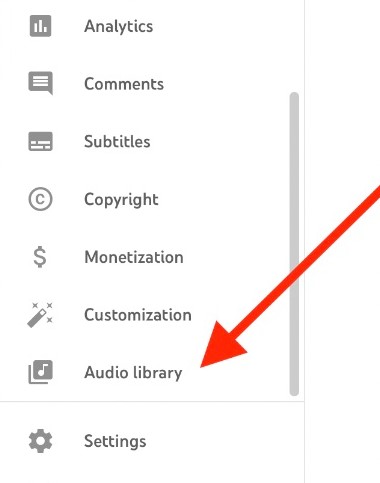
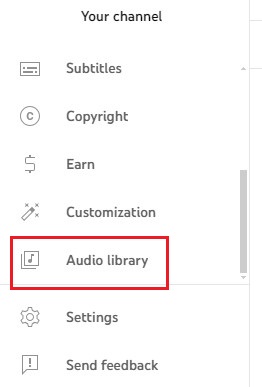
Step 1: Accessing the Audio Library
Instead of opting for the Video Manager option, users should select the Create option and navigate to the Audio Library.
Step 2: Downloading Desired Music or Sound Effects
Within the YouTube Audio Library, users can explore a range of free music and sound effects. The library offers search functionality and filters based on genre, duration, mood, attribution, and instrument properties. By clicking the download icon, users can acquire royalty-free music and sound effects for their videos.
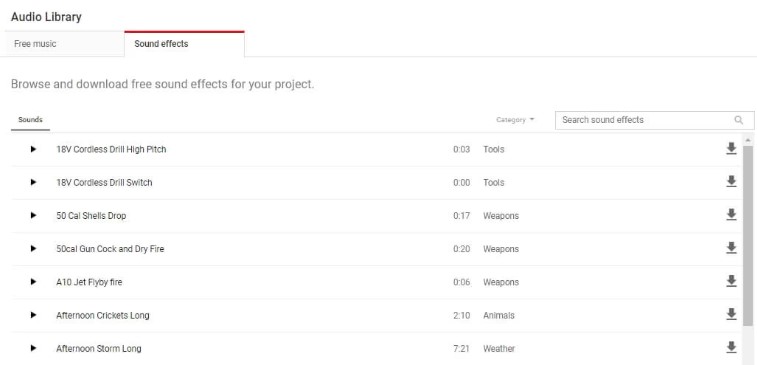
Subsequently, these audio files can be combined with video footage to create captivating content enriched with music. Users have the flexibility to download multiple audio files and incorporate multiple songs into their YouTube videos.
Conclusion
Adding audio to your YouTube videos is a creative process that requires attention to detail and careful consideration of your audience’s preferences. By following the tips and techniques outlined in this guide, you can effectively enhance the audio quality of your videos and elevate your content to new heights. Whether you’re a seasoned creator or just starting, mastering the art of audio integration will undoubtedly make your videos more engaging and memorable.
Whether it’s selecting the perfect soundtrack to set the mood or incorporating sound effects to enhance the viewer experience, the YouTube Audio Library empowers creators to unleash their creativity and produce engaging content that resonates with their audience.
We value your opinion! How did you find our guide on utilizing the YouTube Audio Library to enhance your videos? Did you find the steps easy to follow? Were you able to successfully incorporate music into your YouTube content? Share your thoughts and experiences with us in the comments below. Your feedback helps us improve and create content tailored to your needs.
Ensuring crystal-clear sound quality is essential when creating engaging YouTube videos. Consider using a wireless lavalier microphone – compact, easy-to-use, and perfect for capturing professional audio for your content without complicated setups.
Frequently Asked Questions
Can I add my own music to a YouTube video?
Yes, you can add your own music to a YouTube video as long as you have the rights to use that music. This means either creating the music yourself, obtaining permission from the copyright holder, or using music that is licensed under Creative Commons or in the public domain.
How do I remove the original audio from my video?
To remove the original audio from your video on YouTube, you’ll need to use video editing software before uploading the video. Once edited, upload the video without any audio track. Alternatively, you can replace the original audio with a silent audio track during the editing process.
Is it free to use music from YouTube’s Audio Library?
Yes, it is free to use music from YouTube’s Audio Library. YouTube provides a wide selection of music tracks and sound effects that are royalty-free and available for use in your videos without the need to pay licensing fees.
Can I add audio to a YouTube video after publishing?
No, once a video is published on YouTube, you cannot directly add audio to it. However, you can edit the video and add audio before re-publishing it. Keep in mind that re-publishing a video may affect its performance metrics and visibility.
What are the copyright implications of adding music to my YouTube video?
Adding copyrighted music to your YouTube video without permission may result in copyright infringement. YouTube’s Content ID system automatically scans videos for copyrighted content, and if detected, copyright holders may choose to monetize, block, or take down the video.
How long does it take for audio changes to process on YouTube?
The processing time for audio changes on YouTube can vary depending on factors such as the length of the video and current platform activity. In general, minor audio adjustments may take a few minutes to process, while larger changes or edits to longer videos may take longer.
Can I adjust the timing of the added audio in my video?
Yes, most video editing software allows you to adjust the timing of audio tracks in your video. You can cut, trim, or move audio clips to synchronize them with specific video segments or create desired effects.
What should I do if my video is muted after adding music?
If your video is muted after adding music, it may be due to copyright issues. YouTube’s Content ID system may have detected copyrighted music in your video, leading to automatic muting or removal. To resolve this, you can either replace the copyrighted music with royalty-free music or dispute the copyright claim if you have the necessary rights to use the music.