.png)
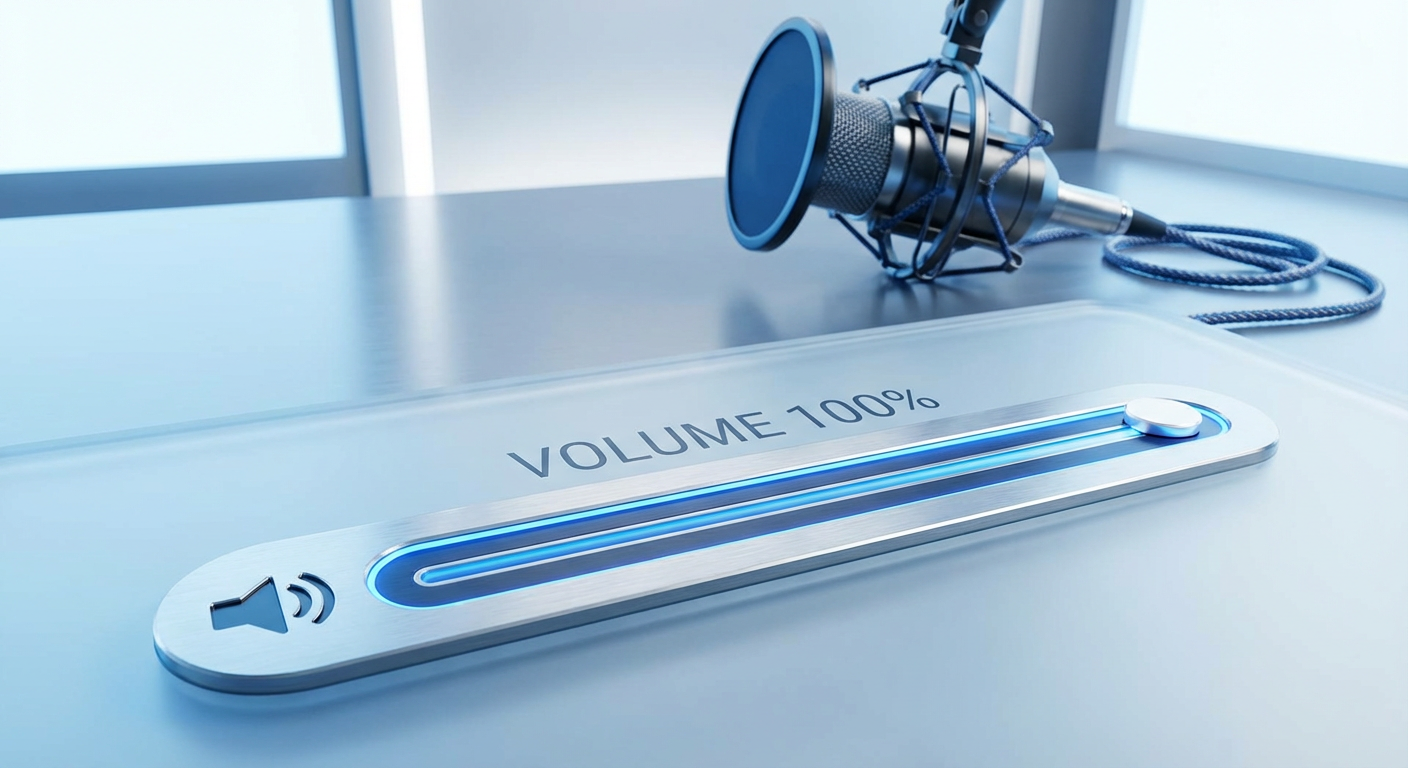
Is your microphone picking up too much background noise, making it difficult to talk to people online? It happens because the microphone isn’t set up correctly, leading to communication issues and disrupting the user experience. Therefore, adjusting the microphone sensitivity ensures optimal sound clarity by removing interference.
Adjusting mic sensitivity ensures optimal audio quality by minimizing background noises and improving vocal clarity. This guide provides step-by-step processes for changing microphone sensitivity on different devices while explaining how advanced mics have simplified this with built-in features.
What is Microphone Sensitivity?
Mic sensitivity refers to a microphone’s ability to efficiently amplify the sound it captures. It measures the mic’s responsiveness to sound waves and represents the output level produced at a certain sound pressure level. A high-sensitive mic can capture the faintest sound with precise details, making it ideal for quiet environments.
Conversely, if the microphone’s sensitivity is insufficient or has low gain, it will have difficulty hearing and require louder sound sources.
Adjusting Microphone Sensitivity on Different Devices
If the gain is too high or the mic becomes overly sensitive, it can capture background noises in the recordings. Furthermore, it makes the sound too loud for speakers to play, causing audio clipping. Therefore, here’s the process for fine-tuning the audio across different devices for the best sound quality for your recordings.
On Android
Android does not have built-in microphone settings, so it’s necessary to download third-party apps to change them. Therefore, downloading the “Microphone by WonderGrace” or “Microphone Amplifier” apps allows you to adjust the microphone gain.
- Go to “Play Store” and download and install “Microphone Amplifier.”
- Open the app and click the “Source” screen. Then tap the dropdown menu bar under the microphone and select your device.

- Once you have chosen the right microphone, click the “Sound” tab and drag the “Boost” slider to adjust the gain.
- Press the “Noise” tab to adjust the equalizer by changing the sound levels of each frequency.
Tap the “Record” button to record sound, press “Recording” to see the recorded file, and adjust your audio settings. However, to change the microphone sensitivity, you must buy the upgrade plan to unlock all its features.
On iPhone
iPhone lets you adjust microphone settings for optimal sound quality during calls, recordings, and voice memos. Here’s the process to adjust the microphone sensitivity:
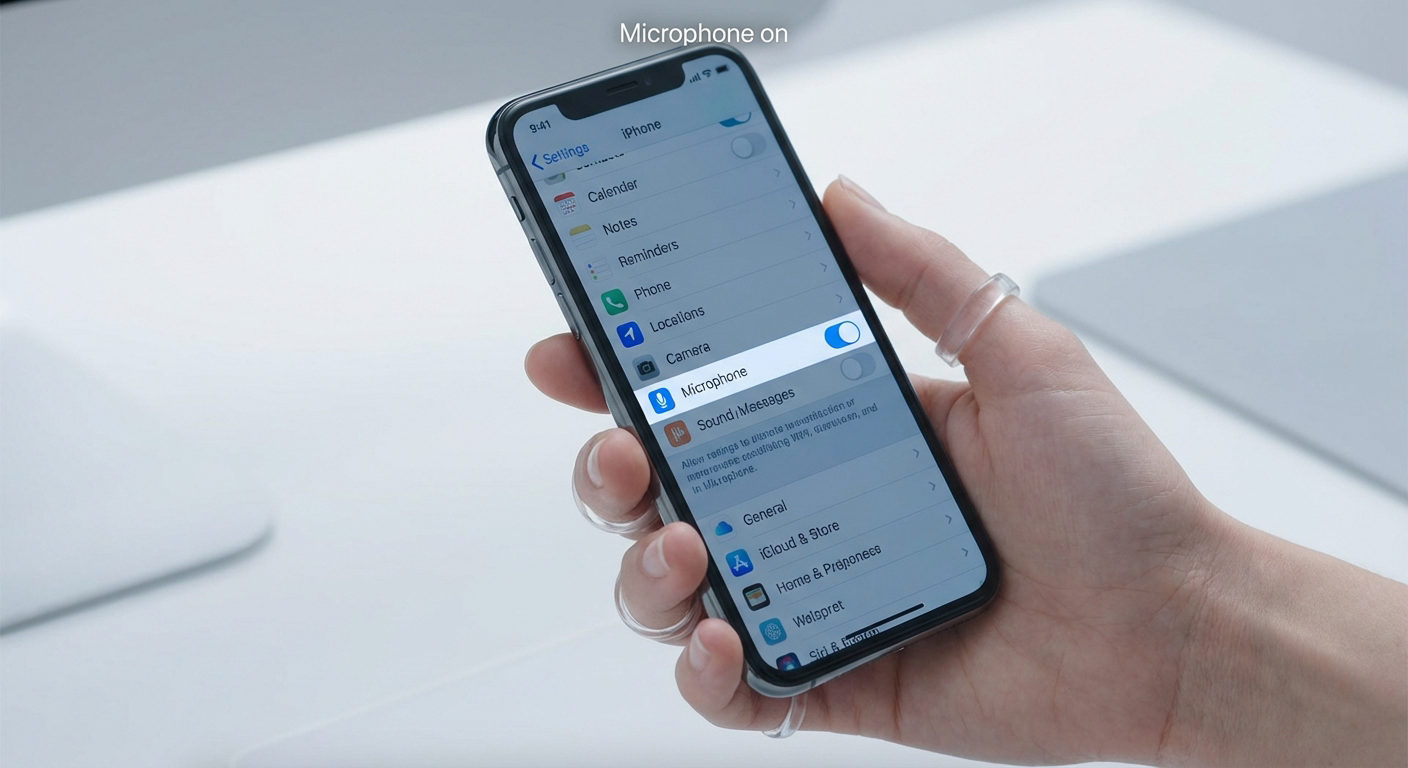
- Go to the settings app on your iPhone

- Scroll down and select “Sounds and Haptics” or “Sounds.”

- Tap on the “Microphone” to ensure it is enabled
- Then, adjust the microphone sensitivity or input volume by dragging the sliders to the desired level

- Control automatic gain and noise cancellation to different sound levels and find one that suits your needs
It also allows you to select which mic the phone uses during calls. To do this, ensure that the app has access to the microphone and adjust the mic settings from the app.
- Once you are on a call using any app, swipe down on the upper right corner to open the control center.

- Select “Mic Mode” and pick between “Voice Isolation,” “Standard,” and “Wide Spectrum.”
With voice isolation, your iPhone will use a machine learning system to ensure your voice is louder than background noises. The broad spectrum uses all sounds from the surrounding environment, making it essential when recording groups.
On Windows
- Open the system settings from Windows and click “System,” then go to “Sound.”

- Under the “Input” section, ensure that the correct microphone is selected

- Click on the microphone you are using and adjust the mic volume by dragging the slider to the desired level

- Tap “don’t allow” to switch it to “enable” and to allow apps to use this device for audio
- Click “Start Test” to analyze how effectively the microphone detects your voice
- A result of 20% or higher is essential to capture the sounds without picking the background noises
On macOS
macOS allows you to adjust the microphone sensitivity to ensure optimal recordings and calls. Here’s the complete process to change your microphone sensitivity on macOS:
- Tap the “Apple” menu on the top-left corner and tap select “System Preferences” from the popup menu

- Double-click the “Sound” icon and scroll down to “Output and Input.”

- Select the “Input” tab to see the list of connected microphones
- Click on the “Microphone” that you want to use
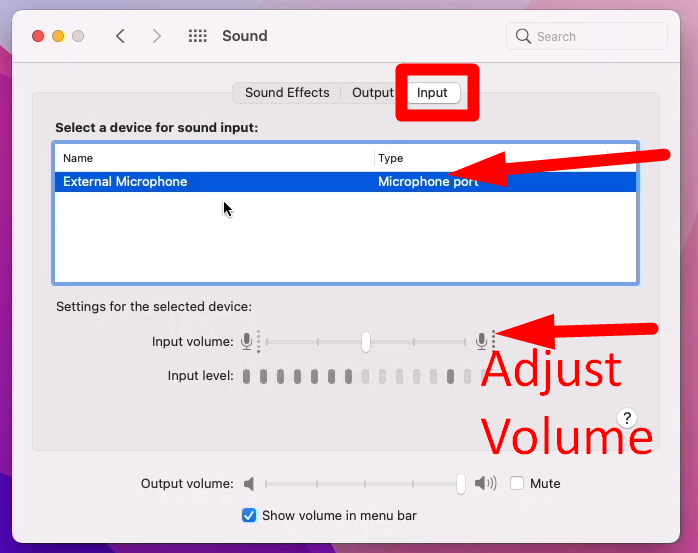
- Drag the slider to the right to adjust the “Input Volume” of the mic
- Stop moving the slider when the input volume bar below the volume level reaches the halfway point
Note: Opt for wireless microphones with ideal sensitivity for recording high-quality audio, like the Hollyland Lark M2S. Hollyland Lark M2S’s discreet, logo-free design and titanium clip are designed to deliver detailed, rich audio. Furthermore, the microphone sensitivity of -37 dBV ± 2dB @1 KHz, 94dB SPL captures the loudest sounds with ultra-low distortions and provides balanced audio. Even with this sensitivity, it gives you the freedom to capture high-quality 48 kHz, 24-bit audio with precision and accuracy.

Hollyland LARK M2S - Wireless Hidden Microphone
An ultra-discreet wireless microphone featuring a clip-on transmitter for an “invisible” fit.
Key Features: No-Logo Fit | Ti+ Design | 48 kHz/24-bit
Why Adjust Microphone Sensitivity?
Microphone sensitivity is the loudness of the sound signal the mic can record without adding gain and minimizing unnecessary noises. It’s crucial for crisp and optimal sound quality in different scenarios, such as online streaming, broadcasting, meetings, and video conferences. Therefore, proper mic sensitivity ensures it captures clear audio free from unwanted and surrounding noises.
Noise Suppression Filters
Noise Suppression Filters use advanced algorithms to distinguish between sound and noise and remove noise. They efficiently reduce or remove unwanted noise from audio signals and deliver crisp, clear sound.
Environmental Impact
The environment has a significant impact because, in noisy environments, lower sensitivity can reduce background noises, while in quiet surroundings, higher sensitivity mics can capture the minute details of sound.
Pop Filters and Windshields
Pop filters and windshields efficiently manage microphone sensitivity and minimize plosives (“p” s and “b” s) and wind noises.
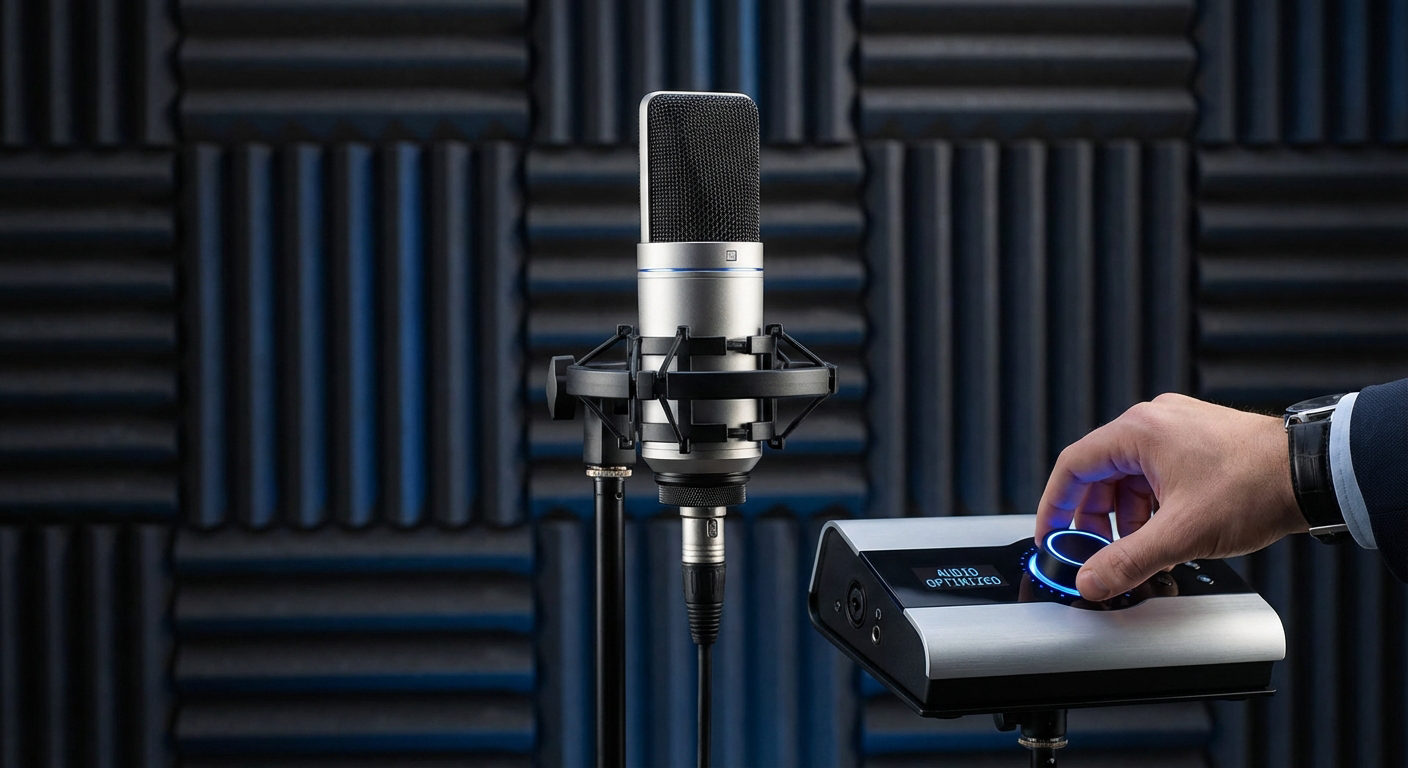
Advanced microphones like Hollyland Lark M2S offer active noise cancellation and automatic gain controls.
Troubleshooting Common Issues
Even after adjusting the microphone sensitivity, you may encounter issues affecting the audio quality. Here are some of the common problems and how you can resolve them:
Background Noise
Sometimes, due to poor noise cancellation settings or a mic that is too far away from the sound source, it picks up too much background noise. Therefore, adjusting sensitivity settings, using noise reduction features, or moving the mic closer to the sound is necessary.
Microphone Too Quiet
The microphone cannot capture clear sound if obstructions such as dust or dirt or if the gain settings are low. First, check connections to ensure the microphone is set up correctly, increase sensitivity, and use an amplifier to boost the signal strength.
Distorted Audio
When microphone audio distorts, the gain is lower, and the mic is moved away from the sound source. Moreover, ensure the mic is not damaged and check for interference with automatic gain control settings.
Conclusion
Adjusting microphone sensitivity is crucial to ensure optimal sound quality during calls, recordings, or online streaming. Therefore, finding the right audio level is essential to prevent distortion and minimize background noise. By understanding various factors that affect mic sensitivity and applying adjustments, you can enhance your audio experience. This guide offers efficient methods to adjust sensitivity to ensure vocal clarity.
Hollyland Lark M2S’s sleek, logo-free design, titanium clip, and advanced noise cancellation offer an all-in-one solution for capturing crystal-clear audio.
Adjusting your microphone sensitivity is crucial, but sometimes getting a clearer audio starts with choosing the right mic in the first place. A wireless lavalier microphone provides professional-level sound quality with easy sensitivity adjustments so your voice always comes through clearly.
FAQs
How do I stop my mic from being so sensitive?
If your microphone is overly sensitive and picks up background noises or distorts, then perform the following functions:
- Use the pop filter and windscreen
- Adjust microphone sensitivity settings from your system
- Enable noise and echo cancellation from microphone apps
- Move the microphone away from the sound source to minimize the sensitivity
How can I adjust the microphone sensitivity on external USB microphones?
For Windows
- Go to your Windows Control Panel and select “Sound.”
- Click the “Recording” tab, select your microphone, click Properties, and adjust the sound levels.
For macOS
- From the system preferences, click sound and select the “Input” tab
- Choose the microphone and move the volume slider to adjust the audio
Can I use third-party software to adjust microphone sensitivity?
Various third-party software, such as Voice Meeter and Krisp, adjust and fine-tune the mic sensitivity. These third-party software provide more advanced features to control microphone settings, reduce background noises, or minimize distortions.
What’s the difference between microphone sensitivity and gain?
Microphone sensitivity determines the microphone’s efficiency in converting sound pressure to electrical signals. Gain is the amount of amplified audio signal, and it controls the loudness of the sound. However, microphone sensitivity affects how efficiently the microphone picks up audio signals and produces clear sound.