


.png)
Your sound quality significantly influences how listeners understand and respond to your message. When recording a podcast, video, or voice note, a clear and crisp sound always leaves a good impression. Poor sound quality makes even good material hard to listen to and less engaging.
You must enhance the sound quality as a content provider. The good news is you can start without spending much on equipment.
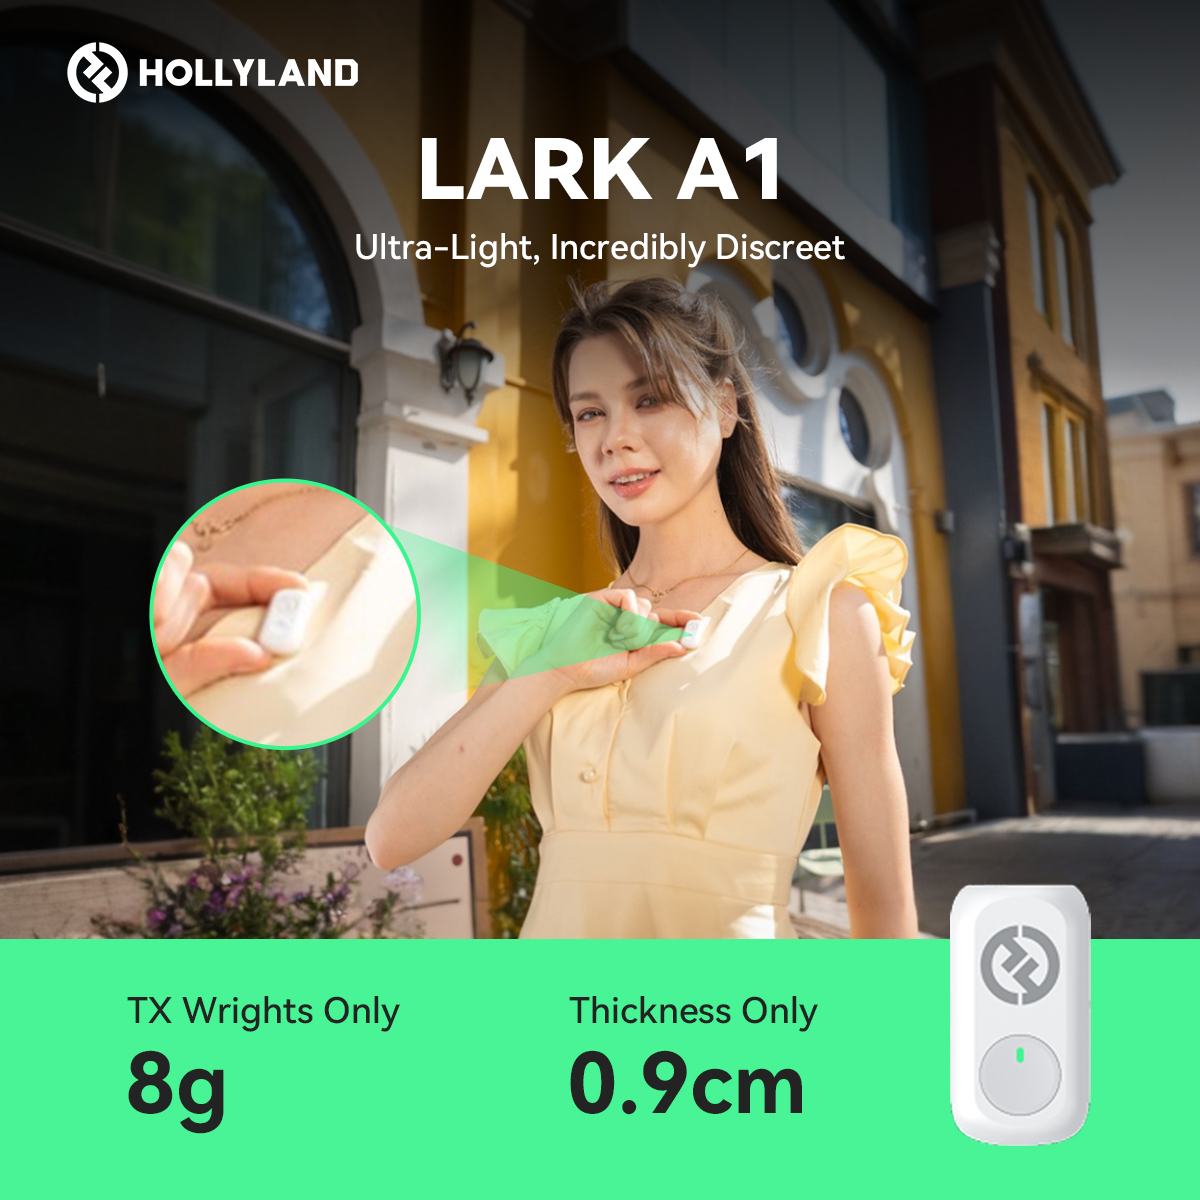
One such tool that is worthy of note for beginners and experts alike is the Hollyland LARK A1. It is a powerful wireless microphone system that will produce crisp and clear recordings, even in noisy environments.

Why Audio Enhancement is Vital in Recordings
Effective communication requires high-quality audio. Users become bored or annoyed when low-quality audio is played, regardless of the quality of your content. For music, web conferences, or video production, good sound adds a professional touch and fosters trust. It also lowers the requirements for excessive post-production.
Step-by-Step Guide to Enhance Audio Quality
1. For PC Users (Using Audacity)
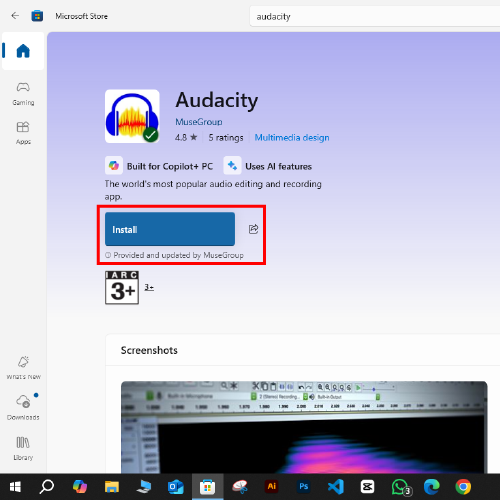
Download professional software like Audacity, which gives you full control over recording and editing features.
- Go to the Microsoft Store and install Audacity.
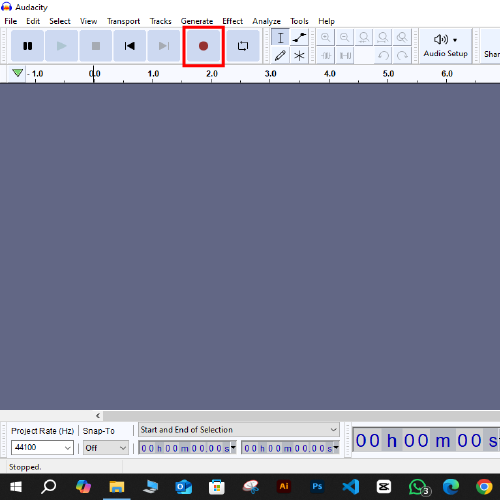
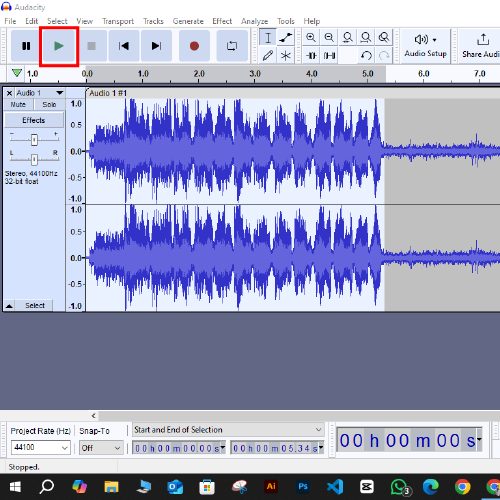
- Once it’s launched, press the Record button and speak freely. Monitor the waveform and keep it steady to avoid sharp volume spikes.
- Go to Tracks > Resample, then select or enter your desired sample rate.
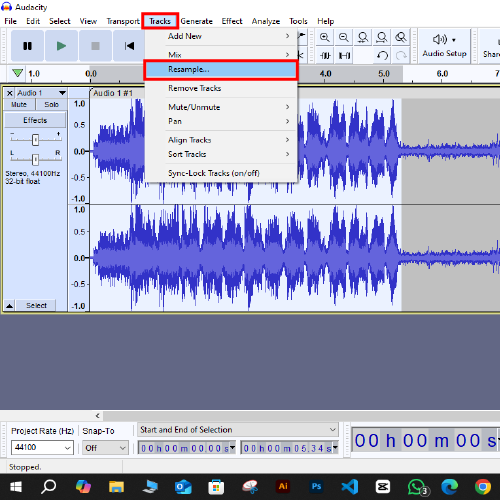
- Select or type in your new Sample rate.
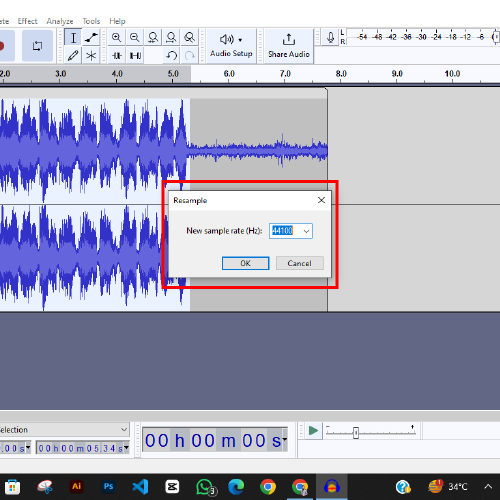
- The ideal sample rates for audio recordings are 44,100 Hz or 48,000 Hz. Use mono or stereo based on your recording needs.
- Run a quick test to verify mic gain and position. Keep an eye on peaks or weak signals and fine-tune the levels as needed.
- It is also suggested to record in a treated room. Reduce echo using foam panels, rugs, curtains, or cushions. Basic setup will enhance acoustics.
- Choose the WAV format to preserve the highest audio quality.
- Clean your audio with noise reduction, EQ, and compression tools prior to publishing or sharing.
- Go to Files and then Export.

2. For Android Devices (Using WaveEditor)
WaveEditor is a simple Android app for recording and editing audio with tools like trimming, noise reduction, and EQ.
Here are the steps by which you can enhance your audio recording:

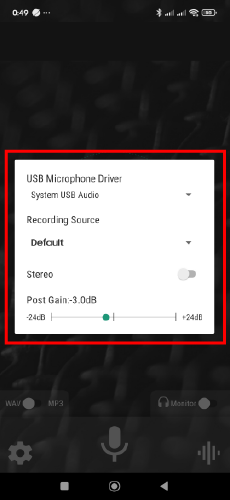
- Install the app from the Google Play Store and open the app settings.

- Set the bitrate to 128 kbps or higher, switch to stereo mode if available, and turn off automatic gain control (AGC) to maintain steady audio levels.
- Click the microphone to begin the recording and talk naturally and clearly. Have short pauses between sentences so that they can be easily edited later.
- Record in a room with minimal echo or background noise. Turn off fans, air conditioners, and other electrical devices that may cause interference.
- Position the microphone about 6 to 8 inches beneath your chin for optimal sound capture. Place it away from clothing, which creates friction noise.
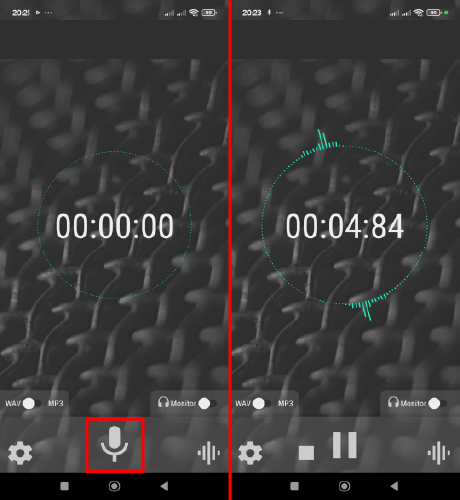
- When you’re finished, tap the stop button to save the recording.
- Save your file in WAV or high-quality MP3 format for better audio fidelity during editing or uploading.

3. For iOS Devices (Using VoiceMemos)
Voice Memos is a built-in iOS app that lets you quickly record, edit, and share high-quality audio using your iPhone or iPad.
Follow these steps to improve your audio using Voice Memos:
- Open the app and select the recording you want to enhance.
- Tap the recording icon beneath the audio file.

- Next, tap the Options icon in the top left corner.

- Toggle on Enhance Recording to automatically clean up background noise and improve clarity.

- Hit X to save the changes and exit.
Additional Tips to Improve the Quality of Your Audio
Now that you know how to enhance recording quality, here are some extra steps to follow to ensure your audio sounds great.
Clean Your Gear: Dust and dirt can affect the sound of your microphone. Use a dry microfiber cloth to clean your microphone and cables gently.
Use Pop Filters or Windscreens: These reduce plosive sounds (like “p” and “b”) and wind sounds, making your recordings sound more professional.
Save Files in High-Quality Formats: Save files in WAV or FLAC format if possible, rather than compressed MP3. These formats capture more audio detail and will be less prone to editing.
Make Backups: Have at least one duplicate of your original recording. Store backup copies in cloud services like Google Drive or Dropbox to prevent accidental loss.
Don’t Touch the Mic While Recording: Noise can destroy your takes. Once the mic is set up correctly, don’t touch it throughout the session.
Use Audio Monitoring: If your device offers it, play your audio through headphones when recording. You can pick up background noise or volume problems in real-time by monitoring.
Short Test Clips Record: Before every session, record a test clip to check levels, background noise, and mic position. You save time and reduce mistakes by following this approach.
Conclusion
Great audio isn’t just a bonus; it’s what keeps people engaged. Tools can help, but don’t forget the basics. Understand how your mic captures sound, create the right recording environment, and always test before you start recording. It’s way easier to get it right up front than to fix bad audio later.
Trust your instincts over the meters. If something sounds off, it probably is. Don’t aim for perfection; focus on clarity. Clean audio always wins over cluttered noise. Your message is what matters, so make sure it’s clear, crisp, and ready to connect.
FAQs
1. What could make the sound quality bad while you record?
Traffic, appliances, echoes from empty rooms, or even just having your microphone in the wrong place can all make your audio sound bad. If your microphone settings are off, the audio quality will likely suffer as well.
2. How do I get rid of the noise that is in the background of my recordings?
To reduce background noise in your audio, try using tools like Audacity or Adobe Audition. Recording in a quiet place, using microphones that cut down on noise, and adding pop filters to your setup will all help the sound quality.
3. What do I need to do to make sure my microphone works perfectly?
Put your mic in a good spot and adjust the gain so it doesn’t pick up too much or too little sound. Before you start recording, it’s also a good idea to check everything to make sure there are no problems.
