.png)
Using a wireless lavalier microphone is simpler than it appears. This guide will show how to connect a wireless lavalier microphone to various devices. For instance, your Android and iPhone mobiles, Windows and Mac computers, or Cameras. The steps are quite similar across these devices, making it easy to follow.
Three well-known microphones, the Hollyland Lark M2S, RODE GO II, and DJI Mic 2, will be used as examples. Each step is simple and clear, ensuring an easy setup. Once these steps are followed, using the microphone on different devices will be effortless. In the end, connecting the mic will feel completely natural and intuitive.

So, let’s get started!
Part 1: How to Connect a Wireless Lavalier Microphone to Android Mobiles and iPhones?
Use Case 1: Hollyland Lark M2S
Smartphones have been a popular choice for content creation over the past years. So, if you’re an Android or iPhone user and want to elevate the audio quality of the videos shot on your mobile,. In that case, having an external wireless lav mic, such as the Hollyland Lark M2S, can solve your problem.
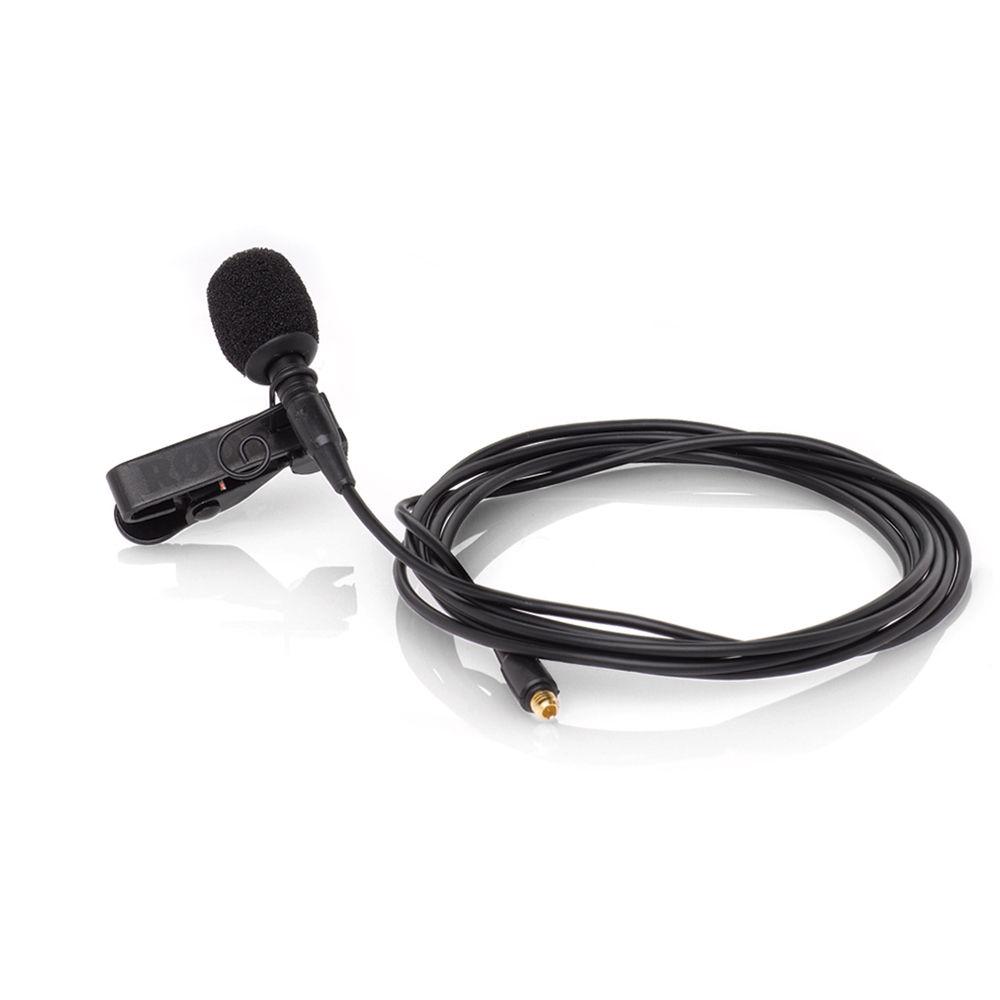
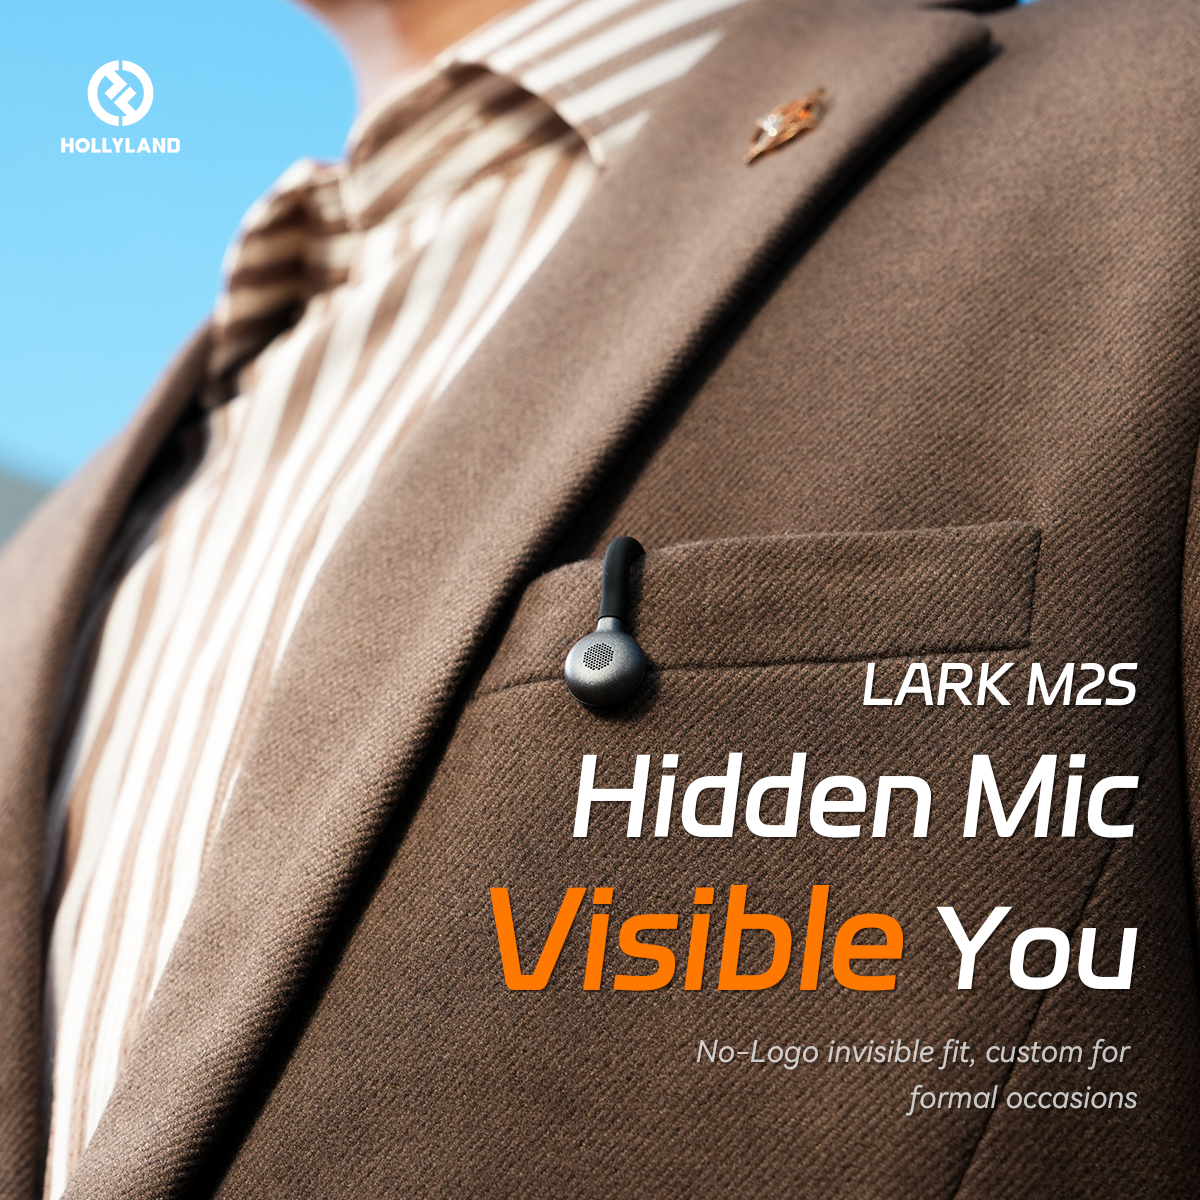
Lark M2S is a high-quality wireless microphone kit featuring built-in omnidirectional microphones in the transmitters, complemented by a titanium clip-on for added stability when worn on clothing. Its logo-free design makes it suitable for all occasions – whether it’s your interview, podcast, vlog, or a live event.
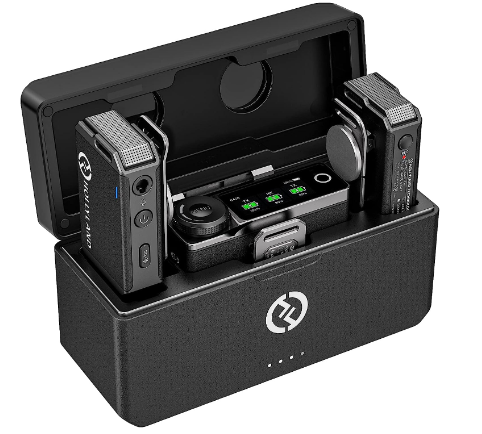
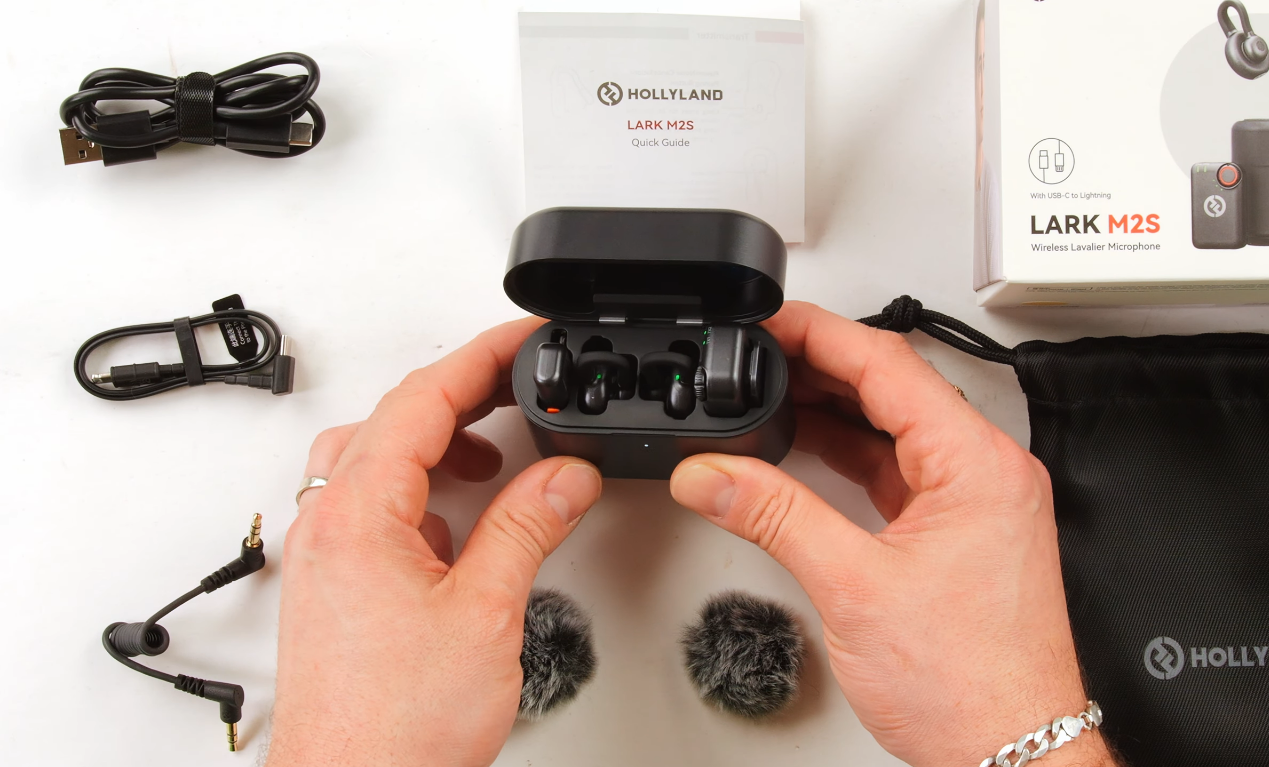
- Step 1: After unboxing your wireless lavalier microphone, you should find a storage box with all the contents inside
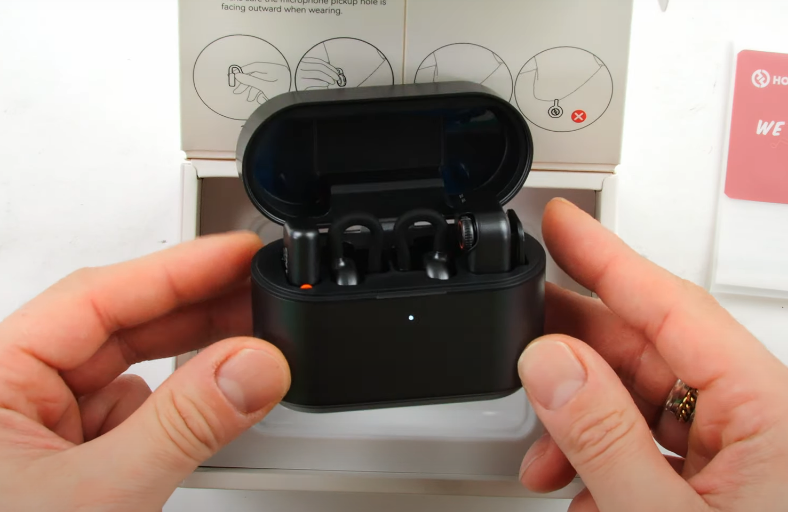
NOTE: Not all wireless microphone brands may offer a charging case/storage box.
Typically, there should be a transmitter (1-person or 2-person), a receiver, and some cables for connection. For instance, Lark M2S’s combo version comes with 2x transmitters (microphones), 2x receivers (USB-C receiver for mobile and 3.5mm camera receiver), and all useful accessories

- Step 2: Pull out the transmitter and receiver from the box. Ideally, they should be paired automatically. In case they aren’t paired, you need to click the pairing button until both units are synced
NOTE: Lark M2S’s receiver and transmitter are paired right out of the box.
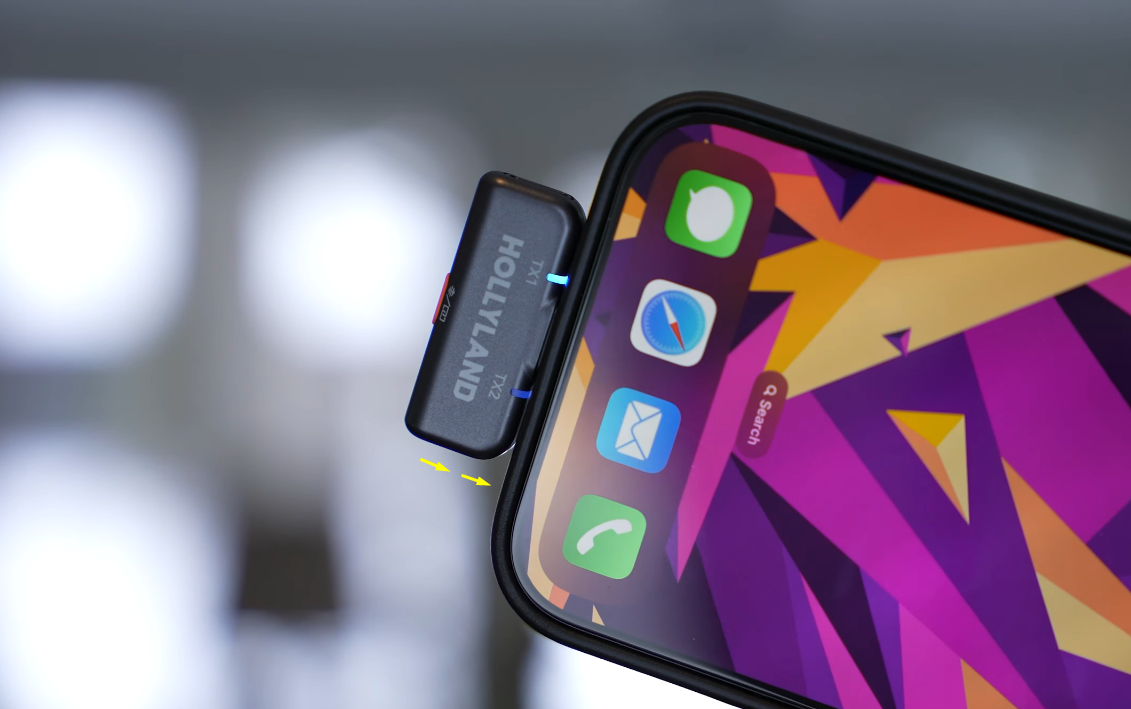
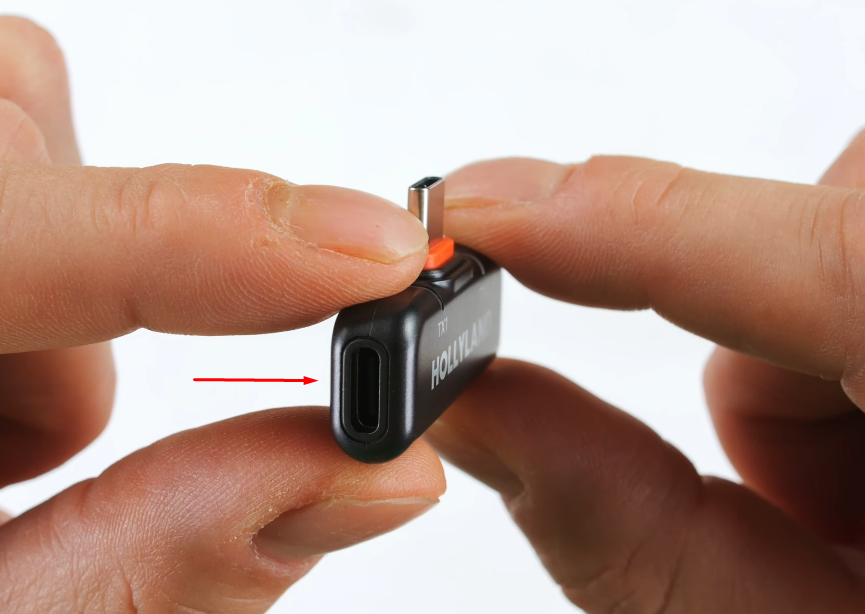
- Step 3: Next, insert the receiver unit into your smartphone’s (Android or iPhone) charging port. If you are using an old mobile model, you may need to connect the receiver to your phone via an adapter


- Step 4: Attach the transmitter unit to your shirt


- Step 5: For more convenience, download the LarkSound app on your smartphone to monitor microphone levels, battery status, select noise-cancellation levels, and most importantly, change channel modes (Mono and Stereo) in just a single tap


That’s it! You’re all set to record high-quality audio on your phone.
Pro Tip: Lark M2S’s receiver unit draws power from your device to stay active. So, if you’re running out of battery on your phone, you can also charge your mobile device without disconnecting the receiver, as the unit features a USB-C charging port to connect your phone’s charger.

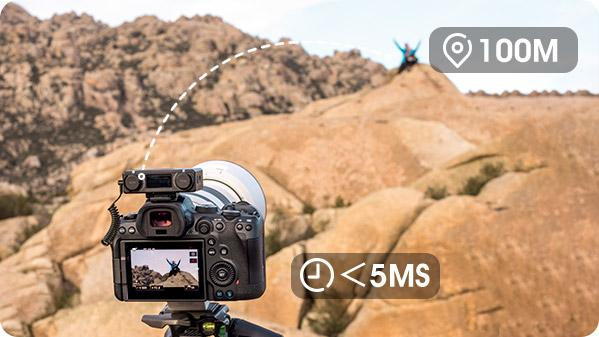
Part 2: How to Connect a Wireless Microphone to a Camera/DSLR?
Use Case 2: RODE Wireless GO II
In this part of the article, you will learn how to connect your lavalier wireless mic to a camera by using the RODE Wireless GO II as an example.

- Step 1: Press the power button on each unit (receiver and transmitter)


- Step 2: Look for the indicator lights to ensure both TX and RX are paired.
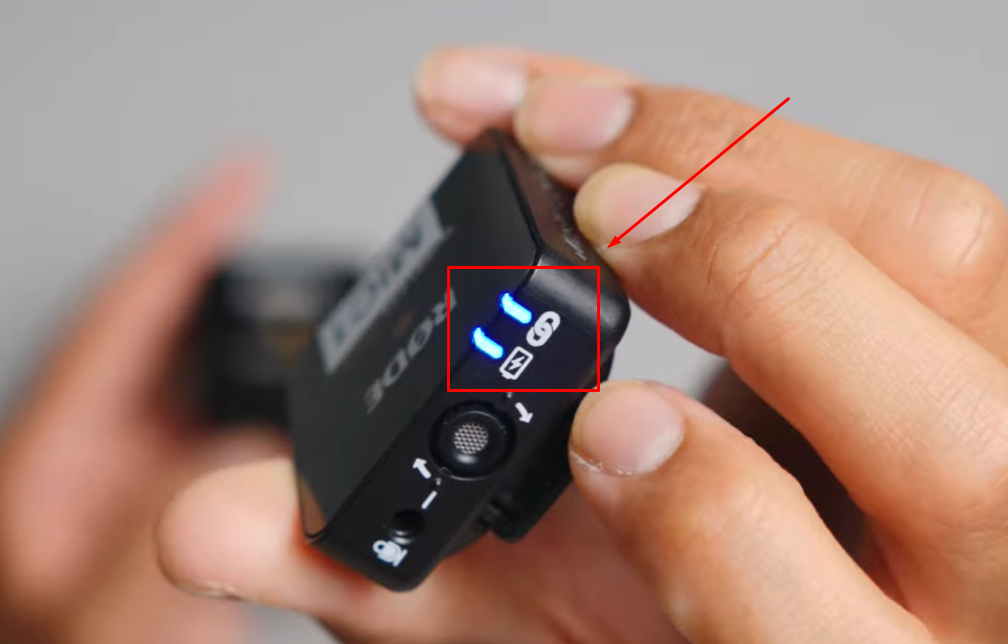
And check the receiver’s display to ensure it is picking up the microphone signals when you speak into the transmitter.

- Step 3: You will notice an auxiliary port on the receiver unit

So, insert the 3.5mm TRRS to TRRS cable into the port.

- Step 4: Once you have connected the cable on the RX, turn it backwards and push and hold one side of the hotshoe/clip. Then, gently slide it into the hotshoe of your DSLR camera. Ensure it fits perfectly


- Step 5: Next, insert the other end of the cable into the 3.5mm port of the camera

- Step 6: Turn on your camera and speak into the transmitter/microphone. If the audio levels on the camera are increasing and decreasing whenever you say something, it means you have successfully connected your wireless lav mic

Part 3: How to Connect a Wireless Lavalier Microphone to a Windows or Mac Computer/Laptop?
Use Case 3: DJI Mic 2
One of the best things about wireless lavalier mics is that most of them can be connected to your desktop computer or laptop. However, you will need to configure your system’s audio input settings to ensure the microphone gets detected. Therefore, we have used the DJI Mic 2 as an example on both Windows and Mac computers.
On Windows
- Step 1: Unbox the transmitter and receiver. You may need to pair them using the pairing buttons if they are not automatically paired once the units are out of the box
- Step 2: On the DJI Mic 2’s receiver unit, attach the USB-C adapter by sliding it into the dedicated space


NOTE: You may need a 3.5mm to 3.5mm TRRS, 3.5mm TRRS to USB-C, or 3.5mm TRRS to USB-A adapter cable to connect the receiver to your computer if you have a different brand.
- Step 3: Insert the receiver (RX) unit into your computer’s USB-C port

- Step 4: On your PC, right-click on the “Speaker” icon and click on the “Open Sound settings” option

- Step 5: Locate the “Input” section, click on the dropdown menu under the “Choose your input device” option, and select “Wireless Microphone RX” (the name may differ if you are connecting a different brand)

That’s all for Windows users!
On Mac
- Step 1: Insert the RX unit of your wireless lav microphone into your Mac’s USB-C port (as instructed in Step 1, Step 2, and Step 3 for Windows users)
- Step 2: Open “System Settings” on your Mac and find “Sound Settings”
- Step 3: Click on the “Input” tab in the top area

- Step 4: Locate the name of the receiver (in this case, “Wireless Microphone RX”), and click to select it

And now you should be ready to use your wireless lavalier microphone on your Mac system.
Conclusion
Knowing how to connect a wireless lavalier microphone helps ensure clear audio. The Hollyland Lark M2S offers wide compatibility and useful features. It makes connecting to almost any device very simple. Popular microphones like the RODE Wireless GO II and DJI Mic 2 provide excellent sound. However, they may need extra adapters or cables for certain devices. By following the steps in this guide, connecting the microphone becomes easy. This ensures you get top-quality sound for all your recordings.
Frequently Asked Questions about Connecting a Wireless Lavalier Microphone
Q1. How do wireless lavalier microphones operate?
Wireless lav microphones transfer audio using radio waves. The speaker clips a small transmitter to clothing. Then the microphone capsule turns speech into electrical signals. Next, the transmitter broadcasts those signals to a nearby receiver. Conversely, the receiver decodes sound and sends it to the recording equipment.
As you know, no cables are needed. This ensures that users’ movement goes without any disruption. So, for instance, during a presentation, the speaker can roam freely across the stage. Meanwhile, the microphone maintains a clear connection throughout the performance. On the contrary, the receiver sends clear audio to cameras or sound systems.
Q2. Why might a wireless lavalier microphone stop working?
Unexpected radio interference can disrupt audio signals. Also, damaged connectors or loose cables may cause silence. Moreover, low batteries often lead to power loss. To solve problems, switch to a clear frequency that isn’t crowded. Then inspect all connectors and cables for proper fits. Next, position antennas where they have a clear line of sight.
For instance, at a live event, moving the transmitter pack forward helps. Moreover, replacing batteries and verifying connections restores reliable and clear audio performance. Additionally, ensure the transmitter and receiver share the same frequency channel.
Q3. What applications suit wireless lavalier microphones?
Wireless lavalier microphones serve many recording scenarios with flexibility. First, they excel in interviews by clipping neatly on clothing. Then they enhance live events, letting speakers move without cables. Also, actors use them in the theater to boost vocal clarity. Moreover, video creators often film vlogs or tutorials hands-free. In educational settings. Additionally, online streamers value the unobtrusive design for clean audio. Since wires are eliminated, camera operators avoid tangles and obstacles.
Q4. Which option suits best: wired or wireless lavalier microphones?
Choosing between wired and wireless lavalier microphones depends on recording needs. Wired units offer simple connections that never require batteries to function. On the other hand, signal issues rarely arise with a direct cable link. On the other hand, wireless lavaliers grant full mobility during speech.
Also, many wireless models include noise reduction and adjustable transmission features. Therefore, speakers and content creators can move freely without getting tangled in cords. However, battery management and frequency coordination may require attention. Ultimately, selecting the right system involves weighing simplicity against flexibility.
Q5. Which direction should a wireless lavalier microphone face?
A wireless lav mic system performs ideally when the transmitter unit is aimed at the speaker’s mouth. Ideally, the mic capsule faces the mouth directly or slightly sideways. Since most lavaliers pick up sound from all directions, aiming boosts clarity. For example, clipping the mic near a shirt collar helps direct pickup.
Also, placing it 3-6 inches below the chin reduces rustling. At the same time, the voice appears louder and more natural in recordings. Therefore, proper orientation and positioning ensure optimal audio quality for presentations. Additionally, using a small foam windscreen can improve wind resistance.