.png)
The thought of being tangled in wires while performing on stage is enough to scare an artist. Likewise, content creators, vloggers, and even many podcasters prefer using wireless ways to capture audio. And why not? The setup is convenient, and most importantly, it lets them escape the worries of bad cables and isolation.
In this article, you will learn how to use wireless microphone systems based on their two common types. This guide explains a step-by-step process for connecting wireless mics with your computers, smartphones, cameras, and speakers.
So let’s do it!
What Are the Two Types of Wireless Microphones?
There are two types of wireless microphones people often use:
Wireless Lavalier Microphone
The first type is called a wireless lavalier microphone. These mics work well for wide-shot filming and stage performances. Many talk show hosts also use them for hands-free speaking. Some wireless lavalier mics use a simple plug-and-play setup. The audio moves from a transmitter to a receiver in one quick step.
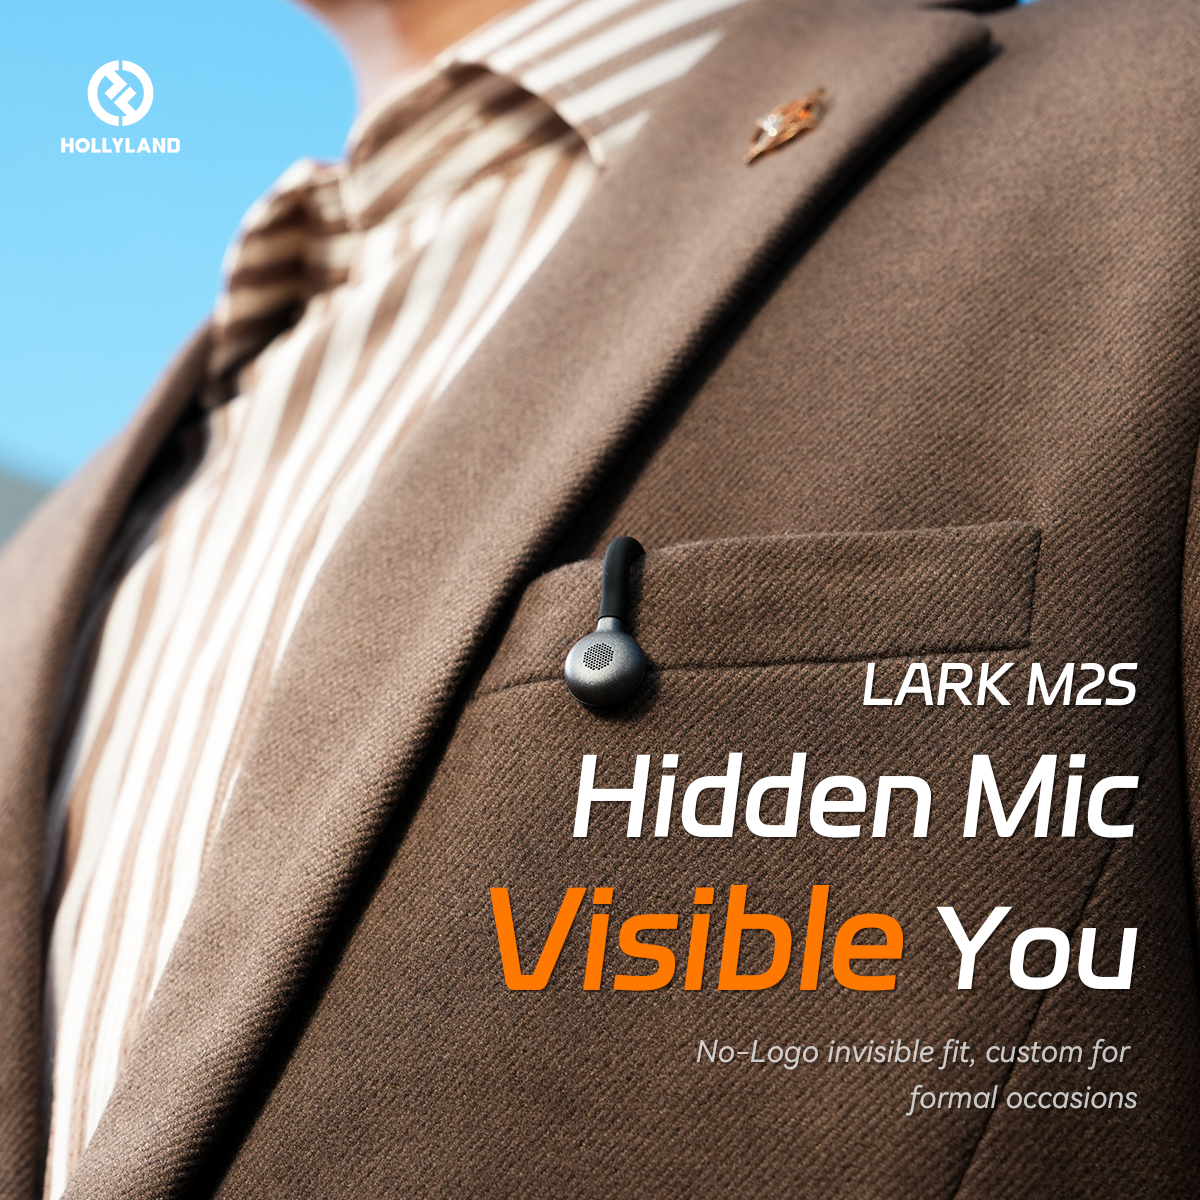
The transmitter clips to the speaker’s clothes or belt securely. It sends sound to a receiver connected to a camera or smartphone. A clip-on microphone attaches easily to the collar or shirt. Some lavalier microphones need a wired mic connected to the transmitter. Others have a built-in microphone inside the transmitter itself. Brands and models like Hollyland Lark M2, Lark M2S, and RODE Go II are some popular examples of this type of setup.

Wireless lavalier microphones often come in 1-person or 2-person kits. This lets one or two people speak while the audio gets recorded wirelessly. Every wireless lavalier microphone setup includes a transmitter and a receiver. The transmitter usually comes with a clip on the back for easy clothing attachment.
Wireless Handheld Microphone
The second type is a wireless handheld microphone. These microphones work great for live events and public speaking. Hosts rely on them because of their tough and long-lasting build. A good wireless handheld mic should feel solid and stay reliable. The body is usually compact with a metallic finish for extra durability.
A handheld microphone system comes with a microphone and a receiver box. The back of the receiver often has a cable port for connecting to speakers. Some handheld receivers support multiple channels for different microphones. This lets many people use several mics at once without audio problems. Each microphone connects to a separate channel for clean and clear sound during events.
How to Use Wireless Microphones on Different Devices?
Wireless Lavalier Microphones
You can use wireless lav mic on multiple devices, such as:
- Windows/Mac computers
- Smartphones (iPhone and Android)
- Cameras
NOTE: All the steps mentioned in this section are demonstrated on Hollyland Lark M2. This is one of the finest wireless microphone systems in the world, with a stylish button-size design, MFi certification, Environmental Noise Cancellation, and universal compatibility. Therefore, it can be used with computers, cameras, and smartphones. Plus, its up to 1000ft wireless range makes it ideal for on-the-go recordings. Most famous wireless microphones follow the same connection and setup method.


On Windows PC/Laptop
- Step 1: Some wireless microphones come with a charging case. So, open it and have a quick look at the components. Typically, you should be able to see a receiver (RX) unit and 1 or 2 transmitters (microphones)

- Step 2: Focus on the indicator light on the TX units to confirm whether they are paired with the RX to ensure wireless audio transfer.
For example, if you open the Hollyland Lark M2 charging box and take out the RX, its indicator light will turn blue. If the TX units are still in the box, the indicator light will be green. This means the units are not paired at the moment.

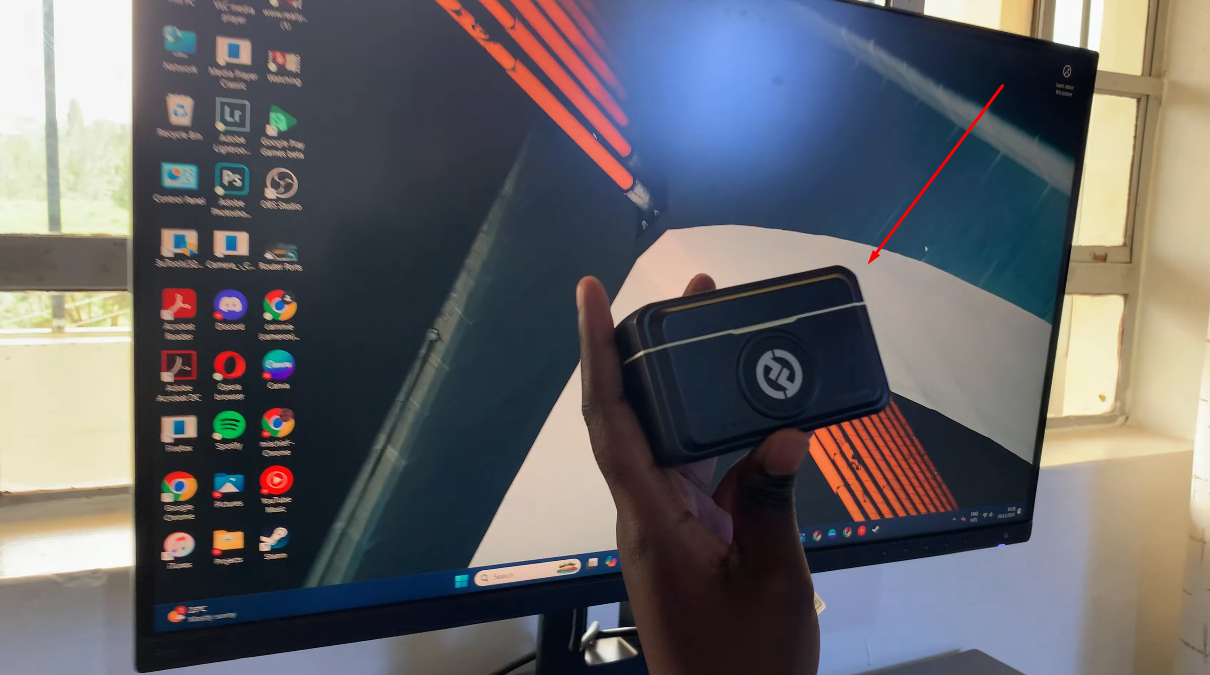
- Step 3: So remove the transmitters from the charging case and pair them manually. However, Lark M2 automatically pairs once the TX and RX units are out of the case. As you can see in this image, that “green” light (in step 2) is now turned to “blue,” which is similar to the light on the receiver unit

- Step 4: Now, look for the USB ports on the RX unit. Here, you will also need the USB-A to USB-C cable that should be included in the package, Or you may need to purchase one

- Step 5: To use the wireless microphone on your Windows PC, turn on the system if you haven’t already. Plug one end of the cable into the RX unit and the other into your computer

- Step 6: Then, go to Windows “Settings” from the Start menu and click on the “System” option on the left sidebar

- Step 7: Choose “Sound” from the list of options, and navigate to the “Microphone” option under the “Input” section on the right side of the screen
Since you have already connected the mic, you should be able to see the name “Wireless microphone” as your audio input.

Now comes the Testing part.
- Step 8: To make sure your wireless mic is receiving audio, open any program that records audio or audio/video, like the OBS app
- Step 9: If testing on OBS, click on the “Audio Input Capture” under the “Sources” section on the main screen

- Step 10: Doing so will open a new window with a dropdown option to select your device. So, click on the “downward” arrow and choose the “Microphone (Wireless microphones) option

- Step 11: Record a demo video with sound to confirm your wireless mic is working on your PC.
On macOS
- Step 1: Unbox the contents from the package to use the mic on your Mac computer. Typically, you will find transmitters, a receiver, cables, and a charging case (if it comes with your preferred brand)

- Step 2: Now, to connect the mic, insert the USB-C port of the cable into the receiver unit

- Step 3: Then plug the other end of the USB cable into your Mac’s USB port

If you have Hollyland Lark M2, once you have plugged the RX unit into your Mac, the indicator lights will turn orangish for a few seconds, confirming that your system has detected it.

- Step 4: To ensure the TX and RX are paired, look for the indicator light on both units for confirmation. Lark M2 shows a blue indicator when the transmitter/microphone is connected to the receiver

NOTE: At Step 3 or Step 4, if you see a prompt on your Mac asking for permission to use a wireless microphone, allow it.
- Step 5: Next, you will need to choose the external wireless mic to your Mac as your microphone. Otherwise, your computer will continue using the internal microphone or any other mic connected and set as an input on your device. So, to do that, click on the “Control Center” icon on the top-right corner of the screen

- Step 6: Once the menu appears, look for the “arrow (>)” icon next to the “Sound” option and click on it

- Step 7: Navigate to the “Sound Settings…” option at the end of the menu and click on it

- Step 8: A new window will appear on your screen, and you will be able to see various options related to Mac’s sound. So, click on the “Input” tab under the “Output & Input” section

In the “Input” section, you will see the names of the microphones that have access to your Mac, where the “Wireless microphone” should be greyed out. It means your computer does not use your wireless mic to record audio

Therefore:
- Step 9: Click once on the “Wireless microphone” to select it as your input audio device. Make sure the name is highlighted in blue

- Step 10: Now, speak into the wireless mics and notice the input level. If the levels are bouncing front and back, it means your wireless microphone is ready to be used

On Phones (iOS and Android)
To connect a wireless microphone to your iPhone, Android mobile/tablet, or iPad, you will need a kit that comes with a USB-C or Lightning receiver. On the other hand, some wireless microphone systems like Lark M2 have a combo version that includes separate receivers for iPhones and Android smartphones, as you can see in this image.

- Step 1: Unbox the contents from your wireless mic kit and insert the RX unit in the USB port of your mobile phone

- Step 2: Grab the TX unit and start recording on your phone’s sound recording app to test the audio.
If you have an Android mobile and your phone doesn’t detect an external mic, after connecting the RX and pairing it with TX, you will need to enable the OTG option.
To do that:
- Open “Settings” on your phone
- In the search field, type “OTG” or “OTG Connection”
- Tap on the OTG toggle to turn it on so the devices connected to your phone are allowed to be used
On DSLR Camera
To use a wireless lav mic with your DSLR, make sure you have the following components:

- 1 or 2-person transmitters
- Receiver
- 3.5mm TRS to 3.5mm TRS adapter
- Charging box (optional – depending on the brand you have)
NOTE: If adapters are not included with your microphone, you will need to purchase them separately.
- Step 1: Before connecting and using the microphone, ensure the RX unit has a hot shoe holder on the back of the receiver

- Step 2: Gently slide in the RX unit on the hot shoe mounting point of your DSLR. Make sure it sits perfectly

- Step 3: After mounting the hot shoe, grab the 3.5mm adapter and insert its one end into the RX unit

- Step 4: Likewise, insert the other end of the adapter into the 3.5mm audio port of your DSLR

- Step 5: Turn on the device, make sure both TX and RX units are paired, and you’re all set to use the wireless lav mic with your DSLR
Wireless Handheld Microphone
In general, a handheld wireless microphone like the TONOR TW360 comes with the following components:

- Handheld wireless microphone capsule integrated into the transmitter body (it can be a single or multiple mics, depending on your preference)
- A receiver box with power button, ports, and a volume knob, and channel selection knobs (for multiple microphones)

- A power cable
- Accessories like a windscreen and a 6.35mm audio cable for speakers/amplifiers/mixers
If you have all the above-mentioned components, you can follow these steps to use a handheld wireless microphone.
- Step 1: After unboxing all the components, hold the microphone in your hand and open the battery compartment that is at the bottom of the mic’s body

You will notice single or multiple slots for inserting the battery inside the compartment. Usually, you need to put AA or 9-volt alkaline batteries. However, we always suggest to review the requirements before purchasing a microphone.


- Step 2: After inserting the batteries, close the battery compartment and press the “Power” button on the mic. If your system has multiple microphones connected to a single receiver, the mic may also have a small display screen that will show the name of the channel it is connected to

- Step 3: Now, insert the power cable into the receiver box and press the power button to turn it on. For a multiple-channel receiver, you may see the indicator light turned on for the channel the microphone is connected to

- Step 4: Next, you need to connect the receiver to a sound output source, such as a speaker, karaoke box, or a mixer. To do that, insert one end of the audio cable into the receiver set

- Step 5: Plug the other end of the audio cable into the speaker or other audio output source

NOTE: You may need to use an adapter to connect the audio cable to the speaker.
If you have followed the steps correctly, you should be able to use the wireless microphone.
How to Pick the Right Wireless Microphone?
To get the best one, a few important things matter. Each feature changes how well the microphone will work. Take time to check everything before buying one.
Know Your Purpose
First, decide how the microphone will be used daily. Some people need it to make content at home or outdoors. Others might want it for stage shows or live events. It matters because different uses need different mic styles. A content creator’s mic won’t suit a crowded concert stage.
Ease of Use
A good microphone should be easy to handle and carry. It should have a strong build quality for long-lasting performance. A lightweight body makes it more comfortable for long recordings. Nobody wants a mic that feels bulky or too heavy.
Compatibility
Test the microphone for compatibility with various popular devices. The wireless mic should be expected to easily pair with mobile phones, cameras, and computers. This feature has the added benefit of avoiding setup time and connection issues.
Wireless Range
The wireless range decides how far the mic can reach. A longer range allows freedom to move while staying connected. Weak range makes voice drop or break if moving away. A solid range is perfect for outdoor videos or big halls.
Polar Pattern
The polar pattern controls how the mic picks up sound. Some mics only catch the voice from one direction. Others pick up sounds from every side at once. Choose based on how the microphone will be positioned when used.
Transmission Technology (RF/Bluetooth)
Wireless mics use RF or Bluetooth to send signals. RF microphones give a more stable and long-distance connection. Bluetooth models are easy to pair but may cut off far away. Pick the one that fits the working space best.
Environmental Noise Cancellation
Many wireless mics come with built-in noise cancellation systems. These cut out unwanted background noise in loud places. It makes voices clearer, even in busy or windy spots. This feature is helpful for outdoor recordings or street interviews.
Long Battery Life
A good wireless mic should run for a long time without dying. Longer battery life avoids sudden power cuts during filming. It keeps the recording process smooth without frequent charging breaks. This is useful for trips, vlogs, or stage performances.
Conclusion
A wireless microphone makes recording easier with complete movement freedom. It removes the need for long cables during recordings or shows. Two types are available, which are lavalier and handheld microphones. Both are simple to use if the proper steps are followed. Learning how to use a wireless microphone correctly keeps the sound clear. Plus, it helps connect smoothly with Mac, Windows, Android, iPhone, tablets, and DSLR cameras. Good setup and careful mic handling always deliver clean, stable audio anywhere.
Frequently Asked Questions about Using Wireless Microphones
Q1. Is a speaker mandatory for a wireless mic?
When you speak into the mic, it sends audio to a receiver (RX unit), which, in turn, transfers it to a speaker. Otherwise, you couldn’t hear the captured sound.
Q2. What is the difference between wireless and Bluetooth mics?
Wireless microphones transmit audio through RF (radio frequencies). That’s why they can cover longer distances. The latter, on the other hand, are limited to short-range wireless technology and are meant for use with compatible devices that are in close proximity.
Q3. What can be the reasons for no performance of my wireless mic?
Persistent problems consist of wrong frequency settings, low battery levels, improper pairing of the devices, or if anything that blocks the transmitter/receiver. The frequency should be set correctly and the batteries properly maintained; this alone can solve a lot of issues.