.png)
Creating a professional studio isn’t just about buying high-end gear. It’s about building a space that supports quality, consistency, and efficiency. Whether you’re producing video content, music, podcasts, or live broadcasts, a well-planned studio helps you deliver professional results with less friction.
This guide walks you through 14 key considerations before setting up your studio. Each section focuses on methods and fixes that enhance performance, alleviate headaches, and maximise your investment.
1. Define Studio Purpose and Requirements
Start with clarity before you spend a dollar. Is your studio for video production, podcasting, music recording, or a mix? Each purpose requires different tools, setups, and acoustic needs. Define your primary tasks like recording, editing, or live streaming so your space works for you, not against you.
Once you know your goals, list what each activity demands in terms of equipment and space. From there, build your layout and budget around those needs. Avoid cramming everything in or overbuilding with gear you don’t need. Purpose-driven planning ensures your setup stays clean, focused, and productive.
2. Select the Right Space
Your choice of room will define what your studio can and cannot do. Choose a space that offers minimal external noise, consistent power supply, and enough isolation from household or office distractions. Interior rooms with solid walls and fewer windows are often the best candidates.
Also, consider ceiling height and ventilation. A cramped or poorly ventilated room can get hot quickly, especially with lighting and equipment running. Ensuring fresh air flow and basic room comfort goes a long way in supporting longer recording sessions without technical or physical fatigue.
3. Structure the Studio Layout
A well-structured layout makes your studio functional, not just impressive. Divide the space into logical zones: a recording zone for vocals or instruments, a monitoring zone for speakers, and an editing area for your computer and interface. Keeping these zones distinct improves workflow and avoids cross-interference.
Position your most-used gear within arm’s reach so you’re not constantly moving around. Use wall mounts, monitor stands, and shelves to clear your desk space. A clutter-free setup not only looks better but also helps you stay focused during recording and editing sessions.
4. Treat the Room for Sound Quality
Untreated rooms even with expensive gear can lead to poor sound. Reflections from walls and ceilings blur recordings and reduce mix clarity. Start by placing acoustic panels at first reflection points and installing bass traps in corners to balance low-end frequencies.
Add rugs, curtains, and diffusers to tame echo and flutter. Remember, you’re not trying to soundproof the room; you’re optimising how sound behaves inside it. This step is essential for any professional audio or video production space, especially if vocals or live instruments are involved.
5. Set Up Controlled Lighting

Lighting has a massive impact on video quality. Poor lighting can make even the best camera look bad. Implement a three-point lighting setup key light, fill light, and backlight to control shadows and highlights on your subject effectively.
Use dimmable LED panels to adjust brightness and temperature based on your needs. Block natural light with blackout curtains so you can maintain consistent lighting conditions throughout the day. Controlled lighting adds polish to your production and makes post-editing easier.
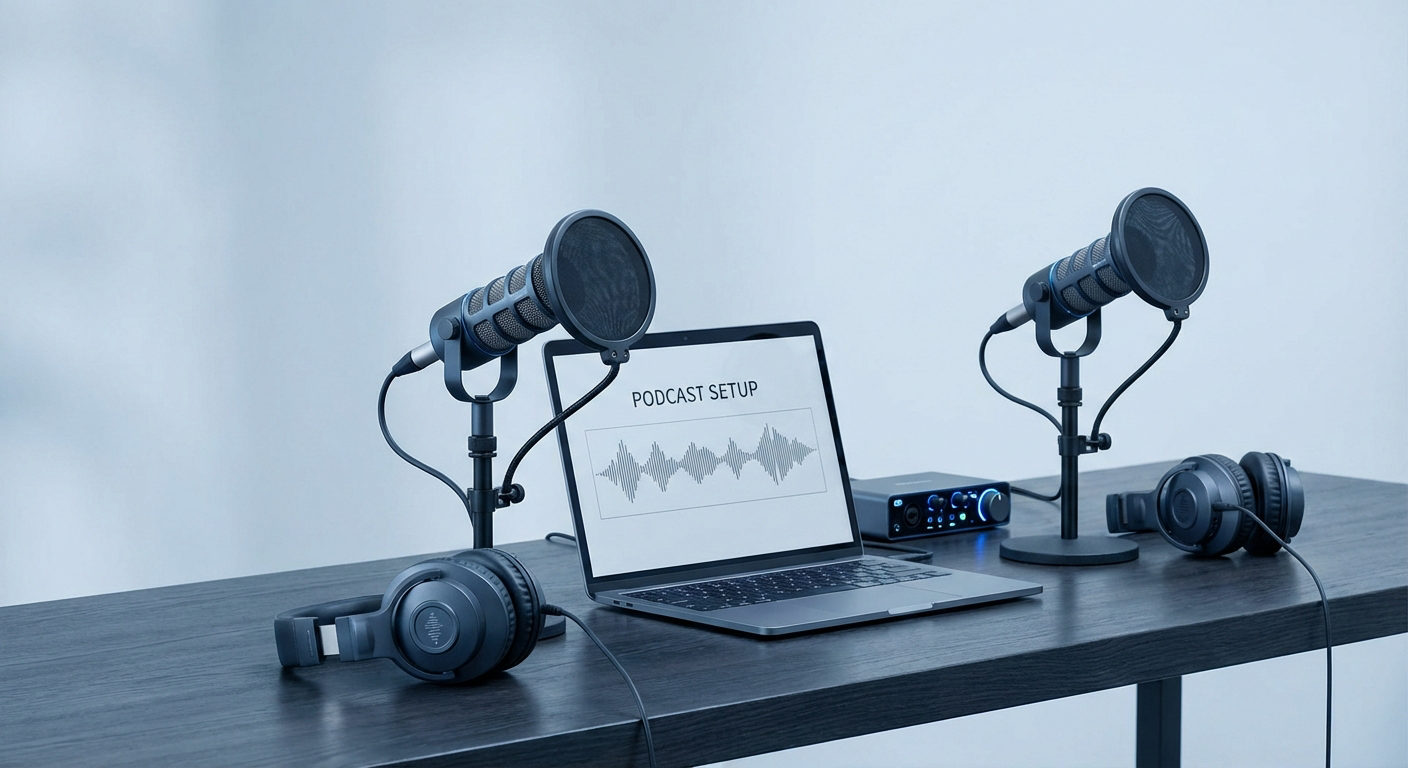
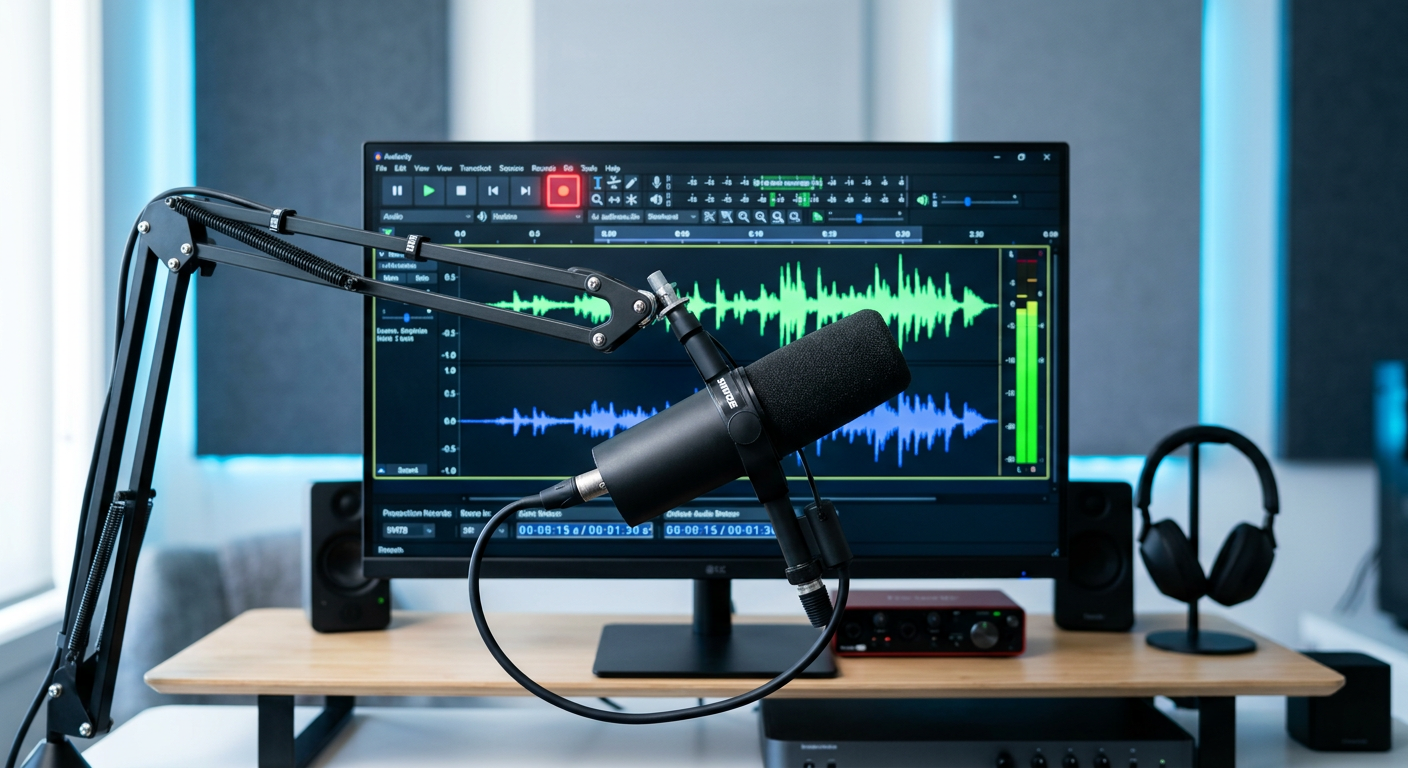
6. Build a Clean Audio Chain
A clean audio signal is essential for professional-quality recordings. Avoid USB microphones for critical work. Use XLR microphones with dedicated audio interfaces to achieve better clarity, flexibility, and control in your signal path.
Keep cables short, shielded, and organised to minimize interference. Add essential accessories like pop filters to reduce plosives, shock mounts to absorb vibrations, and mic stands to maintain consistency. Clean input equals clean output. Don’t compromise here.
7. Optimize Camera Setup and Framing
Camera placement and framing impact how your content is perceived. Always position your camera at eye level to create a natural viewing angle. Avoid placing it too high or too low, which can distort facial features or create an awkward feel.
Mount your camera on a tripod or ceiling mount to ensure stability and consistent shots. Keep your background neat, branded, or purposefully styled to match your content’s tone. Whether it’s a podcast or product demo, visuals should match the quality of your audio.
8. Plan for Cabling and Power Management
A mess of cables creates safety risks and technical headaches. Start with cable trays or channels to route wires cleanly across walls or floors. Bundle cables using velcro ties and label them clearly to avoid confusion when troubleshooting or upgrading.
Color-code cables by function, audio, video, and power, to make your setup easier to manage. Use a power conditioner or surge protector to safeguard your gear. Clean cable management keeps your workspace functional, safe, and aesthetically professional.
9. Design the Editing and Control Zone
The editing zone should be as organized and ergonomic as the rest of your studio. Use a sturdy desk with enough space for your interface, keyboard, monitors, and any control surfaces you rely on. A dual-monitor setup can dramatically improve your workflow by allowing multitasking.
Invest in an ergonomic chair to avoid discomfort during long sessions. If you also record voiceovers here, consider additional acoustic treatment or soundproofing. A dedicated, distraction-free zone helps you stay efficient and focused during post-production.
10. Integrate Multi-Cam or Live Capabilities
If your studio handles live streaming or multi-camera recording, integration is key. Use hardware like a video switcher to control multiple inputs easily and seamlessly. Sync audio and video using your DAW or within the switcher to avoid desync issues.
Hardwire your internet connection for reliable streaming. Wi-Fi isn’t dependable under heavy loads or interference. For live production, the setup must be tested, redundant, and easy to operate in real time any hiccup could derail an entire session.
11. Control Noise and Heat from Equipment
Studio equipment generates heat and sometimes noise that can creep into recordings. Move noisy gear like hard drives or servers into a separate closet or sound-isolated cabinet. If that’s not possible, isolate them using foam enclosures or sound-dampening panels.
Use silent fans, passive cooling, or water-cooled systems to reduce thermal buildup. Regularly monitor temperature to ensure your components don’t overheat. A quiet and cool environment enhances both performance and comfort during extended sessions.
12. Build Redundancy and Backup Systems
Nothing kills productivity like losing a session to a crash or corruption. Always back up your projects locally and in the cloud. External SSDs, RAID systems, and automatic sync tools help keep your data safe and accessible.
Keep spare cables, mics, and power supplies within reach to avoid downtime from small failures. Redundancy planning may feel excessive at first, but it ensures you’re never caught off guard when things go wrong, which they inevitably will.
13. Automate and Standardize Workflow
The more repeatable your workflow, the faster you can create content. Set up templates for different session types, consistently organize folders, and automate routine tasks using macros or devices like Stream Decks.
Document your processes so you or anyone else can follow them easily. Whether you bring on team members or revisit a project months later, standardized systems save time, reduce mistakes, and make your studio run like a well-oiled machine.
14. Maintain and Upgrade Intelligently
Your studio should evolve with your needs, but not impulsively. Upgrade gear only when it limits your productivity or fails to meet quality standards. Avoid chasing trends or buying gear you don’t yet have a purpose for.
Schedule monthly checkups for cleaning and software updates. Review your workflow quarterly to identify bottlenecks or areas needing improvement. Smart, measured upgrades ensure your studio remains current without wasting time or money.
Conclusion
A professional studio isn’t built overnight. It’s the result of planning, problem-solving, and systemizing. By focusing on methods and applying the right fixes, you’ll create a space that works with you, not against you. Every detail, from cable routing to lighting control, adds to the final product. Build with intention, and your studio will deliver quality day after day.
FAQs
Do I need a large space to build a professional studio?
Not at all. You can create a high-quality studio in a small room. What matters is how well you treat the space acoustically and how efficiently you use the layout. A compact room with the right setup can outperform a bigger space with poor planning.
What’s more important: camera or lighting?
Lighting takes the lead. Even a decent camera can produce great visuals if your lighting is dialed in. Without proper lighting, the best camera in the world will still deliver flat or unflattering footage. Prioritize lighting first, then upgrade your camera if needed.
Can I make the studio portable or modular?
A portable or modular studio is perfect if you’re working in shared spaces or need flexibility. Use foldable acoustic panels, rolling desks, collapsible backdrops, and wireless audio gear. This way, you can set up or break down your studio without much hassle.
What’s the best way to avoid burnout in studio work?
Burnout sneaks in when everything feels like a nonstop grind. The fix? Batch similar tasks together, automate repetitive processes like file backups or lighting presets, and most importantlyschedule breaks. Take days off to reset and come back fresh.
Is it worth investing in automation tools for a studio?
Yes, especially as your workload grows. Tools like stream decks, macro controllers, or workflow templates save time and reduce decision fatigue. Automation keeps your creative energy focused where it matters most in your content, not repetitive tasks.