.png)
Here’s a step-by-step guide on how to fade audio (in and out) in Adobe Premiere Pro.
A. Setting Up Your Project
- Importing Audio Files
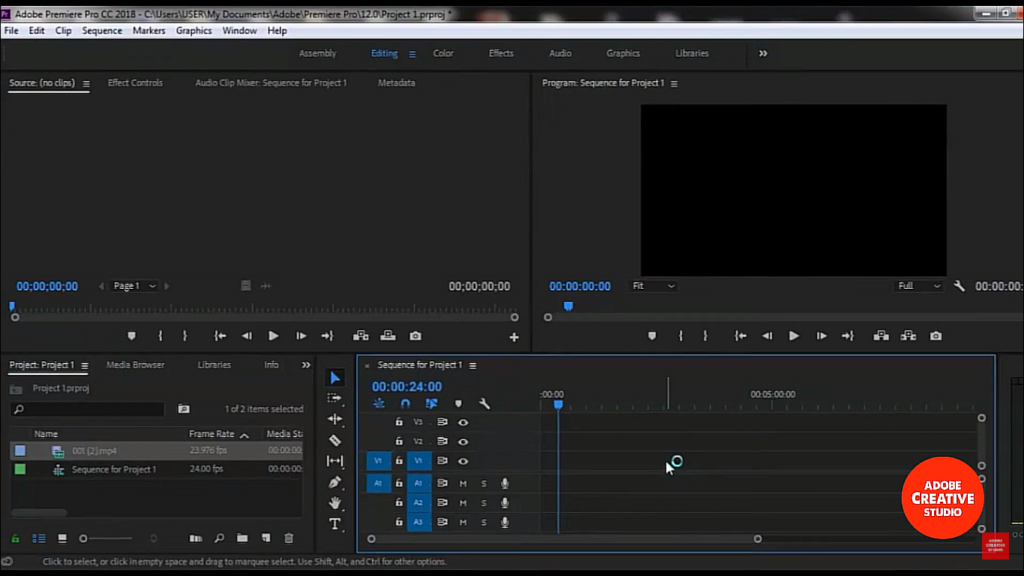
Alright, let’s kick things off by getting your audio files into Adobe Premiere Pro.
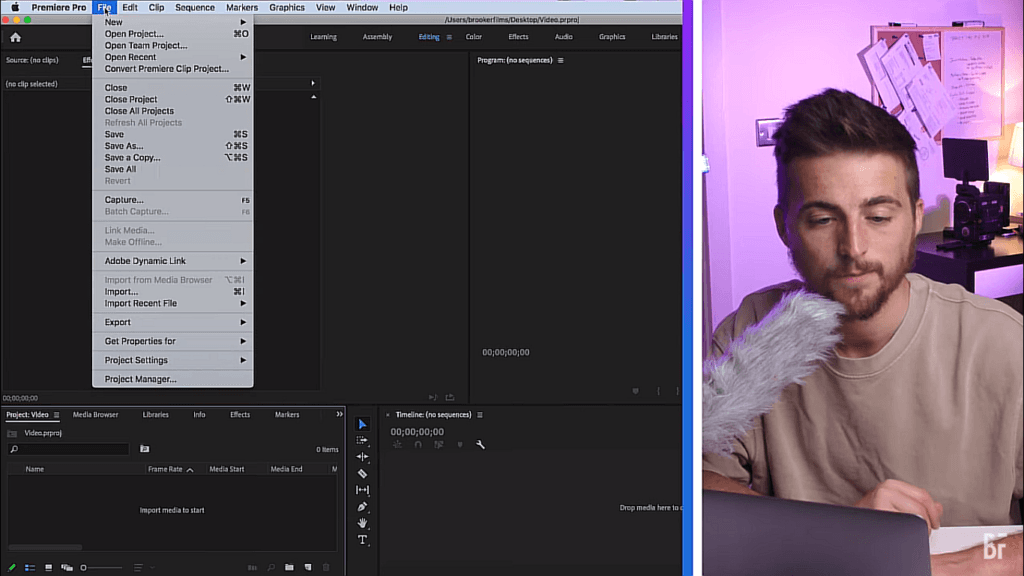
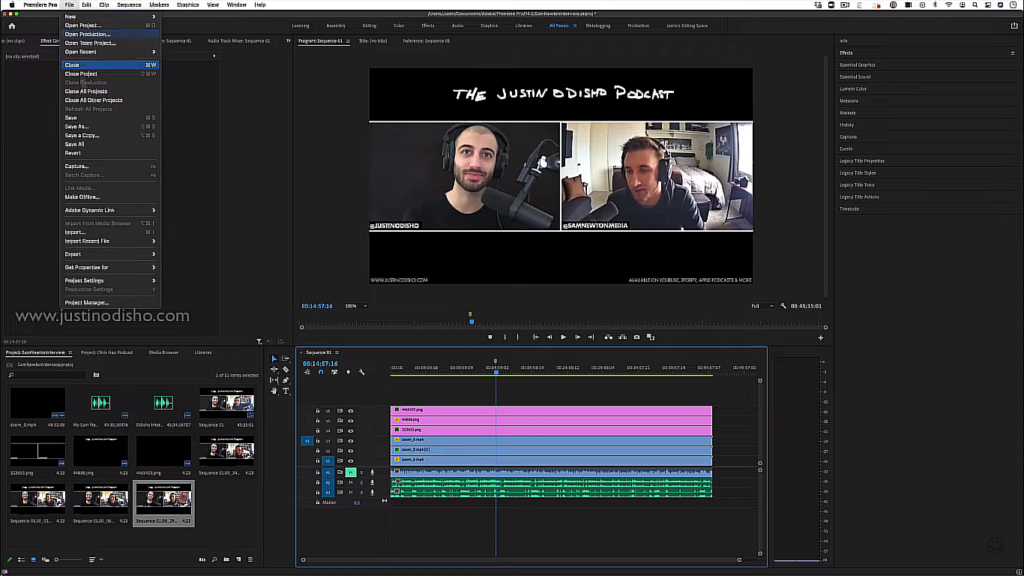
Open up your project, and head over to the “File” menu at the top left of your screen.
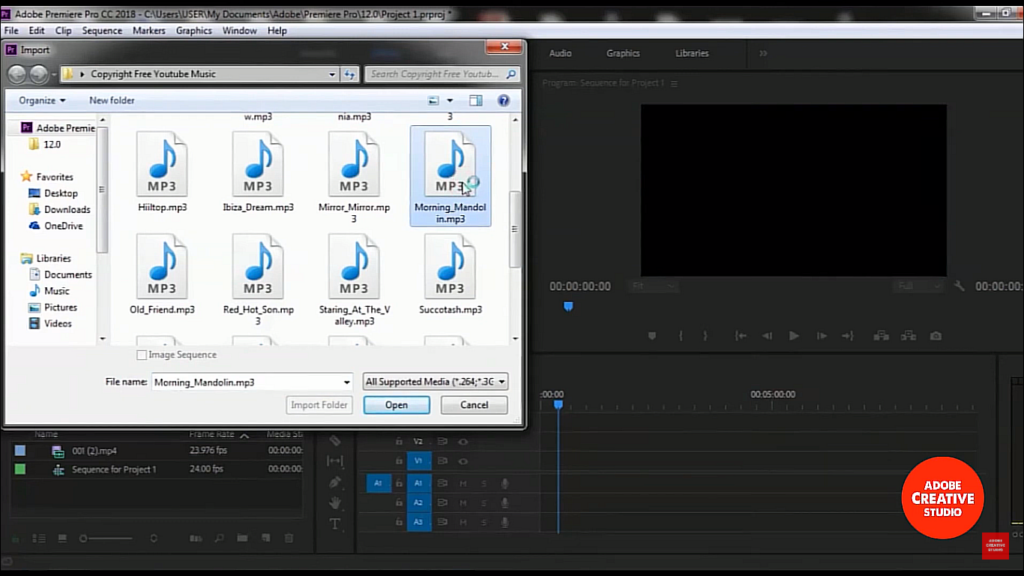
Click on “Import,” and a window will pop up where you can browse through your files.
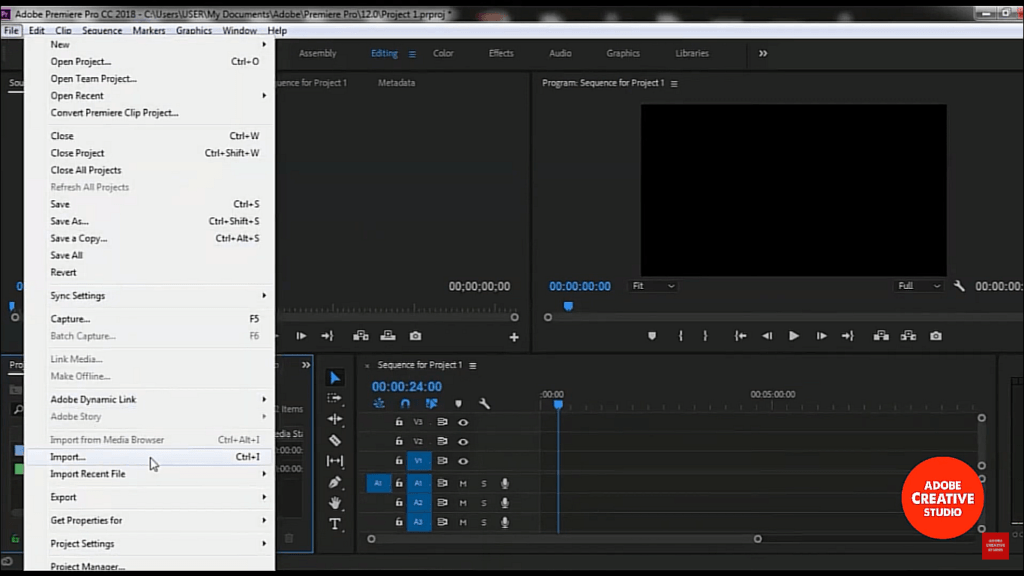

Here’s where you can pick all the tunes you want to bring into your project.
Premiere Pro plays nicely with several audio formats, including AIFF, AVI, MOV, MP3, WAV, and WMA, so you shouldn’t have trouble loading the most common file types.
Once you’ve selected your files, hit “Open,” and they’ll show up in your project panel, ready for action.
This is your first step into the world of audio editing in Premiere.
- Creating a New Sequence
Next up, you’ll want to set the stage for your editing magic by creating a new sequence.
Go to “File” > “New” > “Sequence,” or just tap Ctrl+N (Cmd+N for the Mac squad).
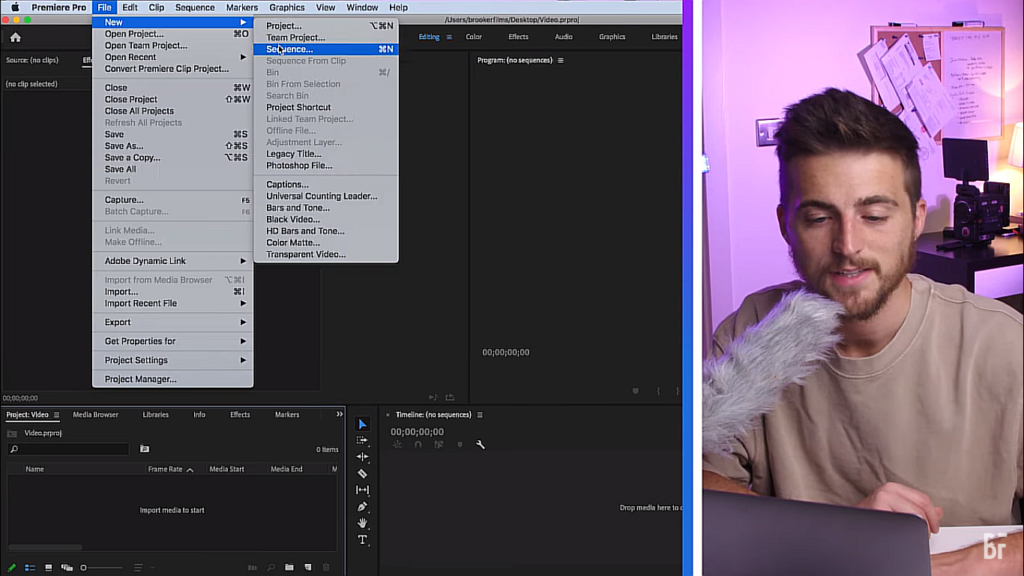
This pulls up the “New Sequence” dialog box where you get to choose presets that match your project’s needs.
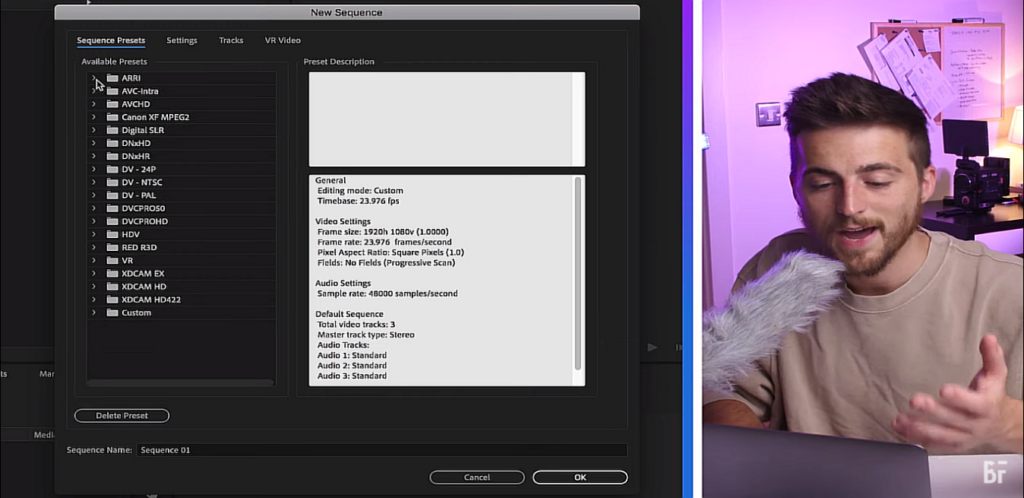
Make sure you pick the right settings to keep everything running smoothly and to ensure your video and audio sync perfectly.
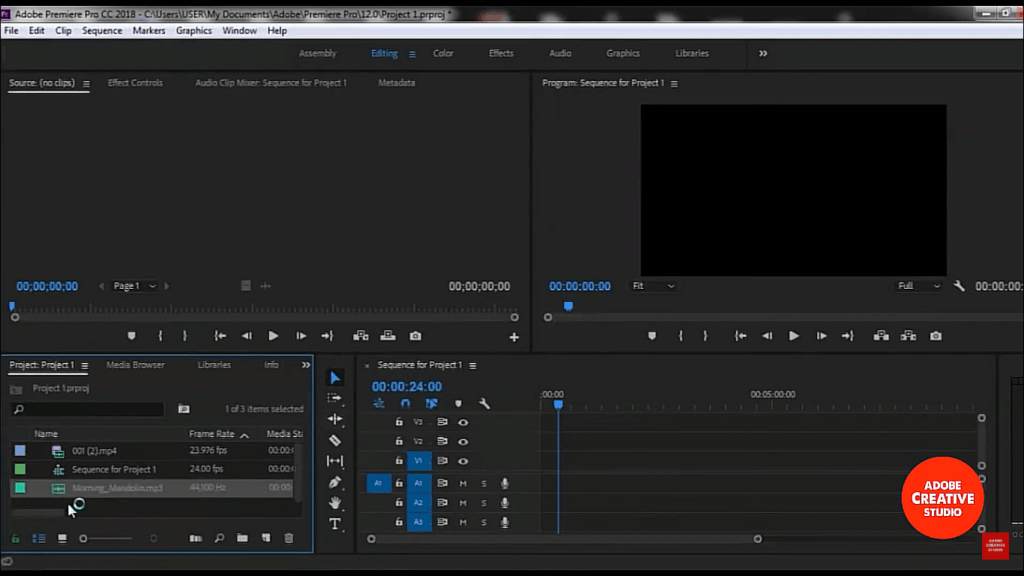
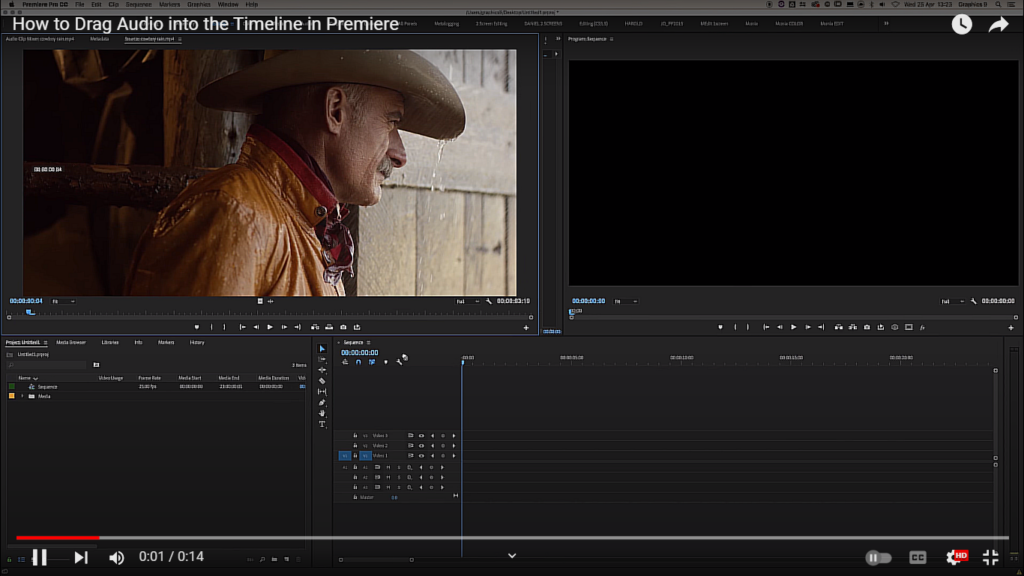
- Adding Audio to the Timeline
Once your audio is ready to roll in the project panel, it’s time to drag those files into the timeline.
This is where the real fun begins; you can start arranging your tracks, syncing up with your video, or just getting the sound right.
To add audio, simply click and drag the files from the project panel down to the timeline.
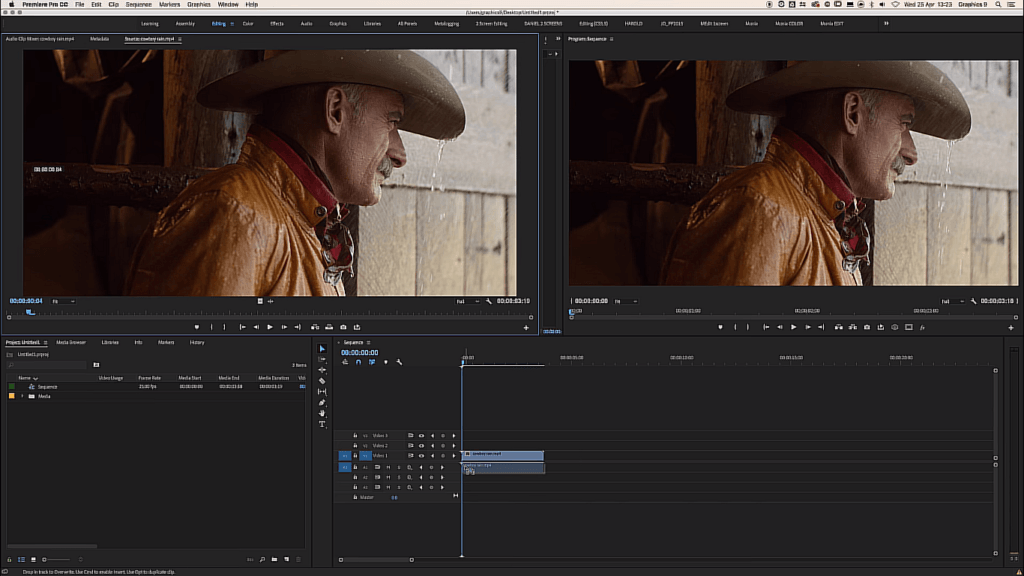
Feel free to shuffle them around to get the perfect arrangement.
Each clip can be trimmed or extended by pulling on its edges, making it super easy to fit your audio exactly where it needs to be.
By following these steps, you’ve laid a solid foundation for your Premiere project.
B. Basic Audio Editing Tools
- Selection Tool
This tool is your best friend for any kind of timeline editing.
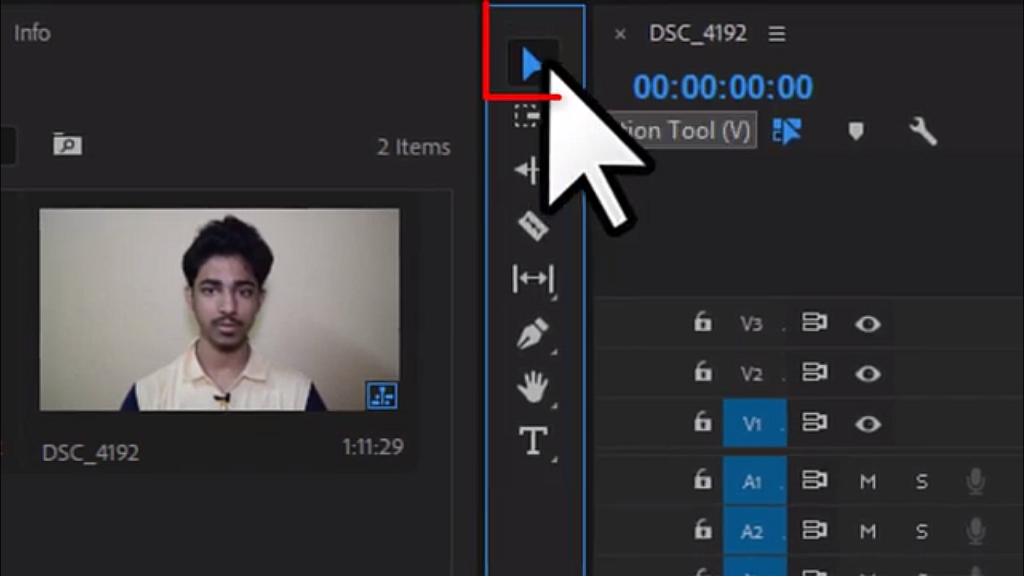
Hit ‘V’ on your keyboard, and this tool springs into action.
It’s all about making your life easier when arranging clips or tweaking their placement.
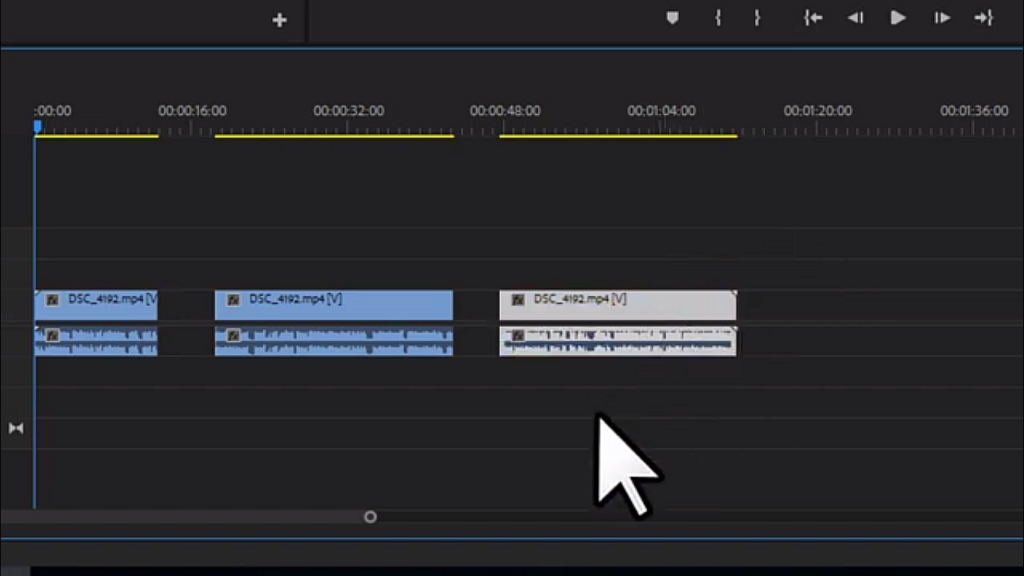
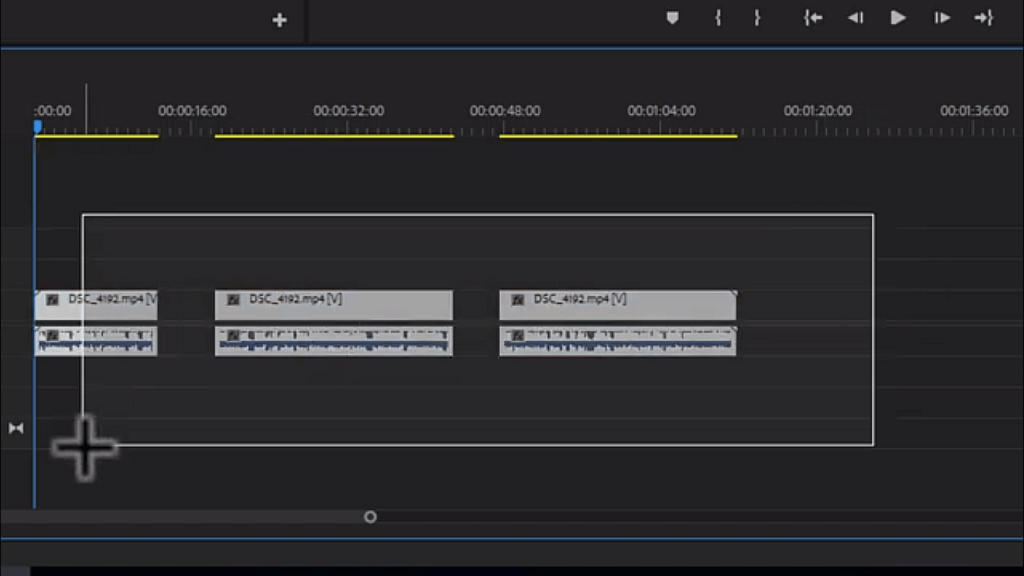
Want to adjust the length of an audio clip? Just click and drag the edges.
Need to move a clip to a different spot on the timeline? Grab it and slide it over.
It’s that simple!
This tool doesn’t mess around—it’s direct, efficient, and super straightforward to use.
- Razor Tool
Now, onto the Razor Tool—think of it as your go-to for making clean cuts in your audio tracks.
Just switch to this tool by pressing ‘C’ or selecting it from the tool panel, and you can click anywhere on an audio track to slice it right where you need.
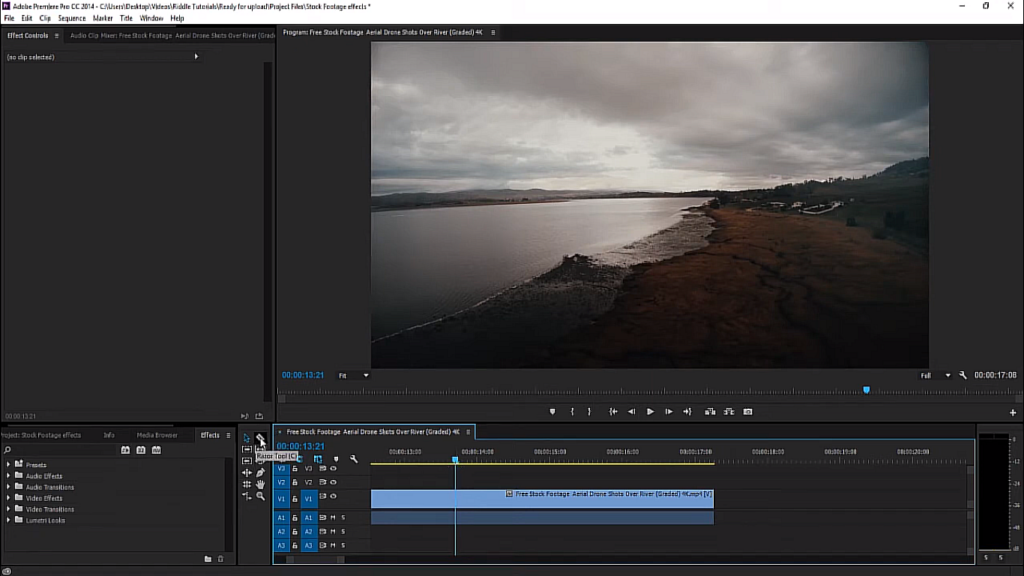
This tool is perfect for chopping up a long audio file into smaller segments that you can manage more easily.
Each click creates a new, independent audio clip, which you can then manipulate or rearrange as needed.
C. Adjusting Audio Levels
- Manual Adjustment
It’s pretty straightforward to tweak the audio levels directly on your timeline in Adobe Premiere Pro.
First, ensure you’re viewing your audio tracks in an expanded mode so you can see the volume line, which runs through the middle of the audio track in the timeline.
Simply grab this line with your cursor and drag it up or down.
Dragging up increases the volume while dragging down decreases it.
This method gives you a quick and visual way to adjust the loudness of your clips right there in the timeline.
- Using the Audio Clip Mixer
For more precise control over your audio levels, you’ll want to use the Audio Clip Mixer in Premiere Pro.
This tool allows you to adjust the volume of audio clips independently from the tracks they reside on.
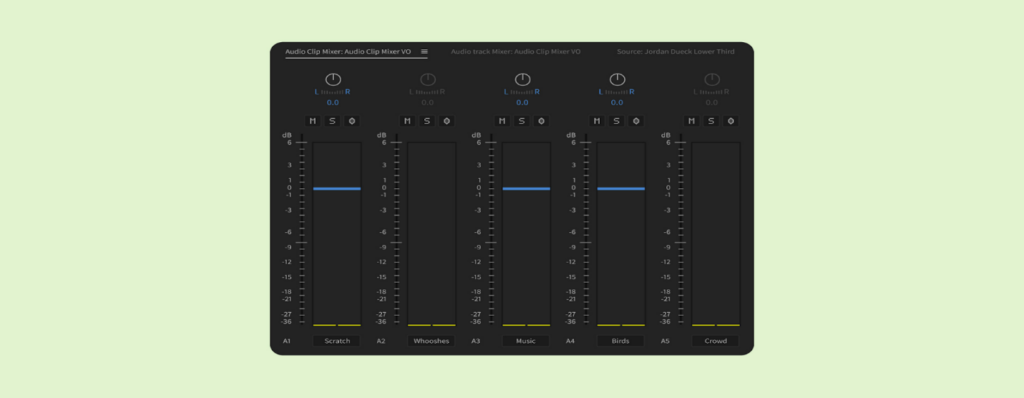
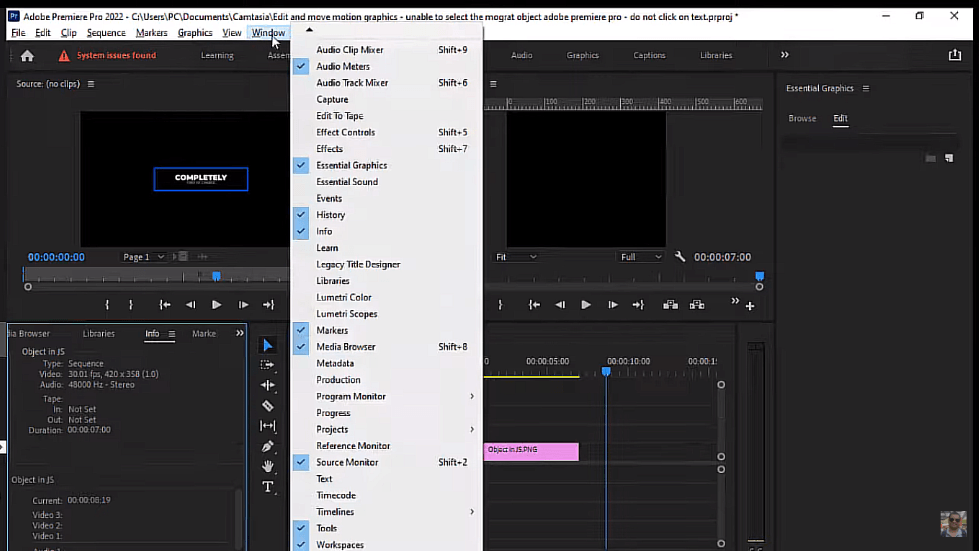
To open it, head to the Window menu and select ‘Audio Clip Mixer’.
The mixer shows you faders for each track that your playhead covers, and adjusting these faders will raise or lower the volume of just the selected clip, not the entire track.
This is particularly useful when you want to fine-tune the levels of individual clips without affecting others.
Each fader corresponds to a track in your timeline, and as you move the faders, you’ll see the changes reflected in real time in the audio meters.
Plus, you can keyframe these adjustments to change over time, which is perfect for fading music in and out or balancing dialogue against background noise.
D. Fading Audio In and Out
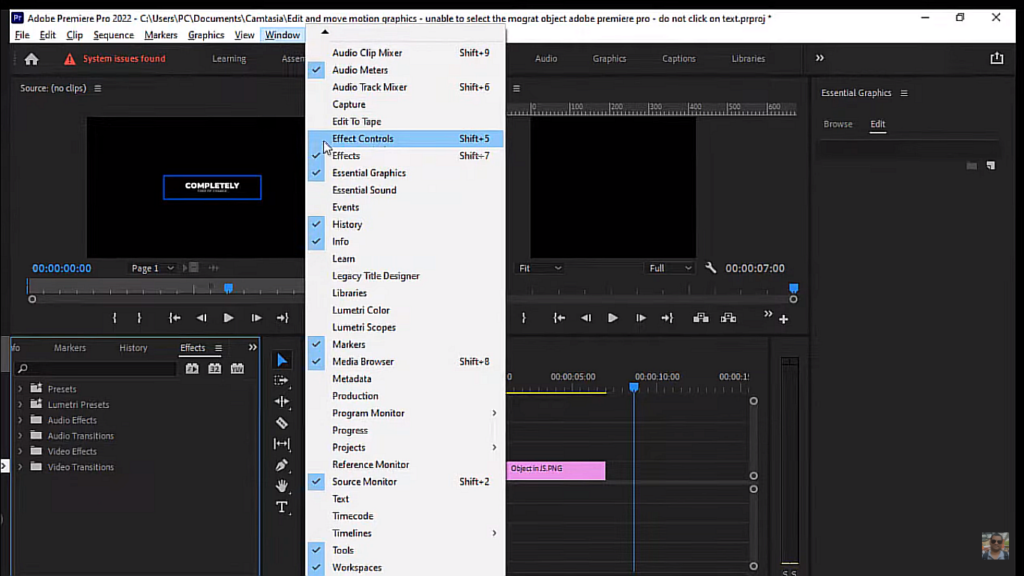
- Using the Effects Panel
Alright, let’s get those smooth audio transitions rolling in Adobe Premiere Pro.
First up, swing over to the Effects workspace.
How?
Simply go to Window > Workspaces > Effects—easy peasy.
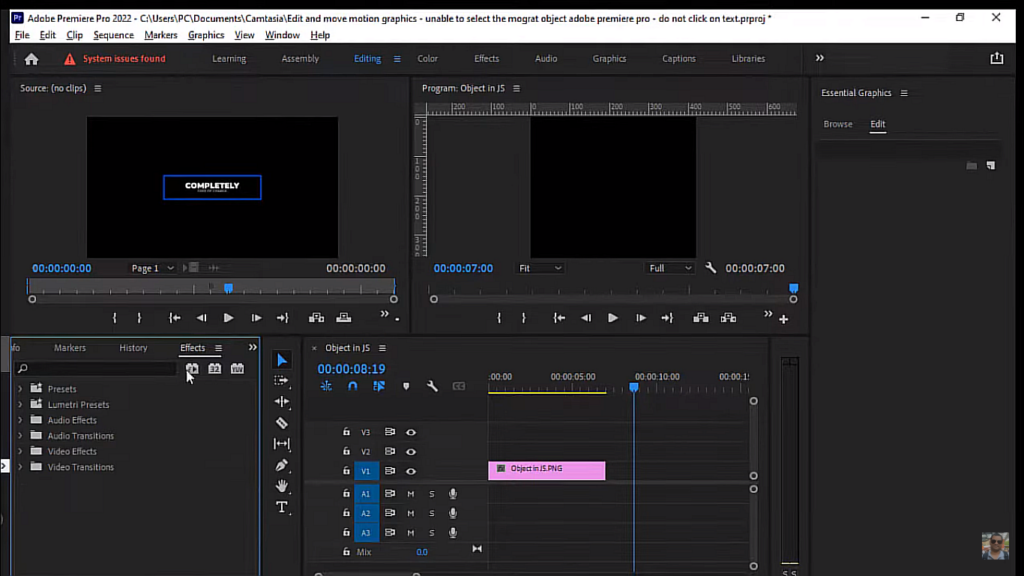
Now, in the Effects panel, you’re on a treasure hunt for audio transitions.
Type “Constant Power” or “Exponential Fade” into the search bar; these are your go-to for that silky-smooth audio fade.
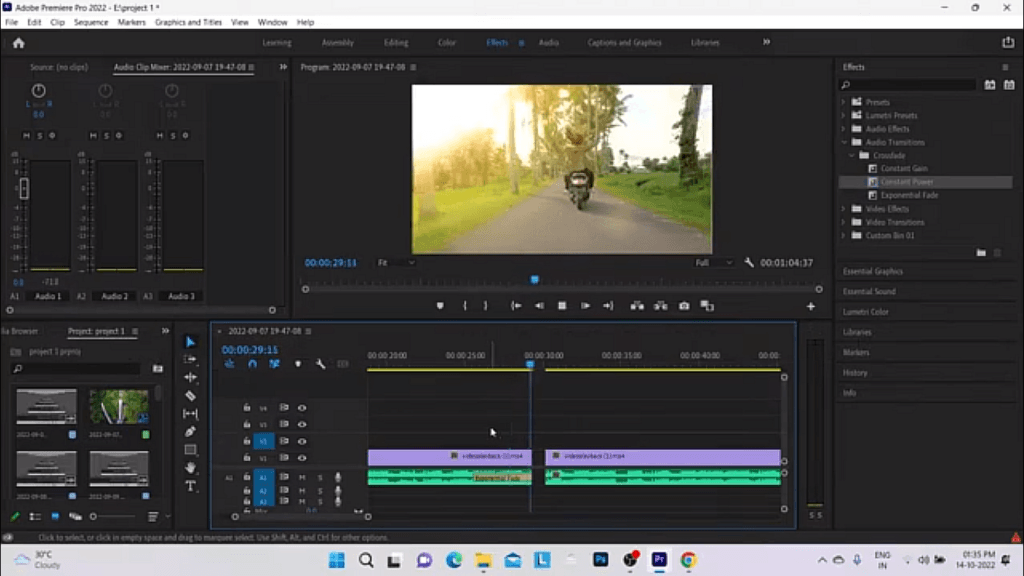
Grab one of these transitions and drag it between two audio clips on your timeline where you want the magic to happen.
This method is super slick for getting a professional fade without fussing around too much.
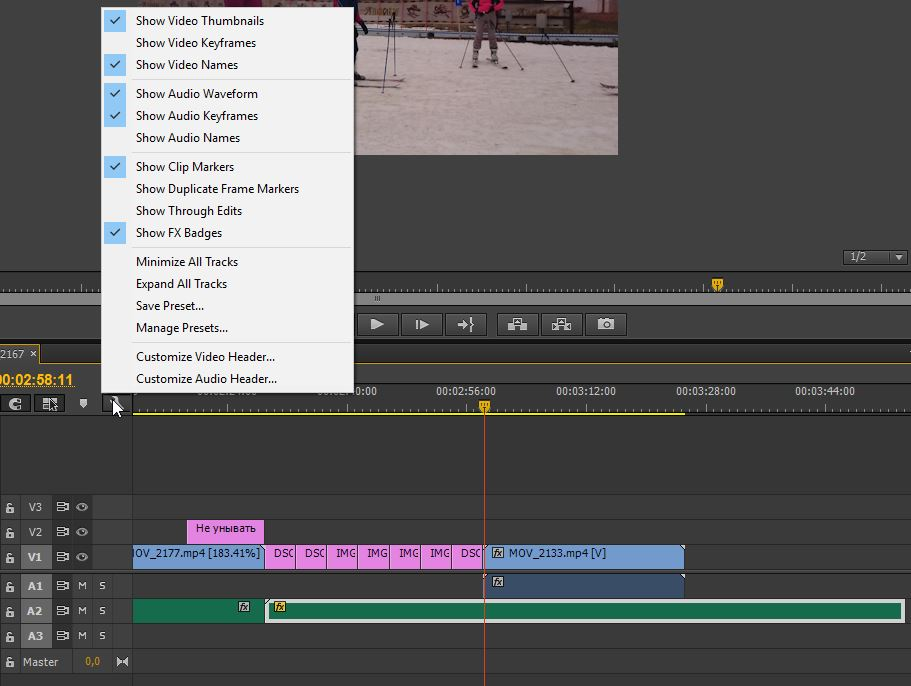
- Manual Fade with Keyframes
If you’re the type who likes to have everything just so, manual keyframing is your friend.
First, make your audio track big enough to see what you’re doing by expanding it on the timeline.
Right-click on the volume line and select ‘Show Keyframes’.
Time to click directly on the line to create your start and end points for the fade.
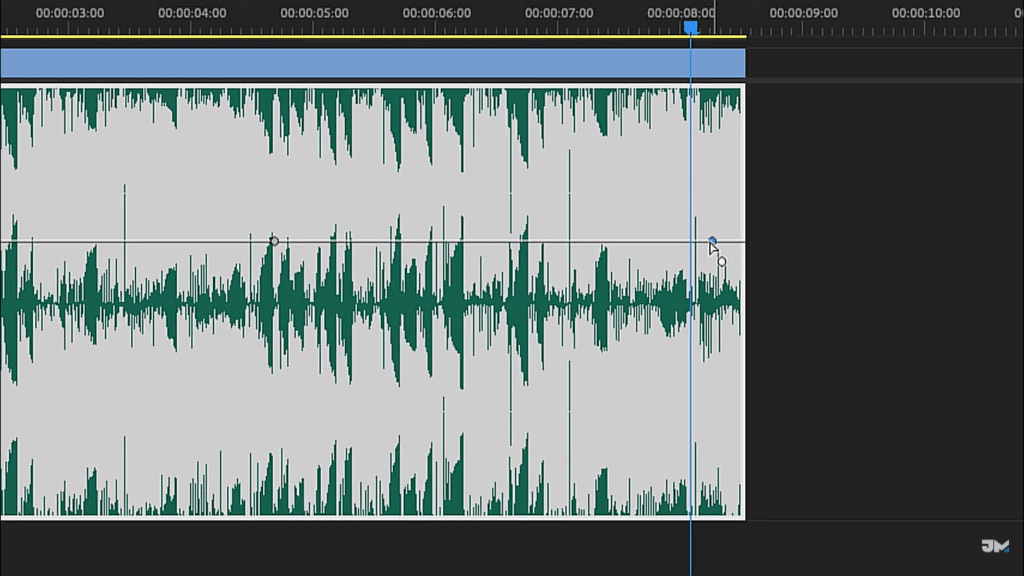
Drag these keyframes around to control when and how your audio fades in or out—closer together for a quick fade, further apart for a slow, dramatic one.
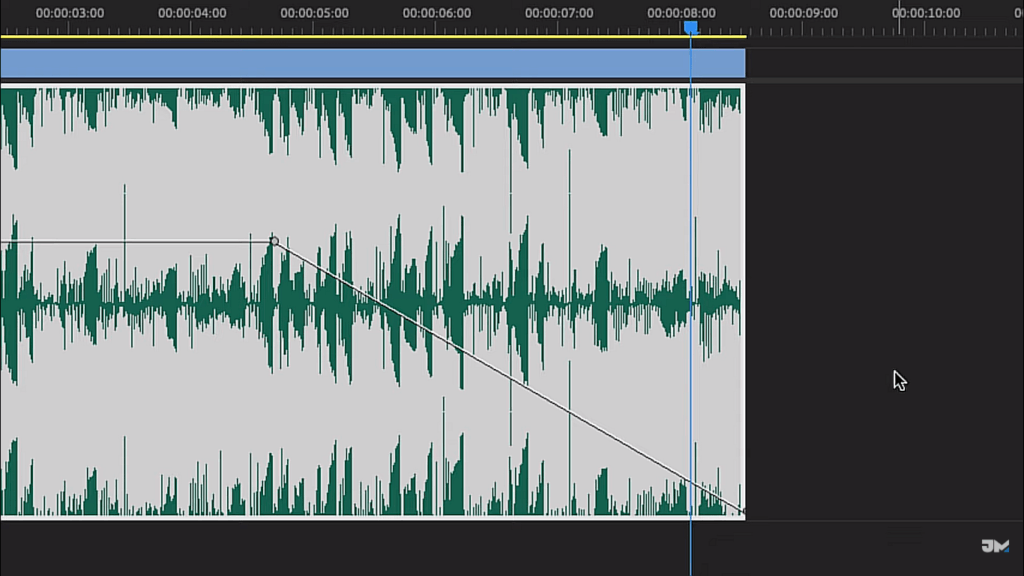
This hands-on approach lets you tweak your fade to perfection.
- Adjusting the Fade Duration
Got your fade sounding nice but it’s not quite in sync with your scene?
No problem.
Adjusting the duration is straightforward.
If you’ve gone the transition route, just click on the transition edge in the timeline and drag to stretch or squeeze the length of the fade.
For keyframes, it’s a similar gig: select and drag your keyframes closer or further from each other to fine-tune the timing.
Both methods let you control the fade duration so it feels just right with the pace of your video, making sure your audio transitions are as smooth as your edits.
E. Advanced Fading Techniques; Creating Custom Fade Shapes
If the standard fades aren’t cutting it and you want something more tailored, creating custom fade shapes with the Pen Tool is the way to go.
This method gives you total control, letting you shape the fade precisely how you envision it.
Open up your timeline and expand the audio track you’re working on to see the volume line clearly.
Grab the Pen Tool from the tools panel (or hit the ‘P’ key).
Click on the volume line in your audio track to set keyframes—these are your control points.
Now, drag these keyframes up or down to sculpt your custom fade shape. You can add as many keyframes as you need to refine your fade, making it as unique as your project needs.
F. Tips for Smoother Fades
- Using Room Tone for Natural-Sounding Fades
Think about it like this: when you’re watching a movie and the scene cuts from a noisy street to a quiet room, the sudden drop in background noise can feel jarring.
By layering room tone under these transitions, you maintain an audio continuity that feels right to the ear.
It’s like the audio version of a visual continuity.
To capture a high-quality room tone that will blend seamlessly in post-production, a microphone designed for clarity and low noise can be your go-to-choice, such as the Hollyland Lark 150 wireless microphone.
Its superior sound pickup and minimal background noise make it an excellent choice for recording ambient sounds.
To use room tone effectively, always record a few minutes of ambient sound before you start shooting your main content, especially if you’re switching scenes or setups.
Then, when you’re editing, you can layer this room tone underneath cuts to smooth over any abrupt audio jumps, making your final product sound seamless.
- Adjust Gain Before Fading
Adjust the gain of the audio clip to optimize the dynamic range before applying a fade.
This ensures that the volume levels are appropriate throughout the fade, preventing any abrupt changes in perceived loudness.
- Apply Audio Transition to Adjustment Layers
For consistent fade effects across multiple tracks, apply an audio transition to an adjustment layer placed above your audio tracks.
This method ensures uniformity and saves time when working with complex projects.
- Experiment with Different Transition Types
Beyond the standard fades, explore other audio transitions like “Morph Cut” for dialogue or “Crossfade Transitions” for blending sounds smoothly.
Each type can offer a different aesthetic and functional effect.
- Use Highpass or Lowpass Filters for Stylistic Fades
Apply a highpass or lowpass filter to your audio clip as you fade out or in.
This technique can add a stylistic element to the transition, often used in cinematic and music production for dramatic effect.
- Automate Effects During Fades
Automate audio effects (like reverb or echo) to increase or decrease during your fade.
- Use Dynamic Link with Audition
For more complex audio edits, use Adobe Audition via Dynamic Link for finer control over fades.
Audition provides advanced tools such as spectral frequency display and precise envelope adjustments.
- Pre-render Audio Clips
After applying fades and transitions, pre-render your audio clips to ensure smooth playback and real-time preview. This is especially helpful in resource-intensive projects or older computers.
G. Exporting Your Final Audio
- Setting the Correct Export Settings
For optimal audio quality in Adobe Premiere Pro, set your audio format to AAC with a sample rate of 48000 Hz and a bitrate of 320 kbps for high-quality output.
Ensure the channel is set to Stereo unless your project requires a different channel configuration.
For professional projects where higher fidelity is necessary, consider using a 24-bit depth to preserve dynamic range.
- Exporting Audio Only
To export only the audio portion of your Premiere Pro project, follow these steps:
- Open your project and go to the sequence you want to export.
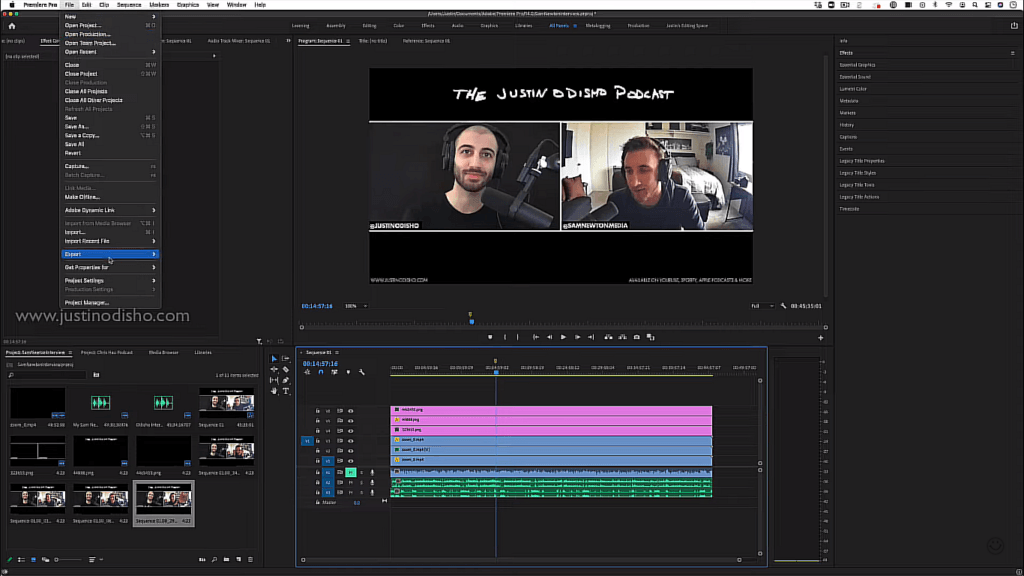
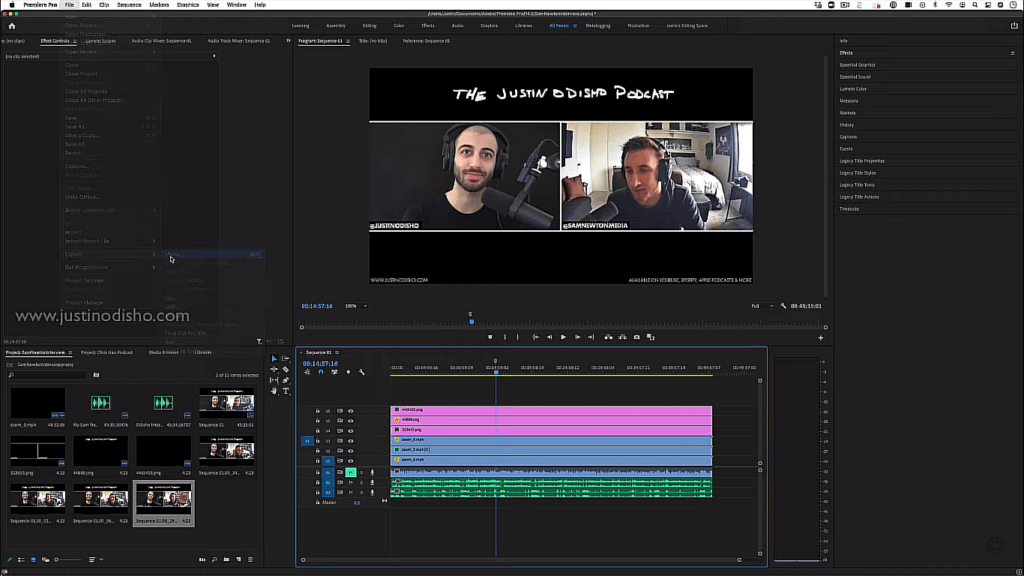
- Navigate to File > Export > Media or use the shortcut Ctrl+M (Cmd+M on Mac).
- In the Export Settings dialog box, under the Format dropdown, select an audio format like MP3 or WAV, depending on your needs.
For purely professional audio quality, WAV is often preferred for its uncompressed quality.
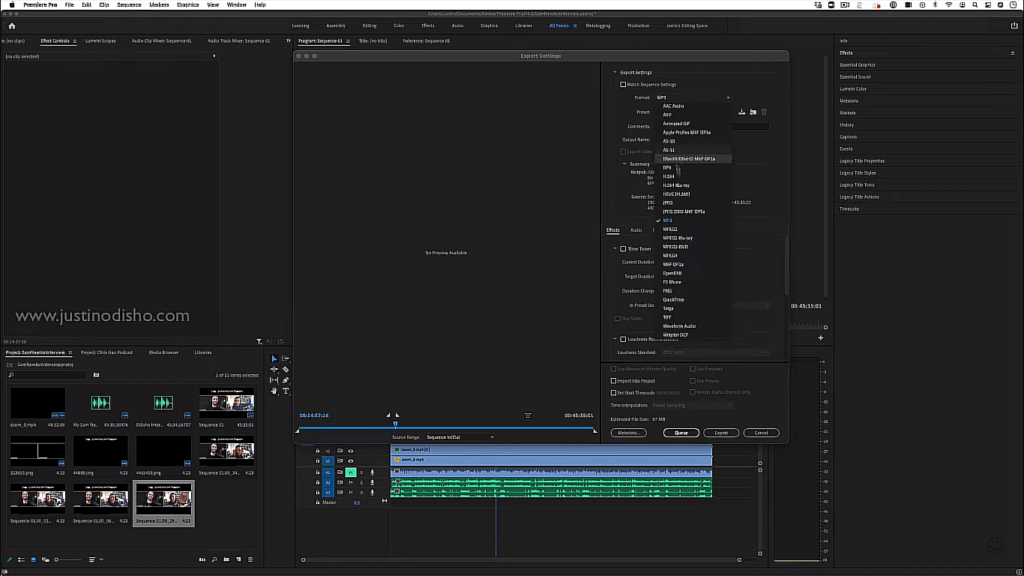
- Make sure to uncheck Export Video in the output settings if it’s available and not automatically disabled by selecting an audio-only format.
- Finally, click on Export to render your audio file.
FAQs
- What is the best way to fade out music in Premiere?
Just pop over to the Effects Panel and grab the “Exponential Fade” effect.
You’ll find it under Audio Transitions > Crossfade.
Drag it to the end of your music track on your timeline and boom, you get a nice, gentle roll-off of sound that doesn’t just drop off a cliff.
- Can you automate fades in Adobe Premiere Pro?
Totally!
If you’re not into the whole manual thing, you can let Premiere do the heavy lifting.
Use the “Constant Gain” or “Constant Power” effects for a quick fix.
They’re also stashed in the Audio Transitions > Crossfade section. Just drag your chosen effect onto your clip where you need the fade.
Want to get fancy? Throw in some keyframes to dial in exactly how and when your sound fades in or out.
- How do you fix abrupt audio transitions in Premiere?
Smooth it out with a “Constant Power” transition.
Find it under Audio Transitions > Crossfade. Drag it onto your clip and adjust it to fit.
- Is it possible to fade audio in only one channel in Premiere?
Yes, and here’s how you can do it.
First up, expand the audio track in your timeline to see all the channel goodies.
Then, you can add keyframes to just one channel, letting you control fades for that specific area without messing with the other sounds.