.png)
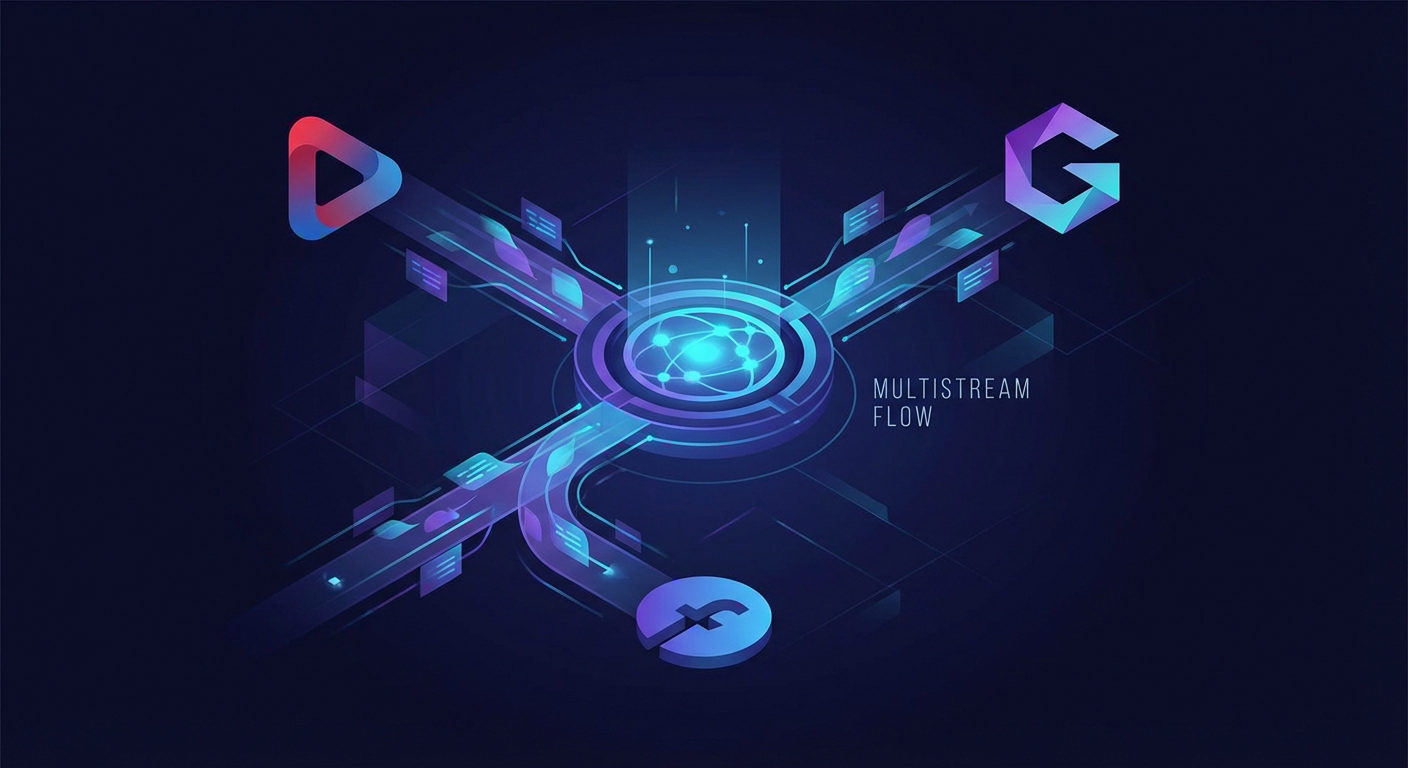
Are you having a hard time juggling between separate streams on different platforms? Multiple expensive setups for various platforms can be a headache! Time to shift to multistream. It lets you reach all your audience with live broadcasts on Facebook, YouTube, Twitch, and all at once! Now you can connect with everyone on various platforms in real-time. For seamless 24/7 streaming ability, the Hollyland VenusLiv Air can be a great companion. With its 4K 30fps cinematic clarity, your audience can mistake you sitting in front of them. Now, let’s show you how to multistream simultaneously.
How Does Multistreaming Work?
Multistreaming takes one video signal and then distributes it to different channels. It can be done in two ways. One way is to use software. Your camera feeds live video to a cloud-based software, which redistributes it to multiple platforms. The other option is to use a camera that supports multistreaming natively.
Requirements Before You Start Multistreaming
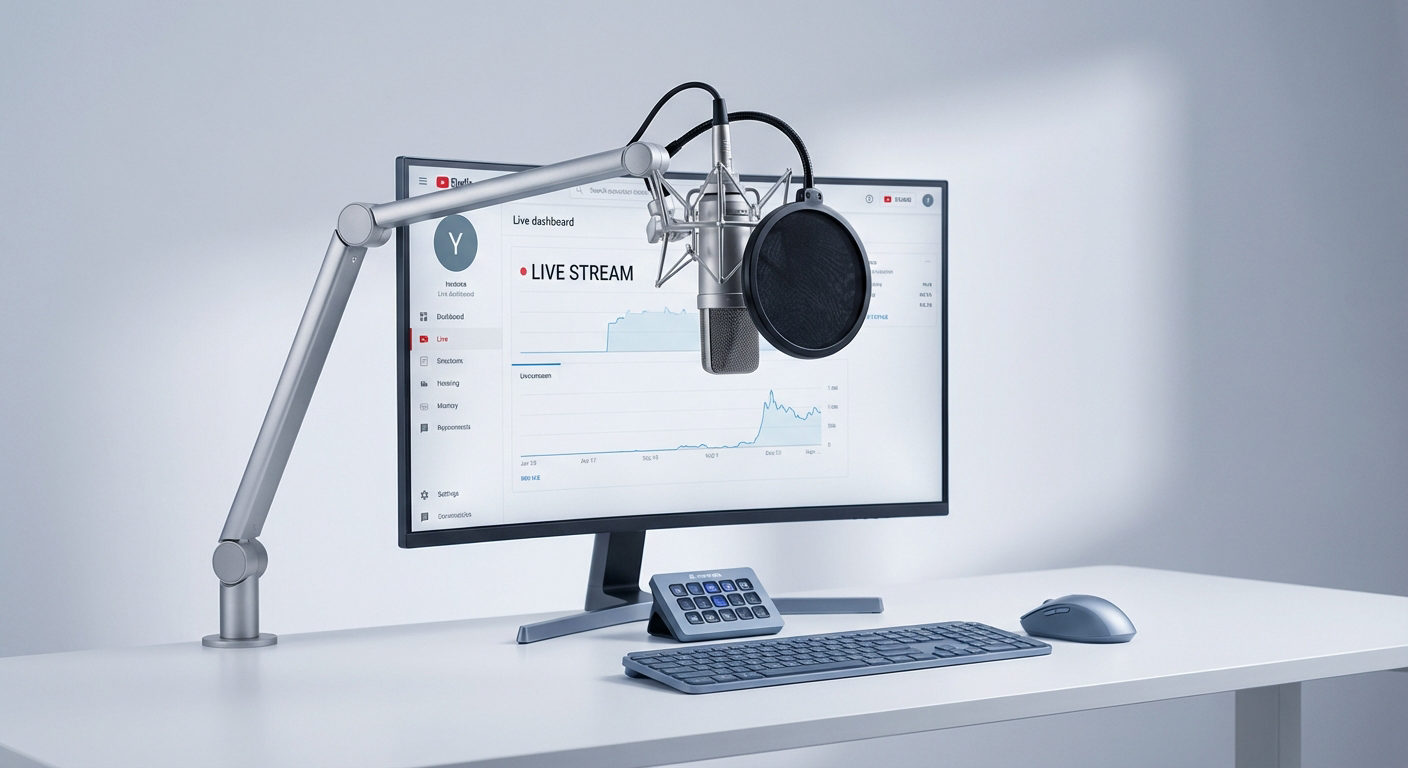
For a perfect multistream, you need to perfect your setup. So before you dive in, let’s help you set the right tools in place. First, you need a trustworthy camera. Some features to look for include 24/7 streaming capability, 4K30 video output, and plug-and-play functionality. Then you need a stable internet connection, accounts on every target platform, and a professional audio setup.
How to Multistream: A Step-by-Step Guide
Step 1: Prepare Your Streaming Setup
Set up your camera, lighting, and audio tools before the multistream. Your camera must be connected to your computer using a USB or HDMI cable. If you are using a dedicated camera, you can opt for a plug-and-play setup.
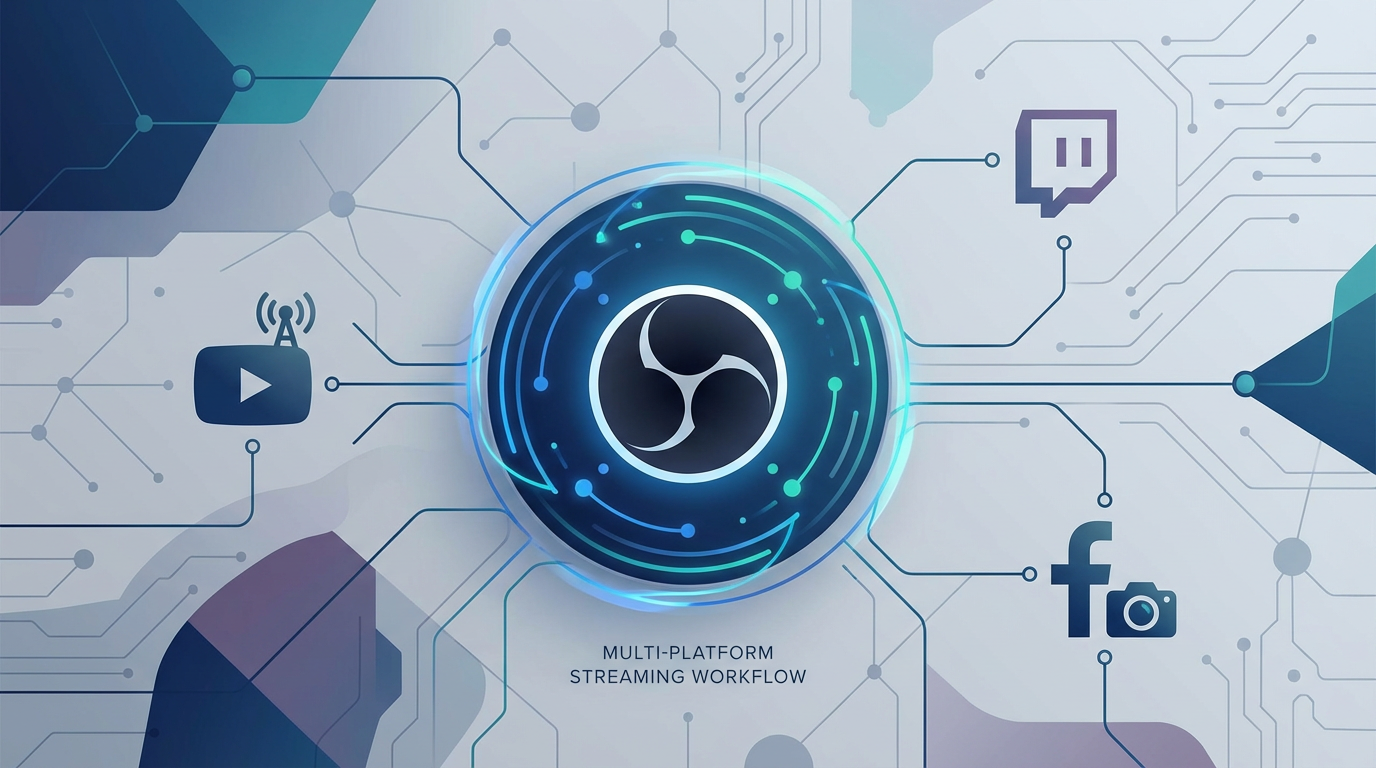
Step 2: Choose a Multistreaming Software
There are several software programs you can rely on for multi-streaming. Some popular ones are:
- OBS Studio: It’s an open-source software that allows you to multistream in real-time with simple plugins or integrations. It has an intuitive interface and a wide range of customizable options.
- Restream: It’s a cloud-based streaming software that offers creators and brands a clean dashboard without complex configuration.
- StreamYard: This web-based software is ideal for live interviews or podcasts, and it doesn’t require installation on your computer.
Whatever streaming software you select, ensure you have the latest version to follow the next steps.
Step 3: Connect your Video and Audio Device
- To connect the camera and microphone on OBS Studio, locate the ‘Source’ on the interface. Then click on the + icon at the bottom.

- Once the pop-up window of the “sources” appears, click the ‘Audio Input Capture’ to connect the mic.

- To add the camera, click on the ‘Video Capture Device’ and select the ‘Device’ you connected with your USB or HDMI cable earlier.


Step 4: Adjust Exposure and Color Balance
- Click the “camera” you added below “sources” to make your stream polished and professional.

- Then select ‘Filters’ on the pop-up window.

- Find the ‘Effect filters’ on the screen and click the + icon under that section.

- Click on ‘color correction’ from the pop-up filtering options.

- Then adjust Gamma, brightness, contrast, or saturation settings according to your preference.

You can always rely on a camera that supports AI tuning to ensure your video looks perfect without complex manual corrections.
Step 5: Connect Your Streaming Accounts
- Click ‘Docks’ in the top-left corner of the OBS Studio interface.

- Then select ‘Multiple output’ to connect to multiple streaming accounts.

- To connect your account, such as YouTube, click ‘YouTube’ and then select ‘Modify’.

- Now fill in the ‘URL’ and ‘Stream Key’ boxes.

- To get the URL and Stream key, go to YouTube and select ‘create’ in the top right corner.

- Then click ‘Go live’.

- There you’ll get the URL and stream key. Copy them one by one.

- Then paste it into OBS Studio.

- Now, for Twitch, go to “Twitch Ingest Recommendation” and copy the URL for your location.

- Then select ‘Modify’ beside Twitch integration on OBS Studio.

- Paste the URL there.

- For the stream key, go to your Twitch account. Click the “profile” icon in the top-right corner.

- Select ‘Creator Dashboard’.

- Then, select ‘Settings’.

- Then click ‘Stream’.

- Then copy the ‘Primary Stream Key’

- Now paste it into the OBS Studio similarly to YouTube.

The process is similar for other platforms. Copy the Steam key and URL from the streaming platform and paste them into the ‘Modify’ section in OBS Studio.
Step 6: Adjust Stream Settings
- First, click ‘Settings’ in the bottom-right ‘Control’ panel of the OBS Studio interface.

- Then select ‘Video’.

- Click on ‘Base (Canvas) Resolution and choose a resolution quality you would like. You can also change the ‘Aspect Ratio’ to make the screen landscape or portrait.

- The output (Scaled) Resolution is not required to be the same as the Base Resolution.

- You can choose ‘Common FPS Values’ from some options, but for usual high-quality video, we recommend 30 FPS.

- Now, click ‘Output’ on the left side


- Keep the ‘Output Mode’ simple. For technical complexity, you can select ‘Advanced’. This will give you advanced controls.

- For simplification, we’re keeping it ‘Simple’.
- Then, select ‘Video Bitrate’ according to your internet connection speed. If you have 25 Mbps internet speed, select 2500 Kbps.

- The ‘Audio Bitrate’ is set to 160 by default, and you can increase it for high-quality mic or music.

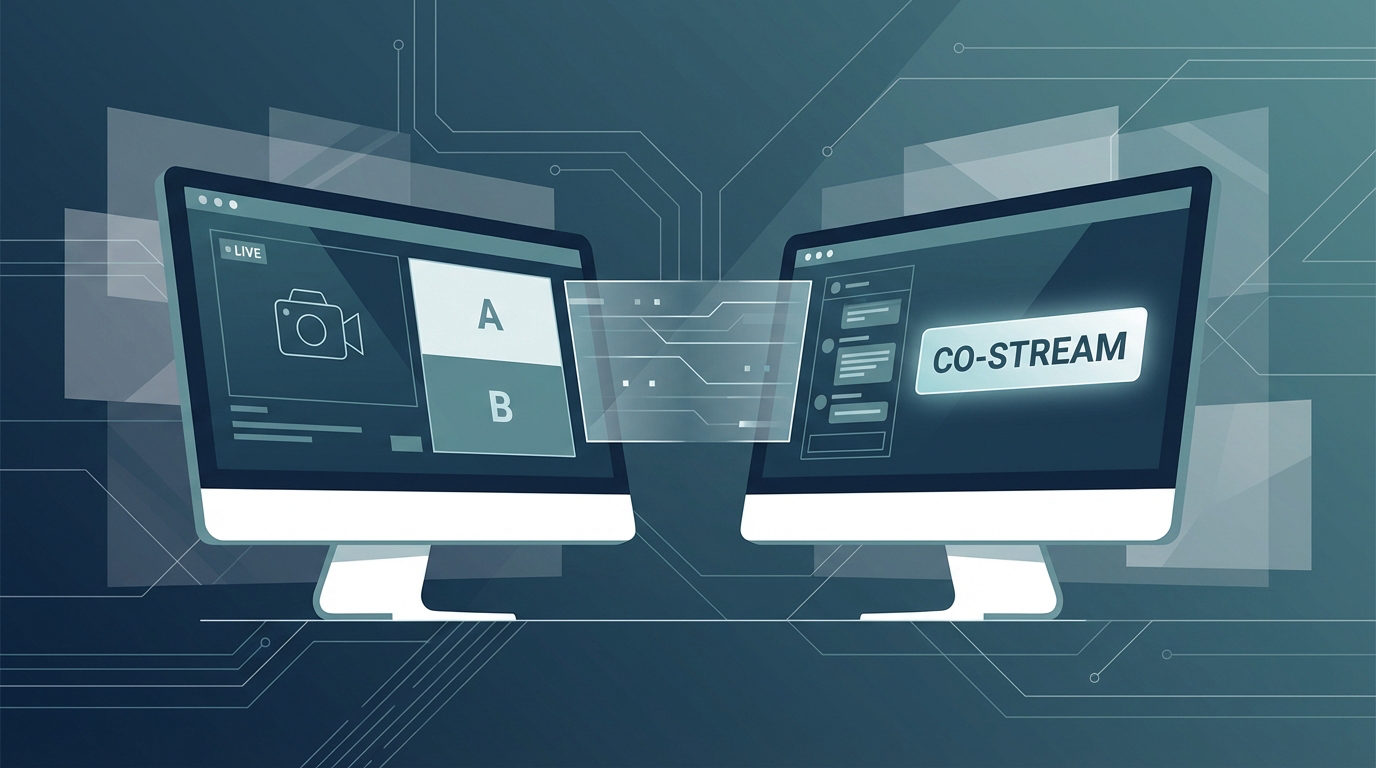
Step 7: Customize Your Stream Layout
- Find the ‘Scenes’ panel in the bottom-left corner. Click the + icon.

- Add some new scenes and rename them as you require, such as ‘Camera’, ‘Screen’, etc.

- After clicking on each scene, select ‘Video Capture Device’ as the source. For the ‘Screen’ scene, select the source.


- Choose the ‘Method’. If you only want a specific window to be on the multistream, you can choose ‘Window Capture’.

- Resize the screen captures for multistreaming.

- To layer the camera on the screen, add a new scene and name it accordingly.

- Then select the same camera as the source again and simply shrink it down to a corner of the screen. You can also move your camera on the screen capture as you want.

- Now select the ‘Scene Transition’ to Fade with a duration that you can customize.

- Or you can select ‘Cut’ for abrupt scene changes.

Step 8: Go Live
- For going live on OBS Studio, find the ‘Controls’ panel on the bottom-right of the interface. Then hit ‘Start Streaming’ to multistream on all selected platforms.

Step 9: Engage with the Audience
- First, you need third-party software such as Casterlabs to merge all the chats from multiple platforms.

- Download it on your computer and simply sign in with a social media account.

- Then go to its ‘Dashboard’, you’ll find ‘Settings’. Click on it.

- Then select ‘Accounts’.

- There you’ll see all the streaming services accounts. Click ‘Connect’ to each platform you want the messages to merge from.

- Now go to ‘Docks’ on Casterlabs.

- Then copy the ‘Stream Chat’ link.

- Then go to OBS Studio, and select ‘Docks’.

- In the drop-down, select ‘Custom Browser Docs’.

- Paste the stream chat link in there.

- Give the Dock a name.

- Click ‘Apply’ at the bottom right corner.

There you have your multichat on your multistreaming OBS Studio.

Conclusion
Multistreaming is the ultimate strategy for expanding your reach across multiple platforms in real-time. All you need is the right camera, the right software, the right settings, and the right script. With our comprehensive guide on how to multi-stream at the same time, go live, and win over millions with a single go on multiple platforms.
FAQs
Can I multistream from my phone?
Yes, many modern streaming tools and smartphone cameras make multistreaming possible on your phone. However, you may not be able to use some software except for mobile browser versions. Additionally, the software interface on phones may be limited in features, such as audio, overlays, and bit rate.
Is multistreaming free?
Yes and no. Some streaming software offers free plans, but these usually limit the number of platforms, streaming quality to 720p, and may include brand restrictions or watermarks. With a monthly or one-time cost, all restrictions are lifted, offering complete freedom over all features.
Can I multistream with a regular webcam?
Yes, you can. But expect the video quality to be average. For better performance, quality, and engagement, a streaming camera is highly recommended.