.png)
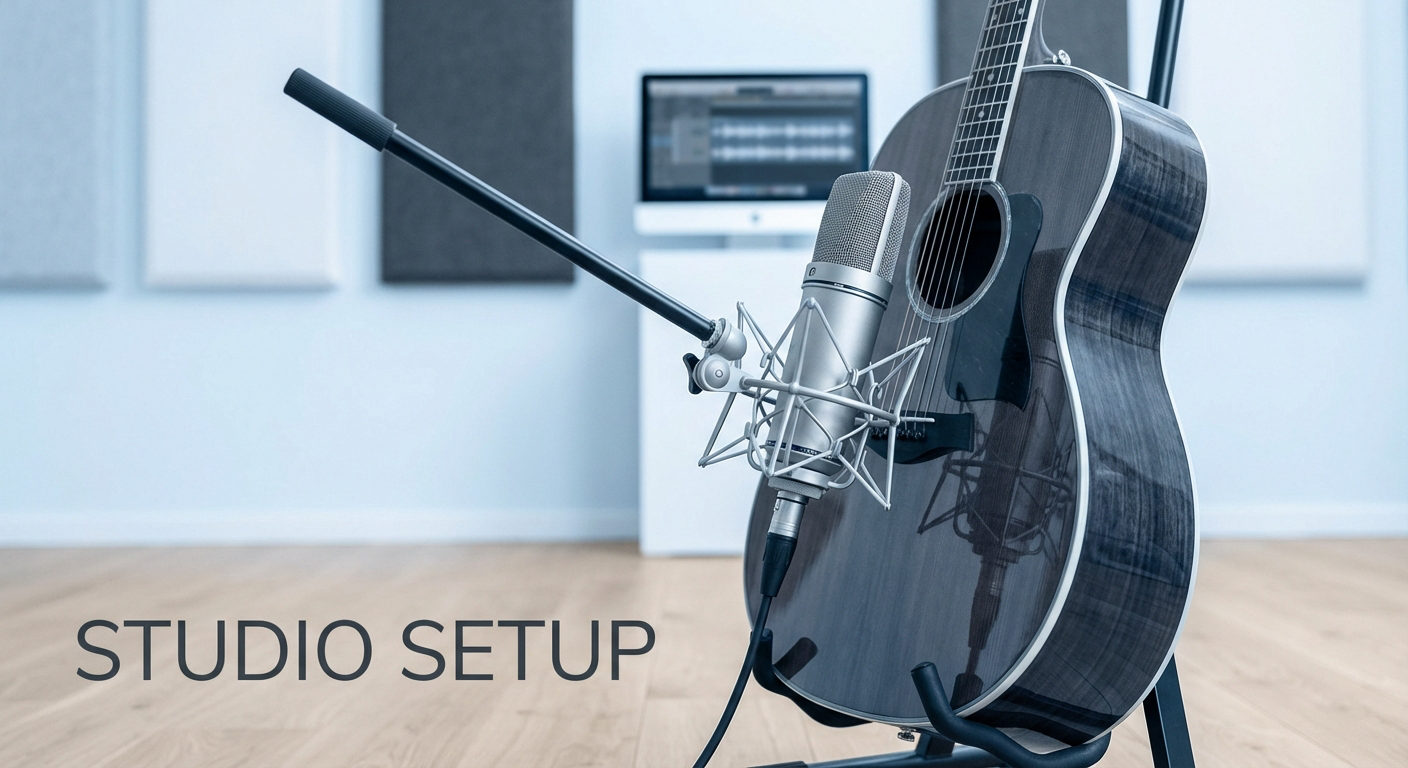
The bass guitar always earns attention, as sometimes you don’t hear it first, but you feel it! It can take the entire track to the next level when recorded right. Whether you’re tracking in a home studio or professional facility, choosing the right method can make or break your mix. This comprehensive guide covers essential recording methods to help you capture exceptional bass tones every time.
Method 1: Direct Input (DI) Recording
The DI track delivers an exact signal straight from the bass’s electronics, giving maximum freedom for sculpting in the mix. It is perfect for genres like pop, funk, and electronic music.
Equipment Needed
- Audio interface with instrument-level input
- Bass guitar
- 1/4″ instrument cable
- DAW software
- Optional: dedicated DI box
Step-by-Step Process
Setup Phase:
- Connect the bass to your interface’s instrument input using a quality cable
- Set interface gain conservatively – start low and increase gradually
- Create a new audio track in your DAW, set the input to the instrument channel
- Enable input monitoring to hear yourself while recording
- Aim for recording levels peaking between -12dB to -6dB


Recording Phase:
- Start with accurate tuning and verifying your intonation.
- Clean strings and hands to minimise finger noise
- Record a test passage to check levels and tone
- Adjust input gain if needed – avoid clipping at all costs
- Record multiple takes for the best performance options
- Save the unprocessed version as a backup before any editing

Pro Tips:
- DI recordings sound bright and punchy, but can feel sterile
- Perfect for genres requiring tight, controlled bass sounds
- Excellent starting point for amp simulation processing
- Captures every nuance of your playing technique
- Best signal-to-noise ratio of all recording methods
Method 2: Microphone Recording (Bass Amp)
Mic recording captures your amp’s character and room ambience for organic, warm bass tones.
Equipment Needed
- Bass amplifier and cabinet
- Dynamic microphone (SM57, RE20) or large diaphragm condenser
- Audio interface with XLR preamp
- XLR cable
- Mic stand
Step-by-Step Process
Setup Phase:
- Position the amp in an acoustically treated space or a good-sounding room
- Set amp to desired tone – slightly brighter than the final desired sound
- Place the dynamic mic 6-12 inches from the speaker cone centre
- Connect the mic to the interface via XLR, and enable phantom power if needed

Recording Phase:
- Set preamp gain carefully.
- Play test riffs at performance volume to check for distortion.
- Record the room tone for 10 seconds to capture ambient noise on the floor.
- Perform takes while monitoring both signal and room interaction.
- Consider recording multiple mic positions simultaneously.
Positioning Techniques:
- On-axis (pointing at cone centre): bright, punchy tone
- Off-axis (angled away from centre): warmer, less aggressive
- Distance affects room tone – closer is tighter, farther is more ambient
- Multiple mics can capture different aspects of your amp’s sound
Method 3: Hybrid DI + Amp Recording
This method combines DI clarity with amp character, offering maximum flexibility in mixing.
Equipment Needed
- DI box or interface with both DI and line inputs
- Bass amplifier
- Microphone for the amp
- Multiple audio inputs on the interface
Step-by-Step Process
Setup Phase:
- Connect the bass to the DI box input
- Plug the DI output into a line input on your recording interface
- Position the microphone on the amp as described in Method 2
- Connect the amp microphone to the second interface input

Recording Phase:
- Set levels for both DI and mic signals independently.
- Record both signals to separate tracks simultaneously.
- Monitor the blend of both signals during recording.
- Focus on performance – you can adjust the blend later.
- Ensure the DI track remains free of processing
Mixing Applications:
- Blend DI for clarity and definition in busy mixes
- Use an amp signal for character and warmth
- High-pass filter the DI signal and blend with the full-range amp signal
- Use DI for a consistent low-end amp signal for midrange character
- Perfect for genres requiring both punch and warmth
Method 4: Bass Amp Simulation
Software amp modelling provides extensive tonal options without physical amplifiers.
Equipment Needed
- Audio interface
- Bass guitar
- DAW with amp simulation plugins
- Quality monitor speakers or headphones
Step-by-Step Process
Recording Phase:
- For reference and backup, keep the original DI track
- Duplicate track or use send to route signal to amp simulator
- Choose an appropriate amp model within the plugin
- Select a cabinet simulation that complements the amp choice
Processing Phase:
- Adjust amp gain, EQ, and effects within the simulator
- A/B compare processed and dry signals regularly
- Use multiple amp sims on different tracks for layered tones
- Blend processed and dry signals to taste
Popular Amp Simulation Options:
- Neural DSP plugins (Darkglass, Parallax)
- IK Multimedia AmpliTube
- Positive Grid BIAS Bass
- Built-in DAW amp simulators
- Hardware solutions like Darkglass microtubes
Method 5: Acoustic Bass Recording
Capturing acoustic bass requires careful microphone technique and quiet environments.
Equipment Needed
- Acoustic bass guitar
- Large diaphragm condenser microphone
- Audio interface with phantom power
- Quiet recording space
- Optional: a second microphone for stereo recording
Step-by-Step Process
Setup Phase:
- Choose a quiet room with minimal reflective surfaces
- Position the large diaphragm condenser 12-24 inches from the instrument
- Enable phantom power on the audio interface
- Use a pop filter if recording very close to prevent air movement
Recording Phase:
- Set very conservative gain levels – the acoustic bass has a huge dynamic range
- Record in complete silence – acoustic bass picks up everything.
- Consider using two mics for a stereo image (spaced pair technique)
Microphone Positioning Options:
- Near the bridge: more string definition and attack
- Above strings: balanced tone with good articulation
- Distant placement: more room tone and natural reverb
- Multiple positions blended for complex, rich sound
Essential Recording Tips for All Methods
Pre-Recording Preparation
- Check and adjust intonation across the entire fretboard
- Ensure proper neck relief and string action
- Clean the fretboard and strings thoroughly
- Verify all electronic connections are solid
During Recording
- Maintain consistent playing dynamics throughout the takes
- Use a metronome or a click track for timing reference
- Take regular breaks to maintain performance quality
- Record multiple complete takes rather than punching individual sections
- Monitor both technical aspects and musical performance
Technical Considerations
- Sample rates of 44.1 kHz or 48 kHz are sufficient for most projects
- Leave adequate headroom – never record with peaks above -6dB
- Use the highest quality cables and connections available
- Monitor multiple speaker systems to ensure translation
Common Mistakes to Avoid
- Recording levels are too hot, causing digital distortion
- Using too much compression during tracking
- Neglecting to record a clean DI backup when using amp simulation
- Poor tuning and intonation setup before recording
- Ignoring phase relationships when using multiple microphones
Genre-Specific Considerations
Rock/Metal: DI recording with aggressive amp simulation, tight playing
Jazz: Warm amp recording or acoustic bass with natural room tone
Pop: Clean DI with subtle processing, consistent dynamics
Electronic: DI recording with creative processing and effects
Funk: DI recording to capture percussive attack and note definition.
Conclusion
Each bass recording method serves specific musical purposes. DI recording provides clarity and flexibility, microphone recording captures organic amp character, hybrid approaches offer the best of both worlds, amp simulation provides endless tonal options, and acoustic recording captures natural instrument resonance.
The key to professional bass recording lies in choosing the right method for your music, properly preparing your instrument, and focusing on performance quality above all else. Experiment with these techniques to develop your signature bass sound, and remember that great bass recording starts with great playing.
Whether tracking in a bedroom studio or Abbey Road, these fundamental techniques will help you capture bass guitar recordings that provide the solid foundation every great mix deserves.