.png)
You have multiple microphones in your PC setup, and you want to make any one of them your primary mic. But since you have Windows 11 running, you’re not sure how to set the default microphone. If that’s the reason you’re here. Well, you have landed on the right platform.
This article shows you detailed instructions for choosing a default mic in Windows 11 with the help of two methods. Plus, there is a bonus guide to separate your default microphone from your communications microphone.
Also, you will explore the common issues related to the default microphone in Windows 11 and quick tips to fix them.
Method 1: How to Set Default Microphone in Windows 11? (Basic Level)
Let’s try to set the default microphone from the basic settings in Windows 11. It requires choosing the correct microphone from the input section within Sounds settings.
So here’s what you need to do.
- Step 1: First, you need to enter the settings of your Windows 11 computer. To do that, click on the “Start” button to open the menu and write “Settings” in the search bar. Once the Settings icon appears, click on the “Open” button

Or you can simply left-click on the “Settings” option under the “Best match” section.
- Step 2: Click on the “Systems” tab on the left panel of the screen in the Settings menu

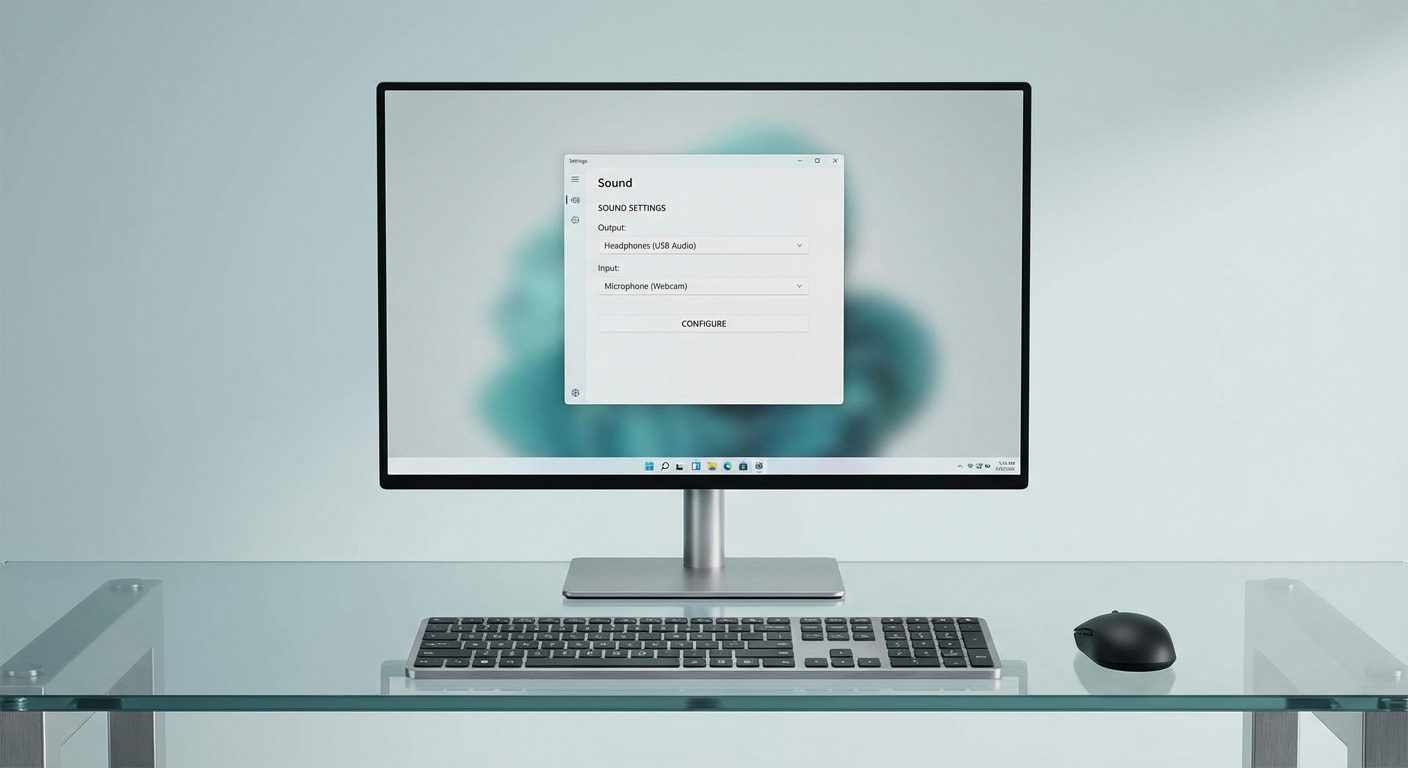
- Step 3: Once you do that, the “System” screen will appear with different options on the right panel of the screen. So from there, click on the “Sound” option

- Step 4: Inside the “Sound” menu, look for the “Input” section. Here, you can see all the basic information about the audio input devices, like the connected microphones to your system

- Step 5: Under the “Input” section, you will see the names of multiple microphones under the “Choose a device for speaking or recording” option (in case you have more than one microphone connected to your computer). So, click on the microphone that you want to make it default

Method 2: How to Set Default Microphone in Windows 11? (Advanced Level – Highly Recommended)
In this method, you will learn to set your default mic in Windows 11 by digging deep into the settings. Here are the steps.
- Step 1: Open your computer or laptop. Once you’re on the home screen, click on the “Windows” icon to open the start menu

- Step 2: When the menu pops up, look for the “Settings” option (gear icon) and click on it

If the icon doesn’t appear in the menu, click on the “All app” button below the search bar.

Then, scroll down alphabetical-wise, and you will find the “Settings” option under the “S” alphabet section.

- Step 3: After that, you will see various options on the left and right side of the screen, like this

So, click on the “System” option in the left panel and then select the “Sound” option from the right side of the screen

- Step 4: Inside the sound options, you will notice the “Output” and “Input” sections along with the “Advanced” tab. So, scroll down a little more while remaining in the “advanced” tab and click on the “More sound settings” option

- Step 5: Once done, a new window will pop up on your screen with different tabs/sections related to your computer’s sound, like this

Since you need to set the default microphone, click on the “Recording” tab to see all the audio input devices connected to your PC.

Now, speak into your microphone and observe that the green levels in front of each mic’s name are bouncing as you speak. If there are multiple active mics, they should all be showing you the green bar going up and down. You will also observe that one of them will have a “green check” icon, confirming that the particular microphone is currently the default device

- Step 6: To change the default mic, left-click once on the name of your preferred mic from the list to highlight it in blue to ensure it’s selected

- Step 7: Then, click on the “Set Default” button at the bottom of the pop up window to make it your default mic

As soon as you do that, you will notice that the “green check” icon appears on the microphone that you have selected as your audio input device.

- Step 8: Click “OK”
That’s it!
Bonus: Steps to Separate Your Default Microphone and Default Communication Microphone
In a multiple-microphone setup, Windows allows you to select a different microphone to use on communication platforms. This is helpful when you’re attending an online meeting, as only the chosen mic will work with the communication apps.
- Step 1: Go to the “Settings” option from the start menu
- Step 2: Choose “System” and then click on the “Sound” option
- Step 3: Scroll down and select “More sound settings” under the “Advanced” tab
- Step 4: Click on the “Recording” tab when the pop up menu appears and left-click on the microphone you want to select as a default communication mic

- Step 5: Then, click on the “downward arrow” symbol alongside the “Set Default” button to open the downtown menu

- Step 6: Select the “Default Communication Device” option from the downtown menu

You will notice that a small green telephone icon will appear next to the microphone, confirming that it will be used for communication apps.

- Step 7: Hit the “OK” button
Troubleshooting Common Issues
After thorough research on several platforms, like Reddit and Microsoft forums, we gathered a few issues related to default microphone settings in Windows 11. So, in case you are facing similar problems, you can follow the instructions to resolve them.
Problem 1: Default Microphone in Windows 11 Keeps Changing on Xbox App
Solution:
Choose the microphone you want to use as the default by selecting it in the input options section of Windows settings and turning off the extra devices. Use the Xbox Game Bar settings to change audio preferences to the right mic. In Device Manager, update the audio drivers and then set the preferred mic as the default communication device. This strategy is to prevent the PC from auto-switching between many active microphones and have a good voice connection while playing games or talking online.
Problem 2: Default Microphone in Windows 11 Switches on Zoom
Solution:
To prevent unnecessary microphone switching during Zoom meetings, it is advisable to manage the audio configuration in Windows Sound settings, such as disabling the devices not in use. You can also set Zoom to the “Same as System Settings” option in order to keep the external microphone active. In case there are bugs in the operating system, update it to fix them and enjoy a consistent audio experience in online meetings.
Problem 3: Automatically Adjustment of the Default Microphone Volume in Windows 11
Solution:
To stop the microphone volume from automatically adjusting, you need to go to the Windows Sound settings and uncheck the option that permits applications to take exclusive control. You can also go to the device properties and turn off the automatic gain control in any conferencing software or browser extension. For instance, you can use a script or a software application that locks the volume at a fixed level, which will, most likely, prevent sudden spikes.
Pro Tip: If your microphone has a gain knob, you can also control the volume as per your desire by adjusting he knob. Some mics also have a dedicated mobile application that shows the volume information and allows you to take control over several other features, like the Hollyland Lark M2S.

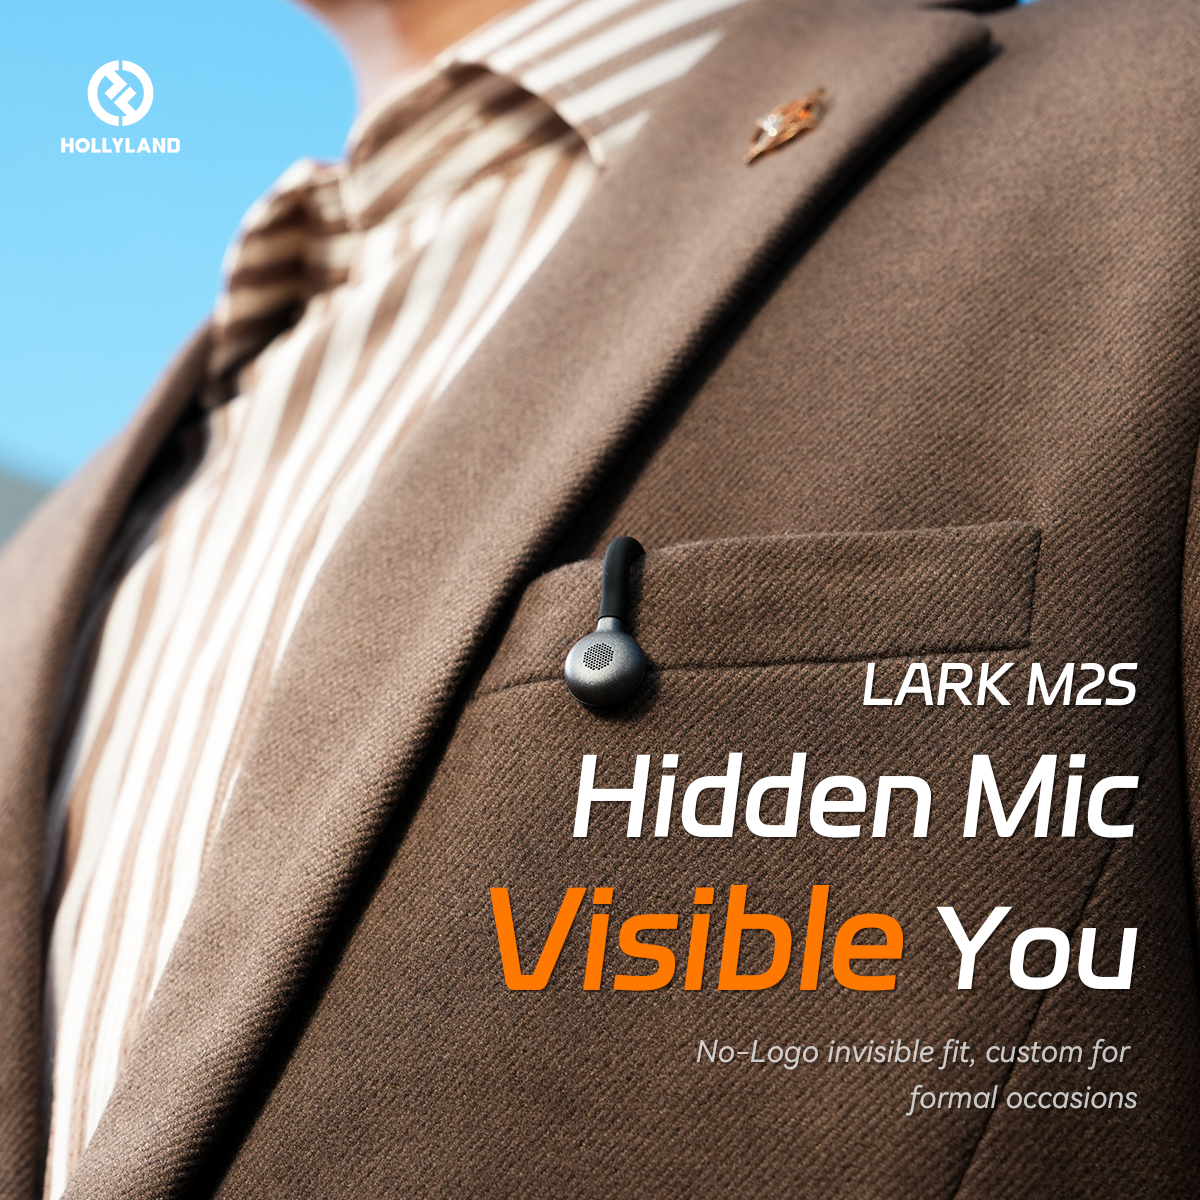
Lark M2S is a wireless microphone with a logo-free appearance and a strong titanium clip-on that doesn’t fall off your clothing. You can easily link this mic with the LarkSound app to adjust settings and check battery levels and volume in real time. Moreover, Lark M2S offers dual-level noise cancellation for capturing crystal-clear audio. Plus, its 10-hour battery life and up to 1000ft wireless range ensures freedom of movement and carefree recording.
Conclusion
Setting a default microphone in Windows 11 is easy. The fastest way is to choose it from the available devices list. However, the recommended method is to go to the advanced sound settings and set the microphone as the default.
On the other hand, you can also set a separate default microphone for communication. This is useful because it not only helps organize and set up a high-quality mic for important conversations but also reduces background noise and, therefore, improves the clarity of your voice during calls. Remember, a proper setup will not only make your conversations more enjoyable but also make recordings quick and simple.
Choosing the right default microphone can significantly enhance the clarity and efficiency of your audio input in Windows 11, especially if you’re frequently joining calls or recording. For those seeking superb sound quality without the hassle of cables, a reliable wireless lavalier microphone might be your ideal solution.
Frequently Asked Questions about Setting the Default Microphone in Windows 11
Q1. What is the default microphone in Windows sound settings?
The default microphone is the one that records sound and takes voice input for different tasks. It is also used for recording audio and giving voice commands to the Windows Assistant. When an app needs to use a microphone, it automatically picks the default one unless changed in the settings. This makes it easier to manage audio input without selecting a different microphone each time.
Q2. What is the communication microphone in Windows 11 sound settings?
A communication microphone in Windows 11 is configured for voice-based applications. It is ideal for video calls, online meetings, and instant messaging. This kind of microphone mainly aims at making the voices apparent for better conversations. It dismisses the background sound and makes it easier to speak. Making the selection in the settings is a way to make sure that voice chats and calls are better and, consequently, easier to comprehend.
Q3. How to use headphones mic instead of laptop built-in mic on PC?
You can use the shortcut combination of the Windows and S keys to open the search bar. Enter “Realtek Audio Console” and open the application. Tap on “Device advanced settings.” Look for “Connector Retasking ANALOG” and select “Headset” from the list. This will switch the input from the laptop microphone to the microphone in the headphones. The system will now automatically take the headphone mic as the input device for better sound quality on calls and recordings.
Q4. Why won’t Windows 11 detect my headset mic?
If the headset microphone in Windows 11 isn’t working, you can try this solution. Go to the Start menu and select Settings. Privacy & Security should be clicked on, and then the Microphone option should be picked. Confirm that the “Microphone access” option is set to on. This is the option that apps require to use the microphone. When this setting is off, apps are unable to detect the microphone. Switching it on can help to rectify the problem, as well as allowing the various programs to use the microphone when necessary.