.png)
.png) Deutsch
Deutsch .png) Français
Français .png) Italiano
Italiano  Español
 .png) 日本語
日本語 .png) Português (Brasil)
Português (Brasil) The PS4 is still an admirable console for many gamers. It runs smoothly and has some really awesome games. A working mic makes everything better, especially during multiplayer matches or when sharing gameplay clips. But connecting one to the console can be tricky. Some mics plug in and work right away, while others need extra steps. Settings might need adjusting, and not every mic is a perfect match. That’s where some people get stuck.
This guide explains how to connect a microphone to a PS4. Be it your headset with mic, USB mic, or a clip-on lav mic. There’s also a quick fix if the mic doesn’t work after setup.
So let’s get started!
How Do You Connect Different Types of Microphones to a PS4?
When you have a PlayStation 4, you can attach various mics to it to chat with teammates, stream, or record gameplay videos.
Therefore, this section shows you detailed steps to use:
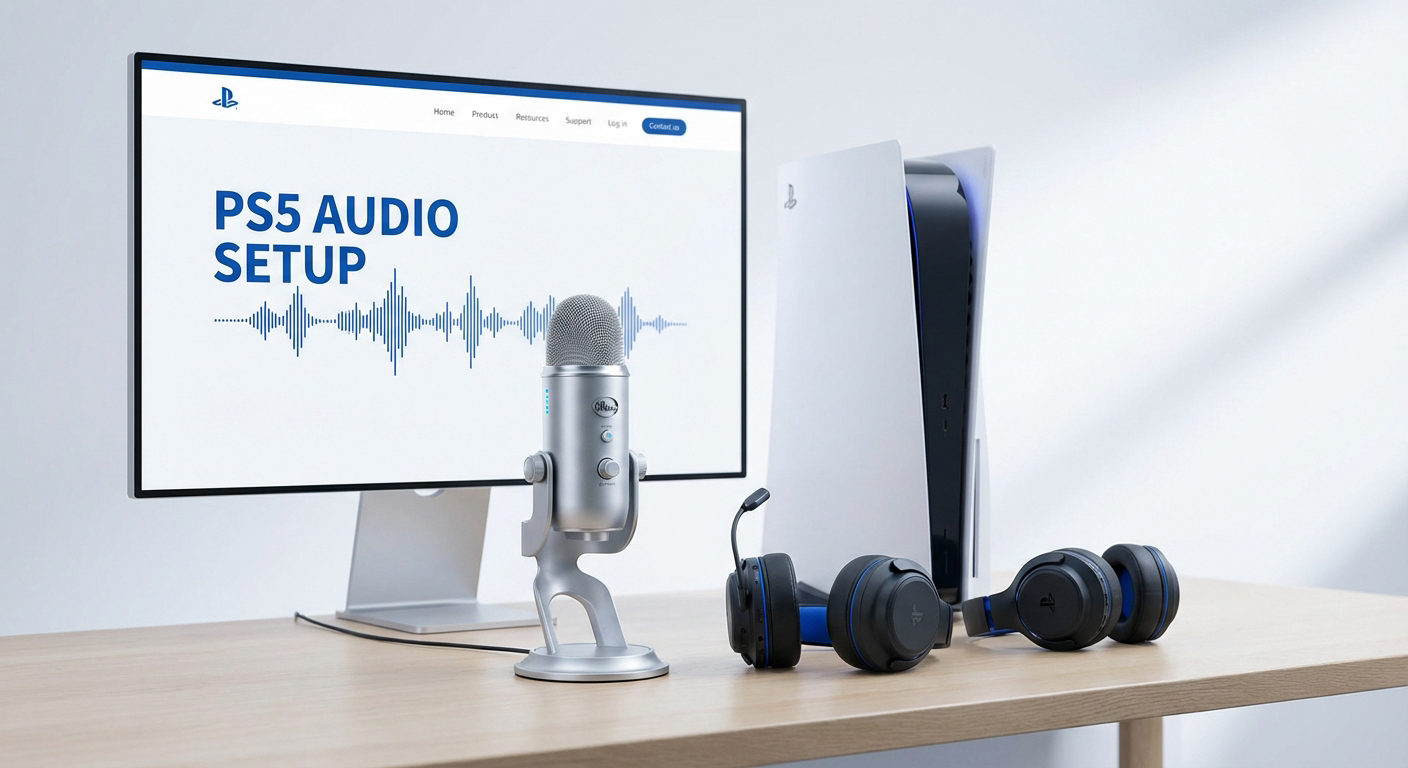
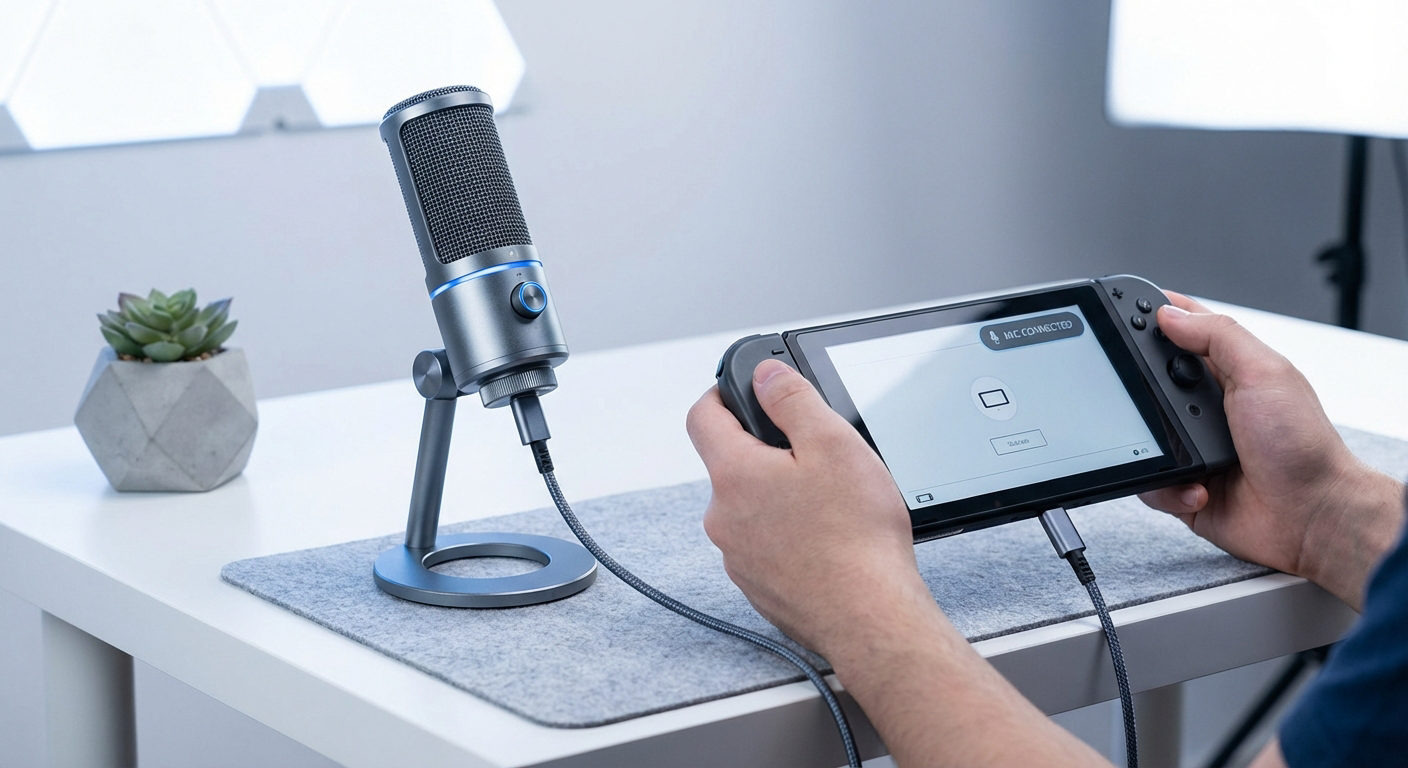
- USB microphone (like Blue Yeti)
- Wired headset (with an integrated microphone)
- 3.5mm wired lapel mic
Steps to Connect an External USB Microphone to Your PS4
- Step 1: Turn on your PS4. Locate one of the USB ports on the console, and insert the USB cable into it. Make sure the other end of the USB cable is correctly inserted in the mic’s USB port

Once the cable is attached to your console, a confirmation prompt with a “microphone” symbol should appear on your TV screen.

- Step 2: Now, go to the main homescreen’s options. Navigate to the “Settings” option (represented by a briefcase), and press “X” to select it

- Step 3: After entering “Settngs,” you will see various options. Scroll down to “Devices” and enter it using the “X” button

- Step 4: On the next page, choose the “Audio Devices” option to view settings related to audio input and output devices

- Step 5: Look for the “Input Device” option, and you should find the “USB Microphone” name in it

In case you have multiple input devices, press “X” on this option and choose the USB mic from the list.
- Step 6: To ensure you can hear the microphone and other sounds from the PS4, go back to the “Audio Devices” menu. Scroll down to the “Output Device” tab, and check the names of the devices assigned to it

Ideally, your “TV” or “headphones” should be selected as an Output Device.
- Step 7: Next, select the “Adjust Microphone Level” option from the “Audio Devices” menu

Speak into the mic to check the “Input Volume” bar. If it remains in the “Good” section, it means your microphone won’t produce low (the “Too Low” section) or distorted (the “Too High” section) audio.
If the “Input Volume” is too low or too high, adjust “Microphone Level” until the bar enters the green area (the “Good” section) as you speak

NOTE: You can adjust the microphone level for all types of microphones connected to your console.
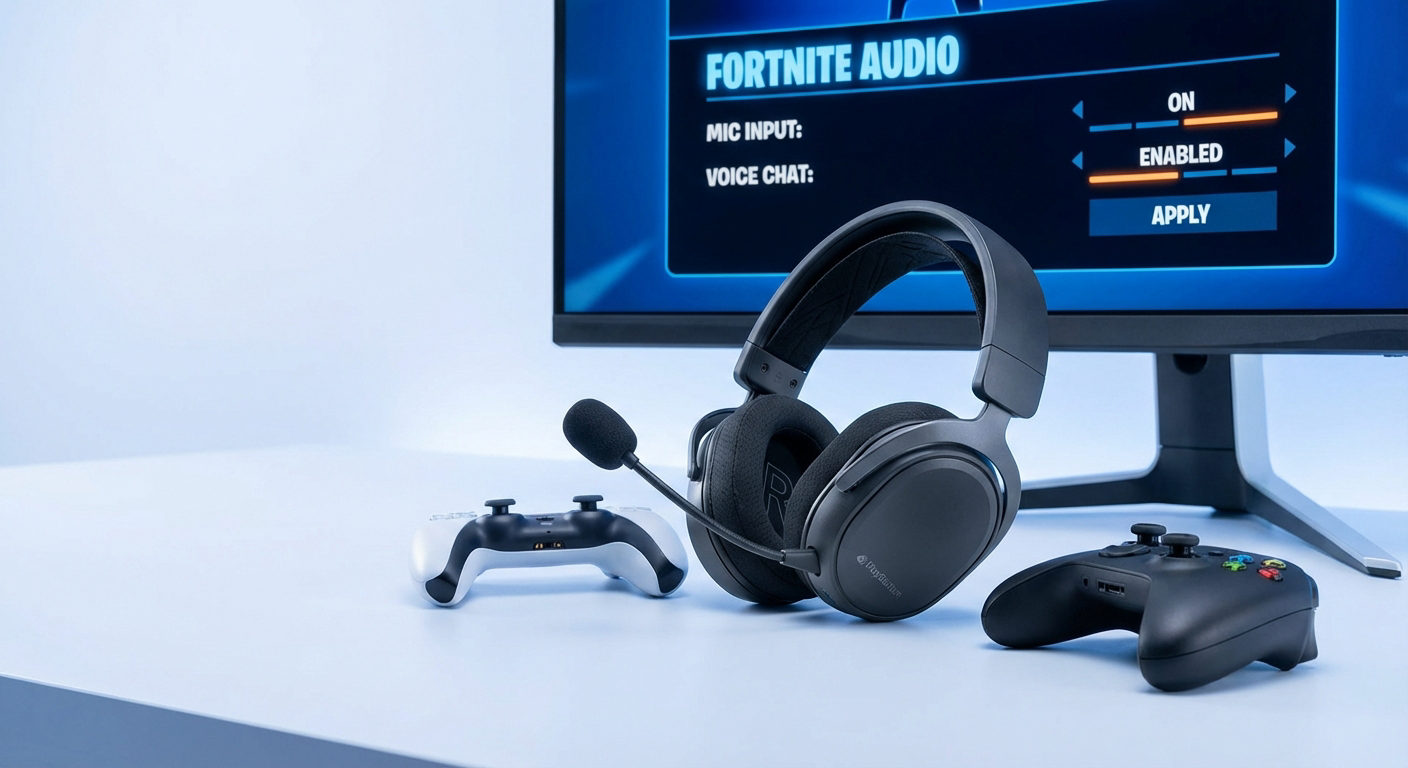
Steps to Connect a Headset with Mic to Your PS4
Follow these instructions to connect a 3.5mm wired headset to your PlayStation 4.
- Step 1: Once you have turned on your PS4, grab the controller, and insert the headset jack into the 3.5mm audio port at the bottom

As soon as you plug the headset, a confirmation prompt should appear on your screen, like this.

- Step 2: Enter PS4 settings by selecting the briefcase icon on your homescreen

- Step 3: In the settings menu, scroll down to the “Devices” option and press “X” to select it

- Step 4: Now, check the “Input Device” option. You should be able to see the “Headset Connected to Controller” as your input device status label

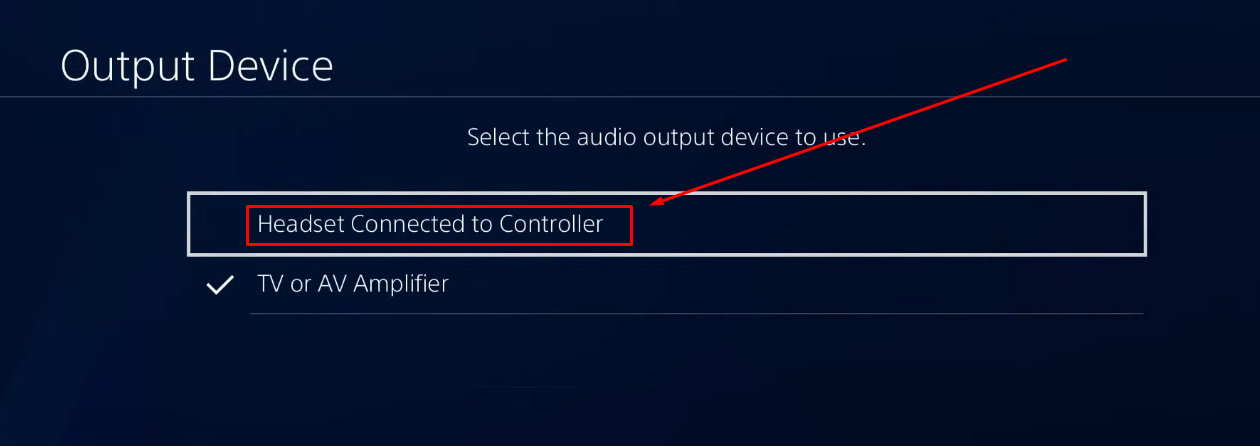
- Step 5: Now, to make sure the audio from the headset mic is heard by, go to the “Output Device” option and press “X” to enter it

- Step 6: Choose “Headset Connected to Controller” instead of the “TV or AV Amplifier” option
- Step 7: Return to the “Audio Devices” menu and choose the “Adjust Microphone Level” option. Check if the “Input Volume” bar bounces as you speak. However, in some cases, you may find this bar showing activity


Therefore, to make the mic work, you have to dissect some options. To do that:
- Step 8: Press and hold the “PS” button on your controller to open the “Quick Menu” page
- Step 9: Select the “Sound/Devices” option from the menu on the left side

- Step 10: Here, first uncheck the “Mute Game Voice Chat” option. Then, uncheck the “Mute All Microphones” option

Once done, go back to the “Adjust Microphone Level” option (See Step 7), and speak. This time, the “Input Volume” bar should move. This means your headset mic is successfully connected to your PS4. You can also adjust the “Microphone Level” if the input volume is too low or too high

- Bonus Step 1: Select “Volume Control (Headphones)” option in the “Audio Devices” menu and adjust the volume level of the headset (the in-game and microphone audio)

- Bonus Step 2: Lastly, go to the “Output to Headphones” option and select “All Audio”

Steps to Connect a 3.5mm Wired Lapel Microphone to a PS4
If you prefer enjoying the microphone perks on your PlayStation 4 without wearing a headset mic or using a desktop mic, try connecting a wired lavalier microphone.
Follow these steps:
- Step 1: Clip the lav microphone to your shirt and insert its 3.5mm jack into the audio port of your controller

- Step 2: On the PS4, go to the “Settings” option by selecting the briefcase icon

- Step 3: From the list, select the “Devices” option

- Step 4: On the next page, select “Audio Devices.” Make sure the “Input Device” option shows “Headset Connected to Controller” as an audio input label. If not, then enter this option and choose this label (in case any USB mic is also attached to your PS4 setup)


- Step 5: Return to the main “Settings” and scroll down to the “Sharing and Broadcasts” option

- Step 6: Scroll down to the “Audio Sharing Settings” option and press “X” to select it

- Step 7: You will notice that the “Include Microphone Audio in Video Clips” and “Include Microphone Audio in Broadcasts” options are unchecked. While you can leave them as they are, putting a checkmark on each will help you record audio in screen recordings and game streaming.
Therefore, it is recommended that each of these options be enabled. Or else, your lavalier microphone will not perform during live streaming or when recording gameplay on your PS4.

Quick Fixes: Microphone Not Working on PS4 after Connecting It
If you are still having trouble connecting the mic to your PS4, you may be experiencing one of the issues stated in this section. Many users on Reddit and Quora have fixed these problems.
Loose or Damaged Cable
If the USB or jack isn’t fully connected, the mic may not work. Even if it clicks in, it might not be tight enough. Unplug and plug it back in firmly. Try a different port or controller. If the cable looks bent or worn, replace it. For 3.5 mm plugs, a small twist or push can help.
Wrong Audio Settings
Sometimes the PS4 sends sound to the TV instead of the mic. Go to Settings, then Devices, then Audio Devices. Pick the headset for both input and output. Turn the volume up and set the output to All Audio. Speak into the mic and see if the bar moves.
Mic Muted in Quick Menu
There’s a mute switch hidden in the Quick Menu. Press the PS button, go to Sound and Devices, and check that mute is off. Then test your mic again.
Plug Type Not Supported
Some headsets use the wrong plug type. The PS4 needs a TRRS plug, not TRS. If yours doesn’t match, get a proper adapter. Or use a headset made for PS4.
No Built-in Mic
The DualShock 4 doesn’t have its own mic. You’ll need to plug in a headset or use a wireless one with a dongle.
USB Mic Not Detected
Some USB mics need drivers, which PS4 doesn’t support. Use plug-and-play mics only. Try plugging the mic in after signing into your PS4 profile. If that doesn’t help, try plugging it in before powering on. Test both ways to see which works.
Parental Controls Block Mic
Child accounts may block mic use. Go to Family Settings, pick the child’s account, and allow communication. Log back in and test it.
Cheap Gear Can Fail
Some third-party mics just don’t work right. Try a friend’s working headset to compare. If yours still fails, replace it.
Pro Tip: Want your streams and other content creation tasks to sound clean and smooth? Try using a wireless mic that makes things easier and sharper.
The Hollyland Lark M2S comes with a titanium clip that grabs onto clothes without slipping or sagging. It’s super light, so you’ll probably forget it’s even there. No logos on the mic means nothing awkward shows on your shirt during a video or stream. Everything looks neat and pro, even if you’re just playing with friends. The built-in Environmental Noise Cancellation (ENC) cuts down on room sounds, fans, or other chatter around you. That means your voice stays clear without messing with mic settings. And if you’re streaming for hours, one charge can last up to 9 hours, so there’s no need to keep checking the battery. And there’s a lot more Lark M2S offers to its users!

Hollyland LARK M2S - Wireless Hidden Microphone
An ultra-discreet wireless microphone featuring a clip-on transmitter for an “invisible” fit.
Key Features: No-Logo Fit | Ti+ Design | 48 kHz/24-bit
Conclusion
Figuring out how to connect a microphone to a PS4 doesn’t have to be hard. Most mics work fine once you follow the right steps. Just be sure to check the settings and use the correct plug. If it still doesn’t work, try switching ports or using another mic. Sometimes it’s just a loose cable or a muted setting. Even cheap gear can cause random issues. Always test your mic before joining a game or party chat. That way, you won’t miss anything important. Whether it’s USB, headset, or clip-on, once it’s set up right, you’re good to go.
Frequently Asked Questions about Connecting a Microphone to a PS4
Q1. Can the PS4 controller be used as a microphone?
No, the PS4 controller does not have a built-in mic. So, using it directly as a microphone is not possible. However, there’s a thing you can do. You can plug in any wired earbuds or headsets with a mic into the controller’s 3.5mm jack. If the headset has a working mic, it should let you talk in voice chat. This is also why new PS4 units usually come with basic earbuds that include a mic. For better quality, consider using a separate mic that is PS4 compatible and plugs into the controller.
Q2. Why does my voice get picked up even without a mic?
If your voice is being heard, then a mic is definitely involved. It could be from a headset or another connected device. Even a small mic can pick up sound well. Some users forget that their PlayStation VR headset has one built-in. Other gadgets around the console might also include a mic you didn’t notice. It helps to double-check what’s connected to your setup. Something as tiny as a hole near your headphone jack could be acting as a mic without you realizing it.
Q3. How can Beats headphones be used with a PS4 mic?
Using Beats headphones with a PS4 is tricky. The wireless versions won’t work at all since the PS4 only supports Sony Bluetooth gear. Wired Beats may fit the 3.5mm port, but that doesn’t mean the mic will work. Some headsets use different pin layouts, so even if audio plays fine, the mic might not function. For wireless use, a USB Bluetooth adapter might help, but results vary. Wired headsets work best with the PS4 controller, but mic support isn’t always guaranteed with brands like Beats.
Q4. Is it possible to use an iPhone as a PS4 mic?
Using an iPhone as a mic for the PS4 doesn’t work. Sony’s mobile apps don’t support live party chat. The PS Messages app allows voice messages, but that’s not the same as chatting in real time. AirPods can’t connect either, since the PS4 doesn’t support the Bluetooth profiles they need. Only Sony-approved Bluetooth gear works. A possible alternative is using a PS Vita, which supports party chat and can pair with AirPods. Sadly, there’s no direct way to turn your iPhone into a PS4 mic right now.
Q5. Why do PS4 recordings only include my voice?
When you record gameplay on the PS4, only your mic is captured by default. Even if you hear your friends during the game, their voices won’t be included unless a setting is changed. To fix it, go to the Settings menu, then find Sharing and Broadcasts. From there, select Audio Sharing Settings. Make sure to turn on the option that allows microphone audio in video clips. That’s the only way to include party chat in your saved gameplay videos. Otherwise, only your voice will be recorded.