.png)
Trimming a Zoom recording is a valuable tool for enhancing the clarity and focus of your recordings. By removing unnecessary content from the beginning or end, you can create a more polished and engaging video for your viewers.
Whether you’re a seasoned Zoom user or new to recording, this guide will walk you through the trimming process using Zoom’s built-in features and explore the use of third-party applications for more advanced editing options.
Is it Possible to Trim a Zoom Recording?
Yes, zoom provides a built-in tool to trim a recording, but it also has some limitations. Users can only trim the video at the beginning and end of the recording. Trimming the saved meeting from the middle is not possible.
If you tap on Zoom’s scissors option, it asks you to mention a time duration. Users usually mistake this as the duration they want to cut, but it is actually the period of the video that they want to save. So, if you mention the time from 00:12:00 to 01:02:00 from a 2-hour-long video, it will save the video from 12 minutes to one hour and two minutes and cut all other parts from the beginning and end.
Therefore, you will need third-party video editing tools to edit or trim the videos from the middle. These tools allow the users to cut the video to their choice and provide other advanced editing options such as transitions or splitting the video into segments.
Step-by-Step Guide to Trim Zoom Recording Using Zoom
If your saved Zoom meeting needs to be trimmed only from the start or end, do not go through the hassle of using online tools. Rather use Zoom directly. Here’s how to do it:
Pre-requisites:
You need to have a Zoom account with the Cloud Recording Option enabled on that account. This saves the video after the meeting, thus allowing you to trim it anytime.
This option is already enabled by default for all paid subscribers. To enable it manually:
- Sign in to the Zoom web portal and go to the Navigation menu
- Tap “Account Management”
- “Account Settings” will appear on your screen. Click this option
- Go to “Recordings” and press the “Cloud Recordings” option to enable or disable it
This option is enabled by default for the paid subscribers.
Steps to Trim the Zoom Video:
- Go to the Zoom web portal and tap the navigation menu
- Log in to your Zoom online account.
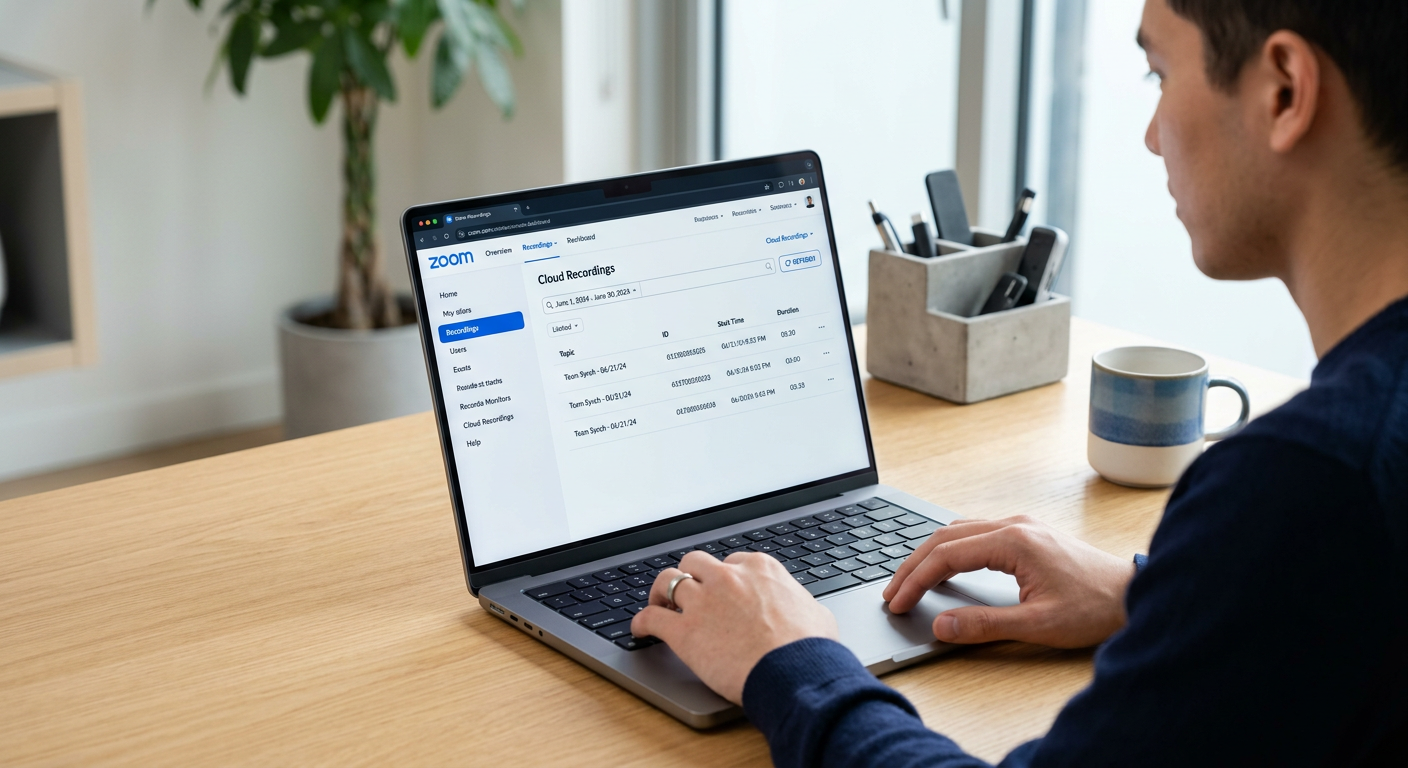
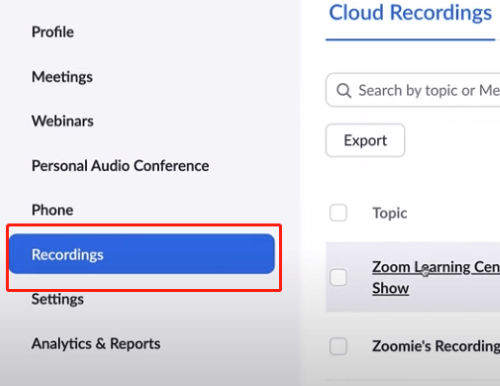
- Tap the Recordings option from the navigation menu.
- After selecting the meeting topic for the session you wish to cut, click the video thumbnail.
- Select Trim.
- Use the blue sliders to set the start and finish times for the trimmed recording. This indicates that the trimmed video will be the area in between those sliders
- Click Trim and to confirm, tap on Trim once more.
- A notice indicating that your footage is currently being edited will appear below the video. The original recording file will be overwritten by the edited version.
Viewers who have access to the recording will not be able to see the content while it is being trimmed. Depending on its duration, trimming a recording can take up to two hours. So, once it is cut to your desired length, reload the page to see the trimmed recording.
Adding or Removing Sections to the Trimmed Video:
You can also divide the trimmed video into smaller sections or remove the already added sections from the video in the following way:
- Move your cursor over the playback bar and press the plus sign to add more sections to the trim.
- Set the beginning and ending times for the new section using the blue sliders. To add more sections, repeat these steps as necessary
- To delete a section, drag your cursor over a trim (the blue portion of the recorded playback bar) and select Remove
Restoring a Trimmed Zoom Recording
Not satisfied with the trimmed version of the recording or did you cut it more than required? Do not worry! Because you can restore the original file anytime. Here’s a simple guide to do this:
- Log in to your account on the Zoom website
- Click Recordings from the navigation menu
- After selecting the meeting topic for the trimmed cloud recording you wish to have restored, click the video’s thumbnail
- Tap on the “Restore” option that is visible below the video
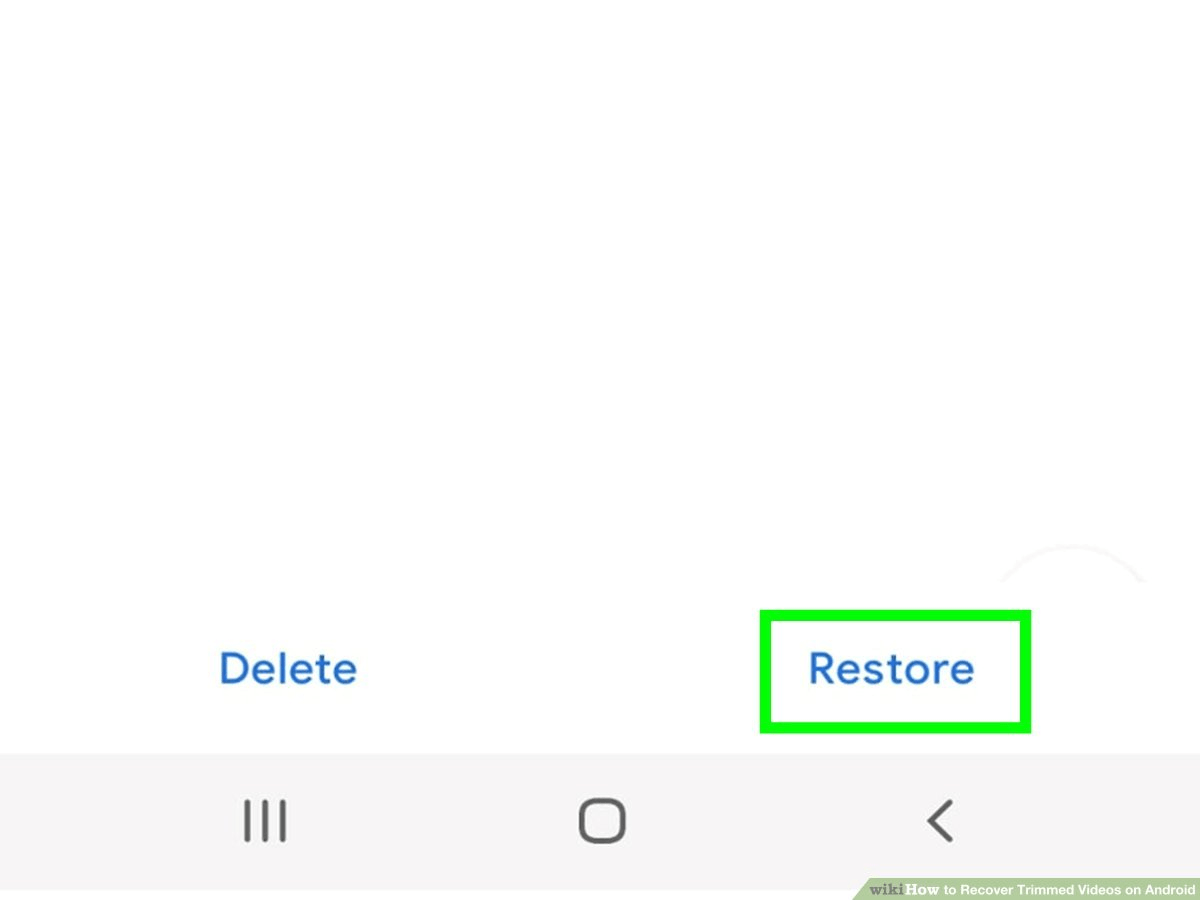
- To confirm, click “Restore” again and wait for some time. After it has been restored, you’ll be taken back to the original recording.
Also, note that restoring the original file will delete the trimmed version from the storage permanently. If you want to keep both the edited and original versions, download the trimmed video first and then restore the original file.
Using Third-Party Apps to Trim Zoom Recordings
1. Flixier
Flixier is an online tool that allows you to trim Zoom videos without having to install any software. It also offers advanced editing options like adding transitions, cropping the video, or adding subtitles in any recording. Users do not even need an account to use this tool.
Here’s how to trim your Zoom recordings using Flixier:
- On opening Flixier, you will see an option “Choose a video”
- Tap on it and go to “My Library”
- You will see the Zoom option there. If not, click “See More” And the option to drag the video to the tool will appear
- Tap “Zoom”, log in to your account, and select the video that you want to trim by tapping on it twice
- Now you can choose to edit or trim the video however you want to
- Once you have made all the changes in the video, click on the export button at the top right of the screen
The video will be downloaded within 3 minutes and then you can choose to send it to your cloud storage or post it on Facebook or YouTube.
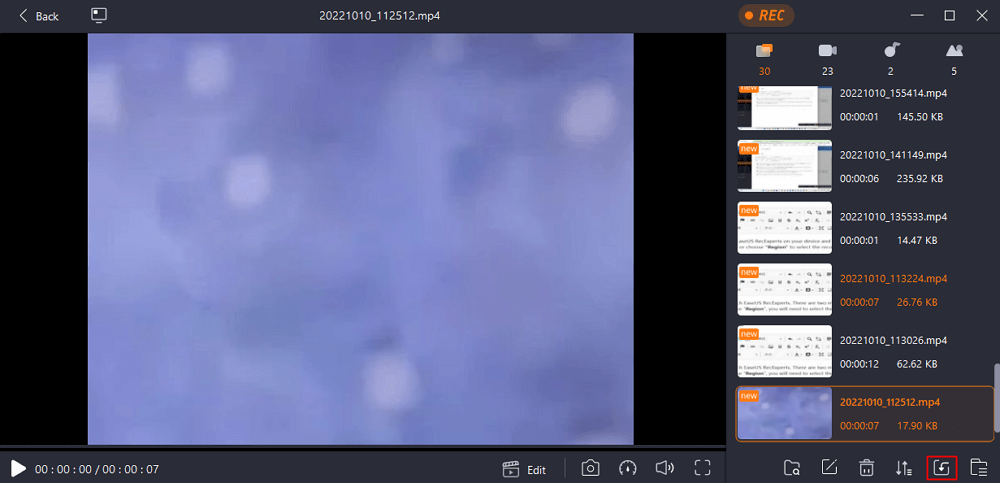
Unlike Flixier, the EaseUs RecExperts is a tool that you first need to download to trim and edit videos according to your choice. In addition, it allows users to record videos and audio on Windows 10. To trim the Zoom videos with EaseUs software, follow these steps:
- Go to EaseUs RecExperts and provide your email account
- Click submit and you will get an email on the provided account to download the tool
- Once it is downloaded, tap on the launch button. It will appear on your screen
- Open it and click on the “Recordings” option on the right side. This will open the built-in video editor service of the software
- You will see a square with an arrow inside. It is the import option. Tap on it and select the video recording that you want to trim
- It enables the user to trim video frame by frame allowing users to precisely edit out the parts they do not want in their videos
- Also, do not forget to save the video once you are done trimming it
3. tl;dv
tl;dv is another video trimming tool that you can use to create smaller clips and share them with your colleagues. In addition, it also allows its users to record the Zoom meetings as attendees and make notes during the meeting.
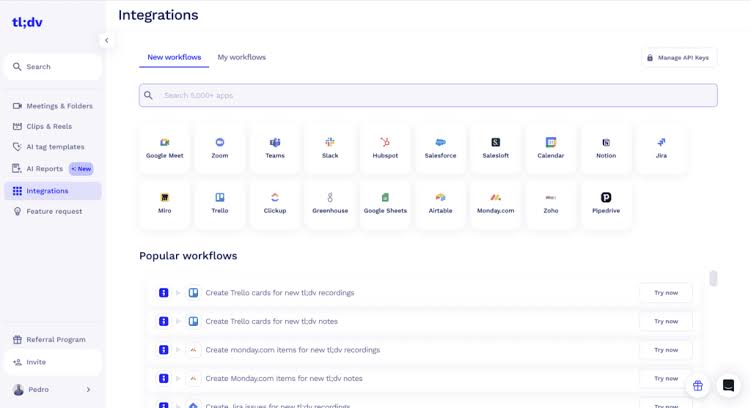
You can get it for free by connecting it with your Google or other account. Here’s how to trim your recordings to a smaller size using tl;dv:
- First, go to tl;dv and connect it with your Google account
- They will ask for your preferences including the meetings you want to record and the people you want to share your notes with
- Fill in all the necessary information and you are ready to use it
- Open the tl;dv library and select the meeting you want to trim
- Go to the meeting’s transcript and highlight the part of the video that you want to keep
- Tap on the “share clip” option and a preview will open
- Confirm that the video is trimmed to your needs and tap the share option.
- You will get a link to the edited video
Looking to level up the quality of your Zoom recordings right from the start? Consider upgrading to a high-quality streaming camera, which can significantly enhance the clarity and professionalism of your meetings and presentations.
FAQs
What happens when you trim a video on Zoom?
When you trim a video on Zoom, it cuts the beginning and end part of the video but not permanently. It only trims the playback range for the viewers so that they can only see the part you chose to keep. If it is downloaded by the viewers, they will get the original video regardless of the playback range you set.
Can I trim a Zoom recording on mobile?
No, trimming a video on Zoom using a mobile phone is impossible. This built-in service is only available for Desktops but it is also limited to trimming the beginning and end of the Zoom meeting. If you want to trim videos on a mobile phone, you can either use free online tools or download video trimming software.
Can I restore a trimmed Zoom recording?
Yes, Zoom allows its users to restore trimmed recordings. To do so, go to the trimmed video you wish to restore and tap on its thumbnail. An option to restore it will appear. Click it, and the original video will be restored to the app’s Cloud storage.
Can you delete parts of a Zoom recording?
You can only delete the starting and ending parts of a Zoom recording using Zoom. But, if you wish to delete clips from the middle, you will have to use online or offline editing tools that are compatible with Zoom. These tools not only allow you to delete any part of the video but also let you edit them or add subtitles.