.png)
.png) Français
Français .png) Italiano
Italiano If you’re trying to record or stream something on your PC, PlayStation, or Xbox, a video capture card is your best bet. It takes the strain off your main device, so your games run smoother, and your streams or recordings don’t lag or drop quality. Instead of forcing your console or PC to do everything at once, the capture card handles the video signal separately. That way, your device can focus on performance, and your recordings stay sharp without glitches or hiccups in the middle of gameplay, presentation, or anything else.
What are the Different Types of Capture Cards?
Not every capture card is the same, and depending on what device you’re recording from, you need a specific one. So let’s break it down one by one to see what each type actually does and when you’d want to use it.
PC Video Capture Cards
If you’re gaming on a dual-PC setup, this is the type you’re looking for. One PC runs the game while the other manages the stream or the recording. The capture card goes in between and takes the video signal from the main PC without dragging down its performance.
You get to play with a high FPS rate, and everything gets recorded on the second system without slowing anything down. This setup is especially useful when you want top-tier gameplay and streaming at the same time without any compromises.
Mac Video Capture Cards
Mac-compatible capture cards do exactly the same as Windows PCs’ capture cards do. Except, they’re designed to function smoothly with macOS setups.
You get multiple resolution levels to choose from, and you can plug them into devices that support Mac-specific recording setups. These are used when you want to record something without overloading your MacBook or iMac’s processing.
Nintendo 3DS and Wii Capture Cards
Streaming and recording from a Nintendo 3DS or Wii isn’t something you can pull off with just a regular setup. These older consoles need a video capture card because there’s really no direct way to stream or record gameplay from them. If you’re someone who still enjoys Nintendo classics and wants to share that experience, this is the hardware that gets it done.
PlayStation Capture Cards
PlayStation can record by default, but for longer sessions or professional streaming, you need a capture card. It connects your console to a PC and sends the video feed directly without pushing your PS hardware too far. It also allows more detailed settings like bitrate control, overlays, and better recording software integration.
Xbox Capture Cards
The same thing applies to Xbox. Sure, it has built-in recording features, but for cleaner footage and full control over what you’re capturing, a dedicated video capture card is a better option.
It connects directly to your recording system, so you can edit, stream, or save videos exactly how you want without slowing down your game. It’s especially handy if you’re playing longer sessions or want to add overlays and voice commentary during a stream.
How to Set Up and Use a Video Capture Card
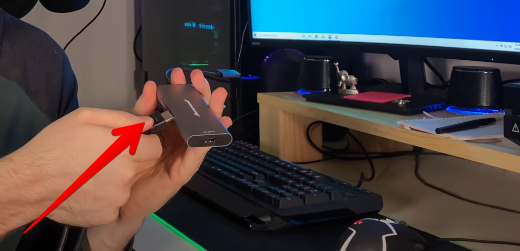
A video capture card isn’t complicated once you know what you’re working with. It’s just a small device with a few parts, and all you really need to get started is the card itself and a couple of HDMI cables. Some cards might come with a DisplayPort, but most of them rely on HDMI since that’s the standard for most consoles and computers. Once you’ve got the right cables and the card, everything else is just about setting it up in the right order.
1. Plug in the USB Side to Your Computer
The first thing you’re going to do is just plug the USB side of the capture card into your computer.
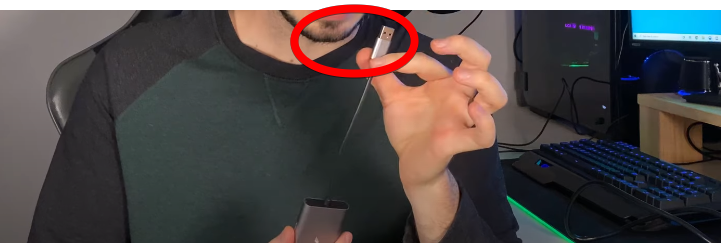
Any port works, but if you’ve got a USB 3.0, go with that for a more stable and faster connection. It’s not a hard rule, just something that usually gives better results.
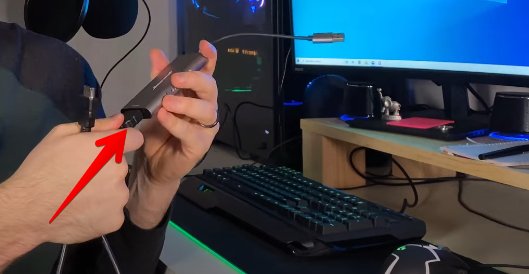
2. Connect Your Console to the HDMI Input
Next, grab an HDMI cable and plug one end into your gaming device. This could be your PlayStation, Xbox, Nintendo Switch, or another PC if you’re trying to ease the load while recording or streaming. The other end of that cable goes into the port on your capture card and is labeled HDMI Input.
That’s the side where the video signal enters the card from your device into the AUX.
3. Send the Signal Out to Your Monitor or TV
Now that your capture card is receiving the video from your device, you need a second HDMI cable. One end goes into the other side of the capture card, where it says HDMI Output and the other end connects to your monitor or TV.
So, if you’re playing on an Xbox and usually play on a TV, this setup keeps everything just the way you’re used to. The card simply passes the video through while also sending it to your computer.
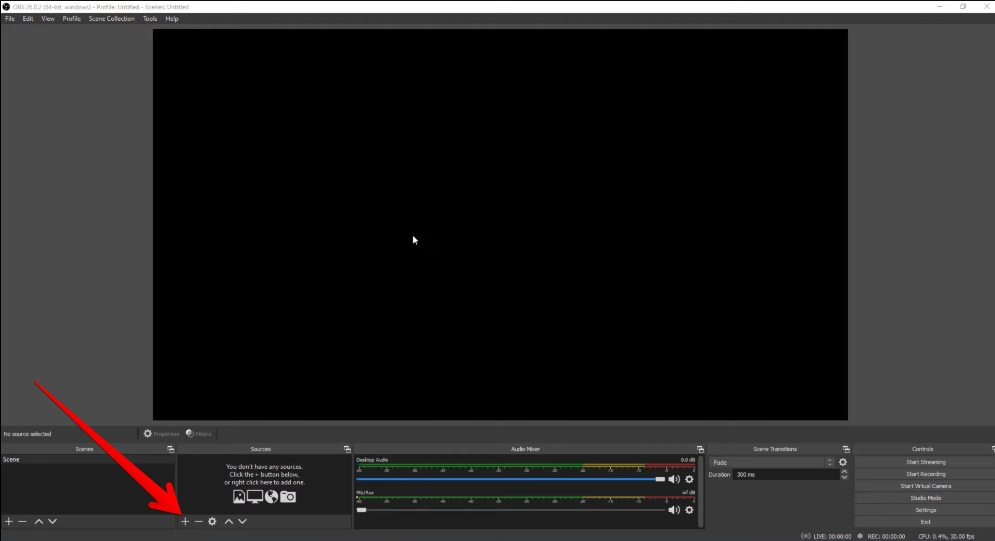
4. Set Up OBS or Streamlabs
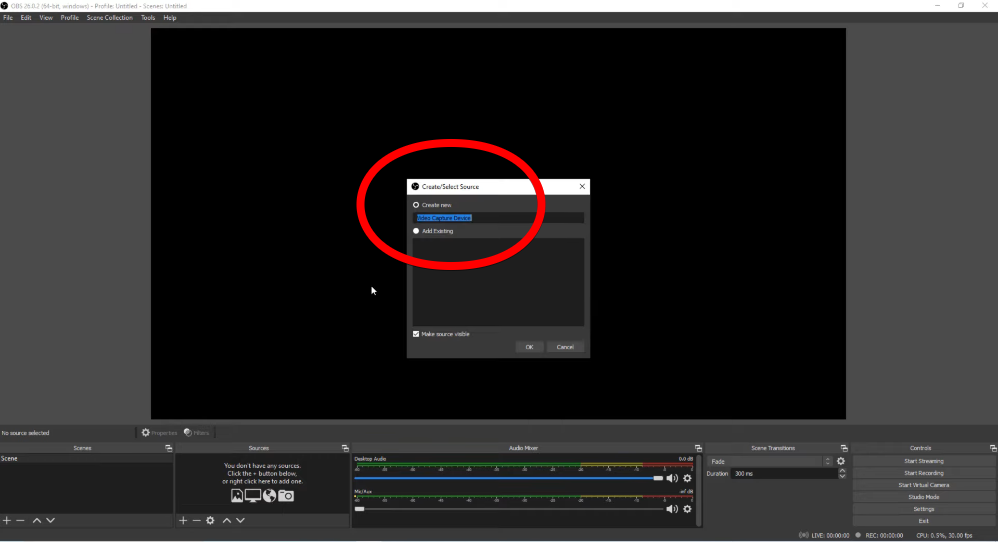
Once the hardware is in place, it’s time to move on to the software of your choice, but the best ones are OBS or Streamlabs. When you open any one of them, you’ll see a plus symbol under the Sources panel. That’s where you add a new input.
Here, select Video Capture Device.
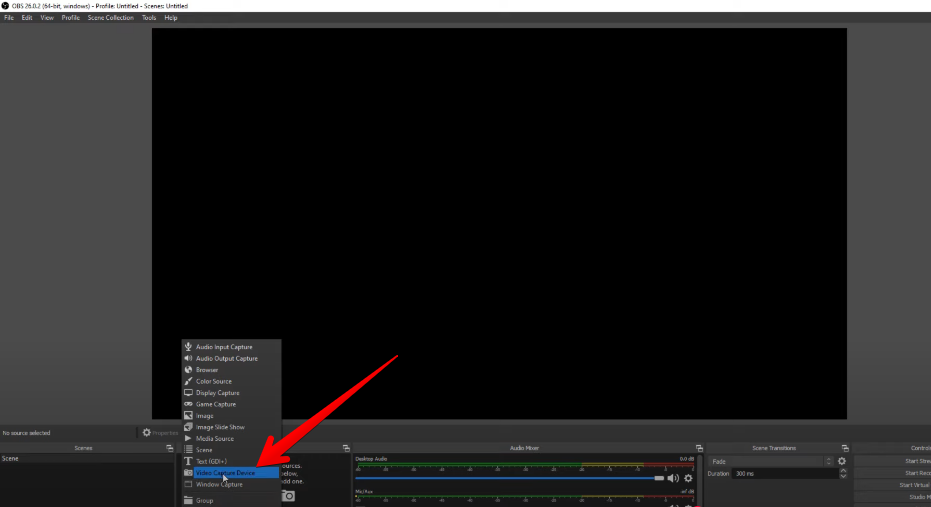
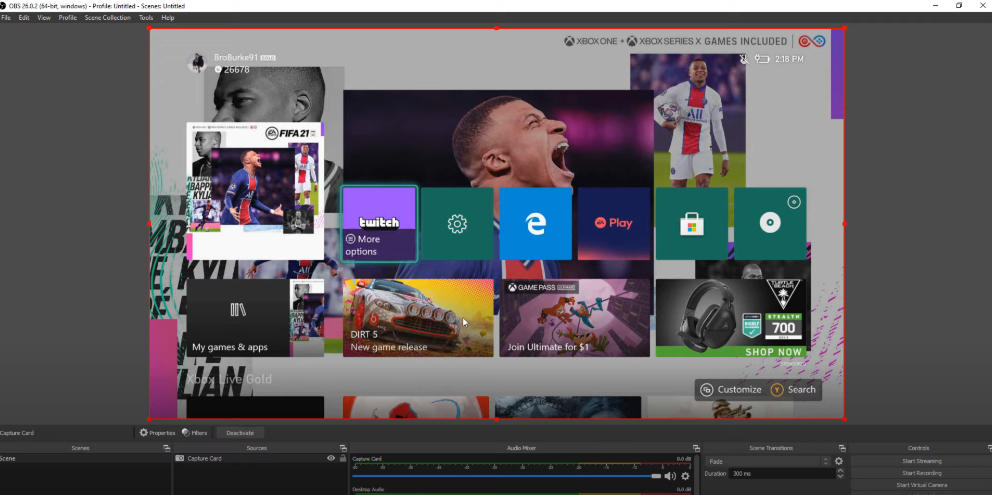
Then, name it anything you want, and click OK. Your device feed should pop up right away.
If you want to adjust specific settings, there’s a Custom option for resolution or frame rate.

But using the default settings is perfectly fine unless you’re working with a high-end system. Click OK to confirm, and you’re good to go.
5. Add Your Webcam
If you want your face to show up in the stream, there’s an easy way to add your webcam. Go back to the Sources section and click the plus symbol again. This time, pick a Video Capture Device just like before but name it something like a Webcam.

Then, in the Device section, pick your webcam from the list and click OK.
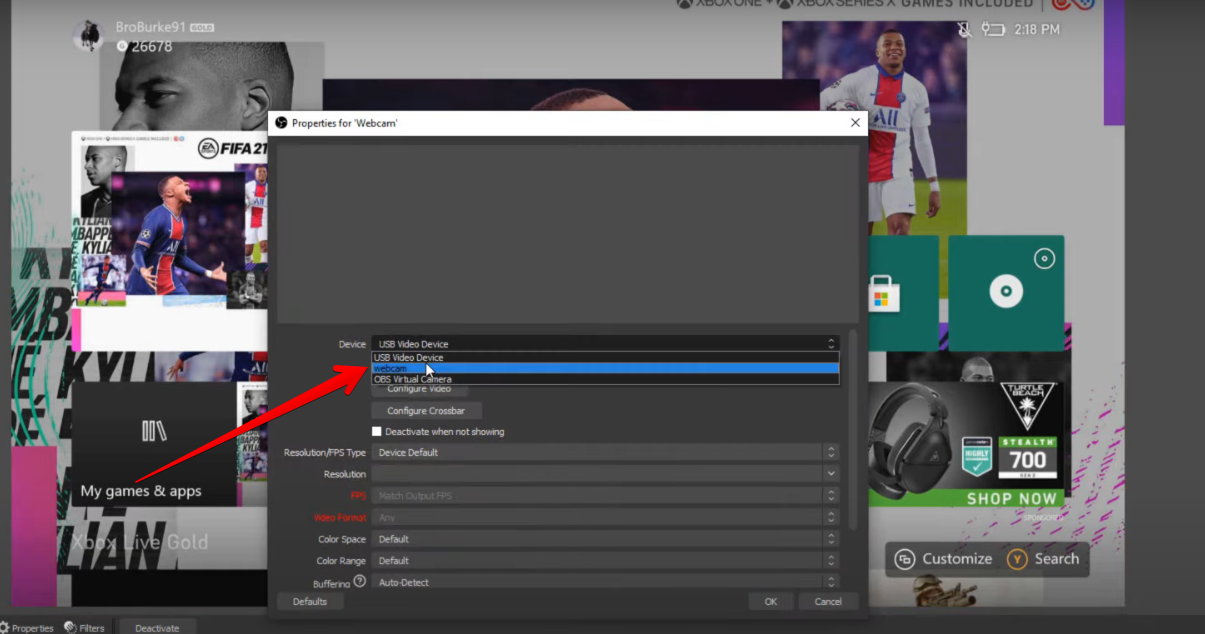
Now, you’ll see your face pop up in the preview window. You can click on it, drag it to the corner of the screen, and resize it however you want. That way, your gameplay stays front and center while your webcam sits neatly in the frame.
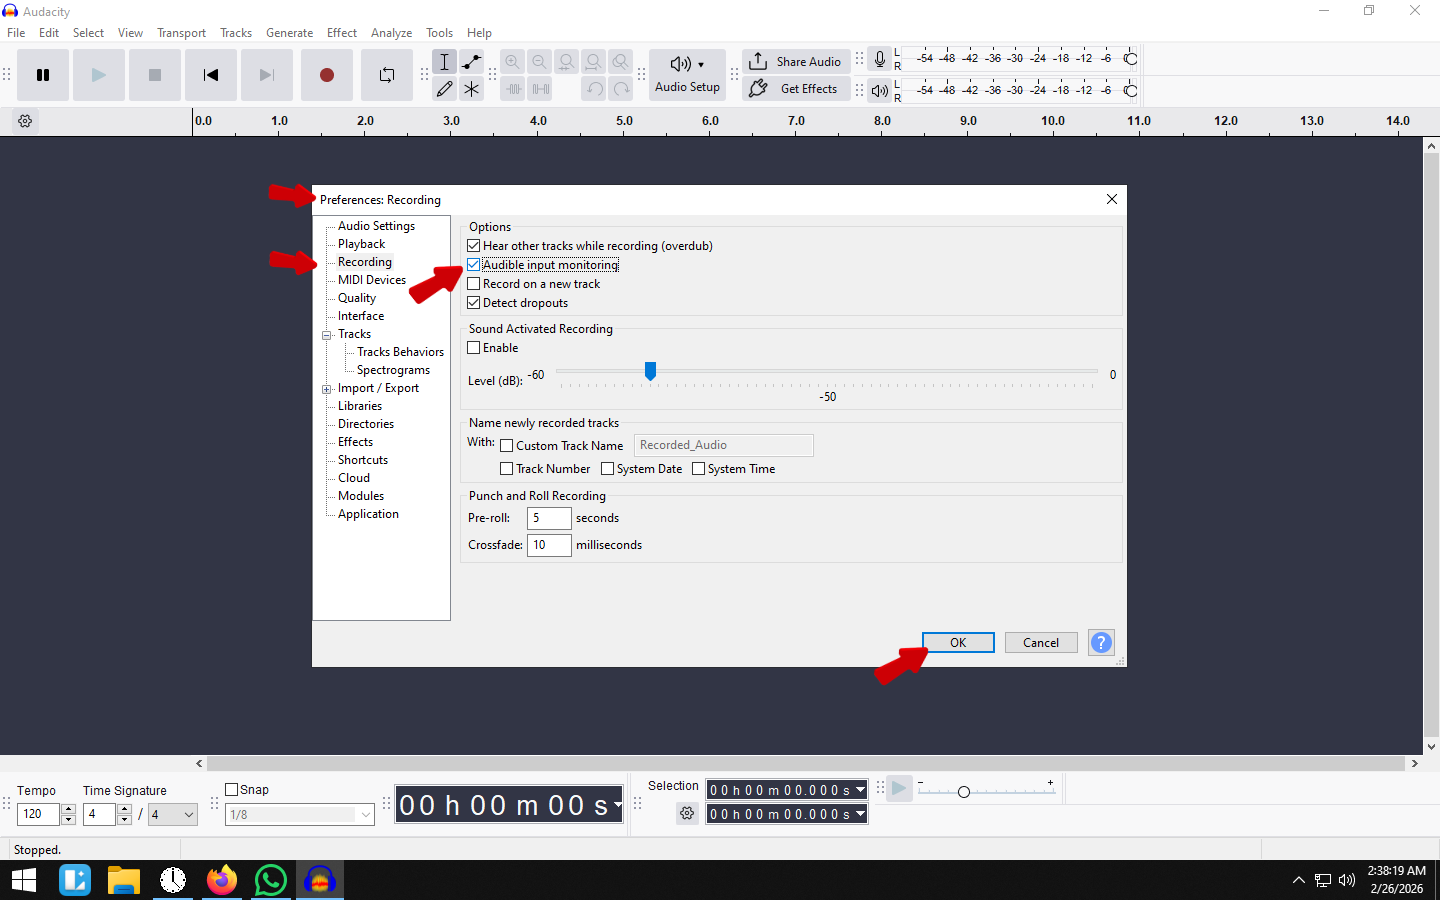
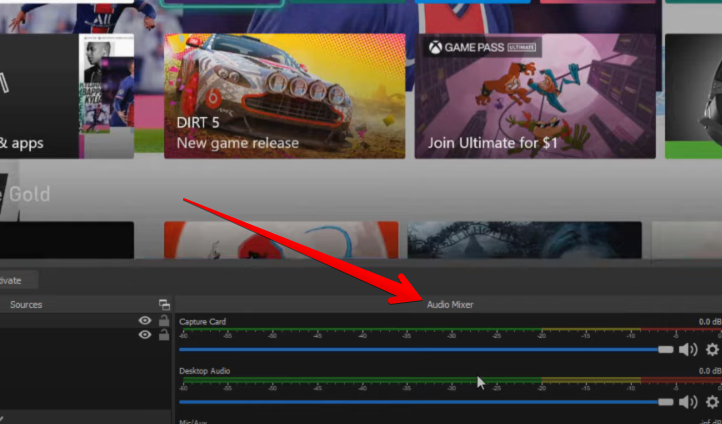
6. Set Up Audio Settings
Next, it’s time to handle the audio and streaming settings. Just go to the menu below and play around with the sound settings until you find the best level.
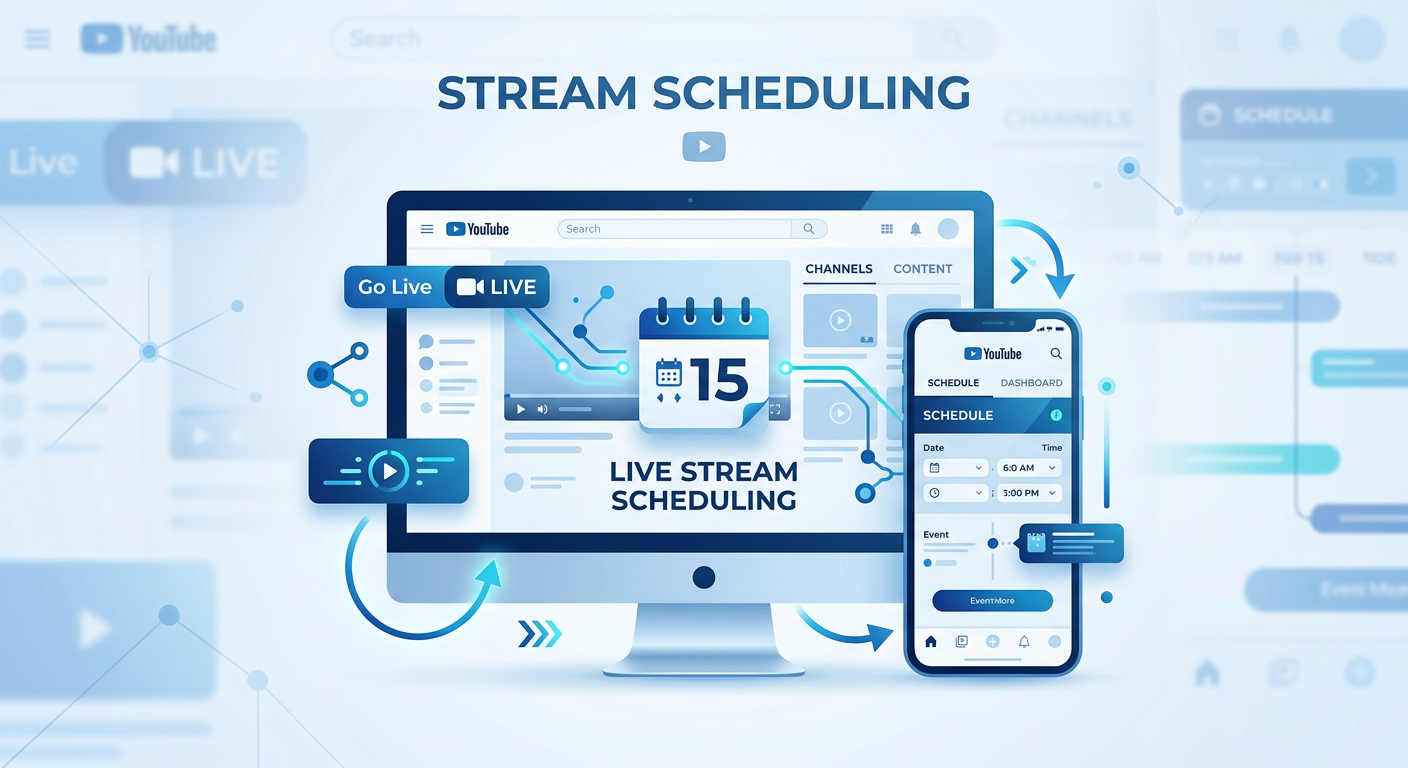
7. Upload and Start Streaming
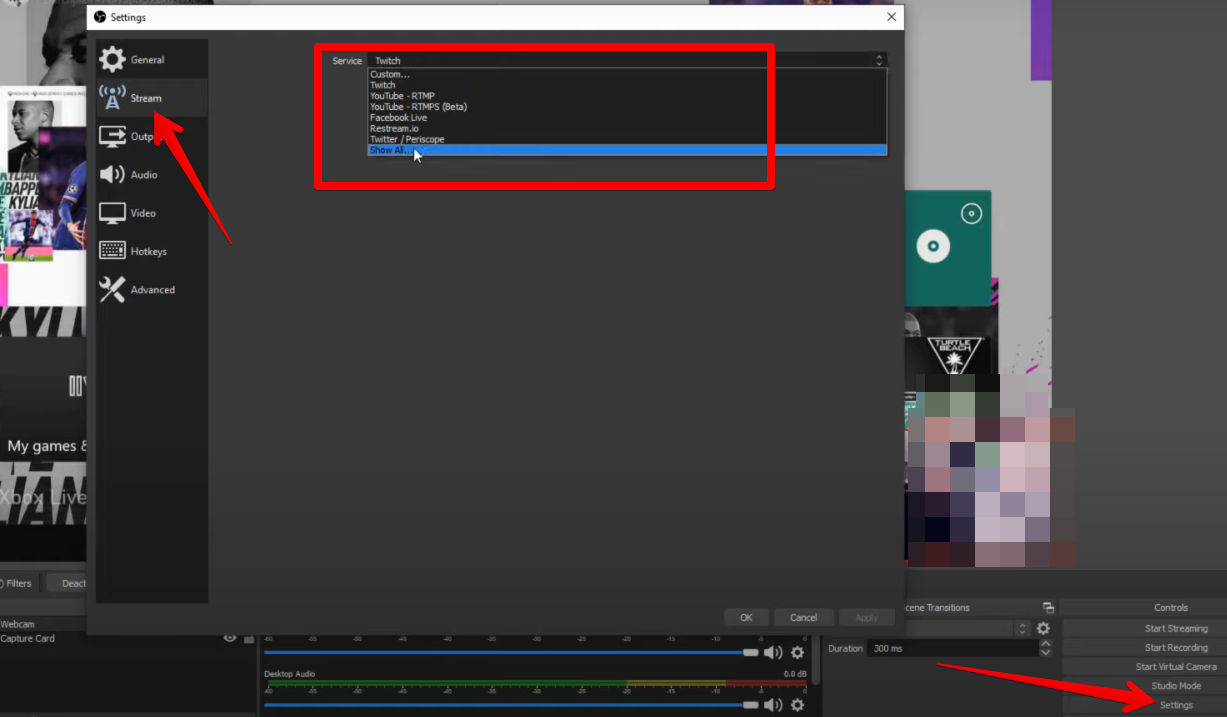
In the Settings, head over to the left menu. This is where you can switch your input devices and make sure your voice is coming through clearly. Click the tab labeled Stream and pick the platform where you want to go live. It could be Twitch, YouTube, Facebook, or anything else that you want to broadcast.
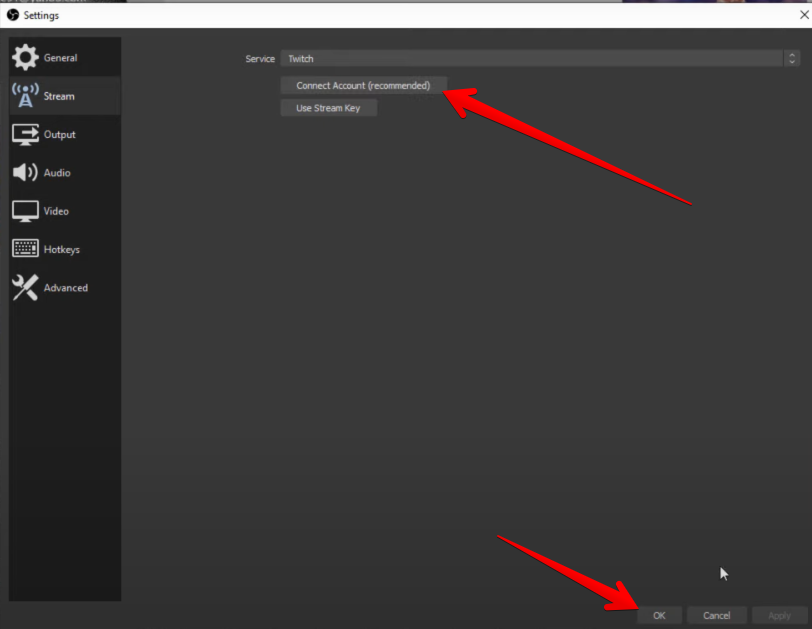
You can either sign in to your account or paste in the stream key, depending on what platform you’re using. Once your account is connected, click OK to confirm everything.
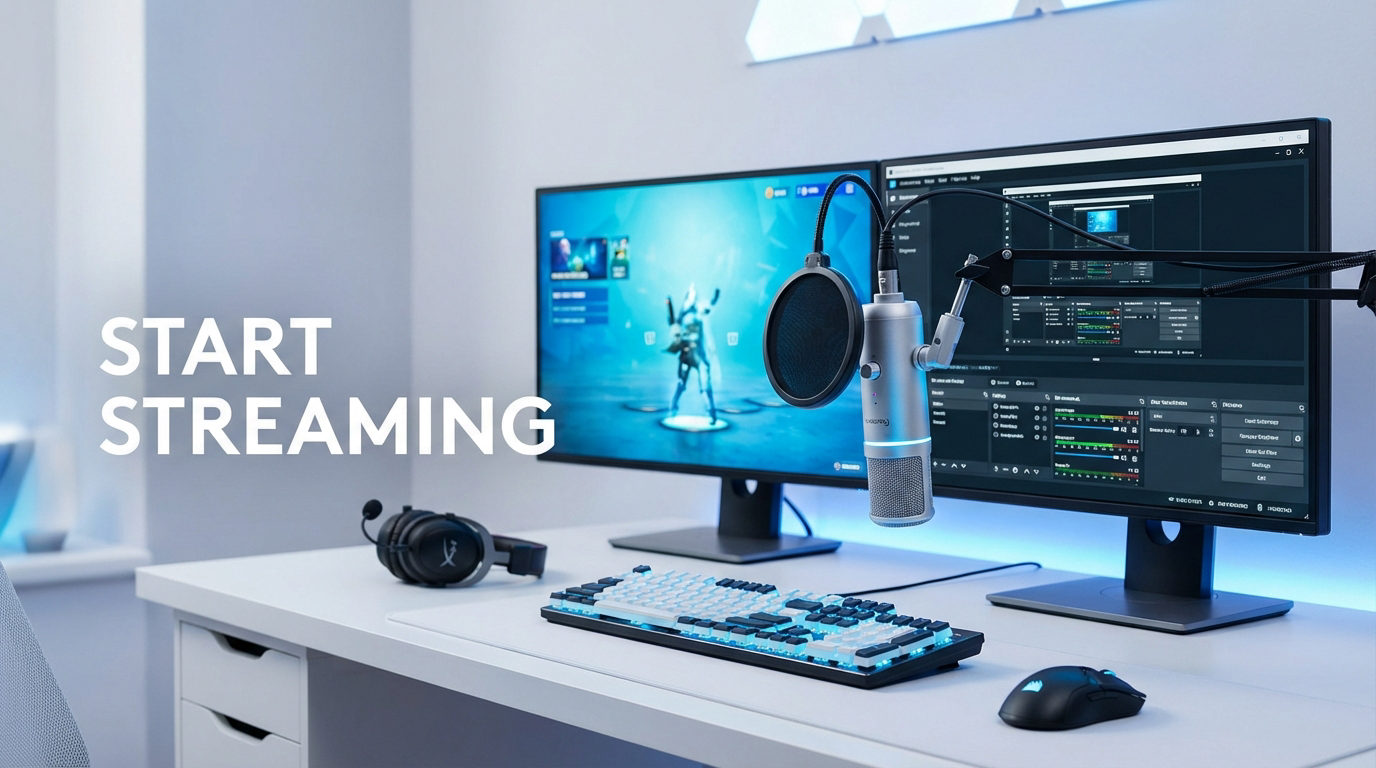
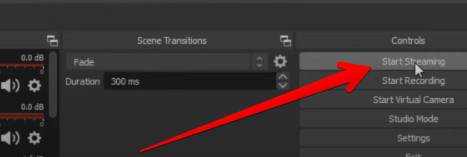
Now that everything is ready, your video and audio are both set, and your account is linked. All that’s left is starting the stream. Just click the button that says Start Streaming.
Then head over to your streaming dashboard on Twitch, YouTube, or wherever you’re going live. You’ll see your stream show up there just the way you set it up in OBS. At that point, everything is running through your capture card and out to your viewers.
Conclusion
That’s all there is to it. This guide showed you how to use a video capture card. Once the cables are in place and OBS is connected, everything runs smoothly. A capture card gives you the control you want without putting too much pressure on your gaming device or computer. You can use an affordable card that streams in 4K at 30fps. If you want 60fps, there are other options out there, but for most people, starting out with something simple gets the job done without any issues.
FAQs
How does a video capture card work?
A video capture card picks up the video signal from your console or computer and sends it to another device, like a PC. It lets you record or stream that footage without slowing down your main setup. The card just passes the video along while the connection stays steady throughout.
Do I need a video capture card?
If you’re planning to record or stream from a console or want to reduce strain on your PC, then yes, a video capture card is worth it. It separates the video processing so your gameplay runs better, and it gives you more control over how you record or broadcast.