.png)
Your videos, podcasts, and music need noiseless recording. But those hopes are often shattered when you use the microphone on your mobile phone. That is why you need premium audio recording equipment that not only improves audio quality during recording but also ensures noise-cancellation throughout the entire process.
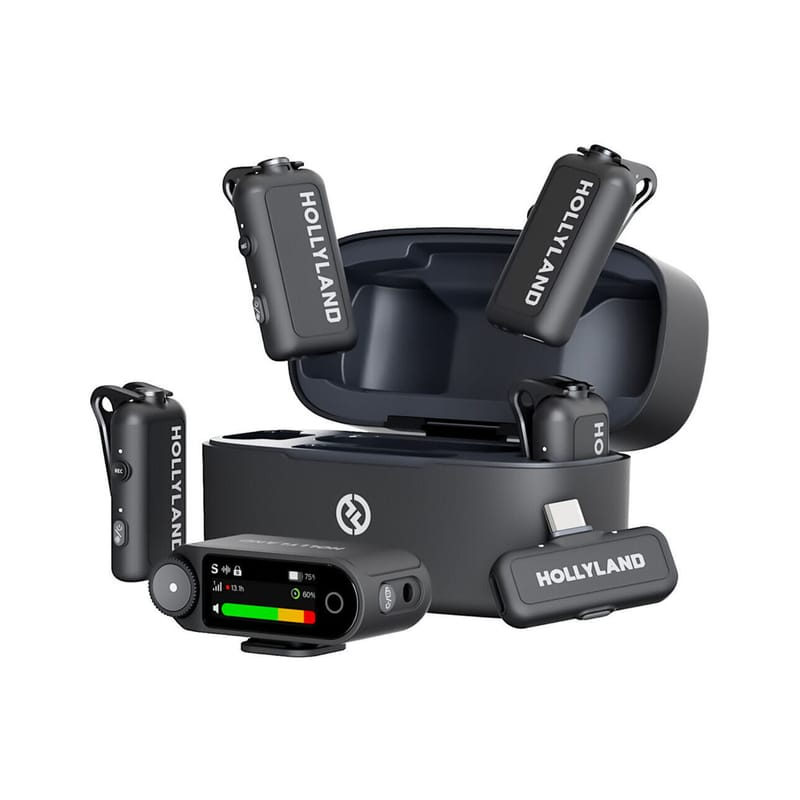
An industry standard recommendation is Hollyland LARK MAX 2, which has a 32-bit float recording advantage for premium outputs. It also comes with an OWS Bluetooth monitoring to make adjustments in real time!

Hollyland LARK MAX 2 - Premium Wireless Microphone System
A premium wireless microphone for videographers, podcasters, and content creators to capture broadcast-quality sound.
Key Features: Wireless Audio Monitoring | 32-bit Float | Timecode
Here’s how you can ensure a premium audio during the recording of your next podcast or video.
How to Improve Audio Quality During Recording a Video: Step-by-Step Guide
Recording crystal-clear audio is not just about the perfect equipment or a quiet environment. It is more of a synchronized space. Let’s understand some crucial methods to do this:
Step 1: Optimize Your Recording Environment
- Choose a quiet location for recording. It could be your room, a studio, a hall, or any place that doesn’t allow background noise at all.

- After that, you need to reduce the echo by applying soft furnishings to the room. Such as rugs, curtains, and acoustic panels.
- Without the soft furnishing, your sound is going to echo, and the eventual output will be way below the mark.
- No matter which microphone you choose, without this basic yet solid foundation, your audio recordings cannot have premium clarity.
Step 2: Set Proper Recording Levels
- Aim for audio peaks between -12 dB and -6 dB to balance volume and clarity. Levels too high can cause distortion, while levels too low result in weak, noisy sound.

- Use your device’s meters to monitor and adjust levels before recording starts. This can sometimes be modified depending on your surroundings.
- If you are recording in a public place, you will have to pay special attention to noise cancellation.
Step 3: Use Proper Microphone Techniques
- Maintain a consistent distance of about 6–12 inches from your microphone. Speak slightly off-center to reduce plosives.
- Use a pop filter or windscreen to avoid harsh breath sounds and improve clarity. Angle the microphone slightly off-center to reduce plosive sounds like “p” and “b.”
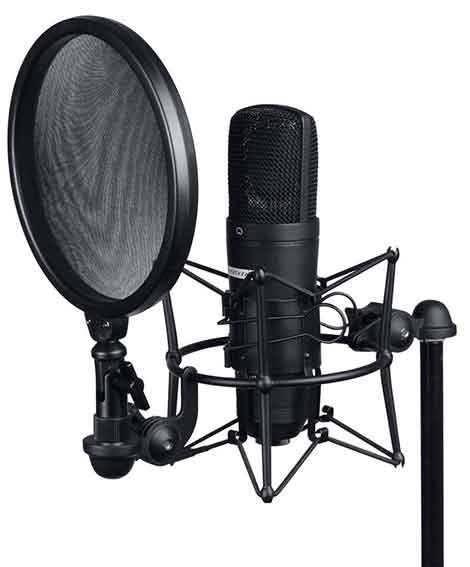
- Use a pop filter or foam windscreen for added clarity. Avoid touching or moving the microphone during recording, as handling noise can be picked up even by high-end gear.
Step 4: Use Quality Recording Software and Settings
- Your microphone captures the sound, but your recording software determines how that sound is processed and stored.
- Choose software that offers flexible format options. Set your sample rate to at least 48kHz and bit depth to 24-bit for professional clarity.

- If your equipment supports 32-bit float recording, like the Hollyland LARK MAX 2, enable it to capture a wider dynamic range without worrying about clipping.
- Save your sessions in a lossless format such as WAV for maximum audio fidelity during editing.
Step 5: Record a short test and a safety track
- Before starting the actual recording, you can go for a test session.
- This would only take a minute of your time and give you enough clarity about the sound.
- Additionally, it is going to raise any red flags that you might not be aware of.
Step 6: Monitor Live With Headphones
- When you monitor the audio live using headphones, you can better understand where the voice actually fluctuates or starts to introduce clutter.
- Wear closed-back headphones to avoid surround sound. During the experience, look out for distortion or popping sounds that indicate disturbance.
- Some premium headphones allow you to monitor the audio wirelessly, without sacrificing any sync in the audio.
Step 7: Wrap and Create Immediate Backups
- Once you have completed the recording session, you must create a backup in a cloud storage that can be shared externally.
- This way, you and your team will always have access to the audio files even if your mobile phone or the SD cards go missing.
- Uploading to cloud storage makes this easier for your remote teammates as well. They can extract and use that audio without sharing the file through Bluetooth.
Final Word
Recording audio in premium quality does not always need premium tools. But you do need a synchronized environment that is quiet and does not echo. Additionally, you have to be wary of the techniques that need to be implemented for improving the audio quality, such as maintaining a consistent distance between the mic and the audio source.
FAQs
What is a 32-bit float recording?
It records audio with a wide dynamic range. This captures both soft and loud sounds without distortion. With this format, you can adjust levels in post-production without losing quality, making it ideal for unpredictable sound environments.
Do I need an audio interface for video recording?
An audio interface converts your microphone’s analog signal into high-quality digital audio with minimal latency. It also provides better preamps, ensuring a clean, strong signal. While not essential for every setup, it greatly improves sound clarity and consistency in professional recordings.
Should I use WAV or MP3 for recording?
Record in WAV format for lossless quality that preserves every audio detail. This is ideal for editing and professional work. MP3 is compressed and better suited for final delivery when you need smaller file sizes without critical editing.
What sample rate should I use for video recording?
A 48kHz sample rate is the industry standard for video because it syncs accurately with frame rates and provides enough audio detail for post-production. Lower rates like 44.1kHz can cause sync issues, while higher rates often create larger file sizes without noticeable improvement for most projects.