


.png)
Virtual Audio Cable is a powerful tool that enables you to route audio between applications with precision. Whether you’re streaming, recording, or mixing audio sources, it gives you full control over where your sound goes.
If you’re using a wireless mic like the Hollyland LARK MAX 2, VAC becomes even more powerful. The LARK MAX 2 offers 32-bit float recording to preserve audio quality without worrying about clipping, and its OWS Bluetooth monitoring lets you hear everything clearly in real-time. But even top-tier gear needs proper routing, and that’s where Virtual Audio Cable comes in.


How Does a Virtual Audio Cable Work?
Virtual Audio Cable works like an invisible wire between your apps. Just as you would connect a radio or speaker using real cables, VAC enables you to link software using a virtual connection. It acts like a sound card with its own input and output already connected.
But unlike a real sound card, it skips the extra steps of converting digital audio to analog and back again. This keeps your sound clean and untouched, eliminating the need for any special hardware or expensive gear.
With VAC, audio is transmitted directly from one app to another without compromising quality. You simply need to choose where to send the audio by selecting the virtual cable in your settings. It’s fast, silent, and works in the background, opening up a world of creative audio setups with just a few clicks.
How to Use VAC?
Using Virtual Audio Cable (VAC) might seem technical at first, but it’s actually pretty straightforward once you get the hang of it. The process is nearly the same for most VAC tools. In this guide, we’ll use the VB-Cable as our example, as it’s widely used. However, these steps can be applied to almost any virtual audio cable software you choose. Here’s what you need to do:
Step 1: Download and Install VB-Cable
- Visit the VB-Audio website and download the VB-Cable tool.
- Extract the zip file, then right-click the VBCable_Setup_x64.exe file and run it as Administrator.

- Click Install Driver, and once it finishes, restart your PC.
Step 2: Open your Sound Settings
- After restarting, go to System Settings > Sound.
- You will now see new devices named CABLE Input and CABLE Output under both playback and recording options.

Step 3: Route your Audio
- Open the app from which you want to capture sound, such as Discord or a music player.
- Set its output to CABLE Input.

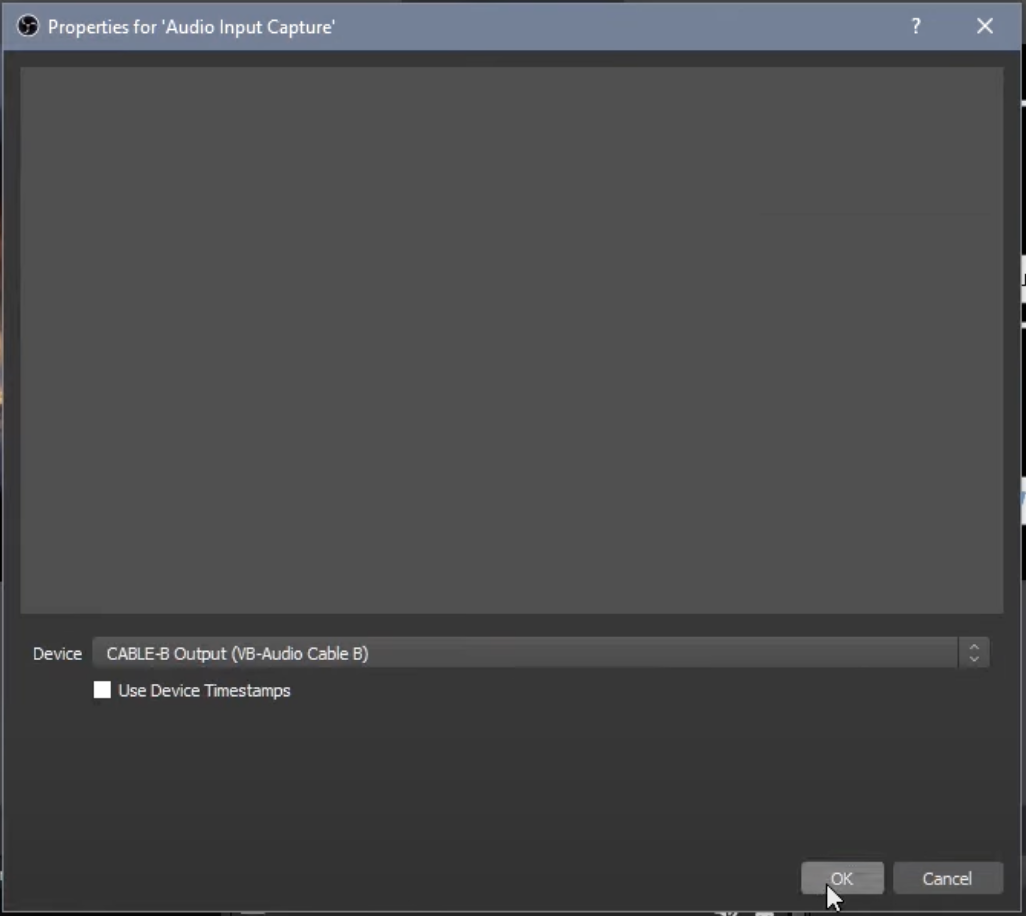
- Now, in the app where you want to receive the sound, such as OBS or Audacity, select CABLE Output as the input.

Step 4: Add More Sources or Capture Microphone Audio
- If needed, you can add more sources and route them to the same CABLE Input. This combines multiple audio sources into one virtual line. For instance, if you want to include your mic along with system audio, go to System > Sound.
- Under Input, click Device Properties.
- Click Additional device properties.
- Go to the Listen tab.
- Check Listen to this device.
- From the dropdown, choose CABLE Input (VB-Audio Virtual Cable).
- Click Apply. Now, both your mic and app audio will be routed together.

Step 6: Conduct Final Checks and Use Voicemeeter for More Control
- Lastly, make sure all your playback and recording devices are set up correctly. Play some audio and see if it’s being routed as expected.
- If you want to mix sources more effectively, try using VB Voicemeeter or Voicemeeter Banana. They give you better control over volume levels and sound routing.
How to Use VAC with OBS for Streaming or Recording
If you want to mix multiple audio sources for streaming or recording in OBS, using a Virtual Audio Cable (VAC) is a great solution. It helps you route system sounds, apps, and mic input into one output. Here’s how to set it up:
- Install the Virtual Audio Cable software on your computer.
- Open Windows Settings and go to the Sound tab.
- Go to the Volume Mixer, find the apps you want to include, and set their output to “CABLE Input.”

- Launch OBS Studio and open the Settings menu.
- Click on the Audio tab and set “CABLE Input” as your Desktop Audio.
- For more sources, add another Virtual Audio Device as Desktop Audio 2.

- Click Apply to save your settings.
Troubleshooting common VAC issues
Virtual Audio Cable can be incredibly useful, but like any tool, it can run into problems. If something doesn’t sound right or the audio isn’t passing through as expected, don’t worry. Most issues have simple fixes. Here’s how to handle the most common ones.
No Audio Passing Through
If you’re not hearing any sound, it usually means the audio connection is incomplete. Think of it like plugging a headphone cable into your phone but leaving the other end hanging in the air. The source is playing, but nothing is receiving it. To fix this, make sure your audio-producing app is sending sound into the CABLE Input and that another app is actually listening to the CABLE Output. Both ends need to be active for the connection to work.
Lag or Delay
Audio delays can happen when buffering settings aren’t ideal. To avoid lags, make sure your system can handle real-time audio processing. Try closing all unnecessary apps, especially before starting your recording or stream.
Launching apps while VAC is running can also trigger system delays. Also, increase the buffer size in your audio application if possible. The longer buffer gives your system more room to handle audio smoothly.
Choppy Sounds or Crackles
Distortion, like crackling, popping, or static, is often due to timing issues. The VAC driver or your audio app might not be syncing well. First, check your CPU usage. If it’s high, close background apps and processes to free up resources. Try increasing the buffer time in your audio tool. You can also tweak the number of milliseconds per interrupt in the VAC control panel. A small adjustment here can make a big difference in stream quality.
Conclusion
Virtual Audio Cable can feel tricky at first, but once you understand how it works, it opens up a lot of possibilities. Whether you’re streaming, recording, or just routing audio between apps, VAC gives you full control. Try out the steps, tweak the settings, and don’t be afraid to experiment. With VAC, a better audio setup is just a few clicks away.
FAQs
How to increase the volume in a virtual audio cable?
AC supports volume control for both playback and recording streams. You can adjust the volume and balance (pan) for each stream separately. There’s also a main volume and mute option that affects the entire cable. You can access these controls through an audio mixer interface or simply use the Windows Audio Mixer.
Can I have multiple virtual audio cables?
Yes, you can use more than one virtual audio cable. By default, only a single cable is installed, usually shown as “Line 1.” But if you need to route different audio streams at the same time, you can add more. Just open the VAC Control Panel and create additional virtual cables as needed. This is helpful when you’re working with multiple apps and want to keep each audio path separate.
