



































.png)
 简体中文
简体中文 
A single interview take can become unusable because of clipping. A wedding ceremony can suffer the same problem too. The officiant may lean close during the worst possible moment. If distortion ruins irreplaceable audio, 32-bit float can help. This format protects recordings from sudden volume spikes. This article explains what 32-bit Float recording does. It also explains internal recording inside a wireless transmitter. You will see why both work together during field recording. Then, you will learn how to use it with the Hollyland LARK MAX 2.
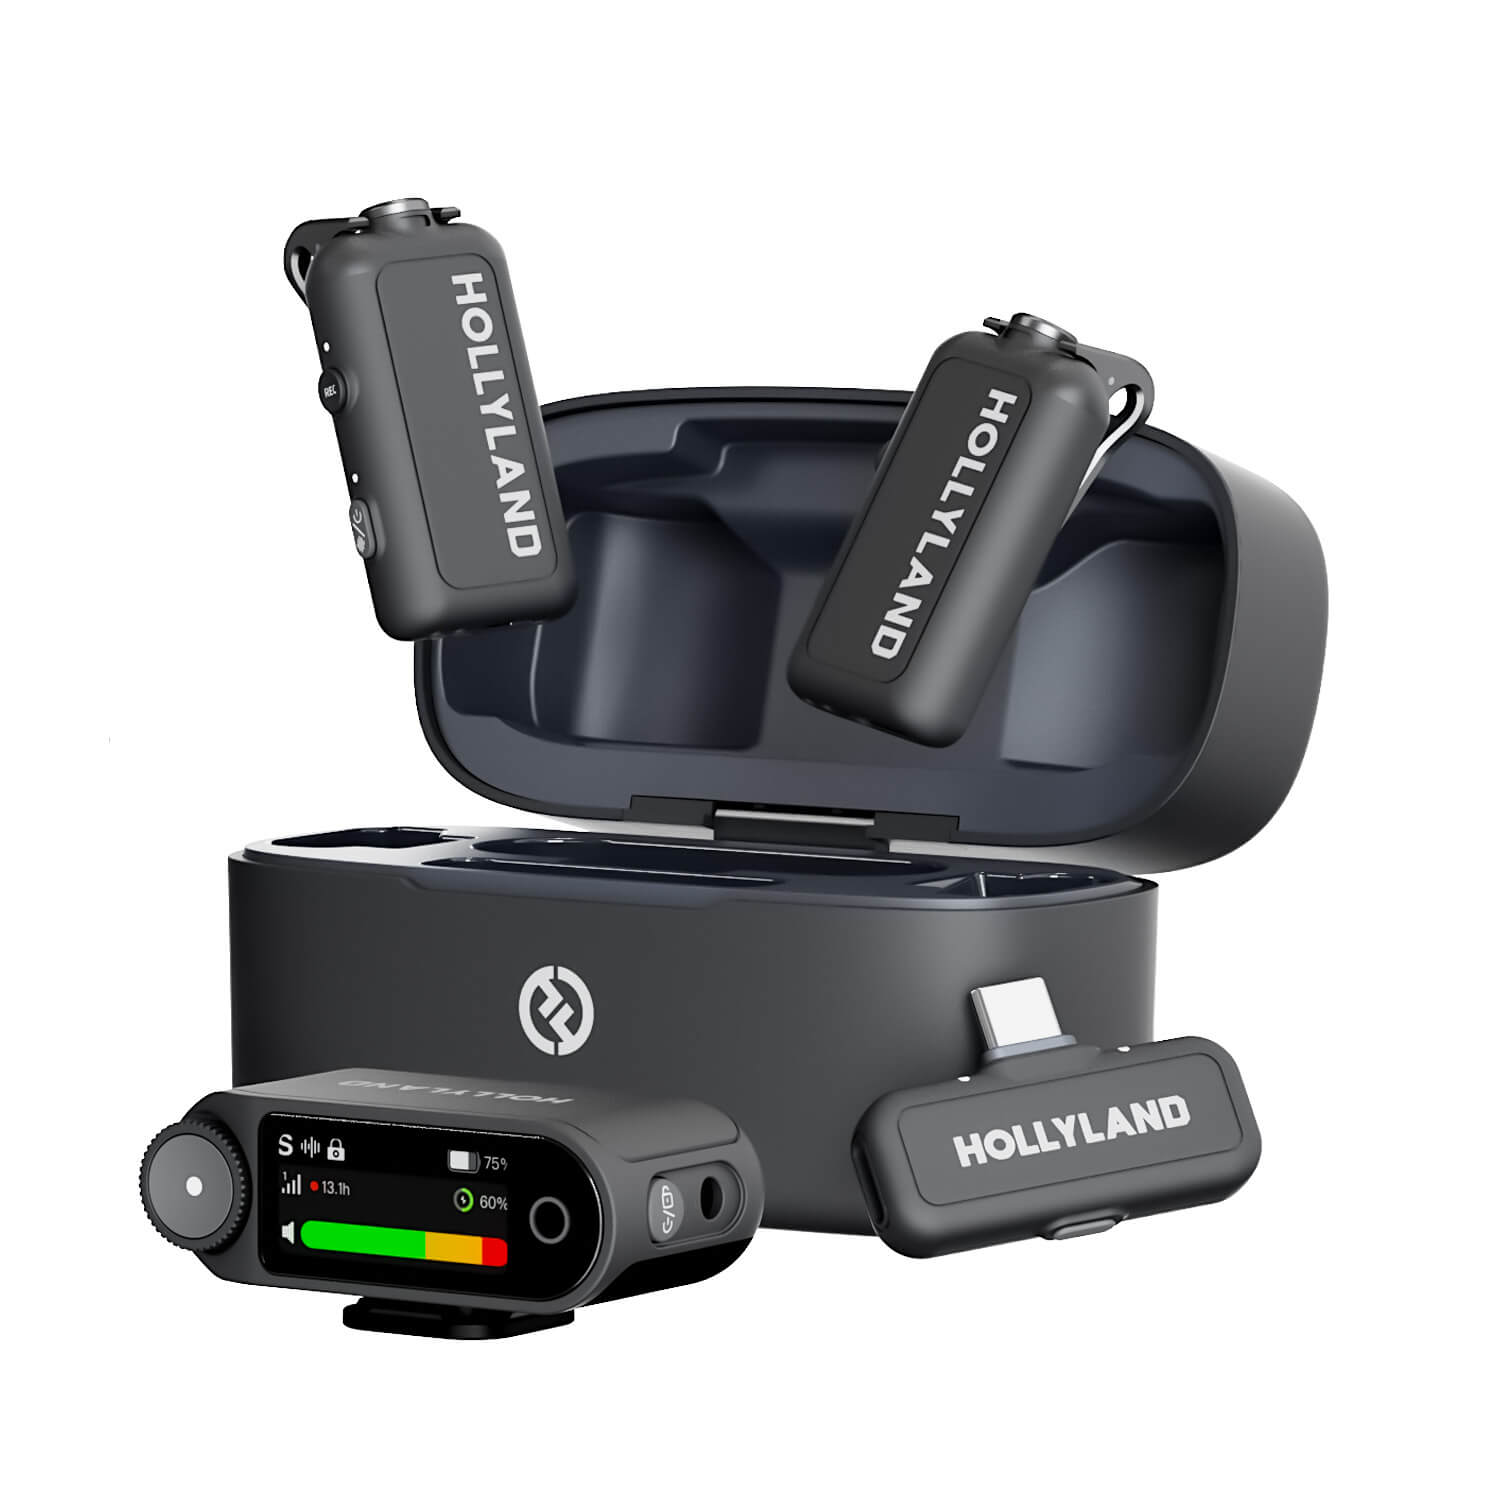
Hollyland LARK MAX 2 - Premium Wireless Microphone System
A premium wireless microphone for videographers, podcasters, and content creators to capture broadcast-quality sound.
Key Features: Wireless Audio Monitoring | 32-bit Float | Timecode
What Is 32-Bit Float Audio?
Standard digital audio stores sound as a fixed numerical value. In 24-bit PCM recording, every sample maps to a scale with a hard upper limit known as 0 dBFS (decibels relative to full scale). When a signal pushes past that ceiling, the waveform is cut off at its peaks. The result is clipping: a harsh, distorted artifact baked permanently into the file. A clipped 24-bit recording cannot be recovered in post-production because the data above that ceiling was never stored.

32-bit float works differently because of how it stores audio data. Instead of having one fixed volume limit, each sample gets stored as a floating-point number. This format comes from scientific computing and represents extremely wide value ranges. Its usable dynamic range goes beyond 1,500 dB, far exceeding physical audio equipment limits. No microphone, preamp, or speaker can produce that entire range. In practical terms, the audio file avoids digital clipping.
Even extremely loud digital signals can retain their complete information. A gain setting that ruins 24-bit audio can be fixed later. You can make that correction directly inside editing software after recording. This only applies when the microphone capsule and analog preamps avoid overload.
What Does “Internal Recording” Mean in a Wireless Microphone System?
In a typical wireless mic setup, audio is captured at the transmitter (TX) clipped to your talent, sent wirelessly to the receiver (RX) plugged into your camera, and then recorded by the camera at whatever gain the operator has dialed in. Three potential failure points exist in that chain: the wireless RF link can experience dropout, the camera’s gain setting can be wrong, and the physical connection at the camera input can be unreliable.

Signal Path: TX (captures audio) → Wireless RF Link → RX (plugged into camera) → Camera Input → Camera Recording
Internal recording breaks the dependency on all three. When the TX writes audio to its onboard storage while transmitting, it creates an independent backup file unaffected by wireless degradation, camera-side gain errors, or any problem at the camera input. The file exists on the transmitter itself, recorded directly from the source before any wireless processing or transmission artifact can touch it.
This is architecturally different from carrying a separate field recorder. A field recorder is additional hardware you have to mount, monitor, and remember to start. Internal recording in the TX is automatic, travels with the speakers’s clothing, and captures audio from as close as possible to the speaker’s mouth.
32-Bit Float vs. 24-Bit Recording — The Practical Difference
Here is how the two formats compare across the decisions that matter on a real shoot:
| Feature | 24-Bit PCM | 32-Bit Float |
|---|---|---|
| Clipping risk | Real and permanent | Effectively eliminated at hardware level |
| Gain must be set correctly on set | Yes, critical on set | No, fully adjustable in post without quality loss |
| Audio recovery after overload | Not possible | Full recovery via DAW gain reduction |
| File size (relative) | Baseline | Roughly 33% larger |
| DAW compatibility | Universal | Supported in all major modern DAWs |
The row that changes your actual behavior on set is the clipping row. In 24-bit PCM, a clipped take is a loss event. In 32-bit float, what looks like a clipped waveform in your DAW is a display artifact: reduce the gain on that clip and the intact waveform data underneath is revealed, with full fidelity and no reconstruction required.
Why 32-Bit Float Internal Recording Is Your Safety Net in the Field
Understanding the format is one thing. Understanding when it saves your shoot is another. Here are the scenarios where 32-bit float internal recording moves from a nice-to-have to a genuine safety net:

- Live events with unpredictable volume spikes: A guest thanks everyone and the crowd erupts in applause directly into the mic. The camera feed clips and distorts; the internal 32-bit float file on the TX captures the full event intact and ready to level-correct in post.
- Interview subjects who get animated: You set gain for a calm conversation, and three minutes in your subject leans forward and raises their voice for the critical answer. In 24-bit, that sentence is gone; in 32-bit float, a simple gain reduction in post recovers it cleanly.
- Outdoor solo-operator shoots: When you are running camera, directing, and monitoring simultaneously, real-time gain adjustments are not realistic. 32-bit float removes that pressure entirely by making the gain decision reversible.
- Single-take moments you cannot re-record: Wedding vows, a live news interview, a first live performance of a new song. There is no second take. The internal backup at 32-bit float preserves that one opportunity regardless of what happens at the camera end.
- Wireless signal degradation mid-shot: RF interference, distance, or physical obstruction can degrade the wireless link at any moment. The internal TX recording is physically on the transmitter and does not drop out with the RF signal.
The internal 32-bit float file on the transmitter is immune to the failure modes that routinely ruin field recordings. It cannot clip. It cannot be affected by your camera gain. It cannot drop out.
How to Use 32-Bit Float Internal Recording with the Hollyland LARK MAX 2
The Hollyland LARK MAX 2 records 32-bit float WAV files at 48 kHz directly on each TX transmitter, automatically, from the moment you power on. The following walkthrough covers the complete workflow from a cold start through retrieving your files.
1. Power On the TX Units
Press and hold the power button on each transmitter for 3 seconds until the LED illuminates. The LED blinks blue when searching for the receiver for pairing. If you are using the two-transmitter kit, TX1 and TX2 each follow the same power-on sequence, and each records its own independent 32-bit float file.

2. Confirm Internal Recording Is Active
Note: On the LARK MAX 2, 32-bit float backup recording can be enabled by pressing the REC button on the transmitter(s).
To verify settings, open the HollyAudio app, navigate to the TX device settings screen, and confirm the recording mode displays 48 kHz / 32-bit Float.

The TX REC LED will turn solid red when the 32-bit Float internal recording is activated.

3. Pair the TX to the RX
Out of the box, the TX and RX units in a LARK MAX 2 kit are pre-paired and connect automatically when powered on near each other. The RX LED confirms a successful wireless link with a solid indicator. To re-pair after using units separately, press and hold the pairing button on both the TX and RX for 6 seconds after powering off both units. Hold the power button until the LEDs flash, then wait for them to settle to solid blue.


4. Set Input Gain (Treat This as a Starting Point, Not a Critical Decision)
TX input gain is accessible via the gain slider in the Hollyland app under Dynamic Gain > Set gain to section. Since the internal recording uses 32 bit Float, setting gain earlier matters less. Therefore, set a rough level that keeps the live camera feed in a workable range. You can correct the TX file’s gain in post without any quality loss regardless of whether your initial setting was off.

5. Toggle AI Noise Cancellation (Optional)
AI Noise Cancellation is accessible via the NC Level toggle on the TX settings screen in the HollyAudio app.

When active, the TX and RX indicators confirm the feature is enabled as the LED turns solid green.

For most field interviews and event work, enabling AI Noise Cancellation produces a cleaner result. For contexts where you want the raw, unprocessed 32-bit float file preserved without any noise processing applied, leave the toggle off.
6. Monitor Audio via OWS Wireless Earphones
The LARK MAX 2 includes OWS wireless earphones for real-time monitoring during a live shoot. For USB-C RX users, simply remove the OWS wireless earphones from the charging case and wear them. Since they are already paired, you will be able to listen to the audio in real-time without any complicated configuration.
Alternatively, you can use the OWS wireless earphones with the LARK MAX 2’s Camera receiver connected to your smartphone, camera, or action camera by following these steps:
- Remove both earphones from their charging case. Put them securely into your ears.

- Place the Camera RX on the camera’s hot shoe. Run a 3.5mm cable from its TRS output to the camera’s audio input.
- Take the second 3.5mm cable and connect the Camera RX headphone jack to the camera’s monitoring input.

- Turn on Wireless Monitoring. The OWS monitor earphones will connect automatically.

This lets you identify unexpected issues in the live camera feed without interrupting the independent internal recording happening on the TX.
7. End Recording and Retrieve Files via USB-C
When the shoot is complete, power down the TX. Connect the TX to your computer using its USB-C cable. The TX mounts as a USB mass storage device. Navigate to the audio folder on the mounted drive to locate your WAV files, recorded sequentially at 48 kHz / 32-bit float. Copy the files to your editing drive, and they are ready to import directly into your DAW or video editor.

Pro Tip: After each shoot, move your TX files to your editing drive first. Do this before checking any other footage from the shoot. Your internal 32-bit float file serves as backup audio. Keep it as the master copy for now. First, confirm your camera audio is clean and usable.
Working with 32-Bit Float Files in Post-Production
Retrieving the files is the straightforward part. Here is what to do once you are at your workstation.
- Import directly into your editing software. DaVinci Resolve, Adobe Premiere Pro, Adobe Audition, and Logic Pro all handle 32-bit float WAV files natively. Drag your TX files into your project timeline or audio session without any format conversion step.
- Identify sections that appear to exceed 0 dBFS. A 32-bit float file from a loud environment may display peaks that appear to hit or breach the ceiling in your waveform view. This is a display artifact, not actual distortion. The data beneath it is intact.
- Apply gain reduction to those sections. Select the overloaded region and reduce the gain until the waveform sits comfortably below 0 dBFS. The actual audio detail will appear as the display rescales to reflect the true data. No reconstruction, no quality penalty.
- Normalize and level-match to your sequence. Once gain is corrected, treat the clip like any other audio track. Apply compression, EQ, or loudness normalization as appropriate for your delivery target.
- Export at your delivery bit depth. Your final output, typically 24-bit PCM for broadcast or web delivery, is derived from the full-resolution 32-bit float source, so the quality ceiling remains as high as your processing chain allows.
Who Should Prioritize 32-Bit Float Internal Recording?
This feature is not equally urgent for every type of audio work. Here is a quick profile match to help you self-identify:

- Solo video operators running camera, directing, and monitoring at the same time. The freedom to skip precision gain-setting on set alone justifies the feature.
- Event and wedding videographers covering ceremonies, toasts, and first dances where unexpected volume spikes are routine and retakes aren’t an option.
- Documentary filmmakers and field journalists conducting interviews in uncontrolled, acoustically unpredictable environments with no dedicated sound recordist on the crew.
- Run-and-gun travel and adventure creators where conditions change constantly and stopping to adjust gain between shots simply is not feasible.
- ENG (electronic news gathering) shooters capturing breaking news and live statements where content is irreplaceable and operating conditions are never ideal.
- Live music and performance creators recording singers or bands with wide dynamic ranges. For this situation, consider the Hollyland MELO P1 with LARK MAX 2. Its 32-bit Float recording pairs with a 1-inch large-diaphragm condenser microphone. This combination captures the wide dynamics of live vocals and instruments.
Frequently Asked Questions
Is 32-bit float the same as 32-bit integer?
No, and this distinction matters when reading product specs. 32-bit integer still imposes a fixed amplitude ceiling and can clip just like 24-bit. 32-bit float uses a floating-point representation with a dynamic range exceeding 1,500 dB, making hardware-level clipping impossible. When evaluating a device, confirm the spec explicitly says float, not simply “32-bit.”
If the wireless signal drops between TX and RX, is the internal recording still safe?
Yes. The TX records to its own onboard storage completely independently of the wireless link. A signal dropout or RF interference event affects only the live feed reaching the camera. The transmitter writes the internal 32-bit float file locally, and it remains unaffected by anything that happens to the wireless connection.
Can I edit 32-bit float WAV files in any editing software?
All major modern video and audio applications handle 32-bit float WAV natively, including DaVinci Resolve, Adobe Premiere Pro, Adobe Audition, and Logic Pro. You don’t need to convert the format before editing. Import the file directly from the TX storage and work with it like any other audio clip in your project.
Does 32-bit float internal recording replace the need for a dedicated field recorder?
For standard field video and single-mic interview work, it largely does. The TX-side 32-bit float backup removes the main reason most solo operators carry a separate recorder: gain-safety insurance. Professional multi-channel productions may still run a field recorder for ISO track management, but for single-mic setups the internal TX file eliminates the critical-failure scenario.
How much more storage does 32-bit float use compared to 24-bit?
Approximately 33% more per minute. At 48 kHz / 32-bit float, one minute of mono audio occupies roughly 11 MB; at 48 kHz / 24-bit, that same minute is approximately 8.2 MB. Given current onboard and microSD storage capacities, this difference is rarely a practical constraint over a typical shooting day.
Conclusion
32-bit Float recording protects audio from hardware clipping. Post-production cannot restore audio damaged by clipping. This matters most when the recorded take cannot be repeated. The LARK MAX 2 stores this protection inside its transmitter. That means the backup recording stays with the person speaking. Review the full specifications and feature details on the Hollyland LARK MAX 2 product page, and continue building your field audio workflow with our guide to setting up a wireless microphone system for solo video production.
