.png)
 简体中文

How to Build a Home Recording Studio for Vocal Recording
Introduction
Not long ago, recording vocals at home meant either renting studio time or spending thousands of dollars on equipment. That reality has changed completely. Affordable microphones, compact audio interfaces, and smartphones that capture clean, usable audio have made a home recording studio accessible to almost anyone with a quiet corner and a clear goal.
The challenge for most beginners is not the cost. It is knowing where to start. Search for advice online, and you will find gear lists that run into the dozens, conflicting recommendations about software, and technical explanations written for people who already know what they are doing. That is not what this guide is.
This guide focuses on one specific goal: recording vocals at home. Not music production from scratch, not building a broadcast suite, not learning a professional DAW in a weekend. Just a clear, practical path from zero to a clean vocal recording — with steps you can follow today, using equipment that does not require a second mortgage. Whether you want to record original songs, cover tracks, practice your delivery, or start livestreaming, the foundation covered here will serve every one of those goals.
What Do You Need for a Home Recording Studio?
A home vocal recording setup has four functional parts. You do not need the most expensive version of each one. You need a reliable version of each one that works well together. Understanding what each component does — before spending anything — will save you from common and costly mistakes.
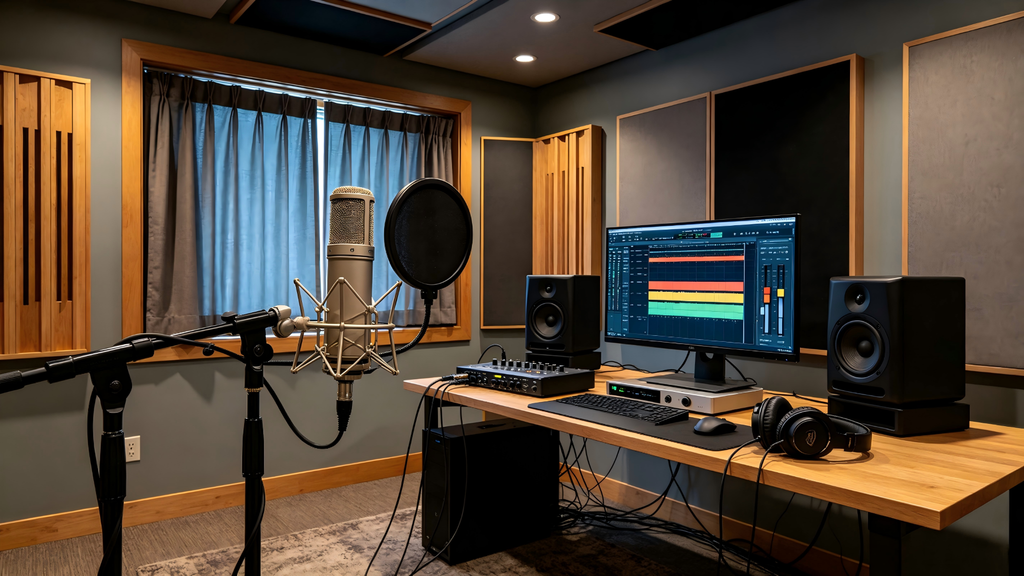
A Suitable Recording Space
Your recording space does not need to be professionally soundproofed. It does need to be quiet and acoustically forgiving. Hard, parallel surfaces — bare walls, large windows, wooden floors — reflect sound and introduce echo that is difficult to remove after the fact. Soft surfaces absorb it.
A bedroom with carpet, curtains, and a bed is often more effective than a living room with high ceilings and hardwood floors. A closet packed with hanging clothes is one of the most underrated recording environments for beginners.
A Microphone
The microphone is the most important link in the signal chain. For home vocal recording, two types are worth understanding.
Condenser microphones are highly sensitive and capture vocal detail across a wide frequency range. They perform best in quiet, controlled indoor environments. Because of that sensitivity, they also pick up more of the room around them, which makes acoustic treatment more important when using one.
Dynamic microphones are less sensitive and significantly more forgiving in imperfect environments. They reject ambient noise better and handle loud sound sources without distorting. For anyone recording in a room with background noise they cannot fully eliminate, a dynamic microphone is often the more practical starting point.
A Recording and Monitoring System
Three functional roles complete the path between your microphone and your finished recording.
An audio interface or mixer converts the analog signal from your microphone into digital audio that a phone or computer can record. It controls microphone gain and handles the routing of your audio signal.
Headphones allow you to hear yourself while recording — a process called monitoring. Using closed-back headphones prevents sound from leaking out of the earpieces and back into the microphone during a take.
A recording device and software capture the signal. This is your phone or computer running a recording application. Free options like Audacity on desktop or GarageBand on iOS are fully capable for home vocal recording at the beginner and intermediate level.
How to Set Up a Home Recording Studio for Vocal Recording
The setup process is straightforward when you work through it in a logical order. Follow these steps before attempting your first recording session.
Prepare your recording space. Choose the quietest room available. Close doors and windows. Turn off fans, air conditioning units, and any appliances that generate a continuous hum. If the room has hard floors, position yourself near soft furniture or hang a blanket behind your microphone to reduce reflections.

Connect your microphone and recording device. If you are using a traditional XLR microphone, run a cable from the microphone into your audio interface, then connect the interface to your computer or phone via USB. If your microphone connects directly via USB-C, plug it straight into your device. Some integrated systems — which we will cover shortly — handle this connection wirelessly, with the microphone transmitting to a compact mixer that then connects to your phone or computer via a single USB-C cable.

Set up your recording software. Open your recording application and navigate to the audio input settings. Select your interface or connected device as the input source. Create a new track, arm it for recording, and confirm that the input meter responds when you speak. If the meter remains completely still, the input source is set incorrectly.
Put on your headphones and check the input signal. Enable monitoring before recording anything. Speak or sing at the volume you plan to use during the actual take. Watch the input meter. Peaks should sit comfortably in the middle of the range — present and clear, not buried at the bottom, and not pushing into the red zone at the top. Adjust microphone gain until the level feels balanced.

Run a short test recording. Record thirty seconds of yourself speaking or singing at normal performance volume. Play it back through your headphones and listen for three things: background noise audible in the silences between phrases, clipping that causes a harsh, crackling distortion at louder moments, and room echo that makes the voice sound distant or washy. Address any of these issues before moving to a full take. When the test recording sounds clean, you are ready.

How Hollyland MELO P1 Simplifies a Home Recording Studio
For most beginners, the process described above sounds manageable on paper and considerably more frustrating in practice. Cables that require specific adapters, software that does not recognize the interface, monitoring that introduces an audible delay, and gain settings that are impossible to evaluate without a reference — these are the friction points that discourage people before they record a single note.
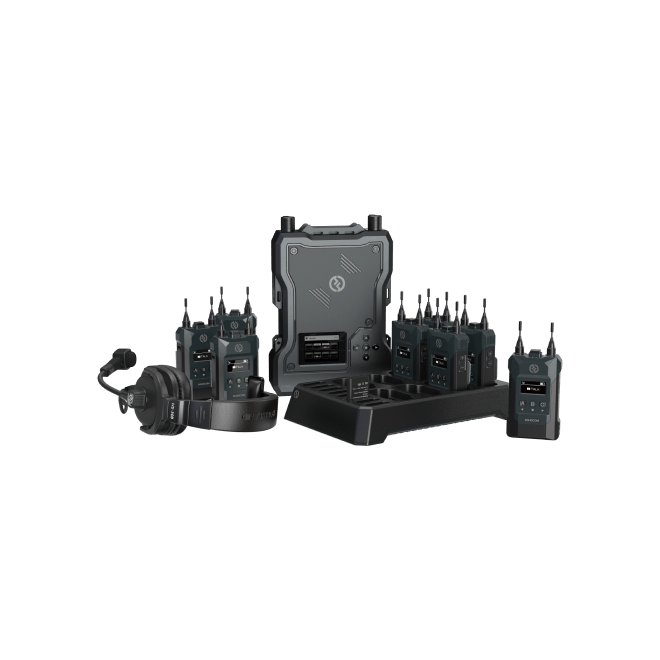
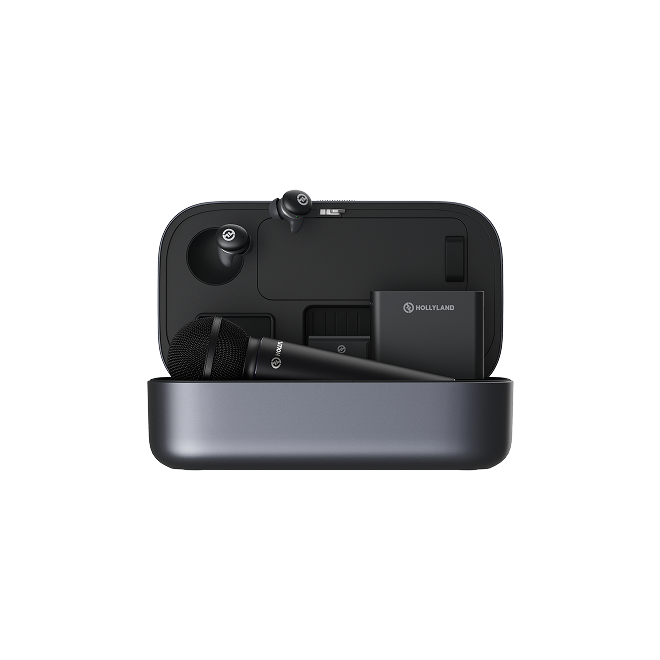
The Hollyland MELO P1 is a wireless music creation system built to remove that friction. It is not a standalone microphone or a basic USB interface. It is a fully integrated wireless audio system in which every component is designed to work with every other, and every component arrives pre-paired and ready to use straight out of the case.

Integrated Design That Eliminates Setup Complexity
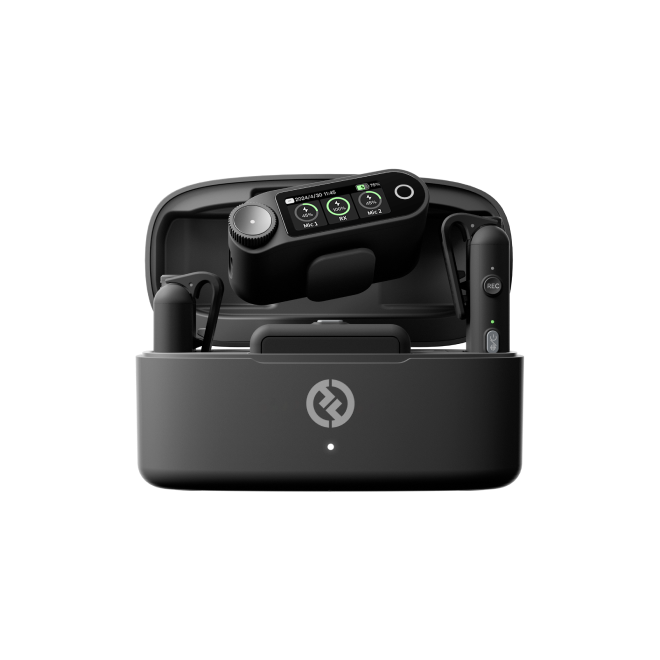
The MELO P1 includes a wireless handheld microphone with swappable condenser and dynamic capsules, a Smart Audio Mixer, TWS monitoring earphones, a Bluetooth remote control, and a charging case that stores and charges the entire system. All devices are pre-paired at the factory. Open the case, remove the components, and they reconnect automatically. There is no pairing sequence to navigate, no drivers to install, and no manual configuration to complete before your first session.
For home vocal recording, this matters more than it might initially seem. The first session is always the most vulnerable one. When setup takes forty-five minutes and ends in confusion, the motivation to record disappears along with the time. The MELO P1 removes that obstacle by making the starting point as simple as opening a case.
Built-in Audio Processing
The Smart Audio Mixer processes your microphone signal internally before it reaches your phone or computer.
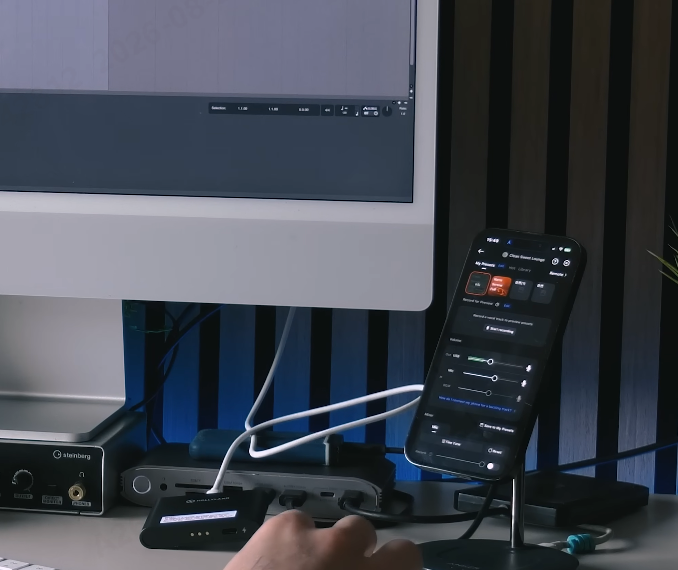
EQ, compression, reverb, and noise cancellation are applied at the hardware level, which means your recording device receives audio that is already shaped and balanced — not a raw, unprocessed signal that requires significant work in post-production.
For beginners, this is a meaningful advantage. Learning to build an effective vocal effects chain inside a DAW takes time and a developed ear. The MELO P1 makes professional-grade processing available immediately, through presets that were built by audio engineers and can be selected and applied with a single tap.
Wireless Monitoring With Low Latency
The included TWS monitoring earphones connect to the Smart Audio Mixer via a 2.4GHz wireless connection. This distinction from standard Bluetooth is important: 2.4GHz wireless audio transmission delivers substantially lower latency, and latency in monitoring is one of the most disorienting problems a vocalist can experience. When the voice you hear in your earphones lags even slightly behind the voice leaving your mouth, it disrupts pitch and timing in ways that are difficult to compensate for.

The MELO P1’s wireless monitoring solves this without requiring buffer size adjustments, driver configuration, or direct monitoring setup in software. Put the earphones in, and you hear yourself accurately in real time.
Real-Time Vocal Effect Control
The HollyAudio App connects to the Smart Audio Mixer and provides access to a library of professionally tuned vocal presets. Each preset applies a complete effects configuration — reverb character, EQ curve, compression behavior — in a single tap. Changes are audible immediately through the monitoring earphones, which means you can compare presets while singing rather than stopping and starting to evaluate each one.

The app’s tuning section allows further refinement: reverb level, low-frequency warmth, midrange presence, high-frequency clarity, and compression intensity can all be adjusted independently. A Record for Preview feature lets you capture a short vocal loop and audition different presets during playback, eliminating the monitoring bias that comes from evaluating your own voice in real time through bone conduction.
The Bluetooth remote extends control further. From across the room, you can switch presets, mute the microphone, adjust monitoring volume, and toggle ducking without returning to your phone.
Flexible Connections for Any Recording Scenario
The Smart Audio Mixer connects to any phone or computer via USB-C and is recognized as a standard audio interface. No additional software is required on the recording device side. For home vocal recording, this means your existing recording app — whether it is GarageBand, Audacity, or a streaming application — will detect the MELO P1 as the default audio input automatically.

For vocalists who record against backing tracks, the Smart Audio Mixer accepts Bluetooth audio from a second device as a separate input channel. The vocal and backing track signals are kept distinct inside the mixer, allowing independent level control for each. The backing track feeds your monitoring earphones so you can hear the music while you sing, while the output sent to your recording software can be configured to capture the vocal alone or the full mixed signal.
This flexibility makes the MELO P1 equally suited for private vocal recording sessions, demo production, and live public streaming — with no reconfiguration required between use cases.
Quick Tips to Get Better Vocal Recordings at Home
A clean signal chain handles the technical foundation. These adjustments close the remaining gap.
Microphone placement and distance. For a condenser microphone, position it approximately one fist away from your mouth and tilt it downward at a 15° to 30° angle. This prevents plosive bursts and produces a more natural tone than addressing the capsule head-on. For a dynamic microphone, two to three fingers of distance gives a warm, close sound; backing off to about one fist produces a slightly fuller, more open quality.
Set gain before you record. Speak or sing at full performance volume during setup and adjust gain until peaks sit comfortably in the meter without pushing into the red. Once you start recording, leave it alone. Clipping cannot be fixed after the fact.
Control noise at the source. Close the door, turn off fans and appliances, and use your microphone’s noise cancellation feature if available. Removing noise before it enters the microphone is always more effective than trying to reduce it in post-production.
Balance your vocal against the backing track. If you are recording with music, keep your vocal channel slightly louder than the track. A gap of roughly 10 to 15 in level is a reliable starting point. When the music is too loud, you strain to compete with it, and that tension shows up in the recording.
Use reverb sparingly. A small amount of reverb removes the boxed-in quality of a dry home recording without washing out the detail. Less is almost always more in an untreated room.
Always listen back through headphones. Your voice sounds different on playback than it does to you while singing. The recording is the accurate version. Evaluate that before deciding whether a take is worth keeping.
Frequently Asked Questions
Do I need an audio interface for home vocal recording?
Not always. Microphones that connect via USB-C do not require a separate interface. Integrated systems like the MELO P1 include a Smart Audio Mixer that performs the same function, which means no additional hardware is needed beyond the system itself.
Can I record good vocals at home without soundproofing?
Yes. A quiet room with soft furnishings produces recordings that are clean and usable. Soundproofing improves results but is not a prerequisite for getting started. Focus on eliminating noise sources and reducing reflections with whatever soft materials are available in the space.
Which microphone type is better for home recording vocals?
It depends on the room. Condenser microphones capture more detail but also more of the room. Dynamic microphones reject ambient noise more effectively and are more forgiving in less controlled spaces. The MELO P1 supports both capsule types on the same microphone body, which means you can choose based on your recording environment rather than your equipment.
What free software can I use for home vocal recording?
Audacity is free and fully capable on Windows and Mac. GarageBand is free on iOS and Mac. When using a system like the MELO P1 connected via USB-C, most recording and streaming apps will detect it automatically as the default audio input without requiring any additional setup.
Conclusion
Building a home recording studio for vocal recording does not require a large investment, a dedicated room, or months of technical study. It requires a quiet space, a microphone suited to that space, accurate monitoring, and a device to capture the signal. Everything beyond that is refinement.
For those who want to reduce the time spent troubleshooting and increase the time spent recording, the Hollyland MELO P1 offers a direct path. Its integrated design handles the signal chain, the audio processing, and the monitoring in a single connected system — removing the setup complexity that stops most beginners before they find their footing.
Ready to Start Recording?
The Hollyland MELO P1 brings together a wireless microphone with swappable capsules, a Smart Audio Mixer with built-in processing, low-latency wireless monitoring earphones, a Bluetooth remote, and the HollyAudio App — all pre-paired and ready to use the moment you open the case. Whether you are recording your first vocal take at home, building a consistent streaming setup, or producing demos you are genuinely proud of, it is designed to make the technical side of home vocal recording stay out of your way.
Explore the Hollyland MELO P1 and build a home recording studio that works from day one.


Subscribe us
to get the latest news!


